• Happy National Limerick Day! 🅰️🅰️🅱️🅱️🅰️

Cedar Strip Build "The Experiment"

No Title

Wow! Six weeks without an update? What happened?

- Deer hunting
- Work was insane (Phone support for a loyalty card for a major retail chain - what people put themselves through for $5!)
- A Bug that knocked me on my butt for most of the week

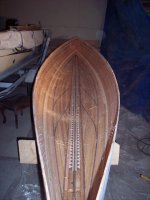
Alan Gage I'm looking forward to seeing what the inside is like. Also looking forward to figuring out what I'm going to use for Gunwales, as I'm currently out of ash, and have not yet bit the bullet on actually buying more hardwood.

But I did still get a few things done. Some of it some futzy stuff, but still.

Learned a few things... as always.

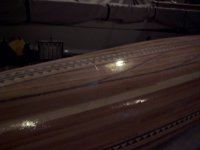
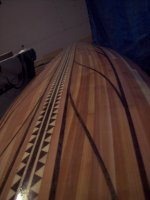
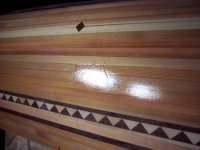
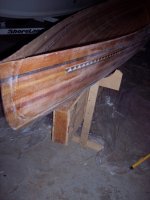
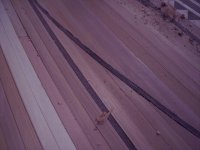
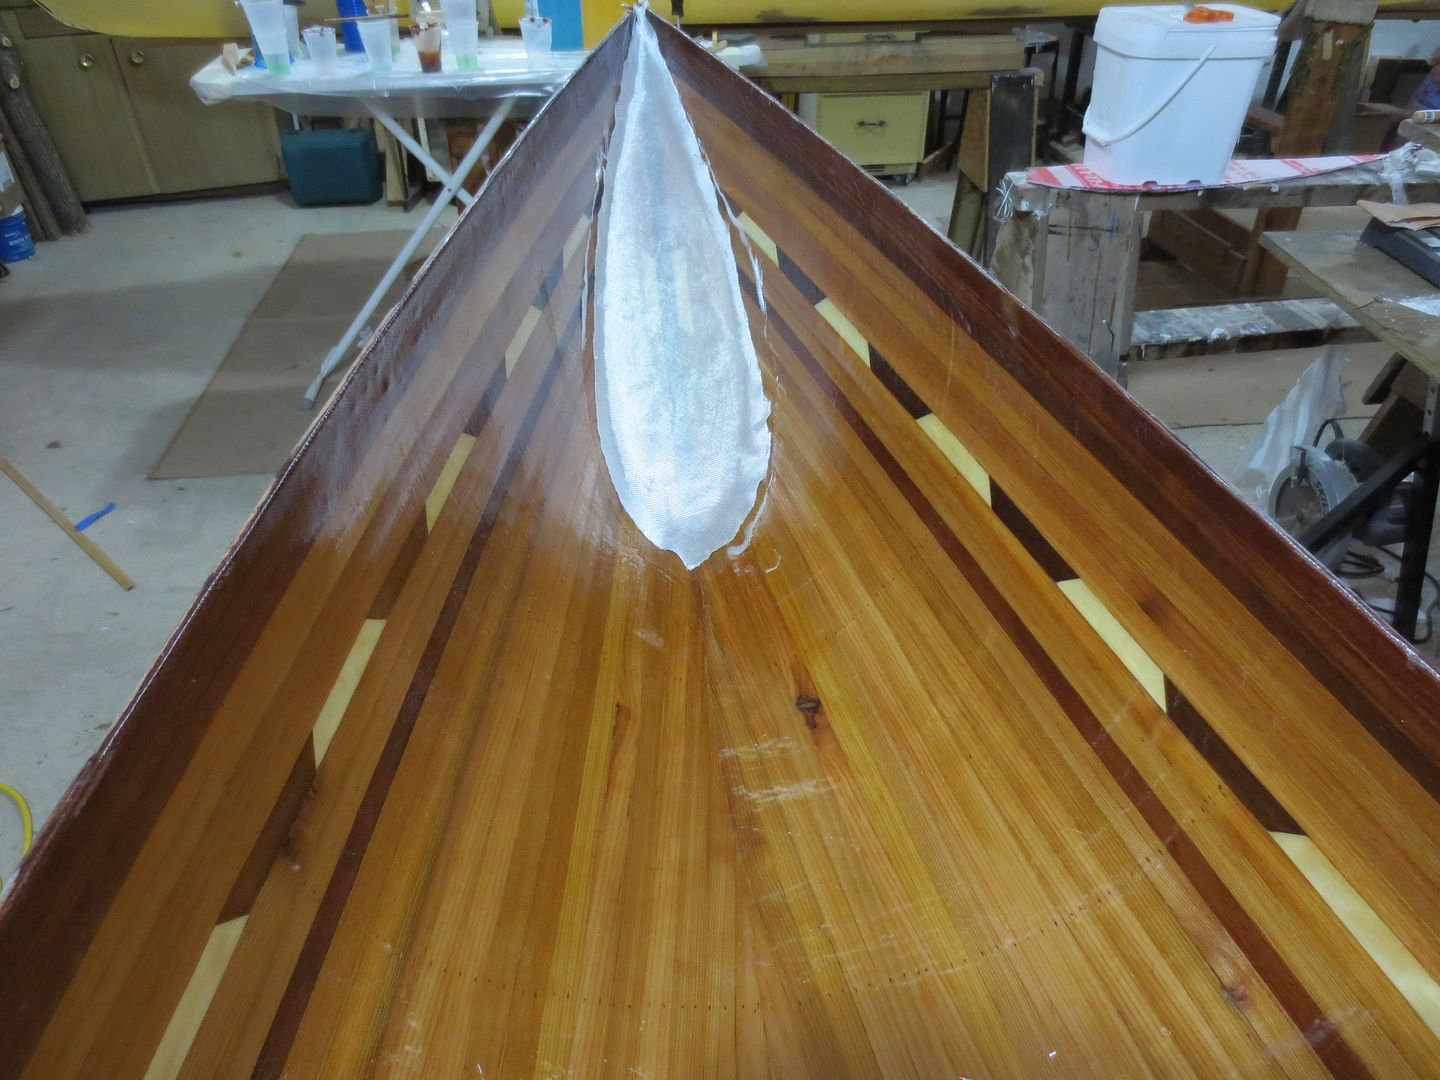
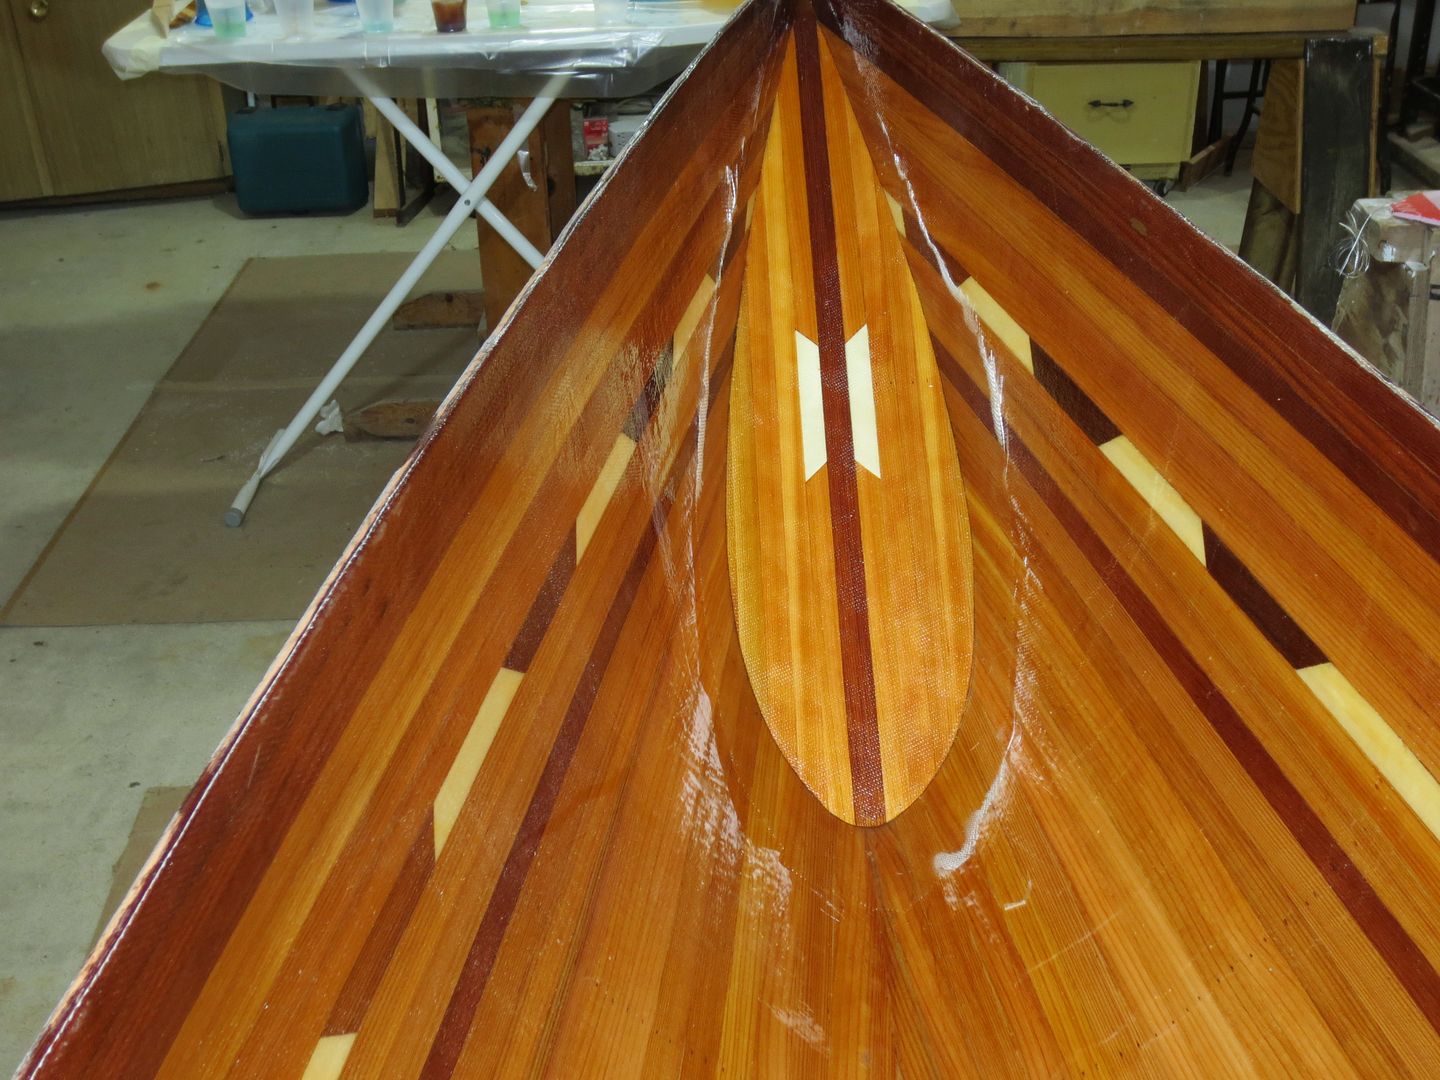
- If I'd known a bit more about peel-ply, I may have done the surface differently. May need to do some experiments before the next boat. I have a fairly decent glass surface, I think, but it is not filling as quickly as I had hoped. Burned a lot of resin on it. I have one spot where there is a float ridge in the layup, no Idea how it started, as I would have sworn that region was laid flat when I saturated it...
- A roller is a nice tipping-off tool, but a poor spreader, at least a cooler temps and thicker resin. I got my last coat spread on much better with a squeegee.
- Cheap rollers are evil. I may get better results with the cloth ones.
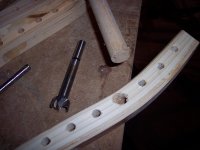
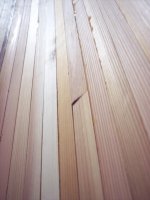
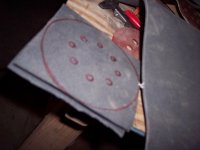
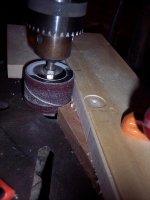
- Even a sharp drill bit is murder on a workpiece that gets away from you.
 

Attachments

  • photo3526.jpg
    photo3526.jpg
    173.3 KB · Views: 1
  • photo3527.jpg
    photo3527.jpg
    195.9 KB · Views: 0
  • photo3528.jpg
    photo3528.jpg
    259.4 KB · Views: 0
  • photo3529.jpg
    photo3529.jpg
    148.5 KB · Views: 1
  • photo3530.jpg
    photo3530.jpg
    211.9 KB · Views: 1
No Title

And the slow winter continues.

I finally decided that the skim coats will not be perfect until the weather is warmer - silvertip gets a little thick, and clearcoat can't be used at all at current shop temps. However, the structure is done, so I pulled the forms and flipped the hull.

I'm including a couple of pics of what the surface is like right now - What would you guys recommend?

The inside looks good. I'll have to fill a bit, of course, and there was a spot that my saturation coat ran through, but no major glue drippage, etc. Cradle is just a couple of pieces of plywood cut to match the hull, with neoprene foam hot-glued to the bearing surface.

I'm definitely going to have to work on the bit above the knuckle more, but it's now accessible, so not too hard.

On thing that is not showing well in the photos so far is the overall feel of the hull. Definitely seems "Trimmer," less reach to paddle from sitting position. For fairly compact paddlers, as intended.
 

Attachments

  • photo3635.jpg
    photo3635.jpg
    264 KB · Views: 1
  • photo3636.jpg
    photo3636.jpg
    165.9 KB · Views: 0
  • photo3637.jpg
    photo3637.jpg
    201.6 KB · Views: 1
  • photo3638.jpg
    photo3638.jpg
    285.1 KB · Views: 1
  • photo3639.jpg
    photo3639.jpg
    254.9 KB · Views: 1
  • photo3640.jpg
    photo3640.jpg
    203.3 KB · Views: 1
Wow, I think that pattern looks even better on the inside. Really sharp looking in that wide angle shot showing the entire interior.

Usually on the outside I give three or four coats to fill the weave and then sand it smooth. I try not to cut into the cloth at this time but sometimes it happens a little. Then I give it one more light skim coat of epoxy that's good and warm so it levels out nicely. This usually leaves a very nice finish and re-coats any exposed cloth. Once that sets up it takes just a light sanding to be ready for varnish.

She's looking good!

Alan
 
No Title

Wow, been a month since posting!

I have been working on the canoe, just not so much visually exciting. Interior sanding is alsways the most frustrating part for me. Got 7 hours in it already, and figure I'm half done or less.

I'm not going to worry about the finish in the ends too much, as I've decided to add bulkheads as flotation tanks. Last time I measured, she had only splayed by about an inch, though that may change as I remove material, and as humidity cycles in the shop.

I'm really not happy about the layup on this one. It seems that many of the coves didn't set down on the beads as intended. Must find another way to tie them down, and improve the router setup. Oh, well. Cabosil and sawdust.

I've also decided that I will never again use hard maple for a feature strip. Stuff sands like a rock. I even got the belt sander out for some flat areas.

BTW: Does anyone know of a place to get soft interface pads for a 5" hook and loop RO sander? All the ones I see are for 6" industrial models.
 

Attachments

  • photo3812.jpg
    photo3812.jpg
    197.5 KB · Views: 0
  • photo3813.jpg
    photo3813.jpg
    195.6 KB · Views: 0
  • photo3814.jpg
    photo3814.jpg
    206.8 KB · Views: 1
  • photo3815.jpg
    photo3815.jpg
    163.8 KB · Views: 1
  • photo3816.jpg
    photo3816.jpg
    276.3 KB · Views: 1
Last edited:
No Title

The fact that I've sworn off maple as a feature strip does not mean that I don't value its qualities for other uses...

I am doing some more bent laminations, and this time, the curves are going to be really tight. Some experimenting showed that I would need to go down to 1/16" strips to handle the curves. I looked at buying ordinary flatsawn veneer stock, but $$$.

Enter the Bandsaw and drill press, plus some home-built jigs. I would use a power fed drum or wide-belt sander, but those are lacking in the shop at the moment. Bandsawing multiple strips like this, you need to move teh fence after every cut, as the bandsawn edge wanders too much to use for a guide. Anyone ever done something like this?
 

Attachments

  • photo3640.jpg
    photo3640.jpg
    203.3 KB · Views: 0
  • photo3817.jpg
    photo3817.jpg
    279.4 KB · Views: 0
  • photo3818.jpg
    photo3818.jpg
    259 KB · Views: 0
  • photo3819.jpg
    photo3819.jpg
    271.2 KB · Views: 0
I did something similar...but first to answer your question upthread.
I have a 5", 8 hole Ryobi RO sander, and I have 3 different hardness backing disks for the hook and loop paper. I think I bought the backing disks from CPO, somewhere in the intersphere.

If you are very careful when you adjust the guides on your bandsaw, you can get a very straight, accurate cut.
BTW, toolmakers and modelmakers also refer to the lack of tooling rigidity as "spring cuts".
And nearly every machinist, toolmaker, modelmaker, and machine operator is cautious about climb cuts vs conventional cuts.

I've never set up my drill press with a sanding drum, but I once built a thickness sander using an old radial are saw and a home made sanding drum. It could sand dead straight across 24", but I never had enough horsepower for anything more than little skim cuts. I still have the sanding drum and bearing blocks in my basement, for an eventual resurrection.

For what it's worth, I generally use a 7" variable speed disk sander on the inside, with a very soft backing disk. I start with 36 or 40 grit and finish with no finer than 60 grit. Cross grain scratches are of no consequence, they are hidden behind the weave of the cloth. Any more resin on the inside, other than just enough to wet out, only serves to make the boat heavier, and more expensive, as well as making the inside slippery for footwear.

Your build is looking good and you're right on track for an ice out launching. Thanks for the photos...
 
Last edited:
Sailsman

Sanding just plain sucks ! Anything I can do to reduce sanding, I give it a go !

You stated that you had trouble with your coves. Did you run your strips between the fence and your bit ?

Interface pads should be available for 5".
I used them, but they seemed to sand soft areas more than the hard grain areas.

Have you tried the Skilsaw method of cutting strips ? It really works !

Jim
 
BTW: Does anyone know of a place to get soft interface pads for a 5" hook and loop RO sander? All the ones I see are for 6" industrial models.

Lots of choices at Amazon:

http://www.amazon.com/s/ref=nb_sb_noss_2?url=search-alias=aps&field-keywords=5"+interface+pad

I can relate on having maple next to cedar. I once used an oak strip at the shear on a lightweight canoe hoping I could avoid gunwales. Almost impossible to sand without eating into the cedar strip next to it. Ended up using the belt sander with crossed fingers.

Alan
 
No Title

If you are very careful when you adjust the guides on your bandsaw, you can get a very straight, accurate cut.

Your build is looking good and your right on track for an ice out launching. Thanks for the photos...

Bandsaw has bearing guides, which I have never gotten tuned to my satisfaction. Maybe need to upgrade to teflon or graphite.

You seem optimistic about my ability to finish up... I'll try to live up to that. :)

Jim Dodd said:
Sanding just plain sucks ! Anything I can do to reduce sanding, I give it a go !

Yep, hence my fascination with edged tools. Check out my hand planes in DIY

Jim Dodd said:
You stated that you had trouble with your coves. Did you run your strips between the fence and your bit ?
Have you tried the Skilsaw method of cutting strips ? It really works !

No. The job was done before I met that little tidbit. Next time, and I'll also use a stiffer table setup.

I may also try the skilsaw method if I need to cut strips alone, or I may put a skilsaw blade in the tablesaw. Have not had to cut any strips since you posted pics.

The trouble I had with the coves was not so much about the cove cut, but when layed up, it kind of wedged out of place. Have you ever played with lego? think of a block that has been pushed together off-kilter. The dimensions are right, just did not get layed up how i intended. See drawing.

Alan Gage

Thanks for the link. Huh... all weird hole patterns. I'll just have to modify one.
 

Attachments

  • photo3833.png
    photo3833.png
    5.3 KB · Views: 1
Thank you, everyone, for the links for interface pads. Ended up getting one off ebay. It's awesome, except: no dust collection holes. :( 
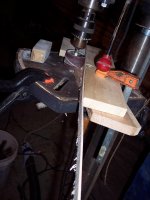
So I'm back to using a dust mask.

Things went much faster with the pad. I also used my rubber-backed drill pad for rough removal.

100_4040.JPG 100_4041.JPG

Nice and clean on the inside, though I sort of cheated on the ends. I'm gong to cover those with a sealed bulkhead, so I Only faired the surface enough for the glass to lay properly. For some reason, the forum thinks that particular photo is corrupted?

100_4050.JPG 100_4051.JPG 100_4052.JPG

I found that the hull tends to spread a bit (Big Surprise, no? :D
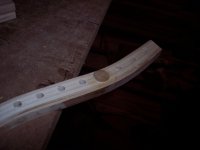
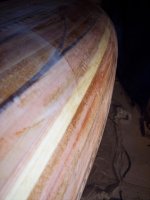
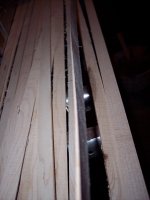
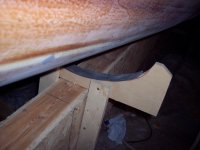
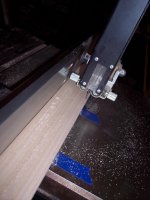
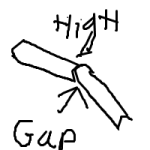
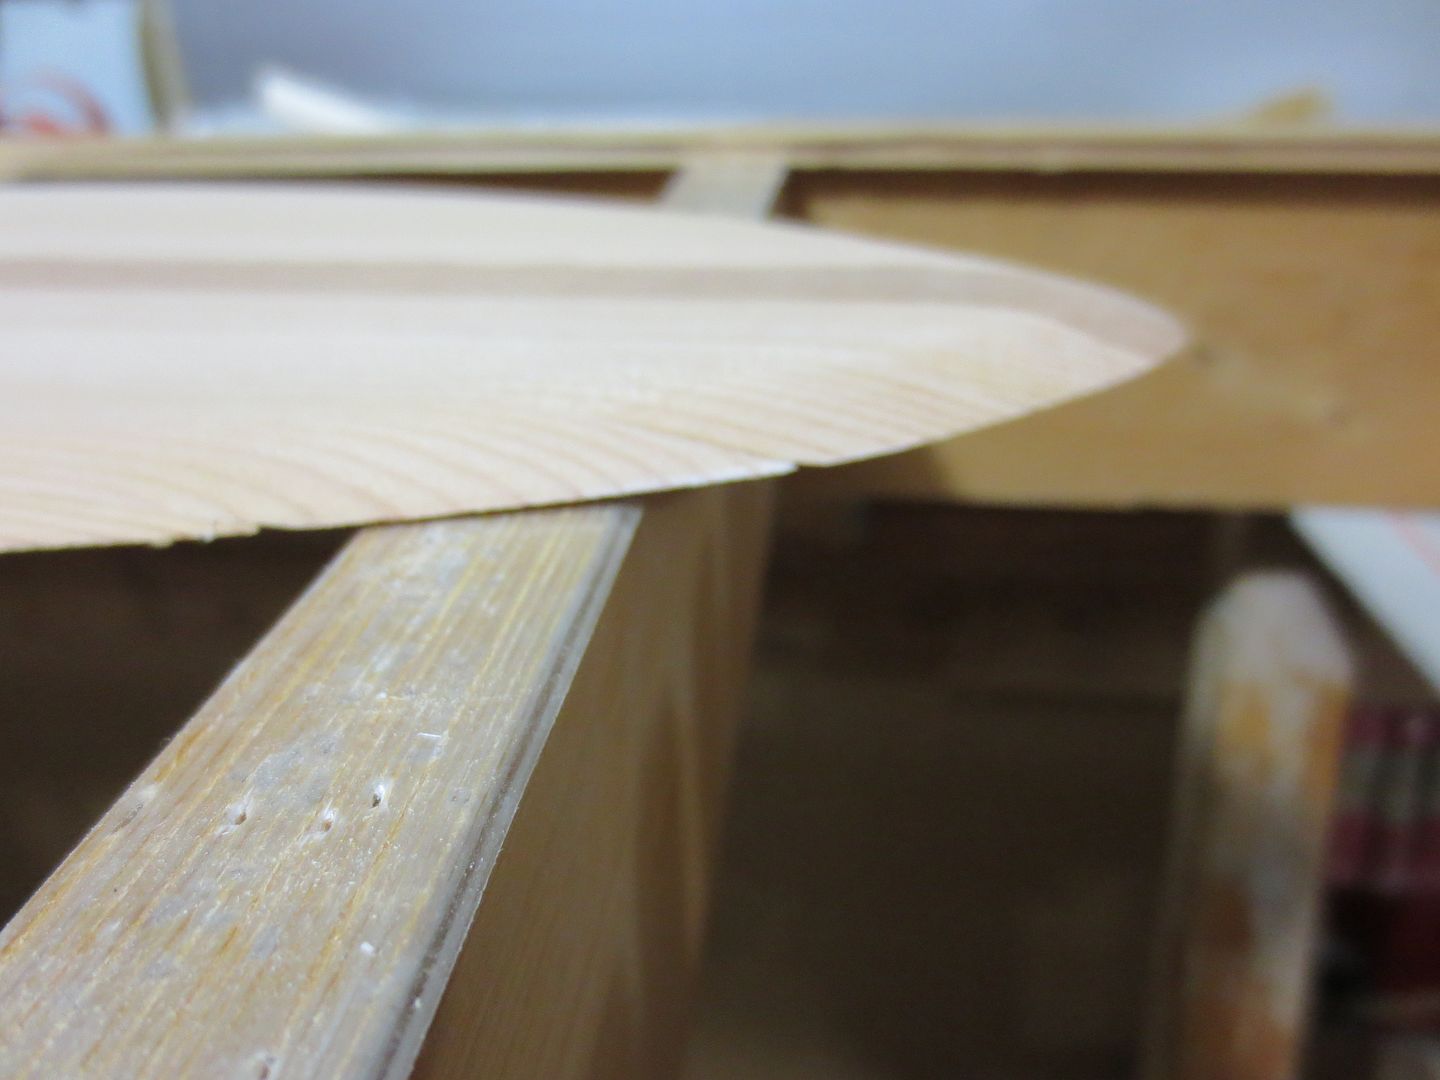
) and used straps to pull it back. Also mixed up some resin/cabosil/sanding dust "Peanut Butter" for the gaps. For some reason, my camera lens makes it hard to see the knuckle from this vantage point.
100_4053.JPG 100_4060.JPG

If everything goes well, tomorrow I'll be able to glass the inside.
 
Question for those who have done bulkheads:

I'll, of course, fit the bulkhead so that it snugs into place. Thickened epoxy to glue it, and then a glass strip/tape on the seam. This tape, of course, can only come from the outside. Should that be enough, or should I consider some small (3/4 x 3/4 x 1/4) blocks glued to the hull behind the bulkhead, the way some people mount seat rails to the hull?
 
For hulls that will see rough service, I first glue the well fitted bulkhead in place with Cabosil thickened epoxy. Then I glass the inside and outside of the bulkhead to the hull. Lastly, use Cabosil thickened epoxy to attach the deck (stripped, glassed on both sides) to the hull, and wrap the hull/deck joint with glass.
Lighter service hulls, I skip the inside glass between hull and bulkhead, but be sure to have a generous Cabosil thickened fillet inside.

BTW, I do not use fiberglass tape, it is straight woven and can't handle the compound curves of the bulkhead/hull joint. I use bias cut cloth, or bias woven tape.
The bias woven tape is more expensive, but has no stray fibers.
 
If the bulkhead is properly fitted, I don't think thickened epoxy is necessary.

I do at least fiberglass most of the backside of the bulkhead. And all of the front side with 6 oz cloth. I go beyound the seam about two inches.

IMG_0589_zpsxf7cjhpa.jpg

IMG_0586_zpsoi2lpbmp.jpg

IMG_0582_zpsdddhufvy.jpg

IMG_0591_zpsxurdi5ui.jpg


Jim
 
My float tanks have been single piece affairs of carbon covered foam. So far cabosil to glue them in place and fill gaps followed by fiberglass tape has worked well and held up to abuse in the field.

The hull looks great. Can't wait to see it all fiberglassed!

Alan
 
For hulls that will see rough service, I first glue the well fitted bulkhead in place with Cabosil thickened epoxy. Then I glass the inside and outside of the bulkhead to the hull.

Hmm... I'm having an issue visualizing. My bulkheads will fit rather like Jim Dodd's (very pretty, BTW) and I'm not sure how you manage glass on the inside seam?

Definitely going to glass the back of the panel itself, though. Is that an ironing board doing double-duty as a mobile table?
 
Hmm... I'm having an issue visualizing. My bulkheads will fit rather like Jim Dodd's (very pretty, BTW) and I'm not sure how you manage glass on the inside seam?

Definitely going to glass the back of the panel itself, though. Is that an ironing board doing double-duty as a mobile table?

Ahhh, I see....
My builds typically have a near vertical bulkhead and a stripped deck.

DSC_1460.JPG


I find that the decks make for very convenient stepping stones for ingress/egress, especially handy when paddling beaver dammed waters. I do a lot of that.
One of my boat building buddies even installs portals in his bulkheads, to have dry, secure storage for small stuff.
 
Hmm... I'm having an issue visualizing. My bulkheads will fit rather like Jim Dodd's (very pretty, BTW) and I'm not sure how you manage glass on the inside seam?

Definitely going to glass the back of the panel itself, though. Is that an ironing board doing double-duty as a mobile table?[/QUOTE]

Size of your bulkhead matters. I would definitely glass both sides of a big tank, with overlapping cloth, and probably use filler at the seam.

But for mine, I wet out a scrap piece of cloth, that's trimmed just to the taper for the back side. I let this set up. The bulkhead is just wedged into place.

Then I glass over the outside with just cloth. Usually two fill coats.

Here is a better pic of the taper. The bottom edge gets a knife taper, but at the top, it's just a slight taper.
IMG_0584_zpsrt6lmtly.jpg


And Yes the old ironing board serves several tasks, besides keeping my clothes neatly pressed ! ;)

Jim
 
Last edited:
Back
Top