• Happy Weed Appreciation Day! 🌱🌿🌻

J Winters "Kite" build

Joined
Feb 29, 2012
Messages
2,192
Reaction score
829
Location
Schenectady, NY
So I bought plans for a J Winters Kite...it's a 15 ft solo, with a radically cut tumblehome and differential rocker, an improved Ospey (or so I'm told).
My current solo, a stripped DY Special, is a joy to behold and paddle...in most conditions. It is not well suited for big water with following winds (killer stern hook) and is built for going straight. Even though I managed to keep the weight at 31 lbs, I want something better suited for some of the waters that I prefer, not too distant ponds (less than 5 mile carry), beaver flows, smalls streams and class II rivers.

Specifically, I want a solo that's lighter in weight, more maneuverable, safer in big water, and can take a beating. Also, I like a variety of paddling positions, but NOT pack boat sit on the bottom style. I much prefer sit 'n switch and kneeling, always with a single bent shaft. Capacity is not an issue, I'm still a welterweight and my gear rarely weighs more than 30 lbs.
I'm hoping to keep the weight to 25 lbs, we'll see.

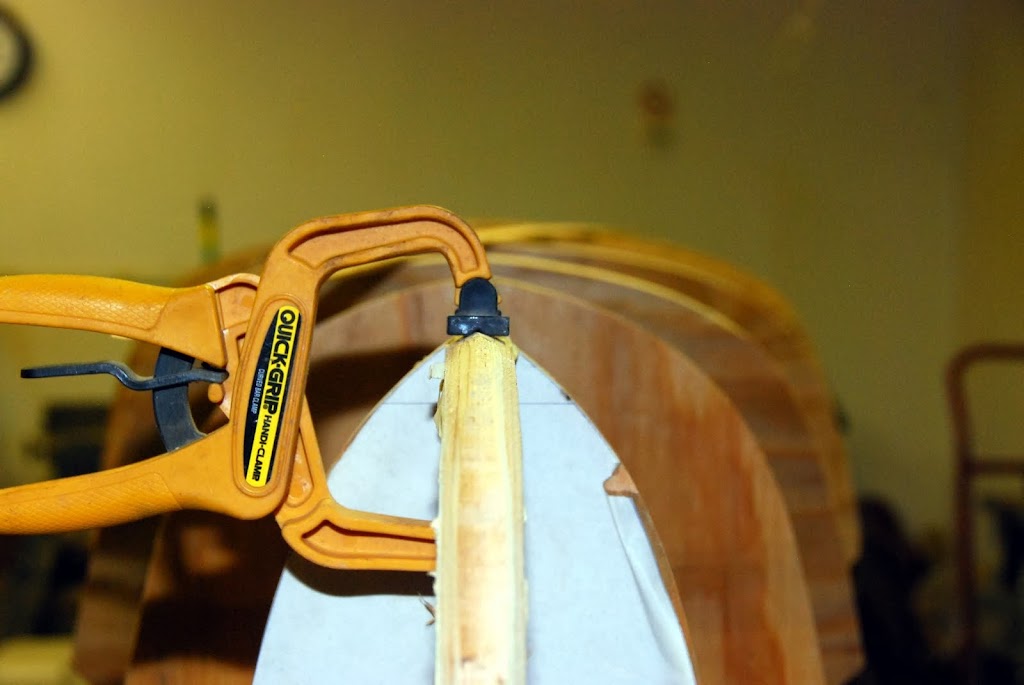
I'm trying out a few different build techniques this time around. Laminated stems, only because of the wide, blunt stem designs. Carbon/kevlar over foam for the gunnels (to reduce weight). Carbon/foam seat frames and thwarts, again for weight considerations. Plenty of Dynel at the stems, for abrasion resistance, still not a better material available. An opaque exterior finish, likely pigmented resin, partly to hide the Dynel, partly to hide the inevitable rock damage. Lastly, cove and bead strips, to keep the hull as fair as possible.

So, now that everyone knows my criteria and motivations, here are some photos.

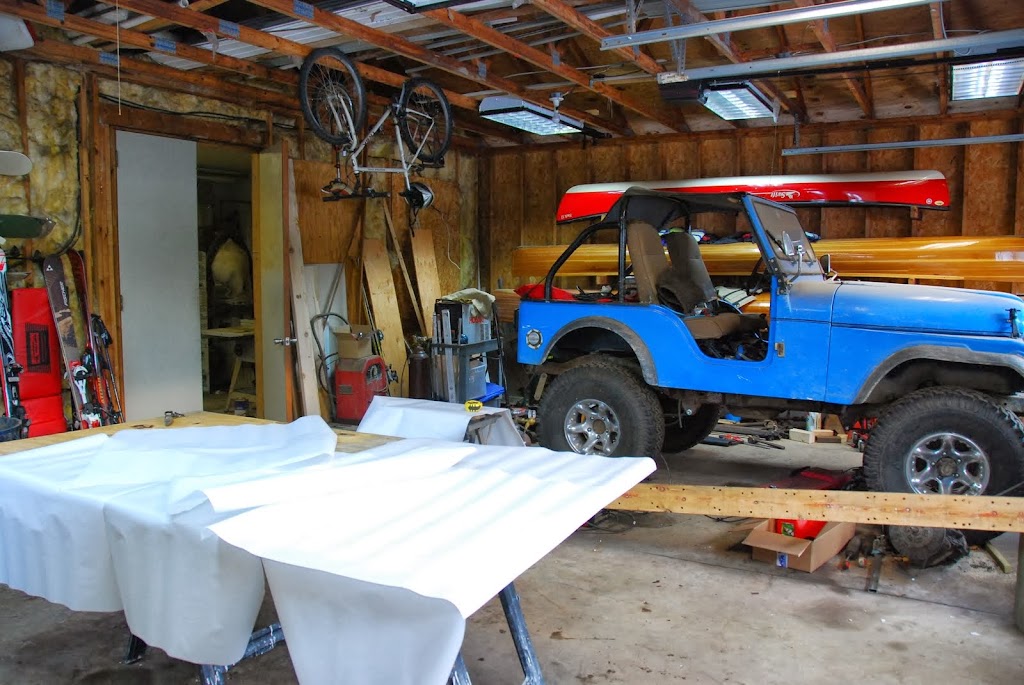
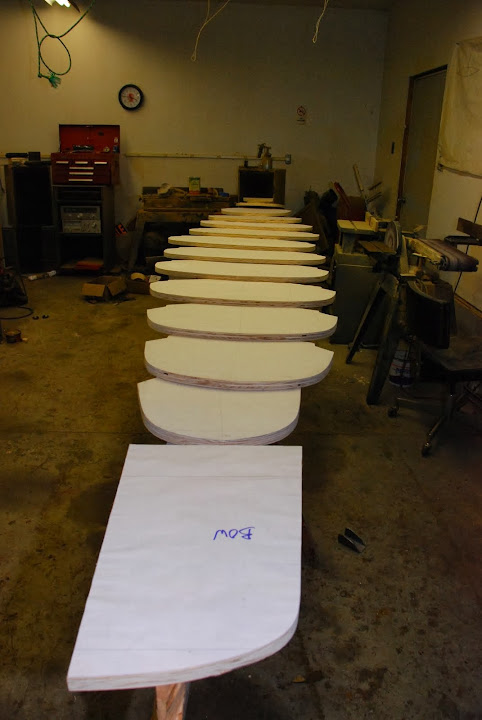
Form layout, 3/4 ply leftover from a large shipping crate. My CJ5 with BST's in the background (Big Stupid Tires)

DSC_0865.JPG


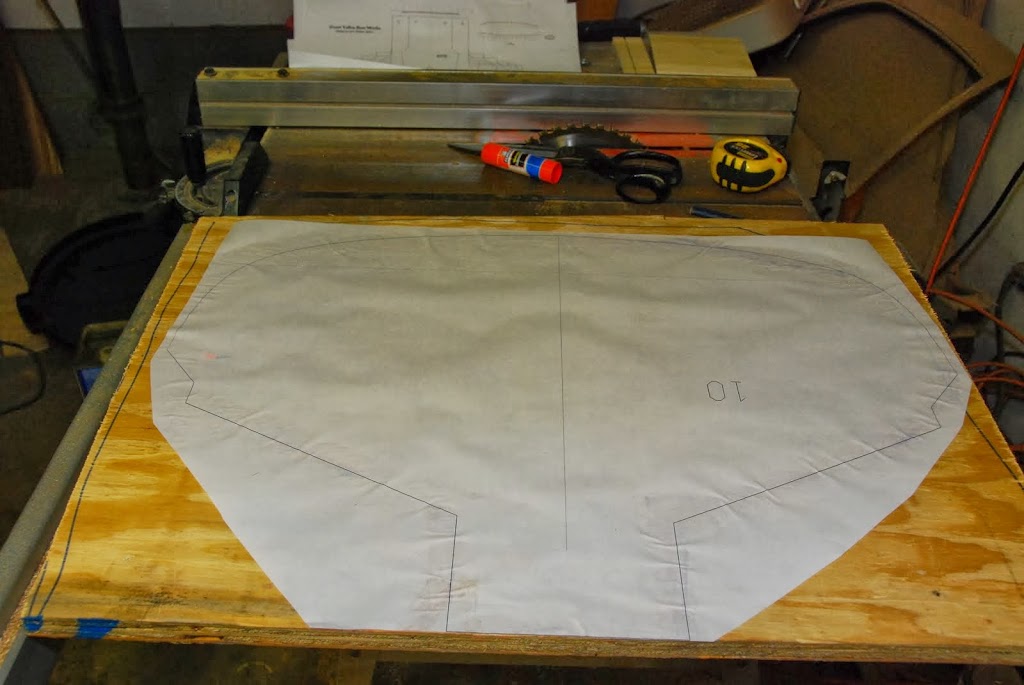
One of the forms, printed full size and glue sticked onto the plywood.

DSC_1004.JPG


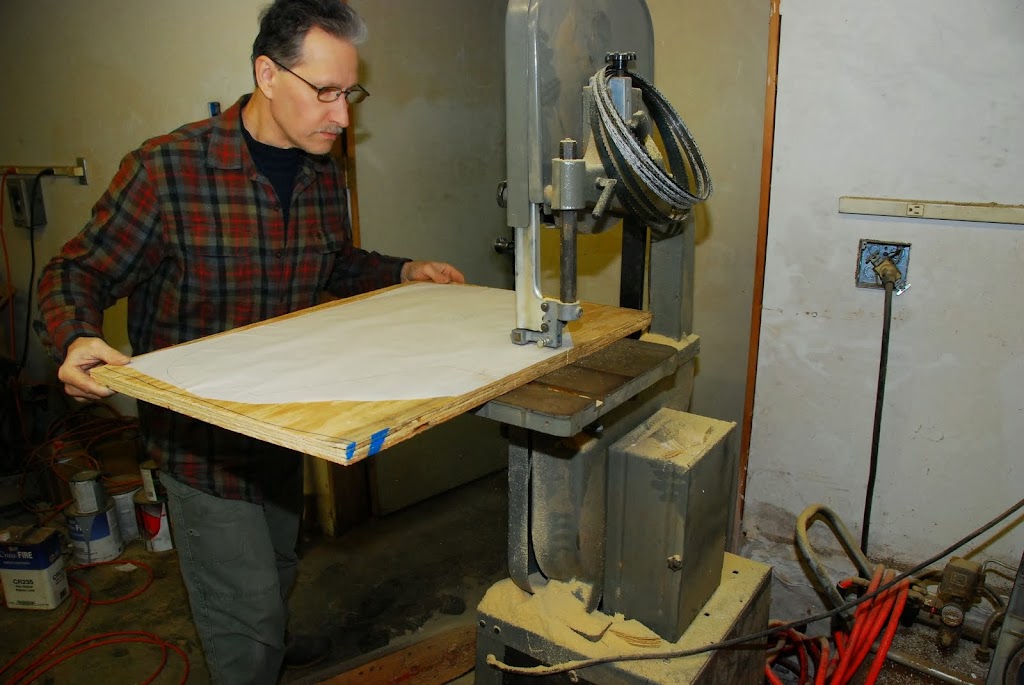
Yours truly, with my 25 year old Grizzly, still going strong

DSC_1005.JPG


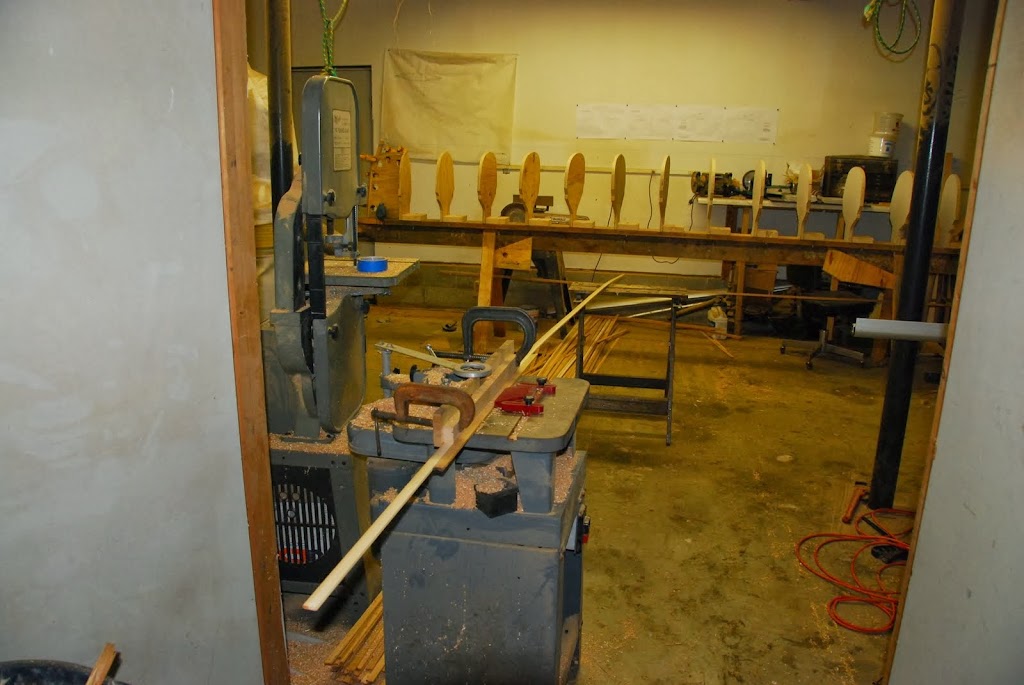
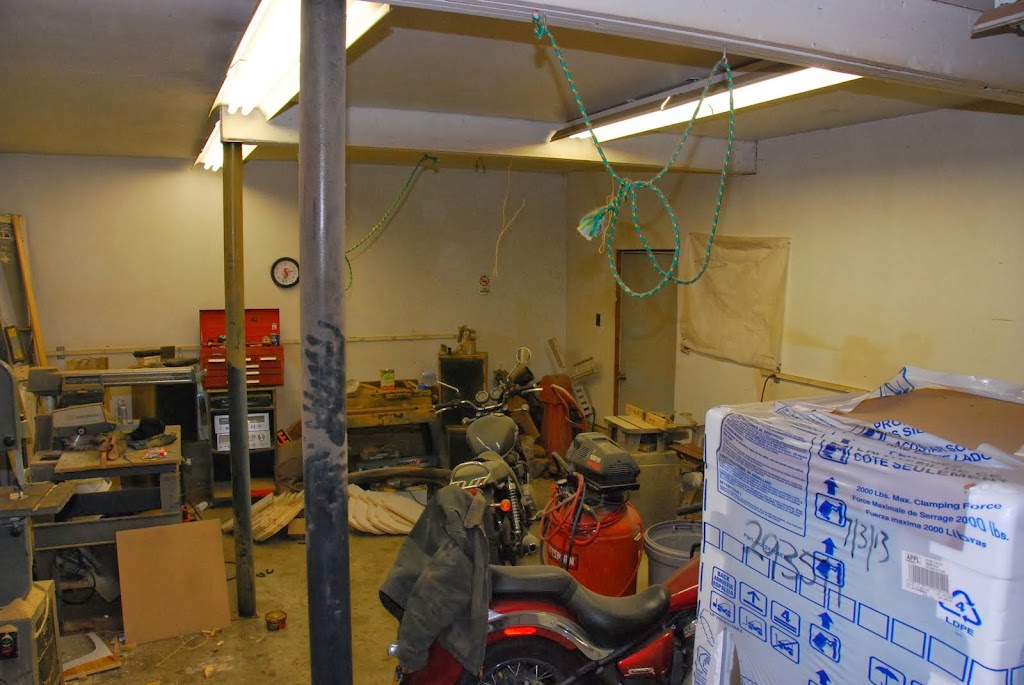
A very cluttered boat shop... a new fridge for one of the income properties, a Kawasaki that will be sold in the spring, a Triumph that need retitling, my SIL's compressor, and a pile of forms.
Not seen is half of an Opel GT (my son's residue), my compressor, spare Jeep parts.

DSC_1009.JPG


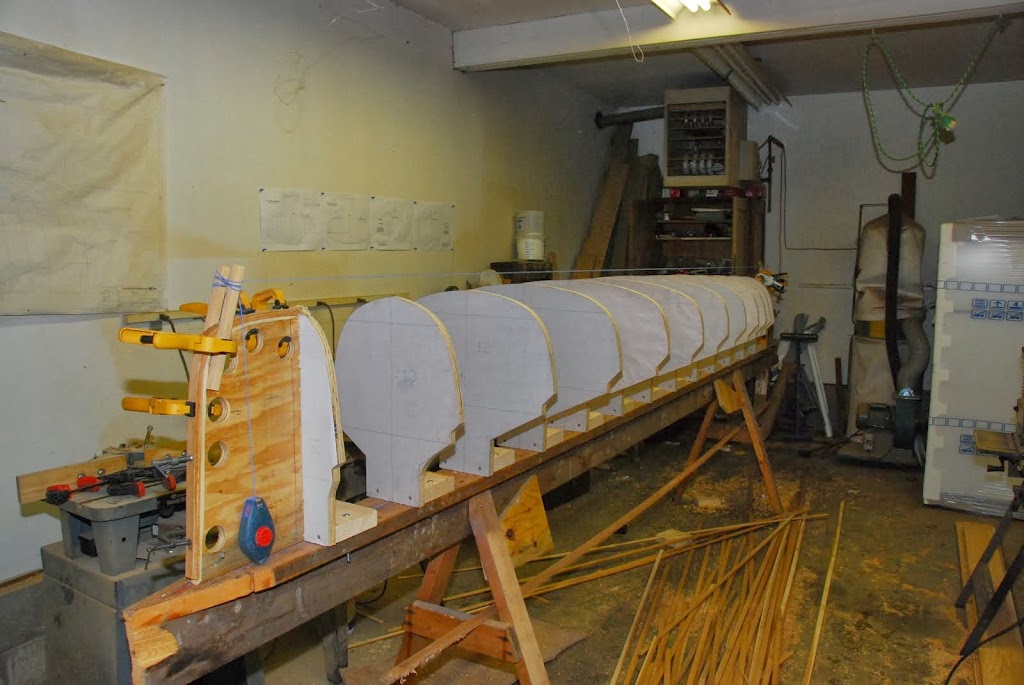
A somewhat cleaner shop, with the forms stacked on a swiss cheesed strongback. Strongback has had a dozen or so different designs built on it, and double that in number of builds.

DSC_1013.JPG


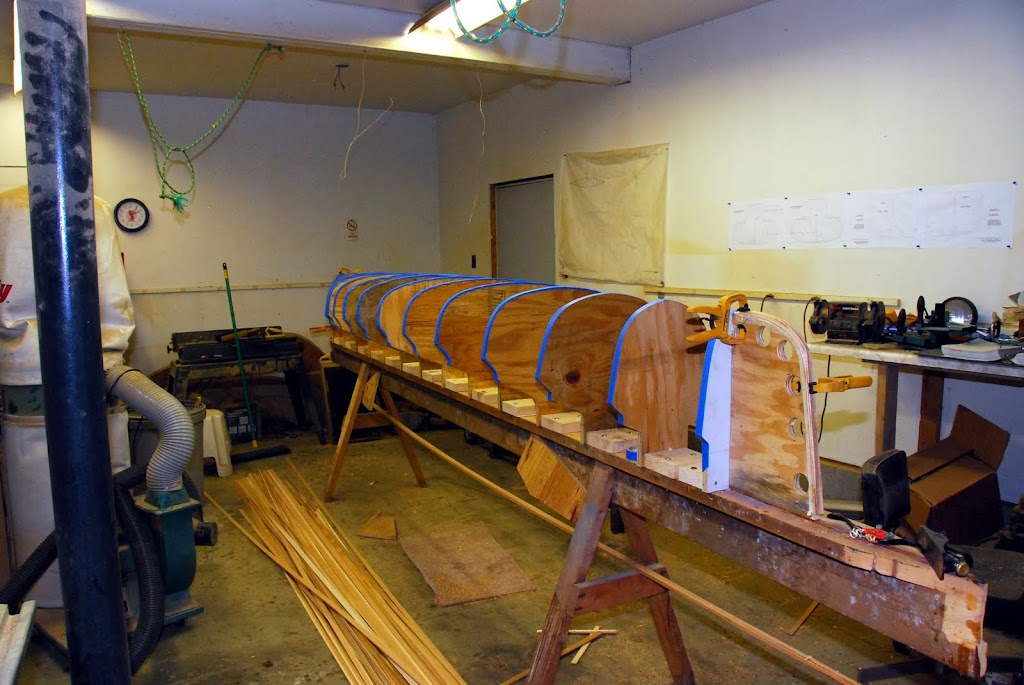
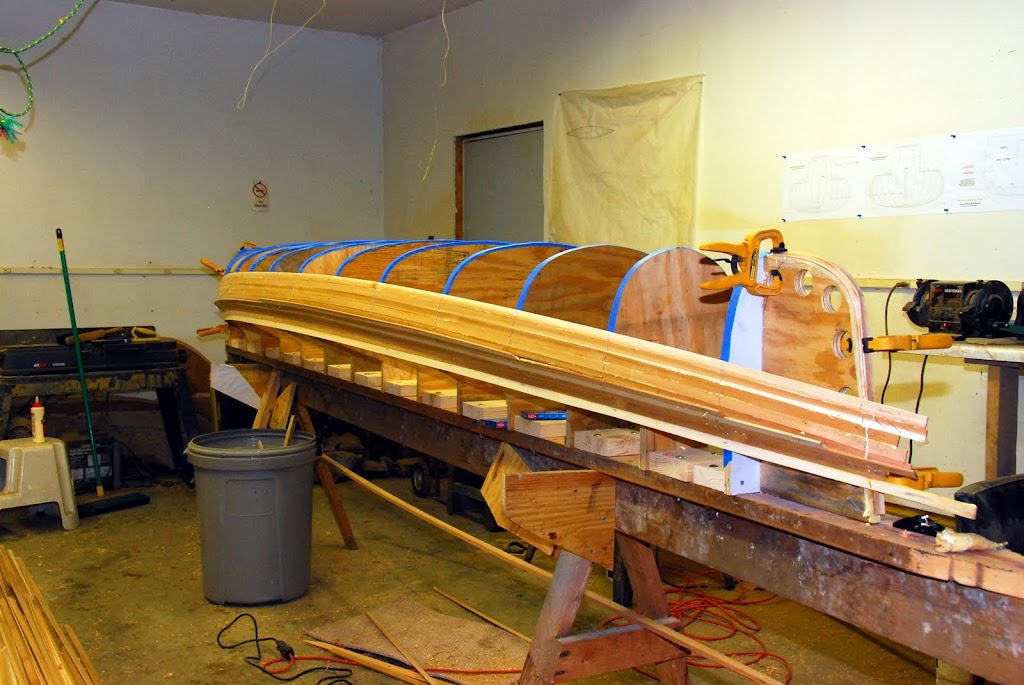
Aligned forms, with laminated but not trimmed stem pieces. Also, leftover strips from some previous builds and 3 new 1 x 6 cedar planks.

DSC_1020.JPG


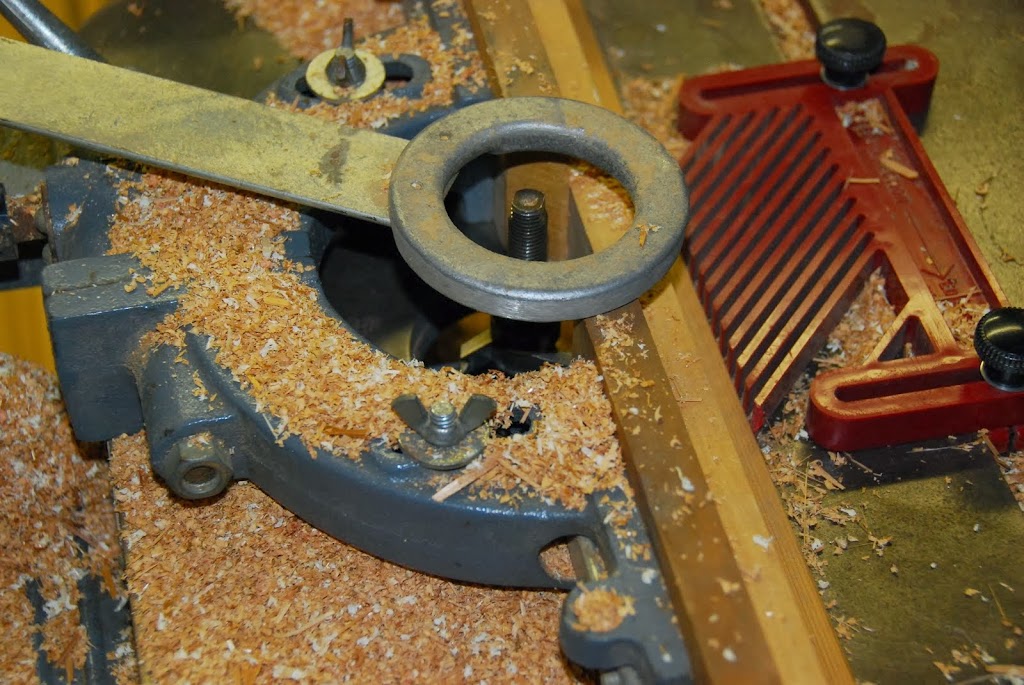
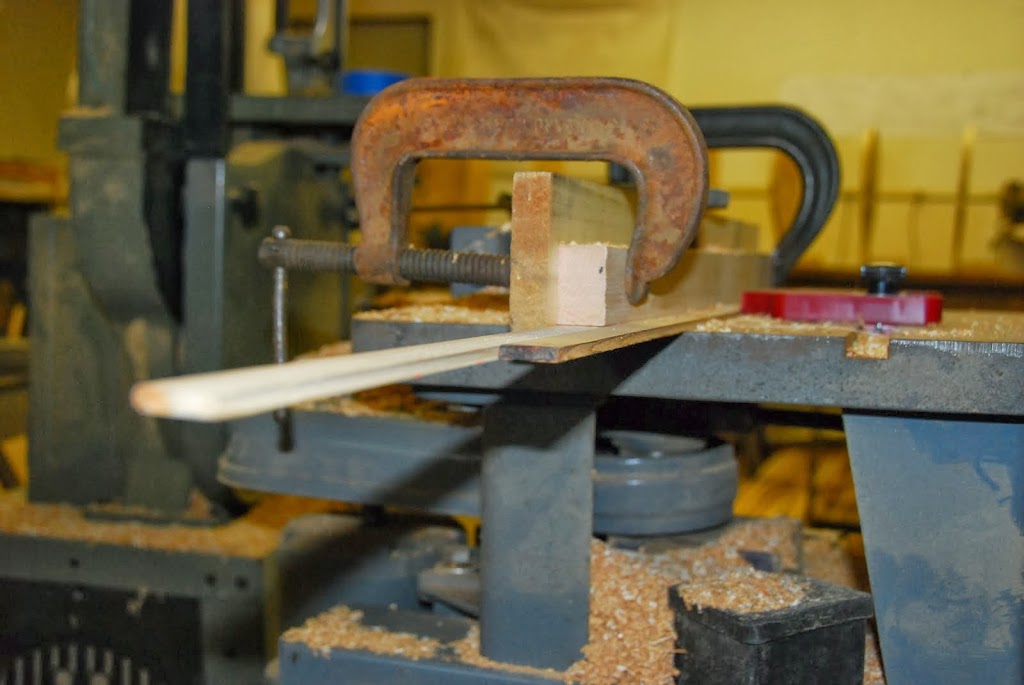
As of yesterday, I had all of the cedar cut into strips. I still need to plane the strips to all have a uniform thickness, then bead and cove them on the shaper. Also need to trim the stem piece shape and put some tape on the forms. The next few evenings will be pretty cold, and I can't fit the strips entirely within the boat shop. I would have to run the strips through the shaper and out into the unheated part of my garage...maybe I'll just wait a few days before planing and shaping.

Any questions??
 
I was thinking about the Kite too, but I already have the forms cut out for the Osprey. My understanding of the Kite is that it is the same canoe with more pleasing lines for the eye. My stations are set up as well, gonna soak my stems tomorrow and bend them later in the week.

The Kite will do everything you are wanting from it, I had my Osprey in many a sketchy situation, and it always got me home. Like many solos, the stern can try to push you around with a strong quartering tail wind, but I'm sure you will have no problems.

Good luck with the build!
 
Hanz,

Stayed tuned then, I hope to finish for an early May trip.

memequay,
Actually, seeing your photos of the Osprey you had pushed me towards this build. I've paddled the commercially built osprey, and was fairly happy with the feel and performance.
And yeah, those quartering winds over the stern can be tough...in my DY, there have been times when it was impossible to hold course.
 
No new photos, but I did manage to plane all of the strips to a uniform thickness of .190 inch. Only took about an hour, I could run 3 and sometimes 4 strips through at a time. My shaper is still set up for the cove cuts, shouldn't take too long to cut all the coves and beads. I have to check the cove and bead cutters, but I'm pretty sure I can keep the shaper spindle at the same height for both cuts.
 
Stripperguy,

Thanks for sharing the build with us. I've seen similar threads elsewhere from you and find informative. I have admired the kite for a long time but I think it is a little too small or at least I'd be at the very top end of its optimum performance range for day tripping. Looking at your photo of the stations all up, I was wondering if any fine shaping is required around the tumblehome, or if the nature of the wood strips will naturally form that radius through where the tumblehome blends into the side wall? I'm assuming the latter, maybe some hand shaping of that interface during the sanding phase?

Look forward to seeing the progress of this. I'm looking for a place for a workshop currently so that I can build a 10' wood canvas canoe for a friend's daughter. I'm hoping that exercise will lead to bigger better boats.

I dig that Jeep too!

Barry
 
Actually, the design calls for a hard chine at that crease in the tumblehome. I'll need to start stripping at the crease, and then strip the sides/bottom. It's probably harder to describe at the moment, than for me to just show the photos when I get to that point. If you have studied the photos so far, you must have also noticed that the stems look fairly crude...I need to bevel them to match the angle that the strips will be intersecting, the design calls for a stem that gets progressively wider as it leaves the waterline. I have no intention to follow the suggested build method (with inner and outer stems) but I do plan to maintain the design sections and contours.

And for anyone that's interested, I so far have $2.79 invested in the glue stick, and $147 in cedar. The strongback was paid for 20 years ago, and the 3/4 ply for the forms was free. The glass and resin will likely cost another $200 to $250. I have some 2" thick foam leftover from one of the rental properties, that will become a seat frame and thwarts.
 
Looking forward to watching a boat build by a very seasoned builder. I have one to build some day. Meanwhile I'll just glean some tricks here and there from you pro's. Have fun and post plenty of pics. Dave

PS I saw that Vulcan in another thread on another forum. Watch that stock bike seat, it could ruin you for life. Later
 
Last edited:
Looking forward to watching a boat build by a very seasoned builder. I have one to build some day. Meanwhile I'll just glean some tricks here and there from you pro's. Have fun and post plenty of pics. Dave

PS I saw that Vulcan in another thread on another forum. Watch that stock bike seat, it could ruin you for life. Later

The Vulcan will be history as soon as spring rolls around...I already have two interested buyers. In the photos you may have also noticed a 2010 Bonneville SE, that one's a keeper. The Vulcan was a test case to see if I still enjoyed riding, and to make a few bucks. While the Vulcan was easy to live with, the Triumph is more my style. Even though I could make way more $$ selling the Triumph, it's not always about the money...

Tomorrow is forecast to be a bit warmer, I should be able to cut the coves and beads and still avoid frostbite. Once I can keep the doors closed in the boat shop, I can work out there in any weather. Still gotta get that fridge to one of the rental units though. And my son's Opel GT residue has to go too!!
 
Actually, the design calls for a hard chine at that crease in the tumblehome. I'll need to start stripping at the crease, and then strip the sides/bottom. It's probably harder to describe at the moment, than for me to just show the photos when I get to that point. If you have studied the photos so far, you must have also noticed that the stems look fairly crude...

Gotcha...I think we're generally describing the same thing...I'll stay tuned.

Barry
 
Let's see, where was I...Oh yeah, I cut all the coves and beads on the strips today.
Here's the set up, photos 1st, then I'll describe the why...

DSC_1026.JPG


DSC_1027.JPG


DSC_1028.JPG


The longest strips are 16 ft, the boat shop is only 15 ft x 28 ft inside to inside, so I have to run the strips out into the garage when I cut, plane or shape them.
I cut all the coves first. I used a finger board (plastic, actually) to hold the strips against the fence, and an extra strip over the workpieces to hold them down against the table. By cutting the coves first, I preserve an edge at the top and bottom of the strips, makes for better locating later on.
After all the coves were cut, I switched cutters ans set up for the bead side. For this side, I clamped a more substantial top guide, and used an already beaded strip to apply pressure from the fingerboard, all to keep the strip tight against the fence.
And that's that! It took a couple hours to do the cuts and set ups, longer than I thought it would. But it should pay off with a hull that's more fair and requires less sanding. We'll see...

Tomorrow it gets real, after taping the forms (so the strips don't get glued to the forms) and tapering the stem pieces, I will start stripping!!
That's my favorite part, when the hull shape magically appears with each successive strip.
 
I know what that is like, when I built mine in the basement of a rental home, I had to place the strips on a board in the back garden and feed through a window to the router in the basement. I had the router table elevated to make for an easier pass.
 
Do you usually do bead and cove or does it depend on the lines of the boat? It seems like it would take a little more wood, but it seems like it would be quicker then fitting edges with a plane. Are you starting with 1/4" strips?
 
I cut all the strips to 7/32, then planed both faces down to 3/16. I wanted all the strips to be the same thickness so I would have more consistent cove and beads.
This is the 1st cove and beads that I've done for myself. I did help a boat buddy strip his comp cruiser using cove and beads strips. He cut his strips with a full radius, they had these feather edges that would break just by looking at them.
My hope is that the extra time for cove and beads will save time when I sand...we'll see if I'm right or not.
Also, the cove and beads strips strips "lock" into each other and maintain a much straighter hull shape, that's a definite.
 
Don't think it will affect your sanding time much…..it sounds to me like you have already done the thing that will decrease sanding time the most, and that is to produce consistent thickness of strips. When I'm in a hurry, I will produce strips with low points and high points. This makes the bead and cove inconsistent, and hull thickness whacky. It also makes for a lot of sanding and filling.

The nicest thing about having the cove is it is a neat and tidy place to lay glue into.

I'm hoping to start my strips next week, gonna cut them a bit thick and thickness plane them down to 1/4. Might wait a couple of weeks to bead and cove cause the wood working teacher just ordered bits for his shaper, which will make the whole process much more friendly.

The strips that I cut are typically uniform within .015 straight out of the band saw. But I'm using some leftovers from 2 previous builds, the leftovers are the bottom of the barrel, so to speak.
I just came in from stripping the sheer and creased tumblehome, I have to wait a bit before I pop a few staples out of the way of the next strips. I also have to wait to trim a little off the ends of the strips that run past the stem pieces. Then I'll strip the other side sheer and tumblehome.

I never use any filler, up til now, all of my hulls have been finished bright. If I have a bad spot, I just cut it out and blend in another strip. Of course, that was easier with square edged strips.
It took me an hour to plane all the strips to a uniform thickness. The cove and bead cuts, including set ups, took almost 4 hours, with disruptions from my son that was doing struts and some kind of performance springs on his S40.
The shaper cuts took waaaaaay longer than I expected.
I can't remember where I got those cutters, let me look...OK, I've got it. Corob Cutters...my memory was off a bit, the cutters were about $18 each, no carbide, just tool steel.
 
I trimmed in the stem pieces using a spokeshave and a block plane.

DSC_1031.JPG


Then I covered the forms with painters tape to keep the strps from sticking to the forms.

DSC_1032.JPG


Then I started stripping. This hull starts at the sheer line, two strips worth, then the creased tumblehome. The tumblehome section is upside down, I had to staple up into the forms.
I only needed to apply enough strips to overlap where the hull and crease meet.

DSC_1039.JPG


I had to wait for the glue to dry a little, then pulled a couple of interfering staples out of the way. Next came a bevel edged strip, that sits on top (sort of) of the crease.
After that bevel edged transition strip, the rest of the strips go on quick and easy.

DSC_1040.JPG


Working alone is tricky sometimes, you have to get creative with clamps and hooks...and a tripod and self timer!!

DSC_1044.JPG


DSC_1045.JPG


And this is where I left off for the day...

DSC_1047.JPG


Who else is ready to build a boat?! See how easy it is? Any questions?
 
Stripperguy, Ive been lurking for a while and have admired your work. One of these days I hope to build a stripper. Do you mind sharing the type of cedar you use and its moisture content?
 
Welcome, oldschool...this is plain ole commercially available western red cedar, kiln dried. So anyone's guess, 12 -15% most likely.
Are you thinking of building? Or have you already built?
As you might guess, I'm a firm believer in strip canoes. They can be built lightweight, strong, and usually end easy on the eyes. Oh, and the cost, roughly 1/6 of a quality, commercial boat.
 
Back
Top