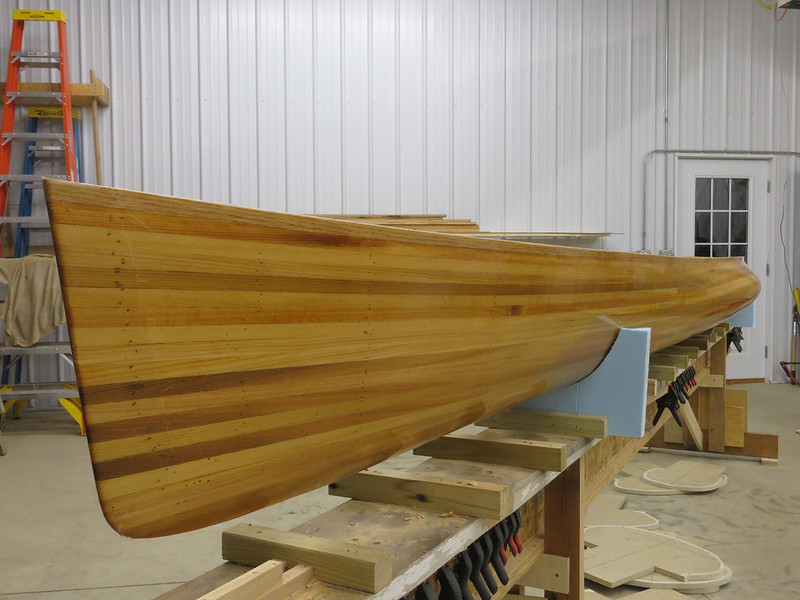
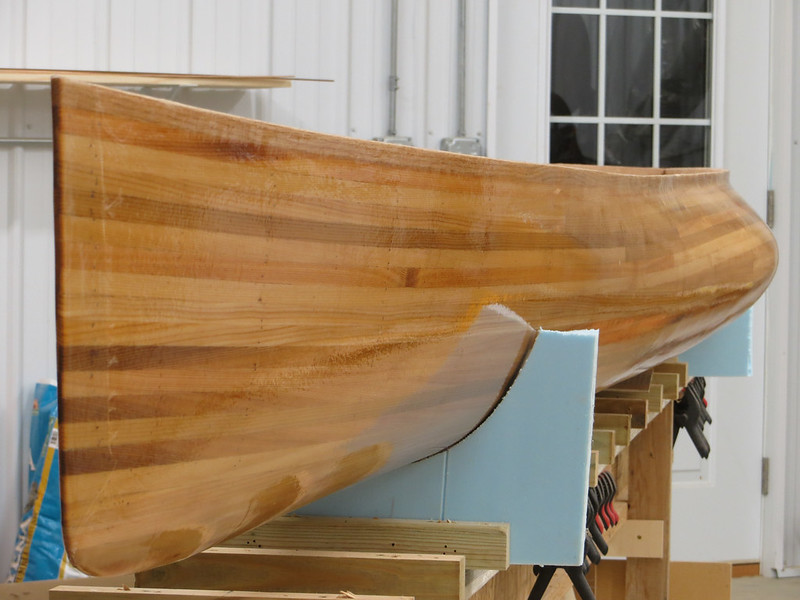
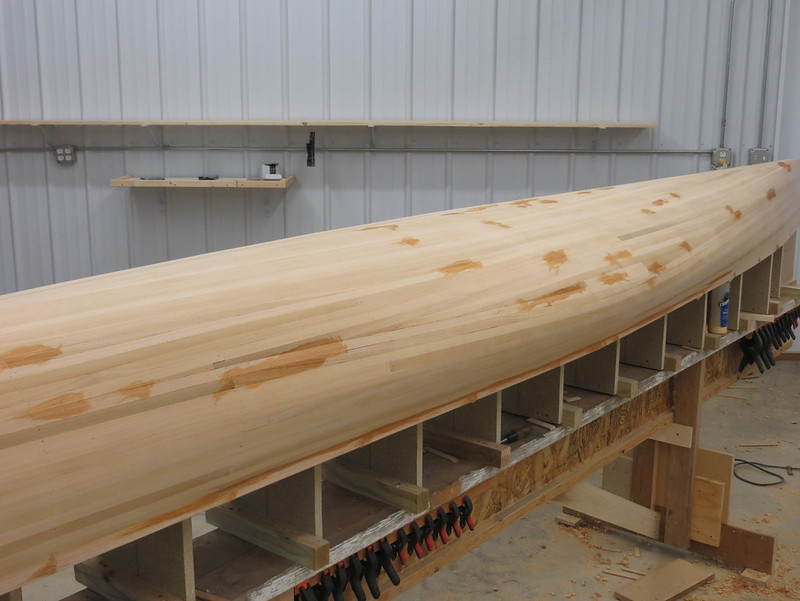
I too, like to use the belt sander for sanding items like this. I actually did the exterior of my entire hull with the belt sander. It worked great.
I have a friend who is a cabinet maker. It's amazing to see what he can do with a belt sander. I certainly don't have that level of skill. There were a couple spots on the shear strip where I was too focused on one area only to find I'd taken a big whack out of another area at the same time.
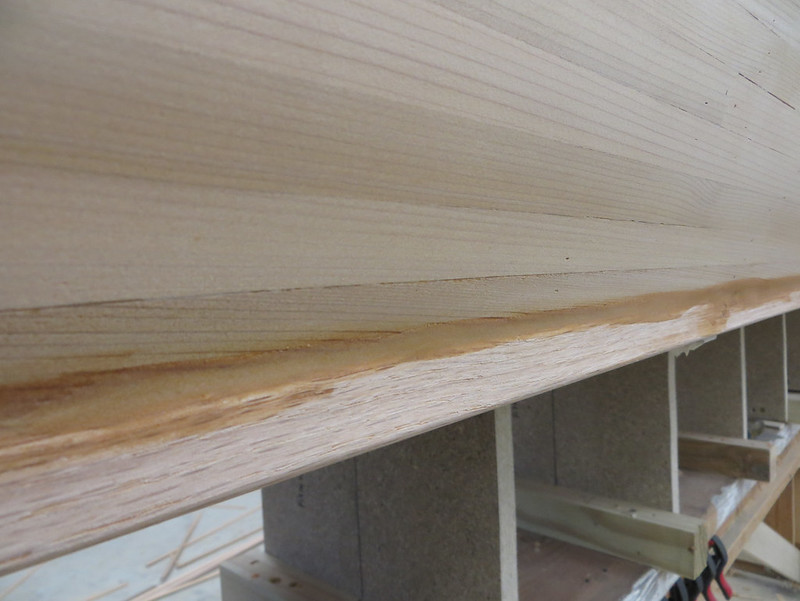
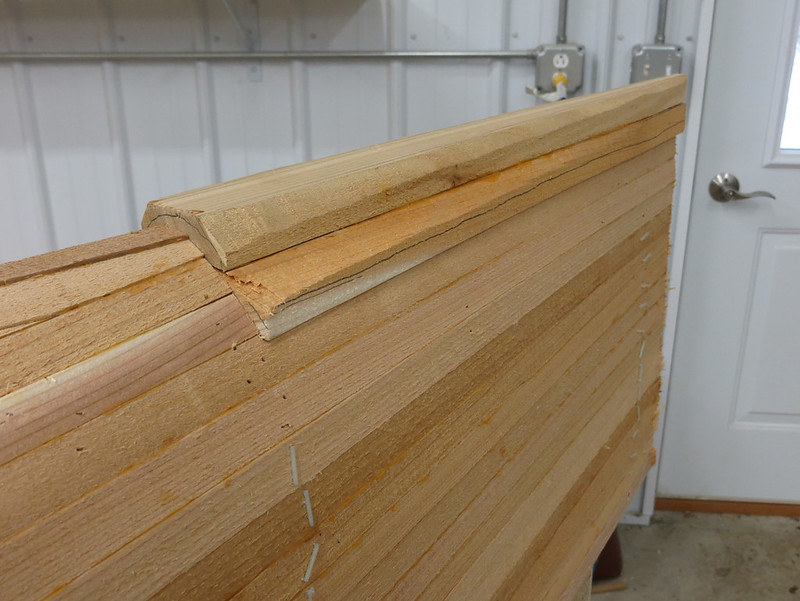
If the oak was this much of a pain for the exterior, how do plan on shaping the the transition on the interior face? Do you have any special tools to show us?
No special tools yet. I've tried some curved scrapers but so far the sanders, wood block covered with sandpaper, sharp chisel and planes have done the trick. I did put together a cheap fairing board from 1/4" ply that worked nicely. Just cut out a piece 16/3.5" and screwed a couple blocks to it for handles. No sand paper in town longer than 9" so I just cut a belt sander belt with scissors so it was one flat piece and attached that. Worked very well.
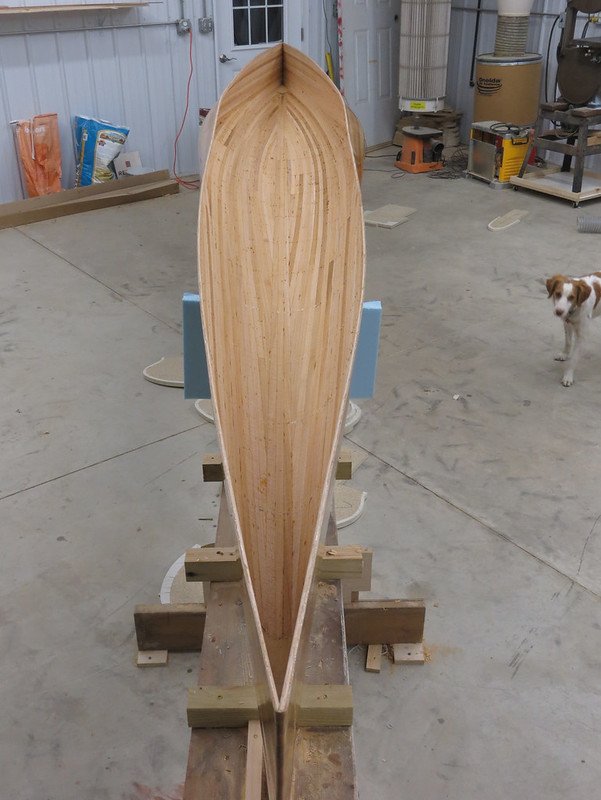
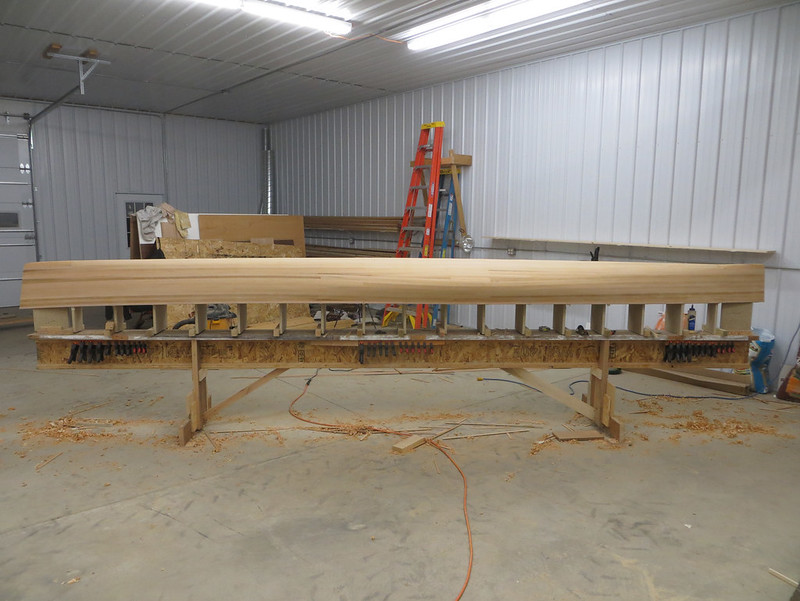
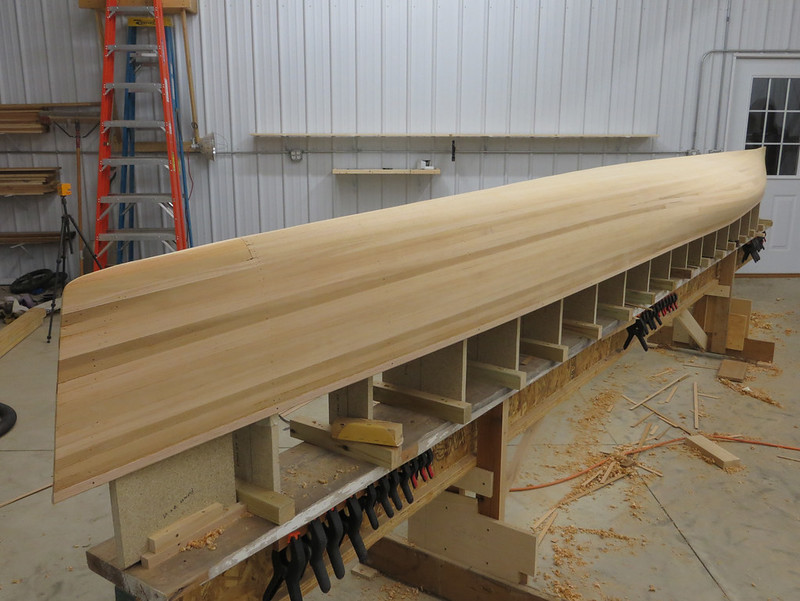
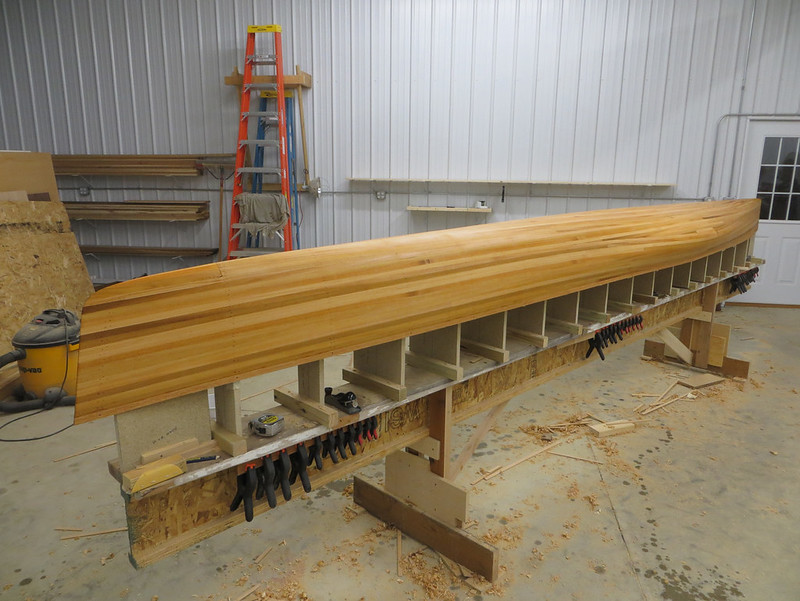
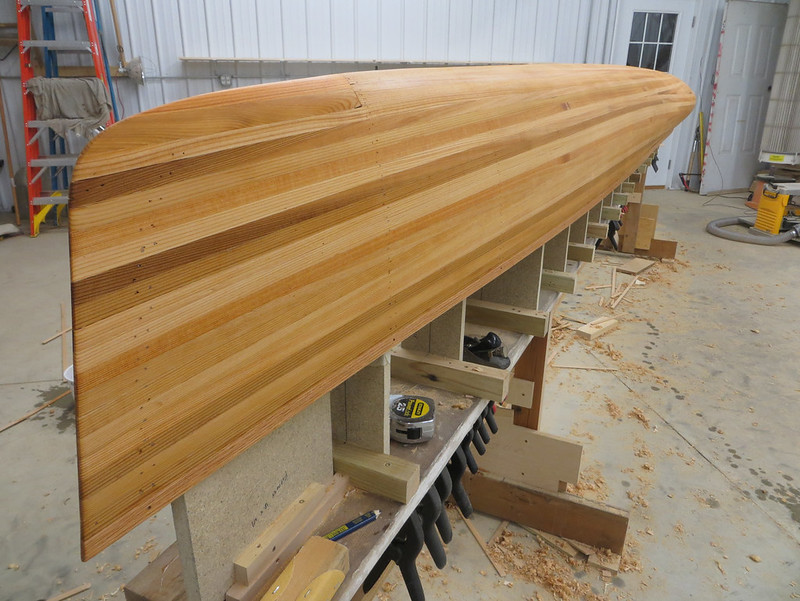
I'm expecting the inside shear to be almost a mirror of the outside in terms of difficulty. I'm hoping the area with the most extreme tumblehome will be fairly easy to work with as it will be an outside corner. Hopefully it will be easier to shape and I won't have to worry so much about messing up the cedar when I mainly want to concentrate on the oak. Closer to the bow and stern, where the hull has some flare, will be more difficult on the inside for the same reason it was easy to work on the outside of the hull. The one thing I have going for me, and that I keep trying to remind myself of (though not always heeding it) is that this boat doesn't have to be perfect, or even close to perfect. I don't know how it's going to float or paddle. It might not see the water more than a couple times. No need to knock myself out trying to attain perfection. I doubt I'll be able to get a perfect seam on the inside but that's what thickened epoxy is for and it probably won't be noticeable once the whole thing is done anyway.
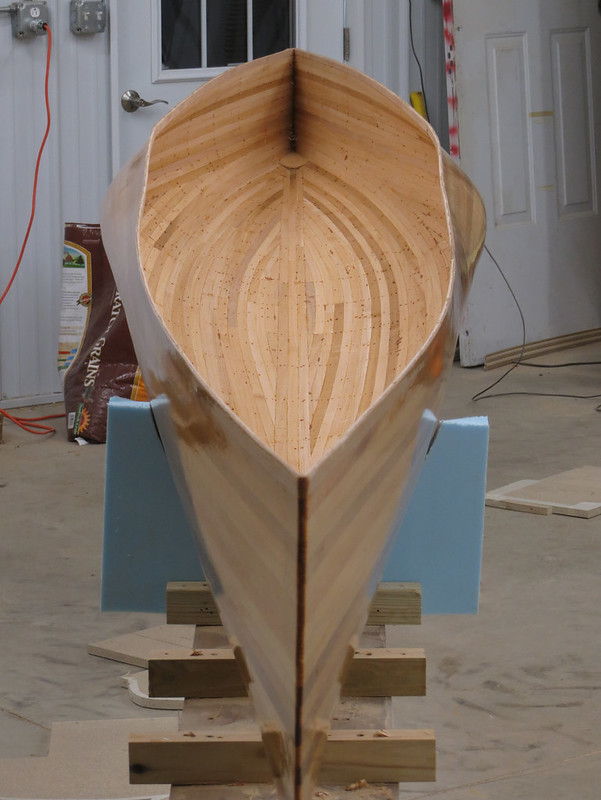
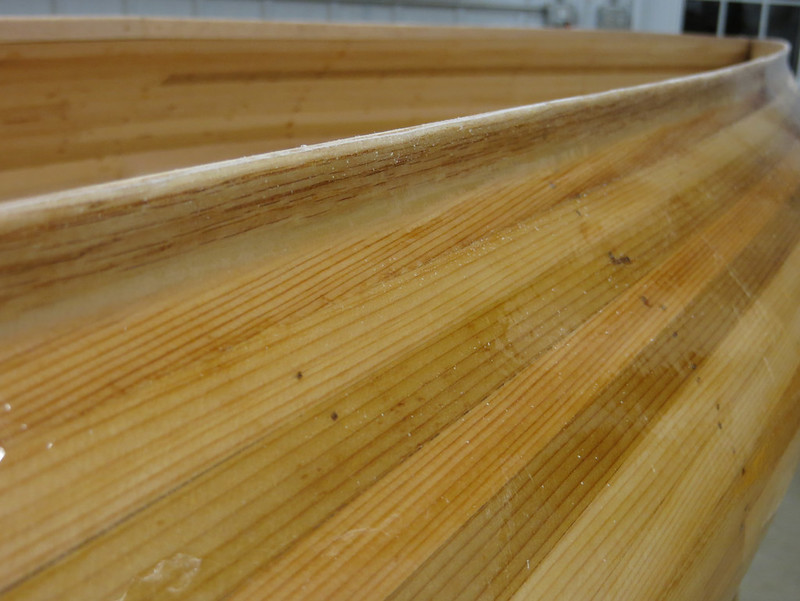
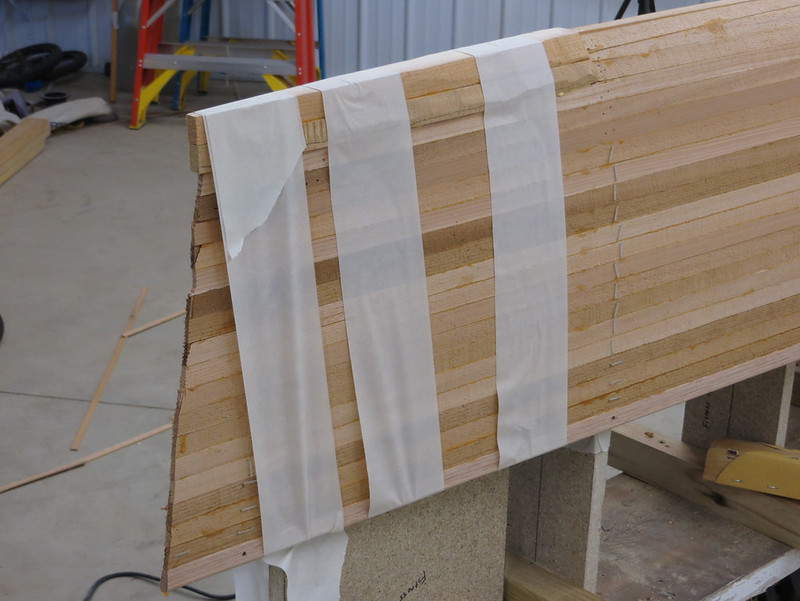
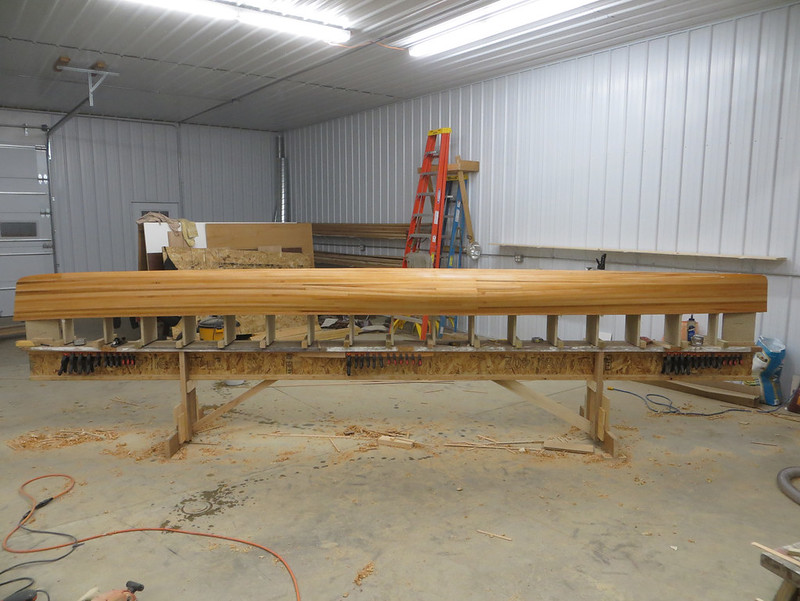
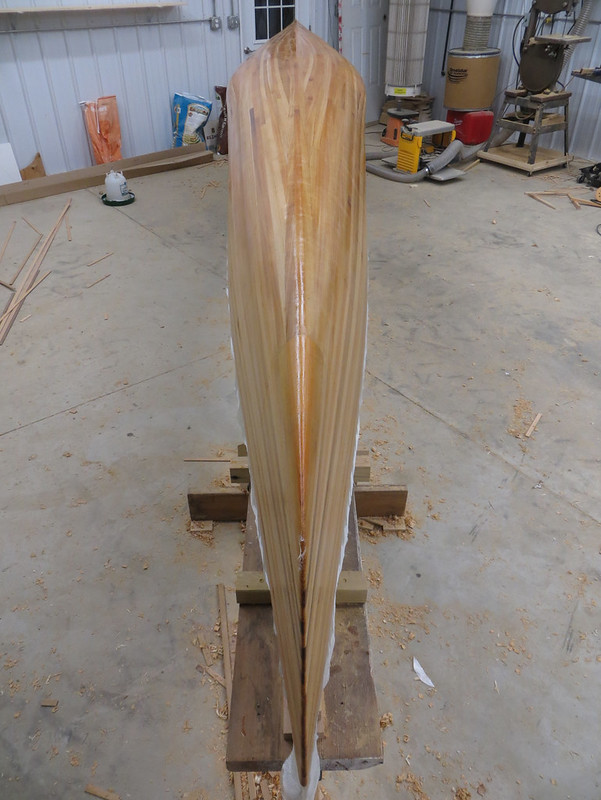
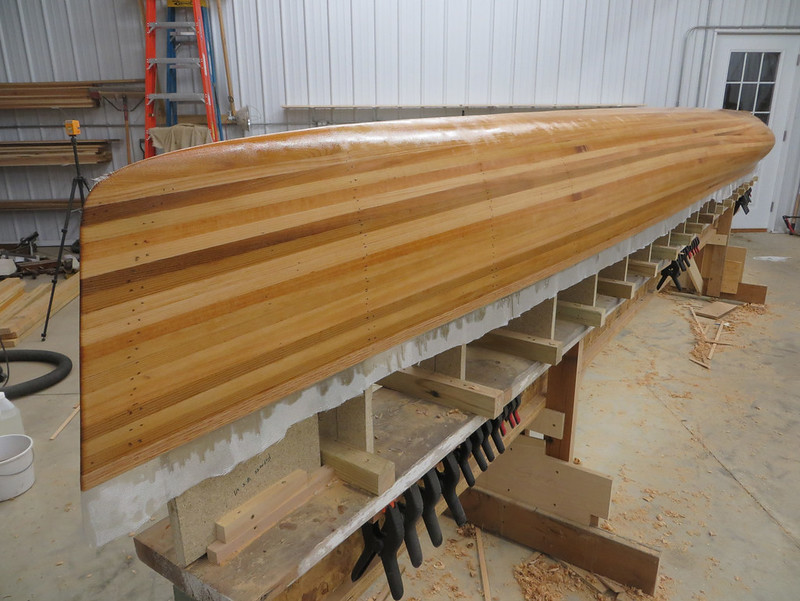
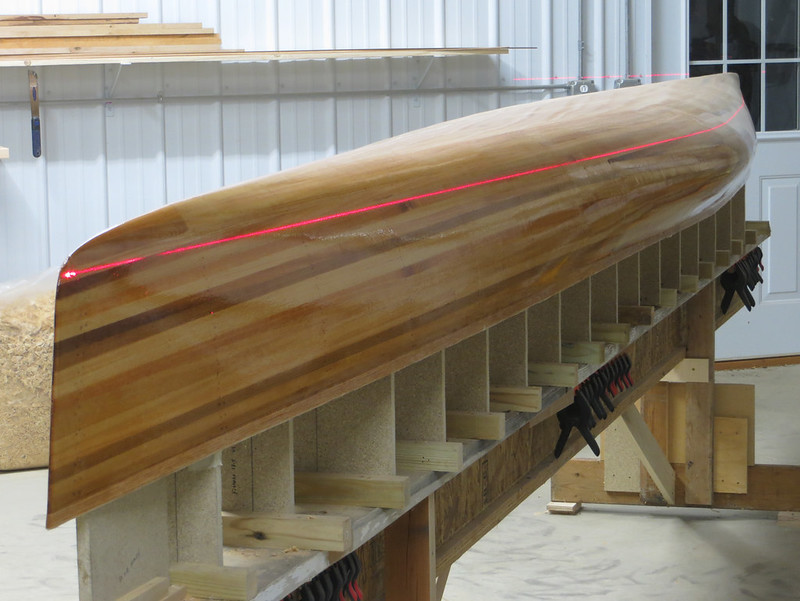
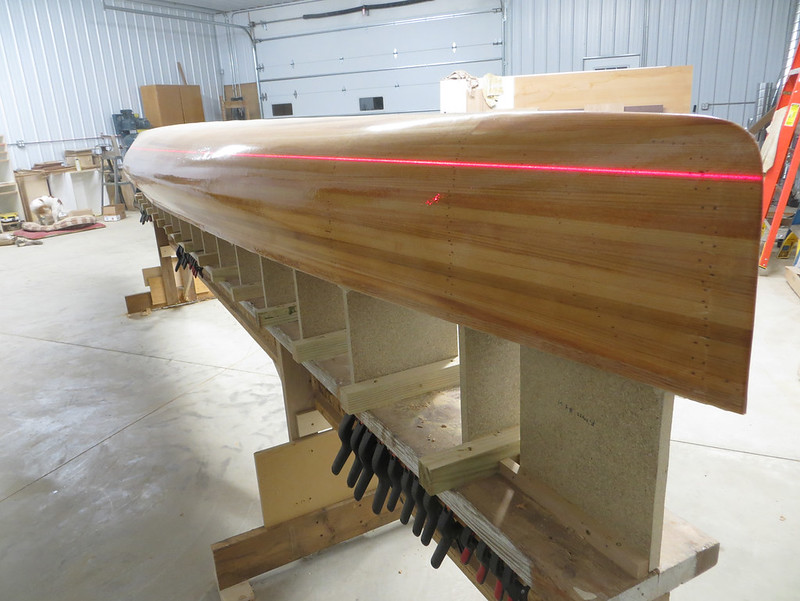
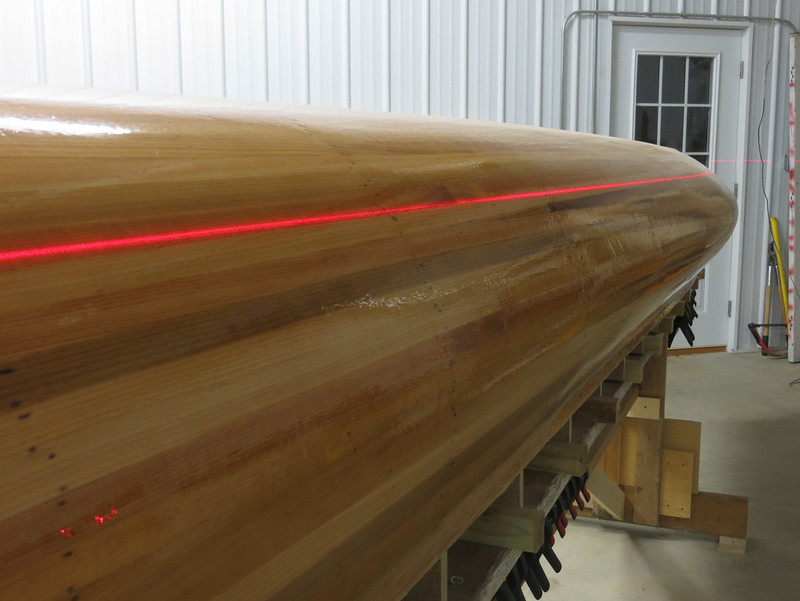
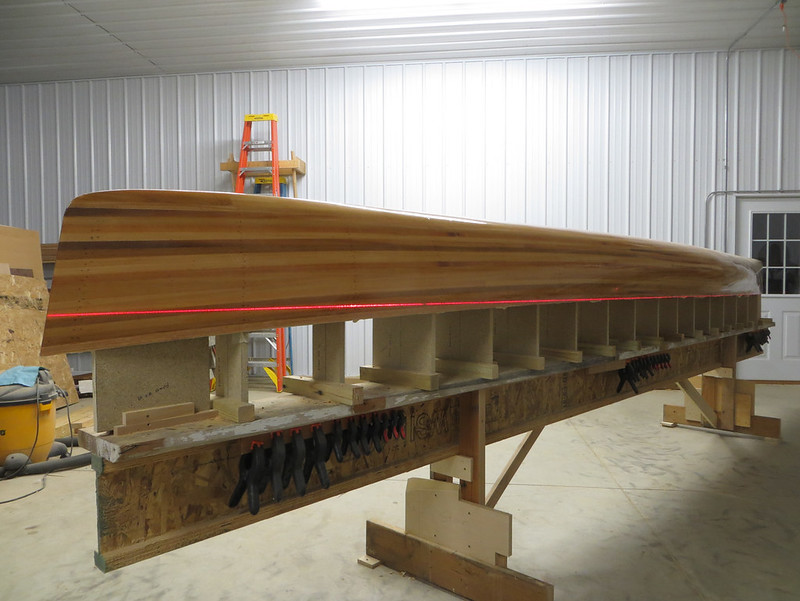
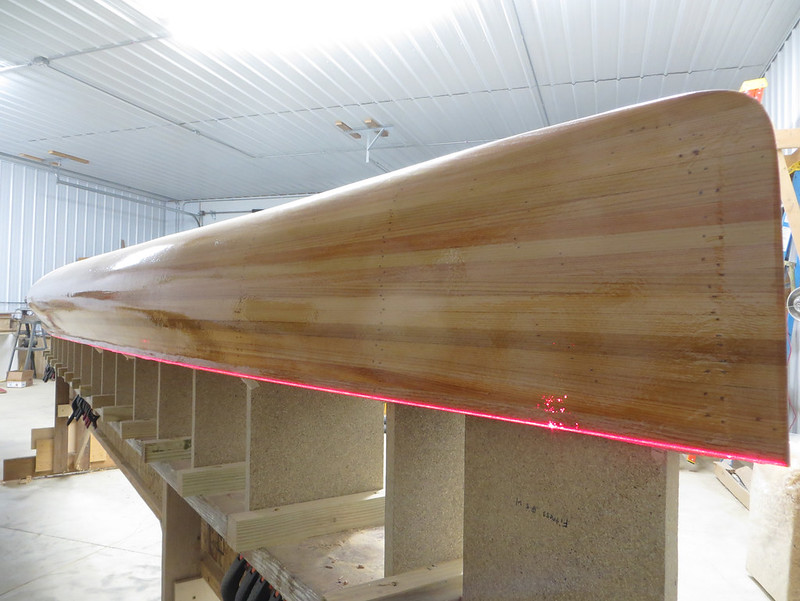
This morning I gave the stems their final shape and went over the hull with one last, light, pass of 100 grit in the ROS. Then mixed up some thickened epoxy, tinted with cedar dust and micro balloons, and filled in any cracks or gaps and well as adding a fillet to the tumblehomed section of the hull at the transition to the shear strip. I wasn't quite sure how to apply it neatly but I had an idea. I put the thickened epoxy in a zip-lock baggie, nipped off one corner with scissors, and used it as a piping bag. It worked great! A nice thin bead of thickened epoxy right where I wanted it. Came back with a gloved finger to smooth it out.
It would have been a good idea to put some masking tape on either side of the fillet to give it a clean line but I didn't take the time for that. I also mixed the epoxy too thick but didn't realize that until I went back to smooth it out. The epoxy had been in the house since it was delivered a few days ago, so it was about 10-12 degrees warmer than the shop. When I mixed it up the consistency seemed about right, maybe just a bit on the thick side, but once it came into contact with the hull and cooled down it seemed to get a lot thicker. So when I came back to smooth it with my finger it didn't smooth as nicely as I'd hoped, making it more difficult to level off the high/low spots. I had to get to the lumber store before they closed at noon so I didn't have time to try and make it perfect, which is good since I probably would have just made it worse. Once the epoxy is set later this afternoon I'll sand everything smooth and I think it will be fine. In hindsight I maybe should have used a popsicle stick or old cedar strip and given it a rounded profile on the end to shape the fillet. That would have done better than my finger and keeping it consistent. Though sometimes the forgiveness of a soft finger is just the touch needed.
Anyway, now I wait. The furnace is cranked up to 11 and I have some other projects to work on in the mean time.
 20141115_001
 by
Alan Gage, on Flickr
 20141115_002
 by
Alan Gage, on Flickr
Alan


")
")