- Joined
- Mar 20, 2013
- Messages
- 3,356
- Reaction score
- 986
Wow, when you start some thing you don't waste our time... I mean your time!!
+1Wow, when you start some thing you don't waste our time... I mean your time!!
")
Anybody ever work with those composite staples that are just sanded off rather than pulled?

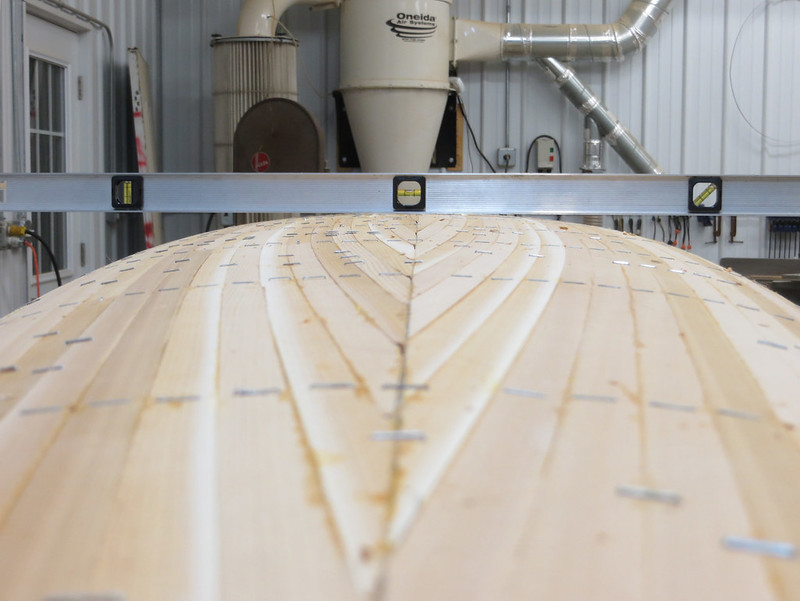


The hull has more arch than the forms originally appeared.
The band saw is a great tool for fitting those strips !
Every builder develops, their own technic.
")