• Happy Star Wars Day! 🌇🚶🏼‍,👑👊🏼🔙

Gunnels

I too have gone to treating the hidden faces of the inwales and outwales (the faces that will contact the hull) with epoxy which I feel is more durable than varnish or polyurethane and much more durable than oil. I use a "penetrating" epoxy, specifically System Three Clear Coat.

There are advantages and disadvantages to both bright finishes (varnish or urethanes) and oils. Oil finishes require enough dedication to reapply the oil as often as needed. If your canoe is stored outside and/or sees a lot of use, this can be several times per year. It is easy to say that you will keep up with it, but many do not despite good intentions to do so. Reapplying oil finishes is pretty quick and easy though, as long as you make yourself do it.

Bright finishes are more durable. Particularly durable is 2 or 3 coats of a clear penetrating epoxy followed by several coats of varnish or polyurethane. But if your canoe sees heavy use, especially whitewater use where gunwale abrasion is much more likely, the bright finish will get scratched up. Reapplication of bright finish is more involved usually involving sanding, down to bare wood if the finish is extensively scratched or checkered. Initial application is also more involved.

My approach has often been to use bright finishes on gunwales for flat water boats and oils for whitewater boat gunwales. I will often finish thwarts, yokes, seat frames, and seat hangers with bright finish as these components are more protected than the gunwales.

I have used a wide variety of oils over the years including Watco exterior, Watco Teak, Deks Olje, Gunwale Guard, pure Tung oils, and "Tung oil finishes". I would advise staying away from Gunwale Guard but the others can all give good results.

Thanks Pb...I have also used bright finishes on seats and yokes and thwarts, etc... Using it on a high traffic spot like gunnels would not be wise. This being my first gunnel project, I appreciate your help!

I on the fence about using the epoxy hull-side. Not sure if I want to go to the trouble however I see the benefit.
 
No worries about wood movement. The length doesn't change and the other overall dimensions are small so the swelling is inconsequential. The oil wouldn't effect it as much as water. Cross that off your worry list.
Jim
 
Hey DavidR...my reply to your gunnel question under "Hull" thread...I just measured the distance between screw holes....it's about 6 1/2 to 6 3/4 inches o.c.
The first 3 or 4 holes from the bow and stern will be drilled from the outside. The remaining holes will be drilled from the inside.
Hope that helps.


That would be what shows on gunnels that I put on but I screw the inners on first from the outside just through the hull and then the outside gunnel goes over those. My screw pattern from the outside with be the same 6-7" pattern just right in between the screws that go through the inner/hull and into the outer. That does mean though that you will need 2 size screws. The double set is screws is one of the reasons I am comfortable not gluing the gunnels on.
 
That would be what shows on gunnels that I put on but I screw the inners on first from the outside just through the hull and then the outside gunnel goes over those. My screw pattern from the outside with be the same 6-7" pattern just right in between the screws that go through the inner/hull and into the outer. That does mean though that you will need 2 size screws. The double set is screws is one of the reasons I am comfortable not gluing the gunnels on.

So how do you countersink the screws that go on just through the hull and into the inwales?
 
The best way is with a drill bit that has a countersink right on it. The countersink is adjusted for the length of the screw and you are set to go. Fuller Company makes great bits and have used them for years, but DeWalt offers a three or four bit setup with hex end shanks that I've come to like for the hex convienience, swap out the bit and put in the driver bit. Most hardware stores should have them.
Jim

Here is the link for the bits.
https://www.zoro.com/dewalt-counter...gclid=CNrG-dfm1c0CFcskhgodvwEBjg&gclsrc=aw.ds
 
Last edited:
Here's a poor pic of the way I've seen several Minnesota canoes trimmed. It does save some weight. This hull is the one I just installed new gunnels on.
The outwhale is 3/8" thick, as well as the inwhale. 3/8" spacers are added to the inwhale just in the area between the two thwarts.
IMG_1119_zpsu48nkbtj.jpg


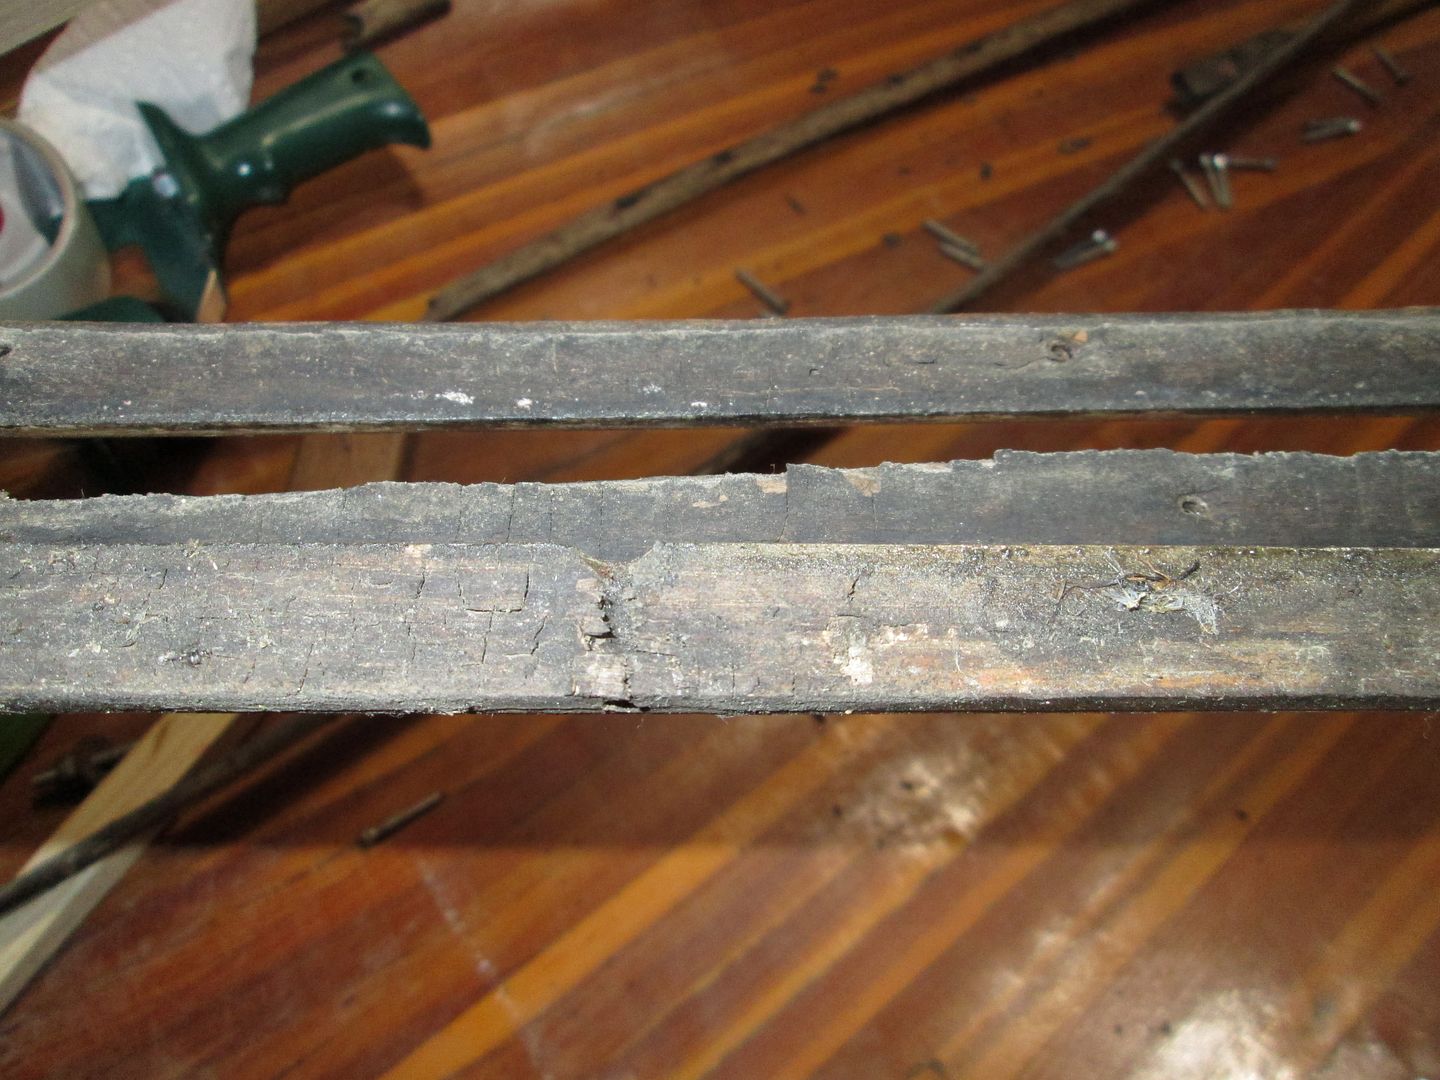
The original gunnels were as brittle as a tooth pick !!! I don't know if the original builder sealed the gunnels on the inside, but they were black powdered moldy.

I'm hoping to see if the epoxy coated (just on the hull side of the trim) Holds up better on these new ones ! I really have no doubt !

Jim
 
So how do you countersink the screws that go on just through the hull and into the inwales?

I've done 3 different types of hulls this way, using #6 5/8" screws. The Cedar strip was easiest because I had 1/4" hull to work with. Did 1 aluminum hull and barely did a counter sink but the #6 screw heads are pretty small. Also did a couple of Merrimack composite hulls that have veneer ribs (1/16") in them and just barely did a counter sink and let the screw head form the rest as i tightened it by hand til they were flush. Haven't tried just a composit hull so maybe there isn't enough thickness to get flush and hold the gunnel.
 
So how do you countersink the screws that go on just through the hull and into the inwales?

Greg is right !

On a strip built hull, which is normally 1/4", and an inwhale with spacers, that are 3/8" + 3/8" = inwhale, I have a total of 1". I use 3/4" stainless screws.
The bit I use has a countersink, and a tapered drill bit. I like these the best.
 
OK. I've seen some gunnels that are rabbeted so that the top edge of the hull is covered and some that just sandwich it and leave the top exposed. Besides looking better to me "rabbeted that is" is there any other reason for one or the other?
 
Rabbeted as you call it seals the shearline, if glued on.
No screw holes to weaken the gunnels.

The canoe above, the original gunnels snapped at the screw holes.
I'm assuming they were untreated.

Here's a pic.
IMG_1082_zpswhrumsrz.jpg


Seal those gunnels guys !

Jim
 
OK. I've seen some gunnels that are rabbeted so that the top edge of the hull is covered and some that just sandwich it and leave the top exposed. Besides looking better to me "rabbeted that is" is there any other reason for one or the other?

"Rabbited" is additional work and time but I think it is worth it just for the looks.
 
Royalex hulls useally very at the shearline. This is why most Royalex hulls use the sandwich method. My old Mad River Explorer in Royalex is all most double the thinnest width at it thickest. This large variance in width would make using a rabbit very interesting to say the least. On my Bell canoes the rabbit looks good and hides the poor cutting of the hull material at the shearline.
 
Watch out when you pre drill your hole for the screws that your drill is not off kilter, otherwise your screws could come too close to the bottom of the rail and leave a bulge.
I speak from experience.:eek:
 
Watch out when you pre drill your hole for the screws that your drill is not off kilter, otherwise your screws could come too close to the bottom of the rail and leave a bulge.
I speak from experience.:eek:

OK Robin, thx. I actually used a drill press today and predrilled the inwales. Will run them through again to countersink. Once I do the same to the ends of the outwales, I'll oil the crap out of the 4 pieces. Then install for good...I hope.
 
Anyone have pointers on predrilling the countersink holes into gunnels? (I already predrilled the screwholes themselves). With the varying thickness of the Royalex at different places along the hull I want to make sure I get enough bite (or on the contrary not poke out the other side).
Should I just countersink the minimum I think would be sufficient and go from there?
Any advice appreciated.
Thx.
Chris
 
Did you pre drill the holes with the gunnel off the boat, and therefore straight? If you did, the holes will be misaligned toward the ends as the hull curvature and the thickness of the hull itself are against you.
Jim
 
Did you pre drill the holes with the gunnel off the boat, and therefore straight? If you did, the holes will be misaligned toward the ends as the hull curvature and the thickness of the hull itself are against you.
Jim


Yes but I only predrilled and countersunk the inwale screw holes off the boat so far (straight, with a drillpress)
I now have all pieces clamped to boat and will predrill through inwale holes into outwales.
Will do the opposite at the ends.
I think with this method, I cover myself with curvature.
What do you think?
After that, will oil the heck out of them prior to final installation.
 
Ok, now I've got it. That should work. As to the varying thickness you asked about earlier, unless you actually use different length screws just pilot for the one screw size. Some will be a bit deeper that others but that doesn't matter. And of course the ends should be long screws to go into the deck, at least that's the way I do it.
Jim
 
Back
Top