- Joined
- Mar 20, 2013
- Messages
- 3,356
- Reaction score
- 986
Nicely done, with the riving knife and all!! Keep it coming!!
I have a question about cutting the cedar strips? If I cut my strips 3/16th inch will the 1/4 inch bead and cove bits work?
I have a question about cutting the cedar strips? If I cut my strips 3/16th inch will the 1/4 inch bead and cove bits work? Since I am 71 years old, the lighter the better.
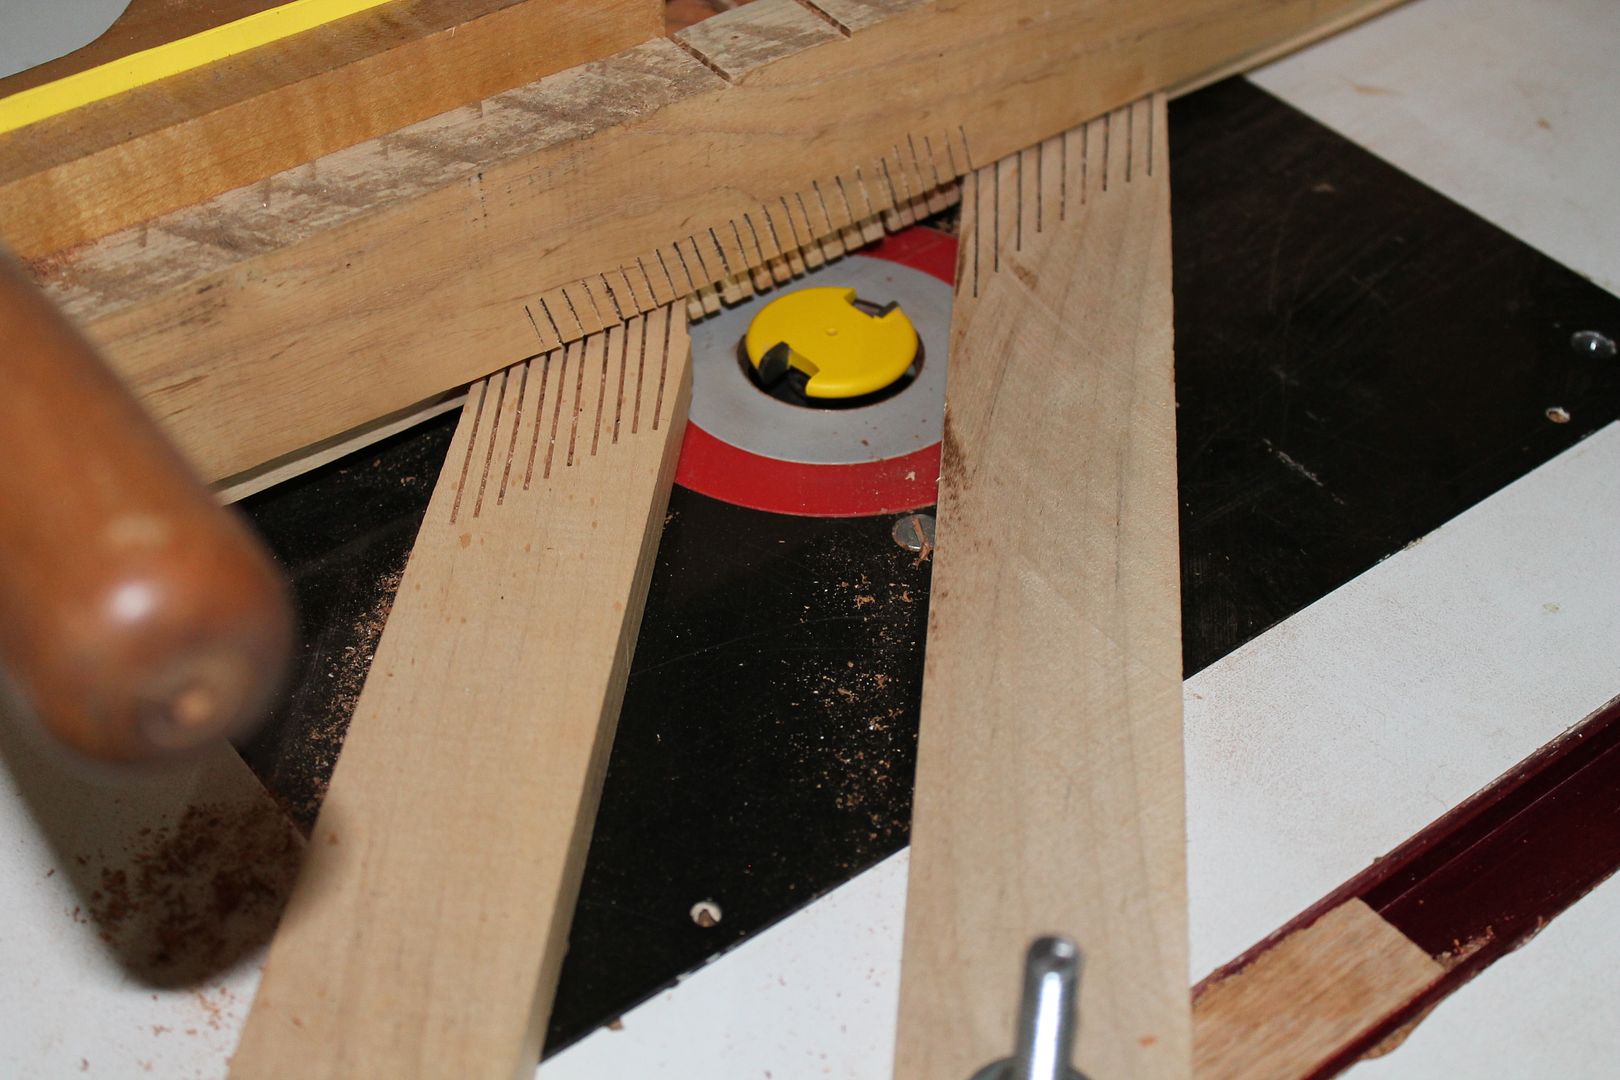
but, run the bead first so you aren't running the cove down the fence and destroying it.
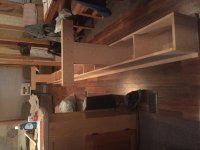
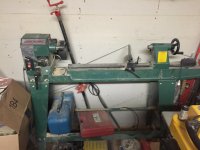
Oh and please forgive the mess! I am not that great of a house cleaner !!!
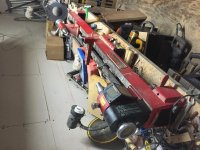
Well I do have a planer, however I was thinking of not using it because my cedar is 3/4” now and I thought running the though the planer would make the boards to thin, but then I guess all I would have to do is make more strips !
My planer has got 12’ stainless steel in feed and out feed table, would I need to make long in feed and out feed tables?