• Happy International Mermaid Day! 🧜🏼‍♀️

Optima Number 3

Shouldn’t you be busy re-bending the Explorer’s new wood gunwales that your wife thoughtfully unbent while you were away?
I am. Or more accurately I should say that I am letting gravity + time do the work for me.951AC28F-F22A-407D-8CA6-00D396EC8CF6_1_105_c.jpeg
 
Last edited:
The rudder looks matching sexy sharp with white stripes. If there is one place I really want some reflective tape it is on the rudder, in part so I don’t smack a body part on it when walking around the walking around the stern, on the ground or when roof racked. I had a small square of red & white striped Solas tape; perfect, I’ll use both colors on Sexy Rudder.

PA110002 by Mike McCrea, on Flickr

With a stainless washer slid down the peg for easy rudder pivoting action the groove in the pintle top was in perfect elevation for the split ring retainer. Almost like I planned it that way. For long trip roof rack transport I may remove that simple bolt-in rudder blade; lacking the pulley wheels on more modern Feathercrafts removing the rudder blade is a much simpler proposition. Eh, just to be safe I’ll affix a spare SS rudder bolt & nylock to the hull somewhere.

PA110005 by Mike McCrea, on Flickr

Mr Wizard had come bearing other gifts. A couple of little used NRS 3D canoe end floats.

PA100035 by Mike McCrea, on Flickr

I like those better than the giant blue float bags; Big Blue was sized for the longer, taller Sea Wimp decks, overkill in Sexy Thang, and I won’t be paddling a decked conversion in WW. Fully inflated those 3D float bags come even with the top and bottom D rings for easy tie downs, and leave more room for day paddling gear; some folks tripping load equals my day gear necessities.

Not actually “tie downs”, mini-beeners that simply clip clip to the D-rings above and below for easy install and removal; the line and clips stay on the bags. That should be enough of an end cage to prevent the bags from pooching out. I can always add a short webbing strap vertical between the D-rings for more secure gear storage.

PA110007 by Mike McCrea, on Flickr

I didn’t have enough Neoprene left to cover the knee bumpers. Maybe later. But I had a bunch of “useless” little cut off neoprene scraps. Which, trimmed to size, would cover the last of the exposed purple on the pedestal. So it was back to contact cement and Melco tape work.

Eh, ok, skip the Melco tape; those iron-over angles might have been possible to do when I had the seat pedestal sitting free on the bench. Mistakes were made. In lieu of a better idea I’ll run a strip of 1” Gorilla tape across the neoprene seams and call it another experiment.

PA120009 by Mike McCrea, on Flickr
 
The rudder guru returned, had a follow-up test sit on the modified sea and found the changes pleasing. Music to my ears. Thank goodness Mr. Wizard was back; simply bolting the foot pedal slider tracks in place was a confounding challenge.

The sliding part of the foot track needs to slide cleanly over the nut and bolt end. ¾” bolts were too long and interfered with the slide. ½” bolts were too short, and didn’t seat in the nuts. We had to create custom washers, rubber circles made with a grommet punch and leather punch, to slip over the ¼” x3/4” wee bit too long bolts, before everything seated just right.

PA140014 by Mike McCrea, on Flickr

That was the beginning of a very messy shop session. Once we got started we kept rolling; dang near everything was a two-person job, and there was no one to follow along behind, putting tools and materials away. In the end we needed something from every box of hardware and outfitting. Which we often couldn’t find because the shop benches quickly became a disaster of accumulated entropy.

The foot pedals are perfection. Incomplete perfection; Mr Wizard forgot to bring his preferred SS cable cutters and swaging tool. The SS cables have to cut cleanly, or the cut ends will mush out or fray, and not pass through the wee holes in the cable crimps.

PA140019 by Mike McCrea, on Flickr

With the SS rudder cable installation set aside for another day we moved on. The rudder cable tubing can be installed before the cable is slid through. I want tubing sheath from the rear deck penetration as far forward as possible; I don’t want exposed SS cable sawing at a dry bag of other gear stuffed under the rear deck.

That SS sheath tubing isn’t cheap, fortunately I had sufficient leftover lengths. Even the end of the tubing that ever so slightly protrudes from the OEM deck opening involved Mr. Wizard tricks; tubing cut at a matching angle, heated center punch inserted to flare out the exposed end, so it can’t pull through the hole. Those flanged tubing ends will get a dab of G/flex, both atop and underside the decks.

PA130010 by Mike McCrea, on Flickr

PA140020 by Mike McCrea, on Flickr

The cable tubing is held in place with hardware store cable clamps.

PA140023 by Mike McCrea, on Flickr

Those cheap hardware cable clamps have an aperture smaller than a 3/16” pop rivet. No matter, they are not bearing any weight or stress, 1/8” pop rivets and back up washers work just fine, and leave but a couple tiny sliver dots on the seam tape to be painted over.

PA140027 by Mike McCrea, on Flickr

With the rudder racing striped and ready we could install the retraction cord. Attached via a stainless mini-beener, so I can remove the rudder blade in transport if desired. The ability to remove the blade (or entire housing, more on that later) is important on those gravity-deploy rudders.

Fully deployed

PA140028 by Mike McCrea, on Flickr

Fully retracted

PA140031 by Mike McCrea, on Flickr

What keeps that gravity-deploy rudder retracted when the line is pulled is a closed cleat, and handy grabber ball near the knee bumpers.

PA140033 by Mike McCrea, on Flickr

I usually keep the excess retraction ball tucked back under the line when the rudder is held up.

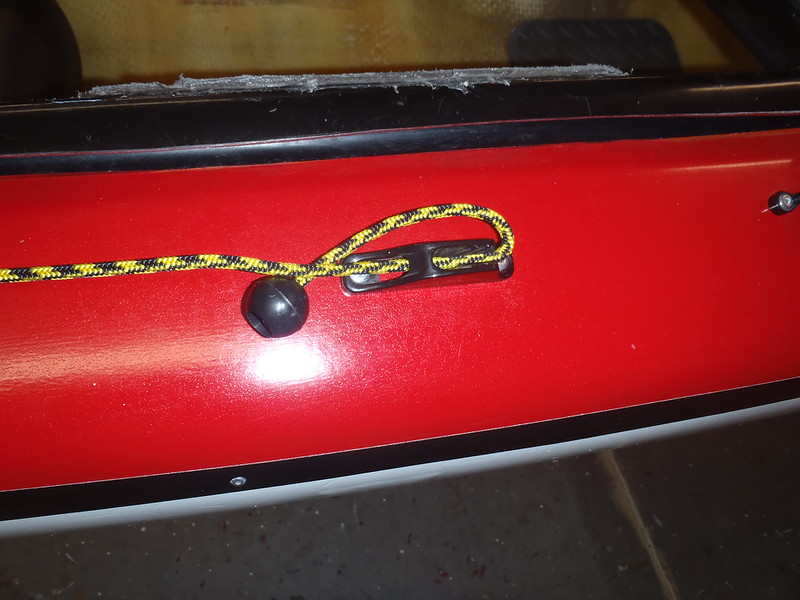
PA140034 by Mike McCrea, on Flickr

With an offset pad eye line guide that KISS rudder retraction line is loaner-boat foolproof.

PA140035 by Mike McCrea, on Flickr

That was as far as we could progress on Sexy Thang without proper cable cutters and swaging tool, and we turned our intentions to my beloved RX tripping canoe, the soloized Penobscot, AKA the Inspector Gadget boat. Someday I will find a beater composite Wenonah Solo Plus or Souris River Quetico 16 to set up as a lighter weight solo tripper.
 
For downwind sailing purposes we had DIY’ed rudders and foot controls my Penobscot and Joel’s tripping canoe some years ago. I know, I know, a rudder on a canoe is anathema to purist paddlers. But for a canoe with a sail, even a simple downwind sail, a rudder or tiller is a near necessity.

Removable rudders, so that the only thing permanent on the stern stem were gudgeons.

https://www.canoetripping.net/threads/diy-canoe-rudder.20833/

Those were crude, inelegant rudders, with less than ideal DIY pivoting foot bar controls. Using old sign aluminum for the DIY construction induced some flexibility wobble in the rudder blade. Meh, they worked, but we can do better than those kludgy attempts.

PA140037 by Mike McCrea, on Flickr

“Better” being the rudder from the Klepper Kammerad, which uses a 7” long removable pintle pin. Some gudgeon relocation and that antique rudder will do nicely, providing ample range of motion and a beefy blade in the water for downwind sailing. For shallows sailing a wider blade is better than longer.

PA140039 by Mike McCrea, on Flickr

Perhaps a bit of a vertical sail when fully retracted; depending on wind direction and wave height I could retract the blade held horizontal instead of fully retracted at a raised 45. With feet on the rudder pedals it is easy to tactile tell when waves are whapping at the retracted rudder,

The Penobscot rudder still needs a SS minibeener, better line retraction line, cables (may use Zing-it cord instead for easier field-reparability) and manufactured sliding foot pedals.

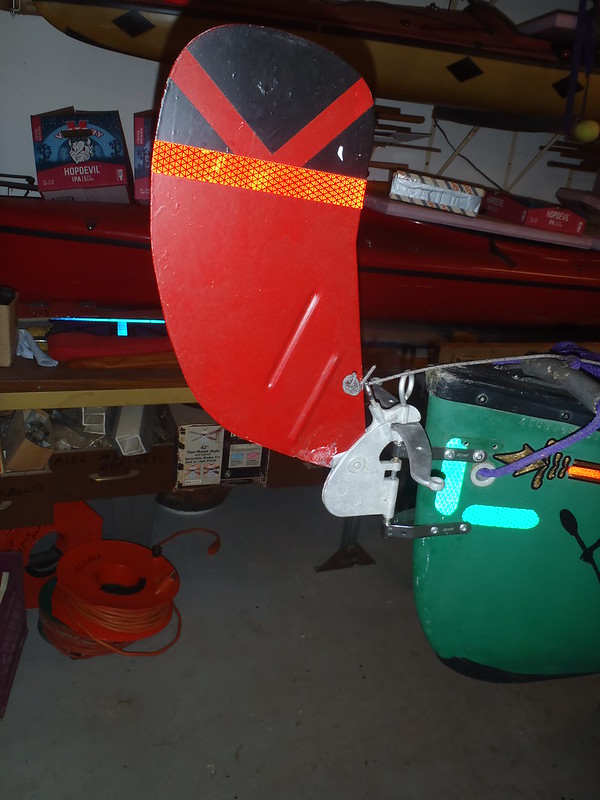
PA140040 by Mike McCrea, on Flickr

Pull the long pintle pin and all that remains are the two gudgeons.

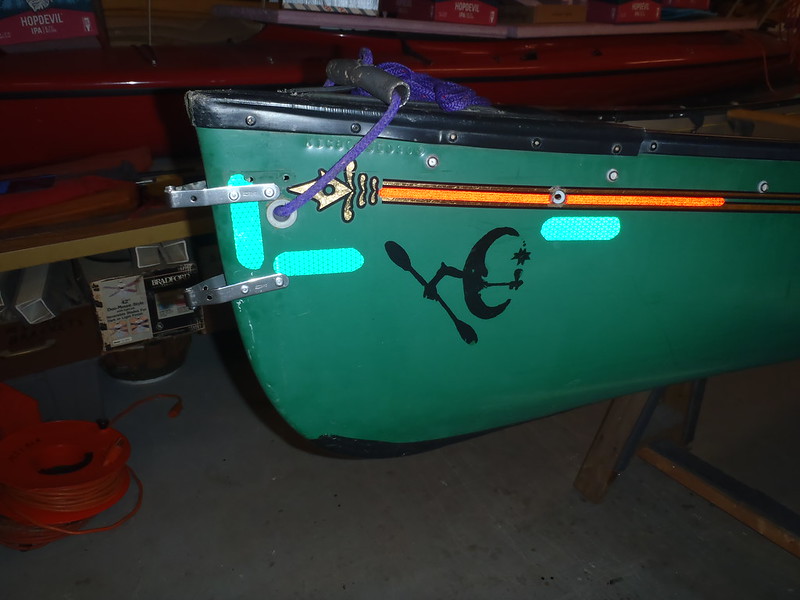
PA140042 by Mike McCrea, on Flickr

I can live with gudgeons sticking out the stern stem if I can sail downwind with a rudder. Might have to spray paint the gudgeons green or black for un-shiny aesthetics.

So close to finished, but stymied by the lack of a good cable cutter and swaging tool we called it quits. I cleaned the benches, trying to save out the parts and pieces needed to install the cables. I even found where the better set of SS cables were buried.

PA140016 by Mike McCrea, on Flickr

A footnote on the shop mess; in that kind of two person’s hands on work, needing four hands and something from every box of parts and pieces, having a third party helper assisting while I put stuff away and lay out the next parts needed would have been a tremendous help. We would have finished if only I taken time the time to clean the benches.

Meanwhile there is a bit of dress up still to be done on Sexy Thang.
 
The Inspector Gadget Penobscot is about to get heavier. Although the rudder is removable I want more functional foot pedals than the kludgy pivoting bar I originally installed. I relish free ride downwind sailing that canoe with a glamper gear load and, while a paddle blade “rudder” works, I miss the hands-free foot steering opportunities under sail; take a photo, have a snack or a sip, write a note, monocular the shoreline or scratch my nuts. Sometimes all at the same time.

The Penobscot was not even close to Old Town’s speced “58lbs”, IIRC it was closer to 65lbs even as an outfitting-free two seater; OT’s weights on Royalex canoes were hopeful at best, and that was some thickish Royalex. I will weigh both boats when the last of the permanently installed outfitting is done.

I have learned a lot in the last 18 years of tinkering with boats, and could easily cut the permanent outfitting weight in half. But I’m not emptying the Penobscot to start over on a weight reduction program. Hence my desire to find a battered kevlar composite canoe of the same-ish dimensions to gut and rebuild, this time with an eye on weight.
 
I am a fan of waffled Ridgerest sleeping pad foam on bucket seats, both for cushioning and non-slippery arse contact. The repurposed IQ seat pan is not just tall, it is wide, and the plastic, though textured, is not very grippy. It also has a lot of curves and contours. A little Ridgerest test fitting determined that the best (only) unwrinkled way to adhere the foam to those complex contours was to cut it into two pieces, one bottom section, one back section.

Before starting the contact cement work on that cushioning I needed to try something to rectify hastily made mistakes with the minicel knee bumpers. As usual those knee bumpers went on fine and firm clamped in place with contact cement and heat gun.

PA040013 by Mike McCrea, on Flickr

Clamps off they looked good and remained firmly attached, and needed just a perimeter bead of E-6000 to seal the edges.

PA050014 by Mike McCrea, on Flickr

And then I got hasty, and learned a lesson. That evening, after removing the clamps, I beaded the top edge of the knee bumpers with E-6000 adhesive sealant. The lesson learned was that not fully cured contact cement and fresh E-6000 make a terrible combination on unsecured minicel. Next morning the combination had caused the contact cement to release, the minicel has loosened and the E-6000 crept in between the separated minicel and coaming lip and hardened lumpily overnight. Bad words were said aloud.

Thus began multiple efforts to remedy what I had screwed up. Dremel tool to excise the hardened E-6000 that had oozed into the separated gap, coaming and minicel edges sanded clean, fresh contact cement left on for days securely tape wrapped. Compressed E-6000 to fill the still-not-flush edge gaps.

The knee bumpers were once again well and tightly S-curve adhered. And, after all that unnecessary done-screwed-up effort, the knee bumpers still looked like heck along the repaired top edge.

PA090024 by Mike McCrea, on Flickr

Let that be a still learning lesson to me; always wait for contact cement to be fully cured before beading E-6000, or probably any adhesive sealant GOOP.

I wanted to cover that now-ugly minicel with contact cemented N1S neoprene. I know that contact cement on the rubbery non-fabric side of N1S provides excellent adhesion. I didn’t have enough N1S, but I did have some N2S fabric both sides. If the N2S is an unsuccessful mess I’ll throw in the towel, remove those knee bumpers and start all over.

Templates made, knee bumper neoprene and Ridgerest pieces cut to size and shape. Not a lot of wasteage.

PA150001 by Mike McCrea, on Flickr

Back to no-curl-up contact cement work. Yay me, I remembered to drill matching holes in the Ridgerest above the drain holes in the seat pan before the contact cement went on. Those couple drain holes won’t get rid of all the water in a waffle textured pad, but that least there won’t be a 3” deep balls soaking puddle. Put on the storage cover for overnight camp storage in case of rain or heavy dew.

PA160005 by Mike McCrea, on Flickr

PA160006 by Mike McCrea, on Flickr

Ridgerest aligned and insta-stuck, with binder clips to hold the wrap-around Ridgerest tight to the seat edges.

PA160009 by Mike McCrea, on Flickr

Sand bag weights to make sure the rest of the pad is in good contact.

PA160010 by Mike McCrea, on Flickr

The neoprene covering the fugly knee bumpers got a new trick, learned while correcting my hasty mistake; using lengths of wide painters tape to secure the neoprene edges tightly along the cowling curves. Much better technique for those complex S curves than using clamps.

PA160011 by Mike McCrea, on Flickr

I’ll pull that tape in couple days, and wait a couple more days to bead the edge of the neoprene with E-6000. And then keep my fingers crossed. But at least I learned a new trick.
 
The two-piece Ridgerest padded seat came out well. I drilled an angled drain hole through the seat at the slender gap between the Ridgerest bottom and back for some additional drainage or flatulence release.

PA170014 by Mike McCrea, on Flickr

Time for a foot pedal trick, learned from Mr. Wizard. Bungee cord, stretched between the front of the sliding pedal rail and through a cable clamp will auto center the rudder with feet off the pedals. Easy enough to do before the rudder cables are installed, and beneficial when evenly tensioning the cables. The bungee runs from the end of the slider rail, through a pop riveted cable clamp and then through a cord lock for tensioning ability. A 10” length of bungee is plenty to allow for un-interfered forward/backward pedal slide.

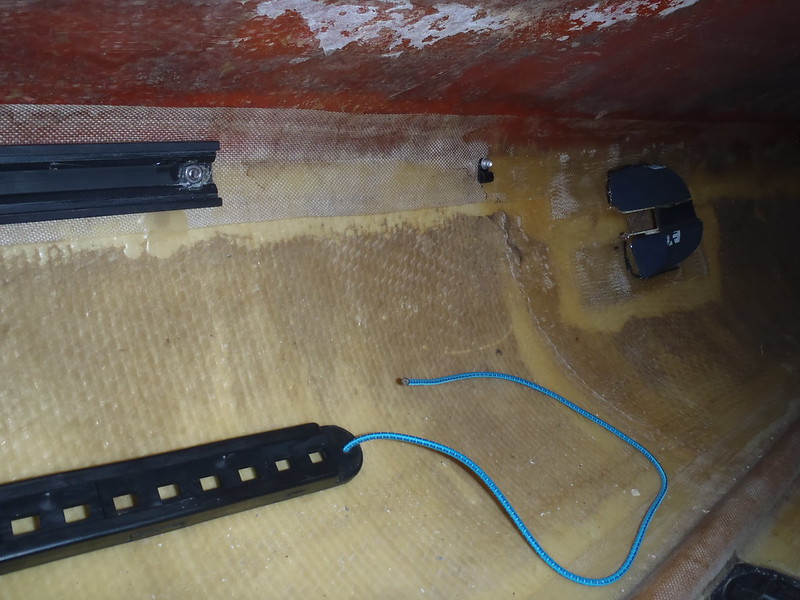
PA170013 by Mike McCrea, on Flickr

That rudder bungee tension was an excellent use for Sgt. Knots stainless steel spring cord locks. Diminishing cord lock strength has been an eventual failure point on other rudder straightening bungee, and thin, low quality bungee has proven another. Quality ¼” bungee this time. I should replace all of the decked boat rudder straighteners with better bungee and Sgt Knots cord locks at some point.

Except for attaching the SS cables those rudder pedals are done. I left the bungee long; I didn’t want to trim it to best length until the rudder cables were attached.

It had been a couple days wait time, and I pulled the painter’s tape securing the neoprene to the minicel knee bumpers. That was a high anxiety tape reveal; they will either be good enough, or time gouge them out and start all over. Fingers crossed.

Better than good enough. I still need to clean up the edge of the cowling, but needing a neoprene sheath to hide my minicel screw up may have been a happy knee bumper accident.

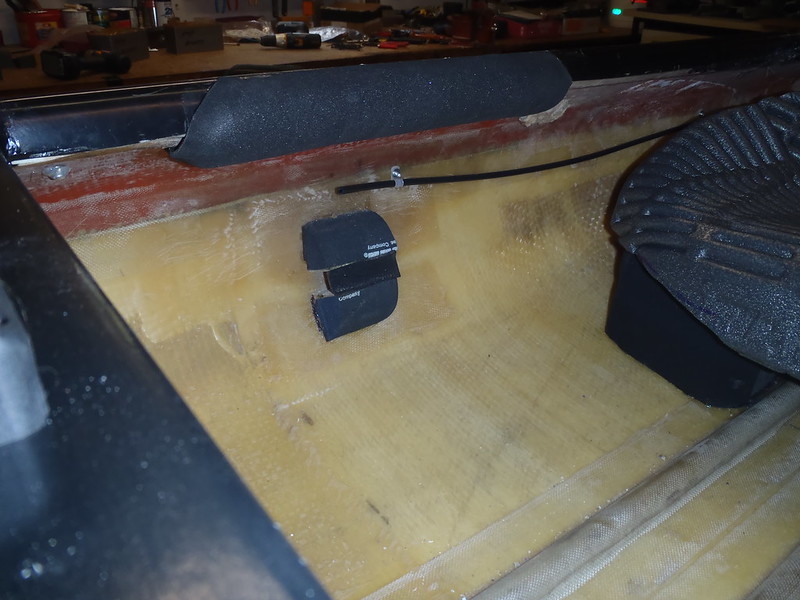
PA180021 by Mike McCrea, on Flickr


With the Ridgerest and neoprene firmly attached I could flip Sexy Thang upside down on the tall horses yet again. Photographed in time lapse Sexy Thang would appear to rotate (though sadly not self-levitated) more than Linda Blair in The Exorcist

PA180023 by Mike McCrea, on Flickr

There are a couple new pop rivet mandrels in need of a covering hot glue blob, a G/Flex bead to lay along the under deck side at the inner edge of the cable tubing , and some miscellaneous touch up and sanding work, all best done upsy daisy. Time to nestle my head in Sexy Thang’s elevated embrace once again; no worries; the Missus already knows about the attractive 46 year old with whom I’m lavishing all my time and affections ;-)
 
ALSG, and anyone who portages a canoe very far, avert your eyes. The rudder on the Inspector Gadget Penobscot solo is pintle-pull removable. The foot pedals are not.

And, until I have a few test paddles/sails and figure out what’s what, I left the Wenonah adjustable foot brace bar in place. I can slide the foot brace bar far enough forward to effectively push the pedals and readjust it when the rudder is removed. Those are Yakima/Werner/now Mohawk pedals, made in part for WW use they are sturdy and dependable.

And maybe not quite what they once were. I ordered a pair some years ago from Mohawk for a boat I was working on. When they arrived the slider track wanted to bind up inside the rail even before installation. Call to Mohawk “Send ‘em back, we’ll send out a new pair”.

Got the replacements, still didn’t slide like days of old. Another call and the Mohawk folks grabbed a few from stock and found a couple pair that slid easily. Bought both pair; glad I did.


Like a lot of stuff those foot pedals became 2X as pricey. Maybe 3X; now $73 for the rails, track and foot pad. Plus shipping.

I press on a foot brace with the ball of my feet, but tend to drive rudder pedals more with my toes. The Mohawk pedal rails got mounted 1/8” above the Wenonah bar, I needed space to turn the knobs on the adjustable brace bar. I need to install the right length machine screws in the utility thwart, and I can shorten the thwart drops by more and ½” for increased toe space.

PA180019 by Mike McCrea, on Flickr

Same self-straightening rudder trick as on Sexy Thang.

PA210001 by Mike McCrea, on Flickr

All that’s left are the rudder cables and a test paddle. Unfortunately Mr. Wizard is unavailable, and I may have to attempt that installation by myself.

Courage, Camille.

https://www.answers.com/Q/Where_does_the_quote_Courage_Camille_come_from
 
Time to finally finish a couple boats and make some shop room. I got busy with other boats and projects, but mostly didn’t want to attach the rudder cables to the two boats in the shop without Mr. Wizard doing it for me while I watched and held things.

That cable installation is a two person job. Or, actually, a two person and Workmate job; the rudder needs to be held immovable straight along the keel line so the cables can be installed equally taut. That is the Workmate’s job:

PB020001 by Mike McCrea, on Flickr

And it needs helping hands to hold the sliding rudder track firmly in place while the other end of the cable is attached, with someone else to anchoring a swage, looped and crimped around the slider rail attachment. Someone who remembers to first sleeve a piece of heat shrink tubing and then a swage on the cables. Someone who almost forgot the heat shrink on one side before crimping.

The result was someone whose back hurt from that bent-over, barely see what you are doing, finicky fumble-fingered effing work. Help Mr. Wizard. Eh, Mr. Wizard is currently hobbled from a motorcycle accident; so instead of . . . . .


I did the actual work. The rudder functions perfectly, and, unlike Tom, I’ve been promoted to work space on the Big Boy bench.

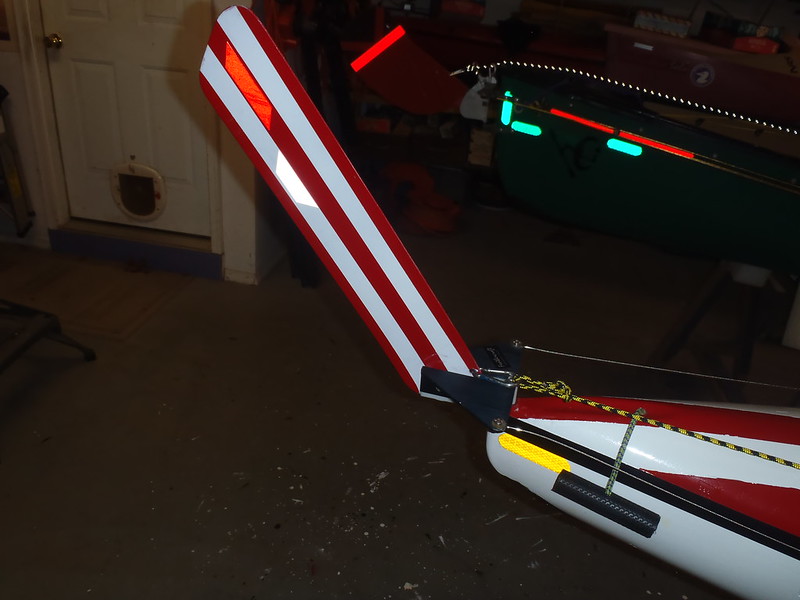
PB020004 by Mike McCrea, on Flickr

Those swaged loop attachments are tricky business in a tight space.

PB020006 by Mike McCrea, on Flickr

Sexy Thang is now finished and fully functional.

The removable rudder on the Inspector Gadget Penobscot likewise came out well. Instead of SS cable I used 2.2mm Zing-it cord. The rudder is attached via a long removable pintle pin, with the Zing-it cables attached via Nite-ize clips.

PB020008 by Mike McCrea, on Flickr

That single-cord gravity deployable likewise works perfectly.

PB020009 by Mike McCrea, on Flickr

When not needed the entire rudder removes by pulling the pintle pin.

PB020016 by Mike McCrea, on Flickr

That removable aspect required a few tricks. I used an open retraction line cleat, not a closed cleat, and ran the line through a webbing loop under the seat, so when out of the cleat it is still dangling near at hand. No grabber ball at the end, just a knot, so the line can easily pass through existing webbing loop keepers when the rudder is removed.

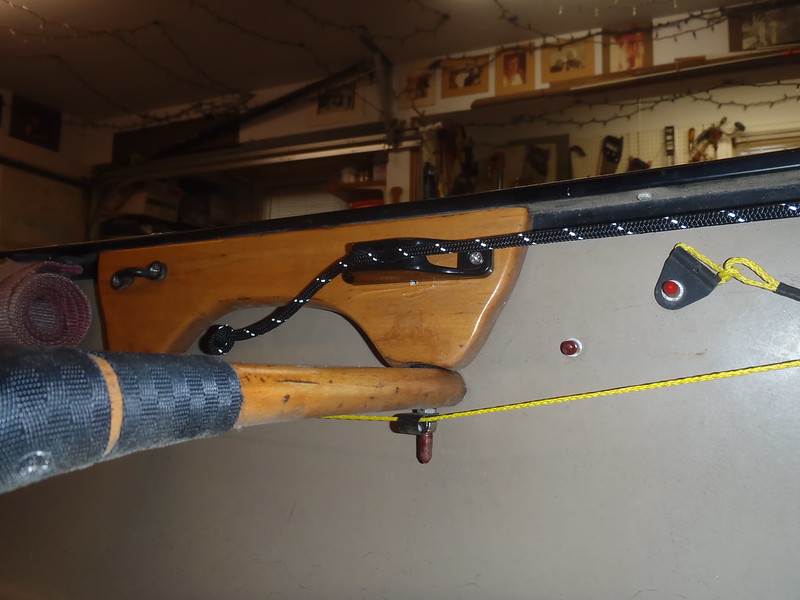
PB020011 by Mike McCrea, on Flickr

With the rudder and attached retraction line removed the only permanent outfitting pieces left are the two gudgeons, the Zing-it cord cables and the Nite-ize clips, secured out of the way when not attached.

PB020017 by Mike McCrea, on Flickr

In that dedicated downwind sailing tripper the ability to quickly add a rudder and hands-free steer with feet on pedals is a making miles godsend.

I’ll stick that rudder, housing and line in a little ditty bag, and bring it every trip. With the partial spray decks it is essentially a big-boy, big-load decked canoe. I did weight it with all of the permanent outfitting. 74lbs; I really want all the same stuff, but more wisely lighter outfitted, on a UL 16 footer.

I weighed Sexy Thang with all of the outfitting, including the detachable rudder blade.

The Optima hull was 57lbs after cutting out the Marquis de Sade seats and removing the stock pedals and old foam & fiberglass. Fully outfitted, now 65lbs on the hanging shop scale. I thought it would be more, and weighed it thrice.

Fully dressed Sexy Thang lives up to her new name.

PB030018 by Mike McCrea, on Flickr

PB030020 by Mike McCrea, on Flickr

I was thrilled to discover that, if I set the Dog Dick Pink paddle in the sun, it changes colors, like one of those heat sensitive coffee cups.

PB030021 by Mike McCrea, on Flickr

Even better, if I stroke it gently, in just the right place, it will whisper sweet nothings back

PB030023 by Mike McCrea, on Flickr

(OK, that was a long con. I painted two of those paddles, one pink, one red. They were both visible in the background of some photos)

Sexy Thang may be my finest decked canoe conversion work yet. $100 hull, $100 worth of parts and pieces, lots of love.
 
Great rehab job on Sexy Thang. Are you going to try to sell it?

Actually, I want to ask about the Penobscot rudder. Have you actually used this rudder, and if so, does it grab enough water? I ask because it doesn't seem to reach as far under the water as a typical rudder on a kayak, outrigger, surf ski, ocean liner . . . or Sexy Thang.
 
I’m not sure where Sexy Thang will go, a couple of friends have expressed interest. Of course one of them also wanted the FishFinder, and sight-unseen (and not even begun refurbishment) called dibs on the Yellowstone Solo.

I’m keeping the Fishfinder, and need to at least paddle/sail Sexy Thang a few times. The Yellowstone Solo might augment our need-one-more collection of family day tripper canoes, FishFinder, Mohawk Odyssey and MRC Freedom Solo. The Missus is smitten with the YS, and if I can keep the finished weight down it may become her day use solo. She was friends with Brian almost as long as me.

The removable rudder on Inspector Gadget may need to be longer; I want to sail it a few times in different conditions before I make any changes. As mentioned verbose pages above many of the vintage European Style Touring kayaks had short but broad rudders, and those were effective under sail.

If I need to swap out the blade I can replace it with the blade from one of these monsters meant for tandems.

PA080005 by Mike McCrea, on Flickr
 
Back
Top