• Happy (Ancient) May Day! 🎀💈💃🏼🧺💐🍴

More Boat Work

G

Guest

Guest
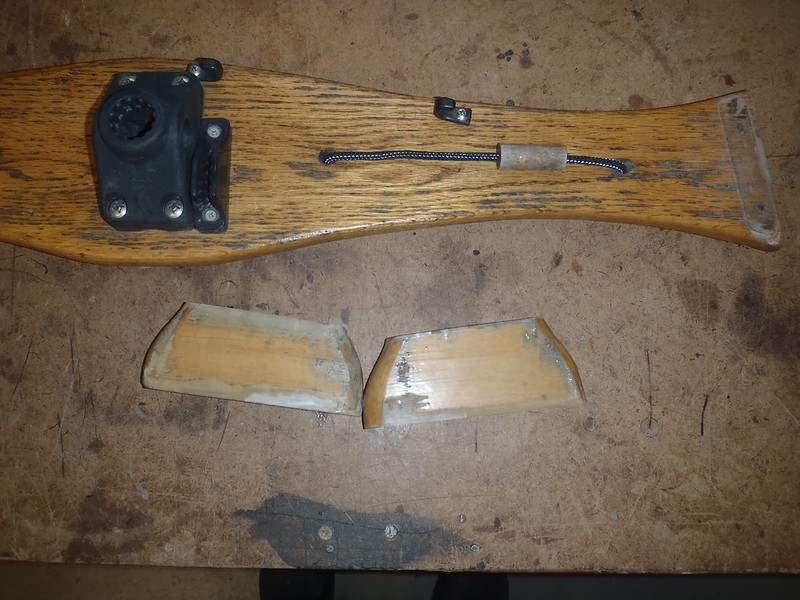
The Wenonah Wilderness still lacked a couple of handy outfitting touches.

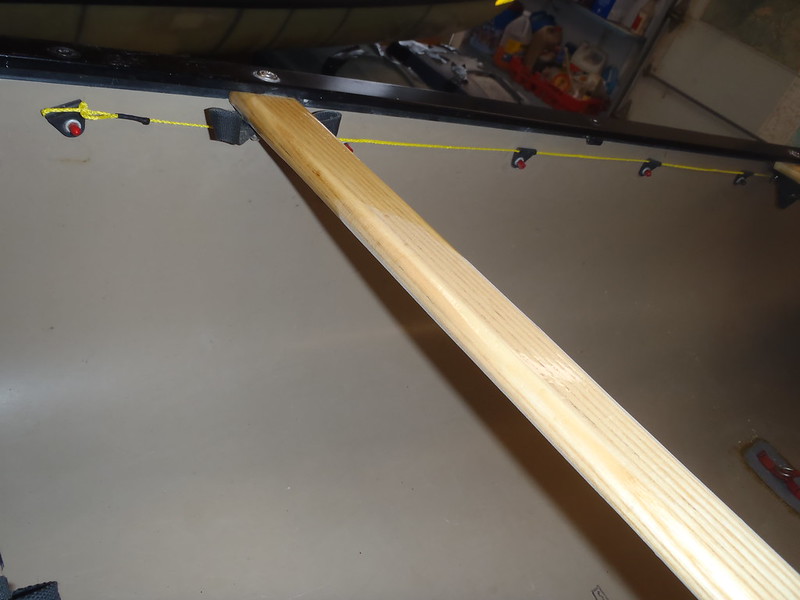
Most importantly, an in camp storage cover over the open center between the partial spray covers, so I can leave all the paddling gear inside and dry while in camp.

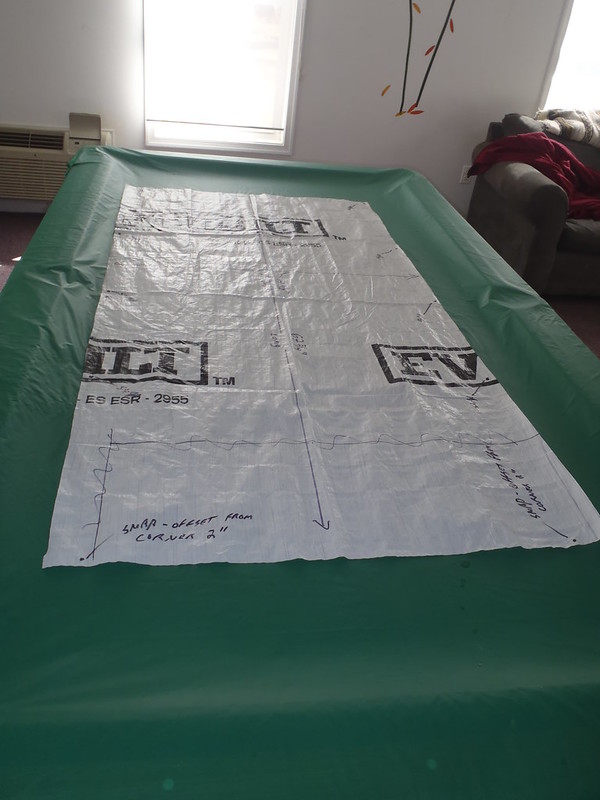
Some sizing and design play with a piece of Tyvek, well whadda ya know, the best coverage and riveted stud placement on the hull can be achieved with a simple 68 x 34 inch rectangle and five strategic studs on each side.

P3090605 by Mike McCrea, on Flickr

P3090608 by Mike McCrea, on Flickr

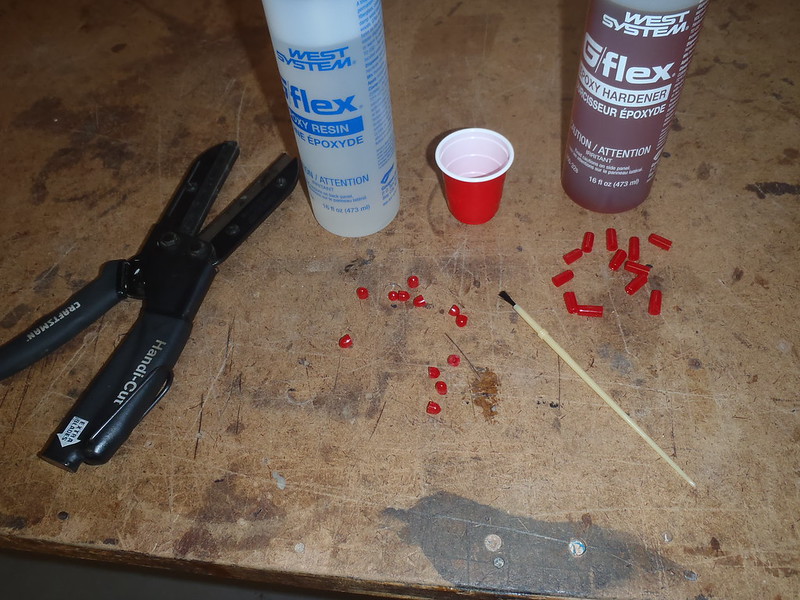
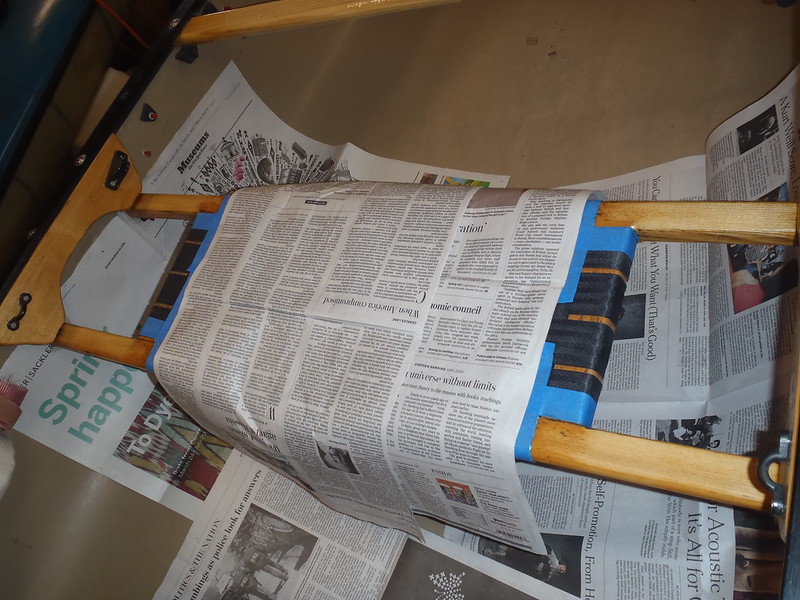
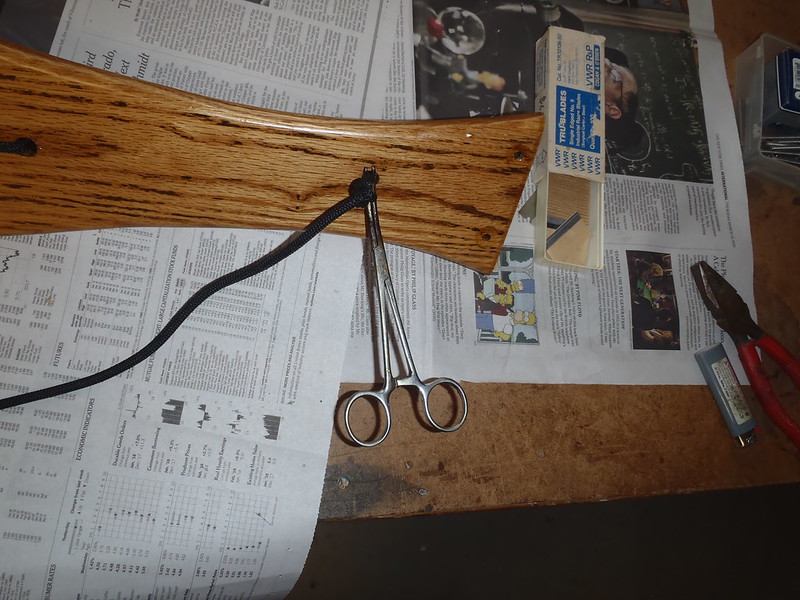
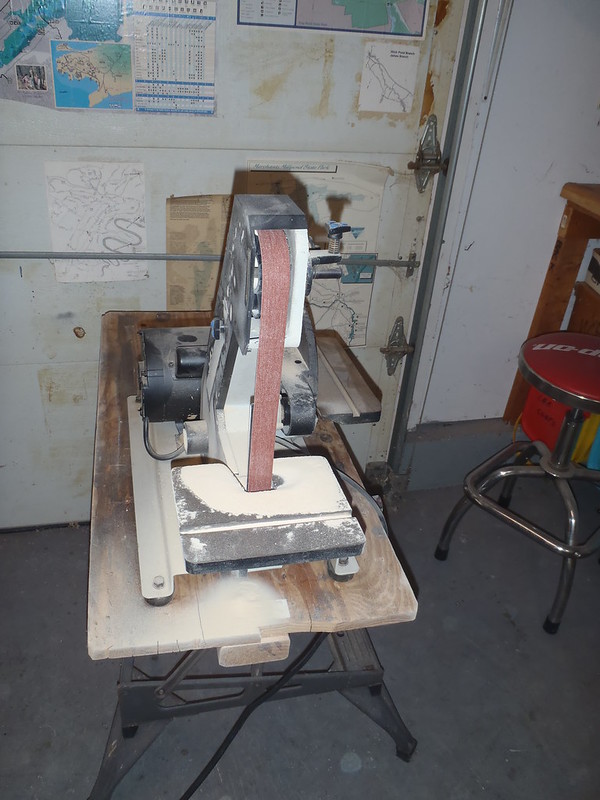
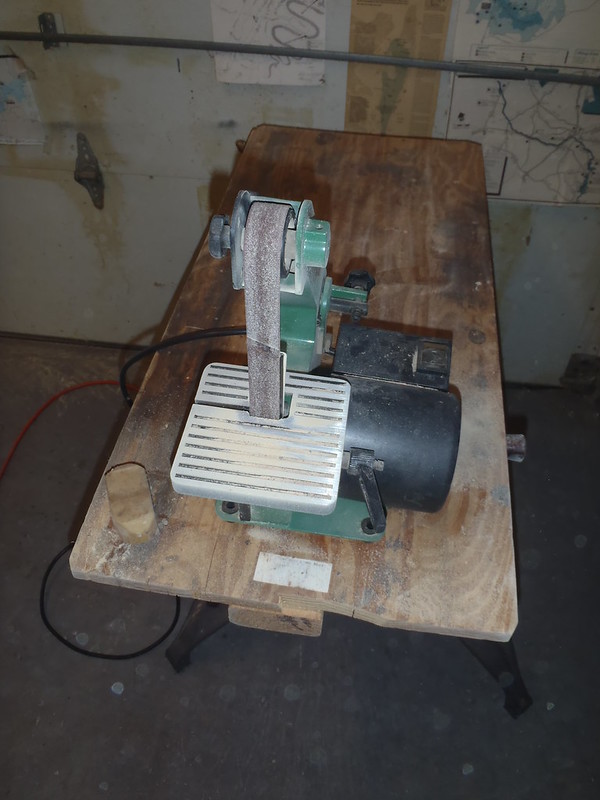
Once you have a modified pop rivet gun and some practice installing snap rivets that is some easy peezy work that takes only minutes, and I have added snaps to make other gear more functional.

Tape the cover fitted in place, stick a multi-layer length of duct tape on the hull below a cover snap and press to make an indentation in the duct tape. My eyes are weak, so I Sharpie dot the center of the impressed stud ring so my drilling aim is true. Or not the center, sometimes the blind aim and press for indentation into tape is a bit off from best placement, and I can adjust that with the Sharpie drilling dot.

Drill the hole. And remember to take the duct tape off before you rivet the stud in place. That oops did not occur this time, but has in the past. Eh, more than once.

P3090603 by Mike McCrea, on Flickr

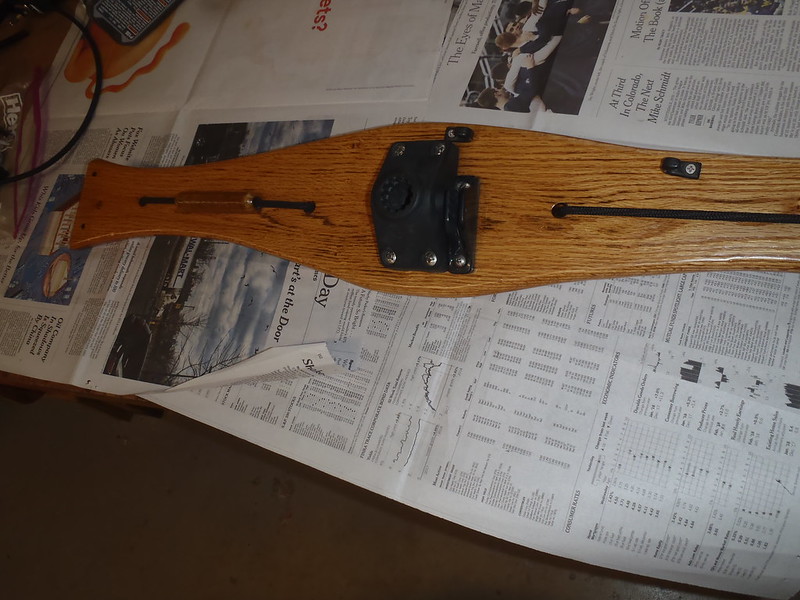
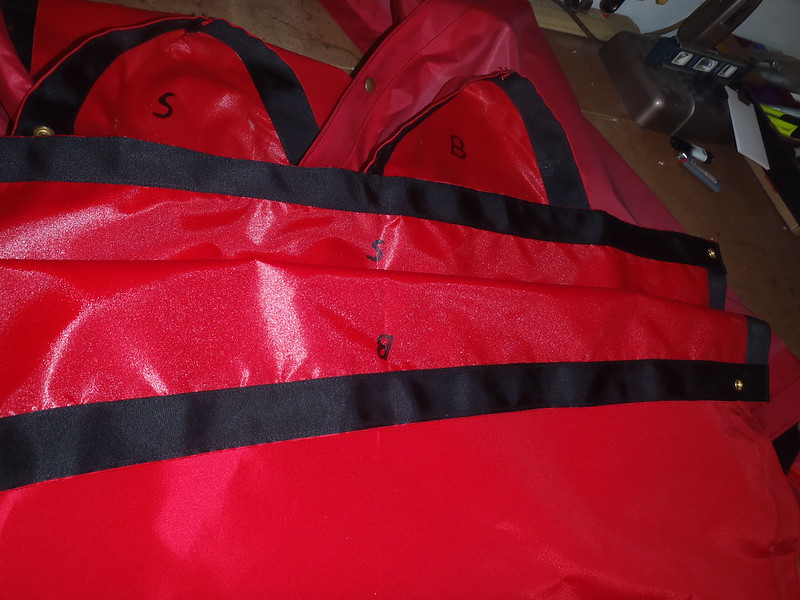
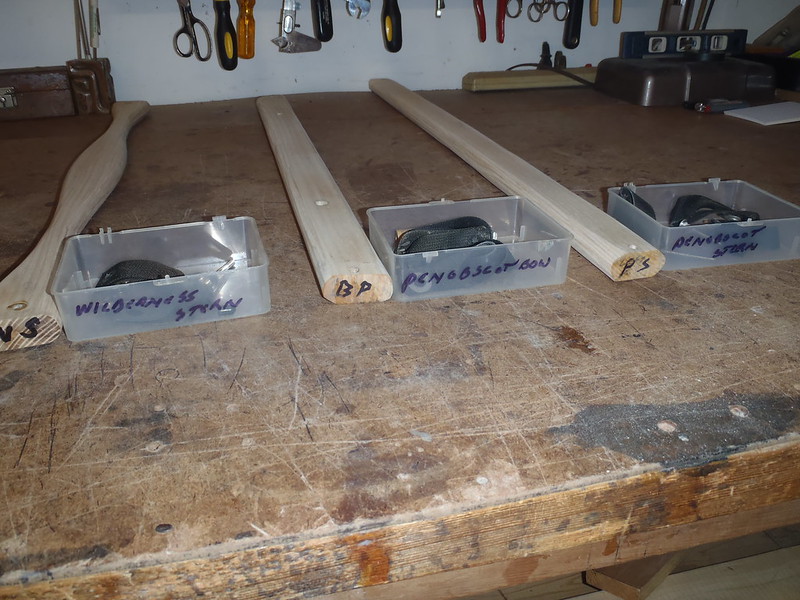
For ease of installation all three pieces are marked for bow or stern orientation.

P3100616 by Mike McCrea, on Flickr

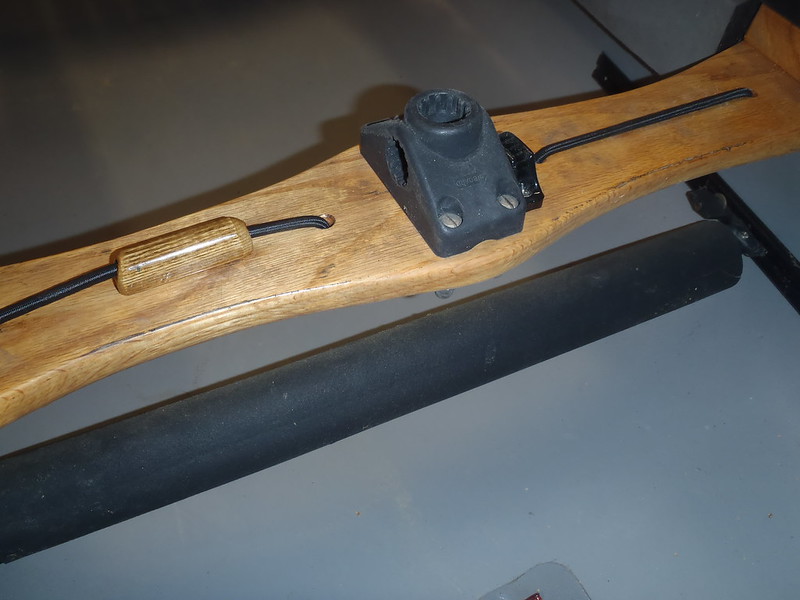
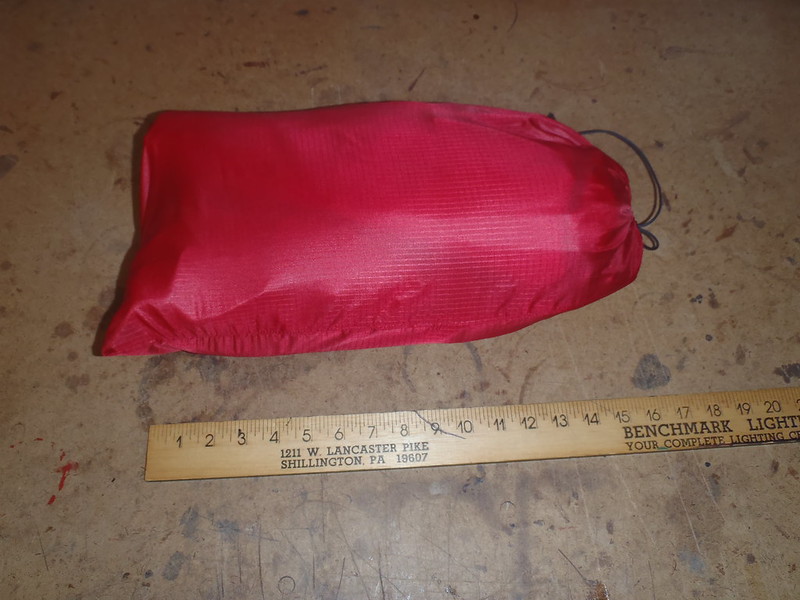
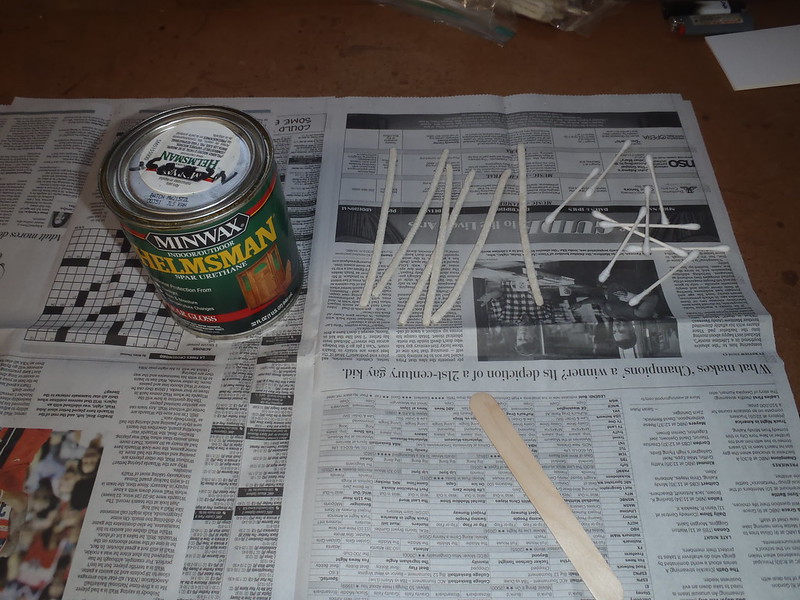
It all still fits in the bag with room to spare.

P3100617 by Mike McCrea, on Flickr

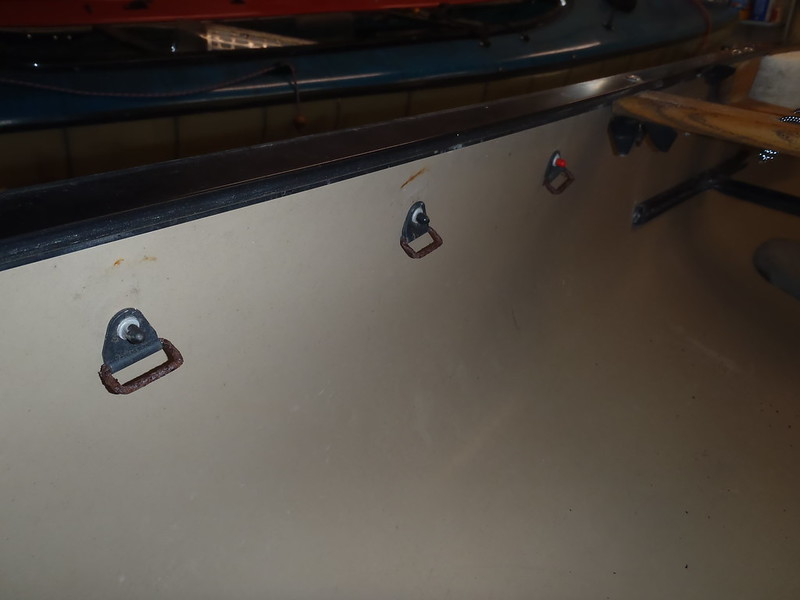
I do like having a fully covered canoe in camp.
 
I never liked the factory seat placement in the Wilderness. The center of the wood bench seat is only a five and a half inches behind center, with the front edge one half inch back of center. I would much prefer the center seat 8 to 10 inches back. There is a lot of me too close to center even when seated. Forget about ever kneeling.

That plate hung seat is simply held in place by three pop rivets on each side and could easily be drilled out and tap slid back a few inches.

But, before I moved the seat, I needed to move the too dang close stern thwart further back anyway. That stern thwart is less than 3 inches behind the rear edge of the seat frame.

In that position I could not shift my weight back far enough on the seat to affect trim. Simply moving that thwart back four inches may be enough, and I can always move the seat accordingly if need still be for trim, or if the thin RX sheerline amidships bows inward if not more closely supported.

Rear thwart out of the Wilderness and shortened for the new position, test installed to make sure it fits properly, time for some light sanding and additional not varnish coats.

With some not varnish Wilderness work ahead on the agenda I removed two of the four thwarts from the Penobscot. Those, and the two thwarts I left in place, were experimentally test coated on the butt ends with multiple coats of either varnish, spar urethane or epoxy resin during a soloization rebuild in 2004.

I have long since lost the key to what I used where, but both of the Penobscot thwart butt ends I removed were in excellent shape after 14 years. Actually the butt ends were in the best shape of the entire thwart. I know I put five or six coats of the varnish or urethane on the butt ends, and only a couple coats on the rest of the thwarts, drops and DIY stuff.

While the butt ends of the thwarts are in excellent condition, the visible surfaces are fugly. After stripping and sanding and many additional coats of urethane on everything this time the brightwork should be good for 20 years.

Gawd bless the little 1 inch table top belt sanders for that kind of work. Sanders plural, one with 120 grit, one with 220, so I do not have to switch belts. A couple minutes per thwart edges on each sander, a little RO work on the flat surfaces, a little 220 handing sanding buff and those pieces were ready for spar urethane. I even rechamfered the bungee holes and redrilled the machine screw holes to prep them for fresh sealant coats.

P3110621 by Mike McCrea, on Flickr

P3110623 by Mike McCrea, on Flickr

I had an unopened 1000 ml can of Epifanes extra UV filter varnish, and a half can of spar urethane. I am not sure what I am saving the full can Epifanes for, but not this. With the urethane I can easily get on two coats a day. There are still two thwarts and a seat in place holding the Penobscot together that need removal and refinishing, and just this simple brightwork sanding and refinishing took me most of a week. Gawd but I am slow.

I know that Alan prefers his machine screws and hardware rolling around loose in the canoe, but I am too easily confused by what goes back where, and really do not enjoy finding a flat washer hidden in the bottom of the canoe when I am done and wondering where the heck it should have gone.

P3110626 by Mike McCrea, on Flickr

Like so many things in boat work I spent half a day on sanding and prep work, and a whopping 10 minutes brushing on spar urethane. The additional coats were quicker, and I called it quits at 5 fresh coats of urethane.

P3110627 by Mike McCrea, on Flickr

If the initial couple of urethane coats lasted nearly 15 years this depth of urethane should be good for 20
 
Mike you should start a youtube channel to document and share your projects. Always find something interesting whether I thought I would or not going in. :)
 
Always find something interesting whether I thought I would or not going in.

Thanks, I just hope there is something amidst the blather other canoe tinkerers find helpful.

While the urethane dried I needed to reinvent my anti wren nesting devices. The Penobscot and Wilderness are both stored outside and the underside of the deck caps is a favorite house wren nest site. My usual Wren preventers are half inflated Dollar Store beach balls, stuffed and taped into the stem.

P3110628 by Mike McCrea, on Flickr

Those work, but I want something better and easier to keep in place. Maybe a custom shaped chunk of scrap ethafoam wedged in place, filling the entire nest site stem.

Lordy that was band saw easy. A couple big chunks of scrap ethafoam packing material, cut and sized to shape, stuffed in under the deck plate, with a notch wedged against the carry thwart to fit snug and tight. That should be sufficiently wren occluding.

P3120632 by Mike McCrea, on Flickr

P3120633 by Mike McCrea, on Flickr

I do not mean to make too much of the outside storage anti wren thing, but we feed the birds year round and it takes the wrens only a day to build a deck plate nest. I do not enjoy pulling out their half finished collection of twigs and spider sacks when I go to load a boat.

I really do not enjoy inadvertently overlooking a wren nest when racking a boat and seeing eggs splat on the windshield. That time with the fledglings and the windshield wipers, lets not even go there. That is some highway karma I will have to pay for.

Uurethane coats number four and five done and drying, near double that coating on the butt ends, what else needs done while I watch topcoat dry?

There are some nubs of pop rivets below the inwale from the new center storage cover installation. Those need some cut to length thread protectors Gflexed on. They are high up and not in an area likely to puncture or slice a dry bag, but I do not like sharp crap inside the canoe when it is that easy to remedy.

P3120638 by Mike McCrea, on Flickr

Those pop rivet shanks are at most an eight inch exposed, but I would still prefer them covered smooth. Thread protectors, cut to up into shortie lengths and wee dab of gflex epoxied in place.

P3120639 by Mike McCrea, on Flickr
 
Three heavily urethaned thwarts reinstalled, and two more, including the utility thwart and drops, removed from the Penobscot to refinish. The butt ends of those two are likewise still in extraordinarily good condition. Those ends, heavily coated 15 years ago, still look great, despite some inevitable dirt and grime caked bacterially in the interstitial space.

I pledge to never install another thwart or yoke without multiple coats of butt end sealant.

The exposed surface of utility sail thwart itself, meh, not so much. And the double hung utility thwart drops are a freaking delaminating mess.

P3140650 by Mike McCrea, on Flickr

I have seen that action before, the exposed sides of the drops have delaminating leprosy, and the hull hidden sides look fine. That makes me all but certain that those drops were experimentally epoxy coated, without a top coat of varnish or urethane. I will never do that again.

There were several dumb arse boo boos from my original soloization work on the Penobscot 15 years ago. Apparently I did not have the correct length machine screws for some of the thwarts, so I used longer ones and hack sawed or bolt cuttered off the end below the nut, leaving sharp shank end. I now have a 3 16 ths inch hole in my left index finger as a reminder that of that bad idea.

My original solution to those sharp cut shank ends was to install a cap nut. My dumb arsed idea to make sure those cap nuts on the sharp too long machine screws was to dribble a little adhesive inside the threads. Apparently squeezed outside the threads when screwed in place, where it ran down the edge of the cap nut, leaving little blobs. So the correct sized ratchet wrench would not fit over the nut.

Ask me how long it took to WTF frustrated figure why the ratchet would not fit on the cap not while working blind under the inwales. See also 3 16 ths hole in index finger. Another dumb arsed lesson learned.

Back to sanding, more sanding and making dust.

There is quite a mishmash of brightwork in the Penobscot.

I am pretty sure the piece of wood I used for the utility thwart was, eh, oak. The thwart drops are maple. Those standard ash thwarts were reused from previously refurbished canoes. Unknown wood for the seat truss drops. The seat was a new Eds Canoe ash contour. They are all in varying conditions 15 years later.

The DIY oak utility thwart is blackened in the insufficiently coated open grain. The maple thwart drop are not discolored, just delaminating. The reused ash thwarts are still clear, but need some sealant coat refurbishment attention. The DIY truss seat drops are good to go as is, I wish I remembered what wood and sealant I used on them. The ash seat, like the utility thwart, is becoming blackened.

My explanation for that variety of brightwork condition is that when soloizing the Penobscot I used two or at most three coats of varnish on everything, with additional coats on the butt ends, and excepting multiple coats the newly cut to fit bench seat ends, none at all on the new contour seat.

A couple of fresh coats of varnish atop what was already there on the lightly sanded ash thwarts was sufficient. A couple coats on the virgin oak utility thwart was not nearly enough. And zero additional coats on the contour ash seat was likewise not enough.

I should have put on more coats of varnish, especially on that open grain oak piece. But screw making a new one. That is a complexly cut and drilled double hung piece of brightwork, and I do not have a 5 inch wide piece of decent hardwood in the shop in any case. I will sand the crap out of that oak utility thwart and hope for at least another 15 years.

P3160659 by Mike McCrea, on Flickr

I started taking the bench seat out, but the butt ends of truss hangers and seat frame ends were all in good condition. I am not taking the seat out and the webbing off that seat just to sand and recoat, so I sanded the seat in situ and taped the webbing for urethane drip protection.

P3190667 by Mike McCrea, on Flickr

That was a whole dang lot of sanding. And a lot of sanders, 1 x 30 belt, 1 x 42 belt, 4 x 36 belt, RO sander, pad sander. Hand sanding.

Time to break out the urethane. And pipe cleaners for the long hanger holes, and cotton swabs for the short or wide holes.

P3190666 by Mike McCrea, on Flickr
 
This is one of the reasons I do not like webbing on seats. It's more durable than cane, yes. But refinishing the wood becomes problematic. My preference so far has been Nova Craft's laced seats. Second to that, is my own cord seat weave (Belgian chair weave), which leaves almost no wood finish exposed and is easy to remove and replace. Cane seats are the easiest of all to refinish, IME. I enhance their "durability" by using a Cook Custom "saddle bag" seat pad.
 
This is one of the reasons I do not like webbing on seats. It's more durable than cane, yes. But refinishing the wood becomes problematic. My preference so far has been Nova Craft's laced seats. Second to that, is my own cord seat weave (Belgian chair weave), which leaves almost no wood finish exposed and is easy to remove and replace. Cane seats are the easiest of all to refinish, IME.

I have never caned or laced a seat, but I have installed webbing on dozens of seat frames. Had that contour seat been in bad condition I would have removed the webbing, sanded and urethaned the frame and rewebbed it. Someday I may need to do so, but now was not the time.

I quit the urethane after four coats. My twice a day morning and evening timing got off track, and I did not want to wait another day before finally putting the Penobscot back together.

I dressed the utility thwart on the bench and then mounted it.

P3200670 by Mike McCrea, on Flickr

And then mounted it again. That utility thwart is double hung on 2 inch drops, so the top of the sail mount is below the sheerline. Four machine screws, four flange washers, four washers and four nylocks.

Remember, I am smarter than I look, and had segregated each thwarts hardware into marked bins during disassembly, and marked the thwarts and drops for left or right. But I still had some issues getting the machine screws through the drops on one side.

I am exactly as smart as I look. I marked the drops left and right, but not the more DUH obvious top and bottom. Yup, I installed one thwart drop upside down, another dumb arsed move that I did not discover until I had installed all four machine screws and stepped back to admire my work.

Back out and installed correctly. Pay attention next time dammit.

Sail mount, check. Open cam cleat for bow painter, check. Deck hooks for compass, check. New bungee cord, check. I like some creature comfort add ons in my canoes, especially the handily in reach doo dads on the utility thwart.

P3200671 by Mike McCrea, on Flickr

New and improved bungee grabbers, check plus. I have inconvenience issues with naked bungee across a thwart. The bungee is slightly raised from the thwart surface, so it does not hold down maps and papers very well. And naked bungee alone is difficult to grab up with gloved hands or frozen fingers.

I have tried a variety of bungee spacers. Plastic balls on the Wilderness, which were both fugly and did a tiny point of contact job of holding maps and papers in place. Drilled dowels on the Penobscot, which not well varnished in the original build.

New design strategy. I do not need a spacer on both visible sections of bungee, sometimes that little raised bungee gap is helpful for tucking things under. A single spacer on the uncrowded side of the utility thwart is all I need.

I have a box full of old dowel and peg seat drops, which I would never install on a canoe seat, and lots of scrap cut off wood seat frame ends and DIY wood gunwales stubs. Something in that box oughta work.

A little piece of flat one side seat hanger or skinny outwale drilled for bungee size, with many coats of urethane on it, and pipe cleanered in it, oughta work well.

P3200673 by Mike McCrea, on Flickr

Same for the Wilderness, no more fugly plastic balls, just a single flat on one side bungee spacer.

P1220457 by Mike McCrea, on Flickr

P3200677 by Mike McCrea, on Flickr

That looks a lot nicer. My canoe has no balls.
 
Mike, your thwart bungee idea made it into my upgrades in progress on the Guide. No balls or seat drops though. I haven't needed maps (yet), since all my rivers run downhill. ;) Great place to stash gloves, extra paddle, hat, etc, while not in use, and I already got to test that. I included a bulk roll of bungee in my order from Sweet Composites. Got more thwarts needing bungee....
 
Great place to stash gloves, extra paddle, hat, etc, while not in use, and I already got to test that. I included a bulk roll of bungee in my order from Sweet Composites. Got more thwarts needing bungee....

Hats and gloves are among the things that I take on and off frequently though out the day, and the thwart bungee is awful convenient to keep those items easily on and off at hand. Sunglasses too, with one ear piece tucked underneath the bungee. I have never been able to keep sunglasses secured atop my bald spot or, god forbid, Joe Cool backwards on my hat.

I like the over, under, over arrangement of thwart bungee for two distinct catchment sides. I rarely use the under thwart portion of the bungee, although, too late now, the next time I replace the bungee I may add a little spacer to that unseen underside to make it more blind grab functional.

I have a single run bungee atop the barrel trapping thwart in front of the Penobscot utility thwart, for when I paddle without the bow spray cover paddle pocket and Velcro shaft holders, so I can stuff the paddle blade up in the bow and bungee capture the shaft just below the grip.

I am almost done with the Penobscots 15 year anniversary refurbishment. Or not.

I ran Zing it line through the old Wenonah hardware backing up the snap rivets. That 2.2 mm 580 lb test ZingIt line is wonderfully handy in the shop, and 2.2 mm was as wide as would possibly fit through the Wenonah flanges without resorting to using a wire leader.

https://www.amazon.com/Samson-Rope-...pID=41MMVD2p8eL&preST=_SY300_QL70_&dpSrc=srch

That line looks a lot better than the old crustyrusty hardware, and is easier to use for cross rope or webbing.

P2170545 by Mike McCrea, on Flickr

P3200681 by Mike McCrea, on Flickr

I do not know how to whip or splice ZingIt line, nor how to make Whoopie slings, nor I expect have the nimble fingers and sharp eyes to do so. I just ran the line through a little piece of heat shrink tubing, with the bitter end stuffed in from the other side and hit it briefly with a heat gun. The lazy mans way to dress the ZingIt ends.
 
Back
Top