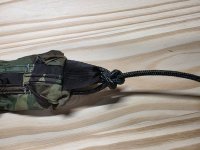
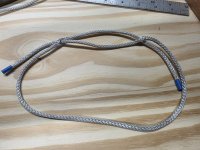
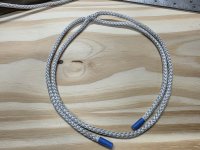
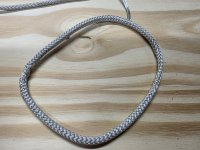
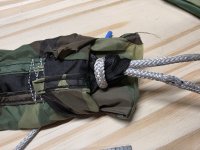
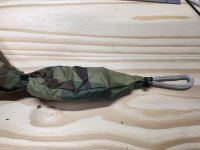
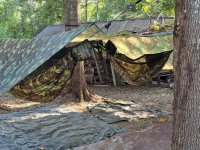
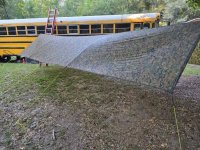
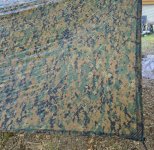
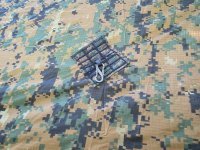
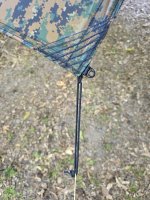
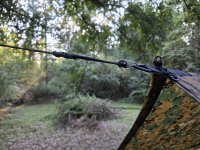
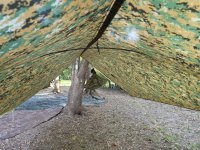
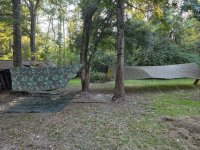
I had some interest in a post on Black Fly's thread about hammock camping and some of the DIY aspects of making your own gear. I have done a fair bit of DIY construction and also modifying my purchased hammocks to suit my needs. I promised I'd post up the procedure and pictures of the modifications to my new Hennessys, including the whoopie slings, and a quick peek at the GIANT utility tarp I made, so here it is.
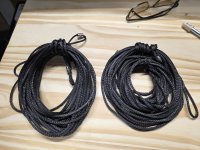
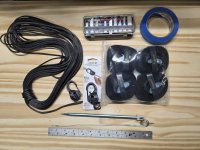
Here's a shot of the supplies for the new ridge lines and whoopie slings.
1. Amsteel Blue 1/8"
2. Nite Ize Cam Jam (this isn't necessary, you can use a truckers hitch, but this makes it really easy to set the ridge line tension)
3. Tree straps for the ridge line (simple cam buckle straps you can find anywhere)
4. Large knitting needle
5. Heavy wire for buries
6. Ruler or measuring tape
7. Razor knife (forget scissors, use a razor or box cutter on Amsteel)
8. Masking tape
Let's do the tarp ridge line first since it's the simplest, I'll also include some Amsteel working tips in this section too which will help explaining the whoopie slings.
I used 25' of Amsteel for the tarp ridge lines, with a fixed loop on one end and a stop at the other end. One thing about Amsteel, since it's made up of thousands of tiny fibers, it will fuzz up bad once you cut it. I've found a piece of masking tape really helps with assembly after cuts. You're going to be passing this back through itself so a fuzzed up end makes things difficult.
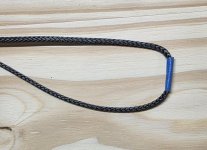
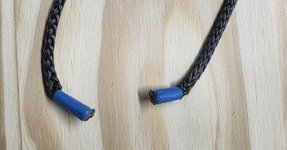
The fixed loop is made up of a Brummel hitch and a bury. A short bury, the sort you use for a fixed loop, for 1/8" Amsteel is 6 1/2" (50 x rope dia.). You'll mark the end of the rope with a sharpie at 6 1/2" from the end (forms the bury), then at 6" from the original mark to form a 3" loop when doubled over on itself. Next insert the knitting needle at the 12 1/2" mark. This stuff works like a Chinese finger trap, so it helps to scrunch it up in order to get the needle and the bury tool in there. Be careful to get the same amount of thread bundles on each side of the needle so that it goes directly through the middle of the rope.
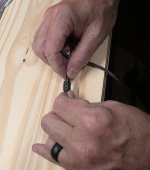
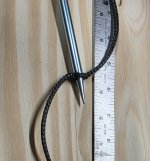
Next you're going to pass the 6 1/2" end of the rope through the hole you made with the needle, until the second mark is just past the hole and insert the needle at that mark. Pass the long end through the second hole and pull it tight to form the Brummel hitch.
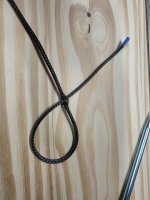
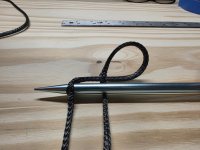
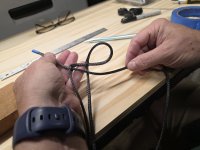
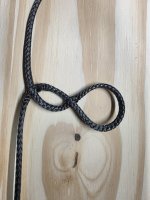
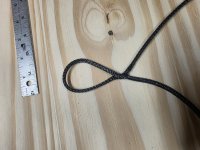
Next comes the bury, this is what actually creates the tension in order to make the fixed loop not slip out. First you need to taper the end of the 6 1/2" tail that's left after the Brummel hitch by removing thread bundles. This is a 12 strand rope and the formula for calculating the amount to remove for a taper is strands÷2-1, so for a 12 strand rope it would be 5 (12÷2-1=5). The taper should be about 1/3 of the total bury. You'll use the needle to gently separate the strands from the rope moving down as you go to space out the strands to be removed and form a taper in the rope. Once you have them all pulled out, carefully cut them at the rope. The taper keeps the rope from breaking at the point where the bury stops.
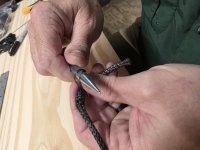
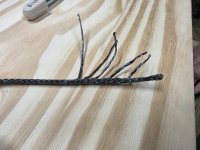
Here's the finished taper:
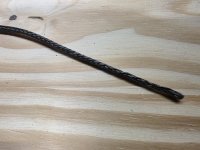
Now it's time to finish the fixed loop with a short bury of the tail we just tapered. Take your heavy wire and double it over to form a loop about 12" long. Since Amsteel is a hollow braid rope, you can thread the tool right up through the center. Start about 1 1/2" further out on the rope than your tail to make sure it all buries and insert the bury tool into the center of the rope. Work it up until you get to the Brummel hitch and make it come out just below the top end of the tail. Slide the last 1/2" or so of the tail into the tool and gentle start to pull the tail back down through the rope. It will take a little wiggle to get it started into the rope, but don't force it, just slowly roll the rope between your fingers while you pull and it will start. Once the tool pulls out the bottom hole you will need to "milk" the bury to tighten everything up. That's it, you have a fixed loop.
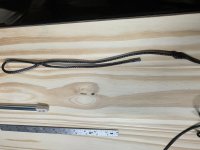
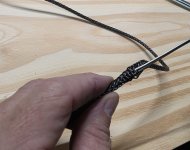
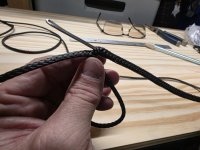
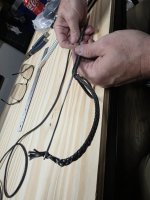
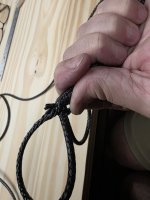
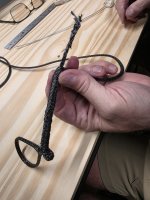
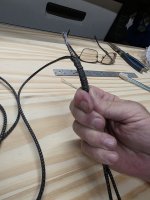
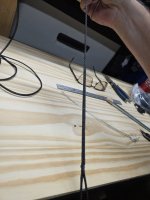
The other end gets a stop to finish the end. It's basically just a very short bury turned back on itself and pull tight. It just cleans up the loose end.
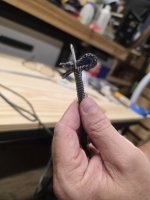
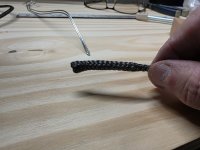
I just passed the stop end through the Cam Jam, added a couple of Prusik loops and "S" biners to attach the tarp to the ridge line to finish it off. That's it, that's how you make a ridge line for a tarp. As mentioned above, the Cam Jam isn't necessary, a truckers hitch works just as good, just a bit more fiddly.
Sorry for the long post, I tried to condense it as much as possible. Let me know if you guys have any questions. In the next post, I'll show the modifications to the stock Hennessys and whoopie sling construction.
Rusty
Here's a shot of the supplies for the new ridge lines and whoopie slings.
1. Amsteel Blue 1/8"
2. Nite Ize Cam Jam (this isn't necessary, you can use a truckers hitch, but this makes it really easy to set the ridge line tension)
3. Tree straps for the ridge line (simple cam buckle straps you can find anywhere)
4. Large knitting needle
5. Heavy wire for buries
6. Ruler or measuring tape
7. Razor knife (forget scissors, use a razor or box cutter on Amsteel)
8. Masking tape

Let's do the tarp ridge line first since it's the simplest, I'll also include some Amsteel working tips in this section too which will help explaining the whoopie slings.
I used 25' of Amsteel for the tarp ridge lines, with a fixed loop on one end and a stop at the other end. One thing about Amsteel, since it's made up of thousands of tiny fibers, it will fuzz up bad once you cut it. I've found a piece of masking tape really helps with assembly after cuts. You're going to be passing this back through itself so a fuzzed up end makes things difficult.


The fixed loop is made up of a Brummel hitch and a bury. A short bury, the sort you use for a fixed loop, for 1/8" Amsteel is 6 1/2" (50 x rope dia.). You'll mark the end of the rope with a sharpie at 6 1/2" from the end (forms the bury), then at 6" from the original mark to form a 3" loop when doubled over on itself. Next insert the knitting needle at the 12 1/2" mark. This stuff works like a Chinese finger trap, so it helps to scrunch it up in order to get the needle and the bury tool in there. Be careful to get the same amount of thread bundles on each side of the needle so that it goes directly through the middle of the rope.


Next you're going to pass the 6 1/2" end of the rope through the hole you made with the needle, until the second mark is just past the hole and insert the needle at that mark. Pass the long end through the second hole and pull it tight to form the Brummel hitch.


Next comes the bury, this is what actually creates the tension in order to make the fixed loop not slip out. First you need to taper the end of the 6 1/2" tail that's left after the Brummel hitch by removing thread bundles. This is a 12 strand rope and the formula for calculating the amount to remove for a taper is strands÷2-1, so for a 12 strand rope it would be 5 (12÷2-1=5). The taper should be about 1/3 of the total bury. You'll use the needle to gently separate the strands from the rope moving down as you go to space out the strands to be removed and form a taper in the rope. Once you have them all pulled out, carefully cut them at the rope. The taper keeps the rope from breaking at the point where the bury stops.


Here's the finished taper:

Now it's time to finish the fixed loop with a short bury of the tail we just tapered. Take your heavy wire and double it over to form a loop about 12" long. Since Amsteel is a hollow braid rope, you can thread the tool right up through the center. Start about 1 1/2" further out on the rope than your tail to make sure it all buries and insert the bury tool into the center of the rope. Work it up until you get to the Brummel hitch and make it come out just below the top end of the tail. Slide the last 1/2" or so of the tail into the tool and gentle start to pull the tail back down through the rope. It will take a little wiggle to get it started into the rope, but don't force it, just slowly roll the rope between your fingers while you pull and it will start. Once the tool pulls out the bottom hole you will need to "milk" the bury to tighten everything up. That's it, you have a fixed loop.


The other end gets a stop to finish the end. It's basically just a very short bury turned back on itself and pull tight. It just cleans up the loose end.


I just passed the stop end through the Cam Jam, added a couple of Prusik loops and "S" biners to attach the tarp to the ridge line to finish it off. That's it, that's how you make a ridge line for a tarp. As mentioned above, the Cam Jam isn't necessary, a truckers hitch works just as good, just a bit more fiddly.
Sorry for the long post, I tried to condense it as much as possible. Let me know if you guys have any questions. In the next post, I'll show the modifications to the stock Hennessys and whoopie sling construction.
Rusty

