hi, I am new here. reading a lot of past posts, looks like there is a lot of experienced builders here. I am building a solo canoe with a lot of tumblehome. I am trying to build as light as I can so no big hardwood gunnels to hang seats from which means epoxied in cleats, so now my question. being a solo canoe with the seat just behind center, my cleats will be attached within the tumblehome area. which means the seat will be pulling the tumblehome down and in instead of pushing down on the sidewalls. hope this description is clear.....has this, can this be done or am I asking for problems?
-
Happy National Go Fishing Day! 🪝🪱🐟🎣
You are using an out of date browser. It may not display this or other websites correctly.
You should upgrade or use an alternative browser.
You should upgrade or use an alternative browser.
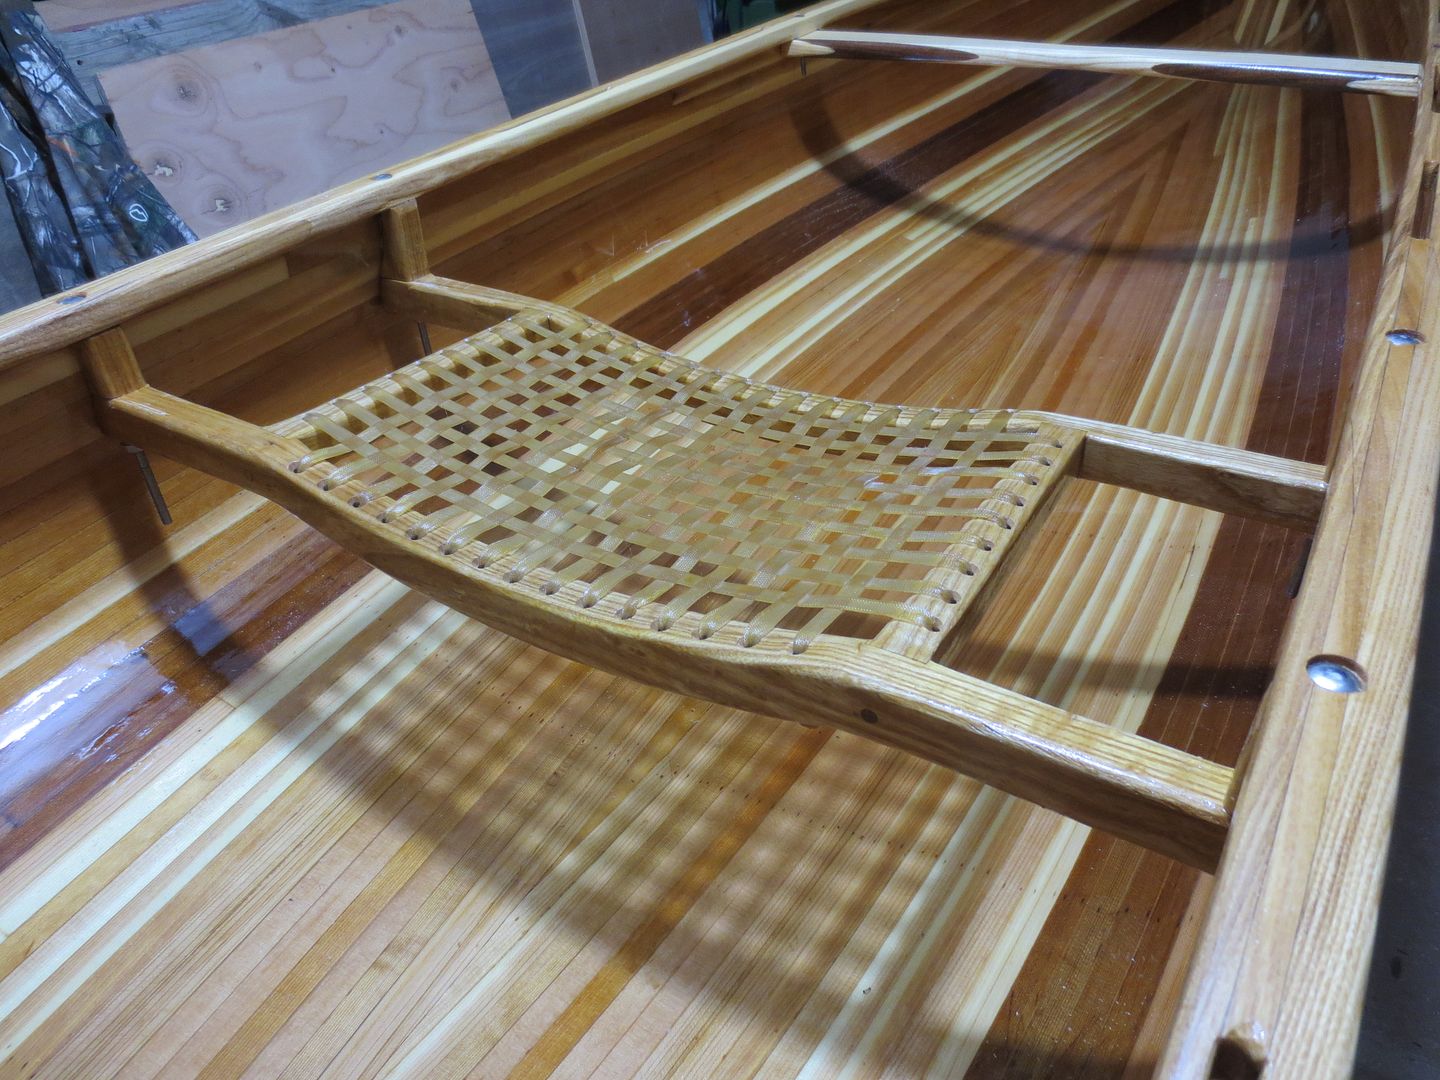
epoxied in seat cleats
- Thread starter Trevor27
- Start date
Welcome to the site, Trevor. I am not one of the builders, who I hope will respond with more expertise to your question, but I'm sure I've seen cleated seats on factory canoes with tumblehome, such as some from Swift and Wenonah. I've also seen tumblehomed canoes built with composite pedestal seats.
Mr 27,
I used to hang my seats on epoxied in place cleats, if you search my posts you’ll find some load-deflection tests that I performed on a sample cleat.
I posted the plot here somewhere, but I’ll say that the cleat failed in excess of 300 lbs, the cleat itself (mahogany) not the Cabosil thickened epoxy joint.
So with 4 of those cleats, it would take around 1,200 lbs load on the seat to fail.
As far as a cleat on tumble home hull, I had such cleats on my strip built DY Special, if you know that hull (or care to look for images of it) you know that the tumble home doesn’t get much more radical than that.
Just take care to match the cleat interface to your hull shape, use a thickened epoxy and add some fiberglass cloth reinforcement, if you’re as anal as I am.
I just read Glenn’s post, and I guess I should elaborate.
My current preference for solo seat mounting is for bottom mounted pedestals, two supports mounted far enough apart to fit feet two feet.
I find that such mounting allows for easier movement throughout the hull, as in when moving fore-aft when loading, launching, and shifting weight for beaver dam and deadfall crossings.
Such pedestals also allow for a foot on either side of a single pedestal, for varying seat positions or to make for more comfortable healing.
In addition to all of those advantages, I provide fore- aft adjustment of the seat itself, to trim for gear or wind/wave conditions
The cleats can delaminate. I just talked to a builder that had this problem. He weighed 160 #.
I've hung all my seats from the rails (gunnels) at 240# never had a problem.
If you do decided to go with cleats make them big enough, and with enough support to hold up !
Jim
I've hung all my seats from the rails (gunnels) at 240# never had a problem.
If you do decided to go with cleats make them big enough, and with enough support to hold up !
Jim
thanks for the advice, I have a few ideas, lets see how much trouble I can get into.
If you are able, folks are always interested in seeing pictures and reading about experiences, both successes and troubles. It's how we pass on the skills.
Jim,
Can you get more info of that builder’s cleat failure?
Most epoxies have around 5,000 psi shear strength, I wonder what were the cleat dimensions.
And what might have been the nature of the delamination? Which epoxy, filler or not, any additional reinforcement, possible epoxy incompatibility?
I will likely be doing seat cleats on the next couple of builds and want to avoid any such issues.
I have some boats with epoxied in seat cleats that are nearly 30 years old and still doing ok.
That is a builder issue, not a method issue Jim .... gunnels can let go as well.The cleats can delaminate. I just talked to a builder that had this problem. He weighed 160 #.
I've hung all my seats from the rails (gunnels) at 240# never had a problem.
If you do decided to go with cleats make them big enough, and with enough support to hold up !
Jim
Hi Trevor,
This is a link to my last lightweight solo build, scroll down aways and you will find the cleat attachment/design section
As far as where you place those cleats, it's a solo, you can lower the seats to a suitable area, failing that contour the back of the cleats to fit the tumblehome.
Brian
ps. after the site migrated, a lot of the initial pics on this build are only links, not sure why ... but the latter section is fine
This is a link to my last lightweight solo build, scroll down aways and you will find the cleat attachment/design section
Light Weight Solo Tripper Build
This post will cover off some of the finishing steps as we move to final fit and varnishing. Normally, I would have completed the yoke by now and started finishing the gunnels ... but I "had an idea" and the router bit I ordered and require, is taking forever to get here, so the yoke is on hold...
www.canoetripping.net
As far as where you place those cleats, it's a solo, you can lower the seats to a suitable area, failing that contour the back of the cleats to fit the tumblehome.
Brian
ps. after the site migrated, a lot of the initial pics on this build are only links, not sure why ... but the latter section is fine
ps. after the site migrated, a lot of the initial pics on this build are only links, not sure why ... but the latter section is fine
A tangent, but you're right. Curious. There were lots of photo problems under vBulletin and I wonder if it made a difference during migration whether the photos were implemented via attachment vs. embedding. I'll see if I can get some answers.
Thanks Glen, wasn't a complaint, just odd that half show and other have links... I mentioned that only because if the poster goes to the thread beginning it would look differentA tangent, but you're right. Curious. There were lots of photo problems under vBulletin and I wonder if it made a difference during migration whether the photos were implemented via attachment vs. embedding. I'll see if I can get some answers.
Thanks
Brian
Stripper guy and Cruiser. The conversation was with Randy Maddox, over on on Facebook. https://www.facebook.com/groups/486558078049296/ You might need to be a member in order to view the site. I looked back, but couldn't find our conversation We did respond to each other. If you can, check his canoe, and you should see how his cleats were installed. the above link requires some scrolling. I hope this helps ! https://www.facebook.com/photo/?fbi...E1_H48qH4_dg9v5NkVgzcq9HI66T0Z9c&__tn__=*bH-R
I stand by my original post on the subject Brian.That is a builder issue, not a method issue Jim .... gunnels can let go as well.
Yes, cleats can be made to hold a 240# man. So far my gunnels have held fine.
I've posted this before, but for the sake of our new look, and maybe some newer members, here it is again.
Mahogany seat cleat on representative hull section, RAKA epoxy with Cabosil, no other reinforcements

This was the set up in the lab using that load frame and calibrated load cell, deflections measured with calibrated LVDT.

Load-Deflection plot

Close of pic showing the nature of the failure

Mahogany seat cleat on representative hull section, RAKA epoxy with Cabosil, no other reinforcements
This was the set up in the lab using that load frame and calibrated load cell, deflections measured with calibrated LVDT.
Load-Deflection plot
Close of pic showing the nature of the failure
Similar threads
- Replies
- 2
- Views
- 471
- Replies
- 14
- Views
- 1K