- Joined
- Jan 13, 2013
- Messages
- 271
- Reaction score
- 1
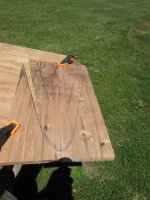
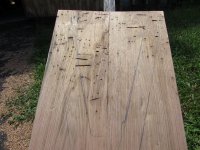
I picked up a kevlar Mad River Malecite and am at the point where I'm building new decks. Not a big project but I am using the last of my coveted Butternut wood. It's a nice wood to work with and MR use to make a lot of their decks with it. I started with an eleven foot board by six inches wide by just over an inch deep. By the time I had allowed for knots, a little rot here an there I got four boards out of it that fit the bill. Now Butternut has an interesting grain and texture so when I put it through the planner I keep rotating the board to get the smoothest surface possible.
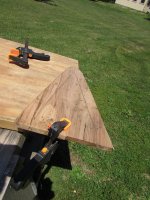
After that I measured out to twenty inches and cut them, I happen to like long decks. My next task was to glue them together using G-Flex. I did buy a one quarter inch dowel to marry the two boards together but after some chin scratching and remembering my last attempt at that I decided to just use straight resin. My plan is to lay down another thin bonding board on the underside to keep the seam tight.
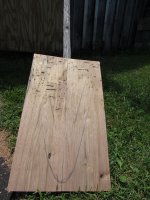
So all I really did was cut the boards, smeared a lot of G-Flex on them and clamped them tight for step one. A day or so of drying time and then I will plan them down to somewhere about a half inch or so. They are nothing more then blanks right now but I think they will look pretty nice when it's all done and said.
Thought I'd mention this as I haven't seen much about making decks out of wood. Carbon fiber is way out of my league but I sure admire that! I do need more clamps though. Fun job but pretty mindless and of course more time spent on gathering everything I needed then the actual task! Gotta love it!
After that I measured out to twenty inches and cut them, I happen to like long decks. My next task was to glue them together using G-Flex. I did buy a one quarter inch dowel to marry the two boards together but after some chin scratching and remembering my last attempt at that I decided to just use straight resin. My plan is to lay down another thin bonding board on the underside to keep the seam tight.
So all I really did was cut the boards, smeared a lot of G-Flex on them and clamped them tight for step one. A day or so of drying time and then I will plan them down to somewhere about a half inch or so. They are nothing more then blanks right now but I think they will look pretty nice when it's all done and said.
Thought I'd mention this as I haven't seen much about making decks out of wood. Carbon fiber is way out of my league but I sure admire that! I do need more clamps though. Fun job but pretty mindless and of course more time spent on gathering everything I needed then the actual task! Gotta love it!
Attachments
-
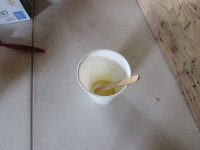 photo2396.JPG77.7 KB · Views: 0
 -
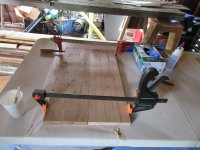 photo2397.JPG122.3 KB · Views: 0
 -
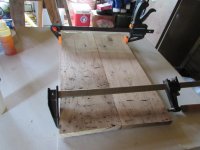 photo2405.JPG99.7 KB · Views: 0
 -
 photo2404.JPG137.7 KB · Views: 0
 -
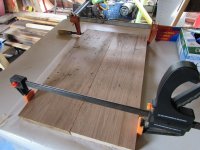 photo2403.JPG123.8 KB · Views: 0
 -
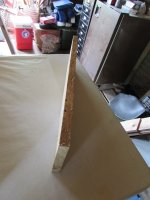 photo2402.JPG94.1 KB · Views: 0
 -
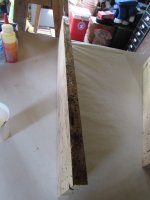 photo2401.JPG90.5 KB · Views: 0
 -
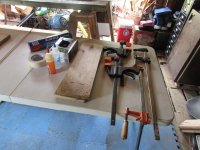 photo2400.JPG143 KB · Views: 0
 -
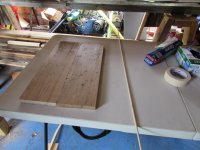 photo2399.JPG122.3 KB · Views: 0
 -
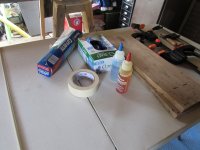 photo2398.JPG109.8 KB · Views: 0
Last edited: