• Happy Weed Appreciation Day! 🌱🌿🌻

A Stripper and a Composite Copy

Joined
Feb 14, 2015
Messages
4,231
Reaction score
1,119
Location
Iowa
Here I go again !

I thought I would settle back, and spend more time paddling, than building.
All of a sudden, materials started falling into my lap.

Picked at least 20yds, of 5 oz x 50" Kevlar, at an auction for $5.

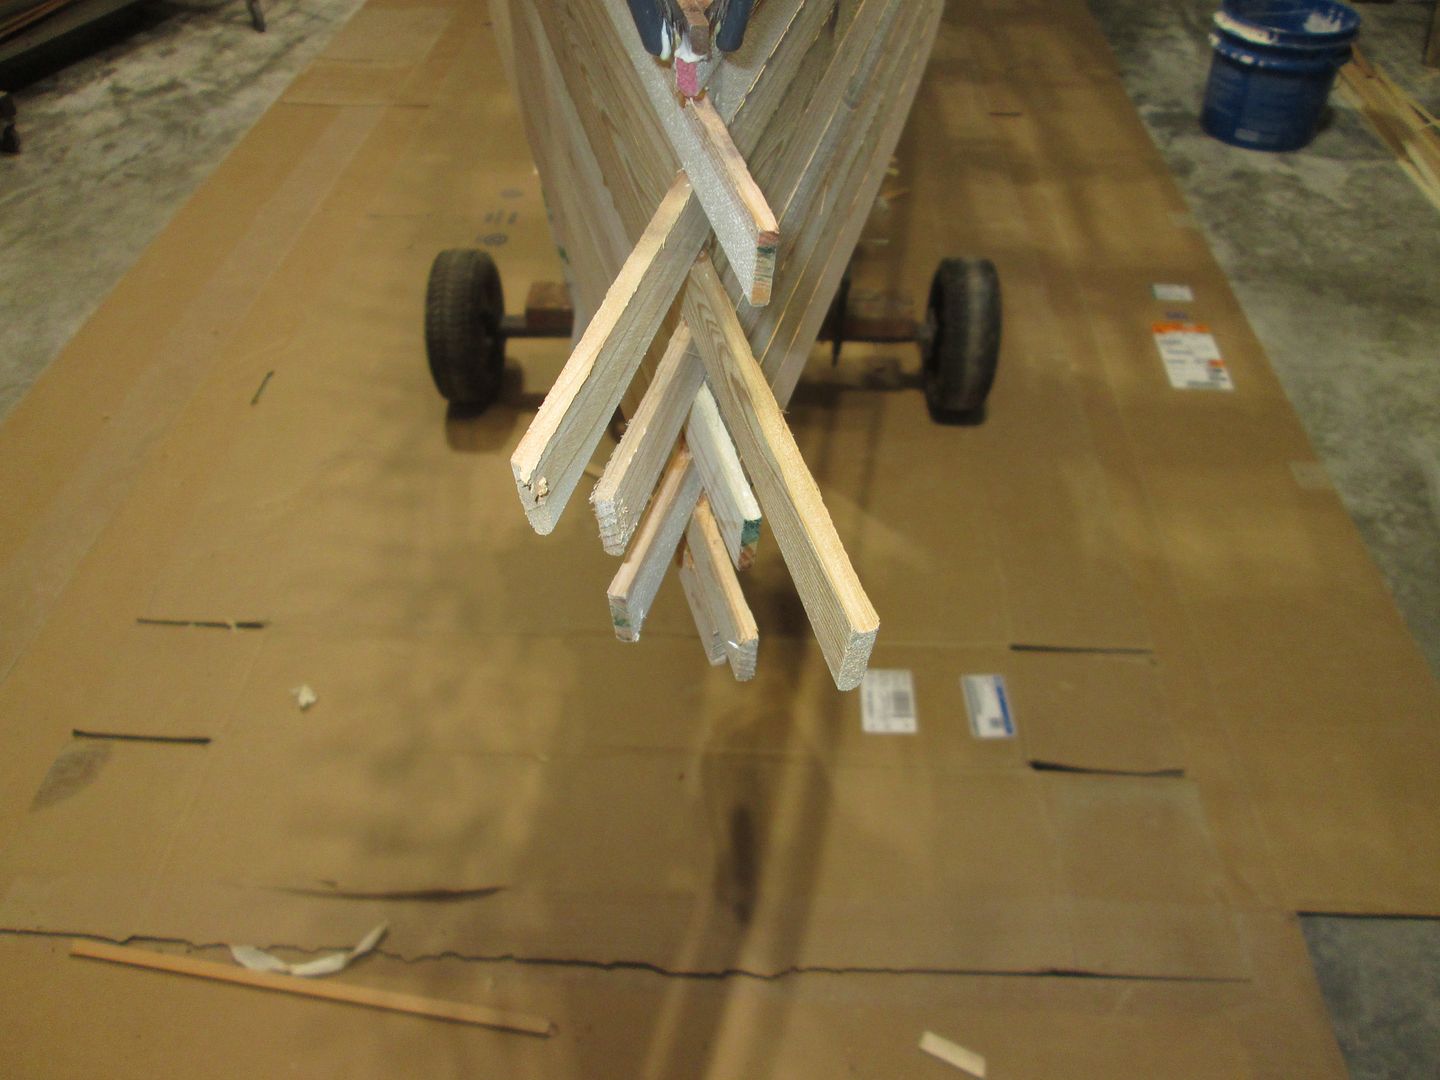
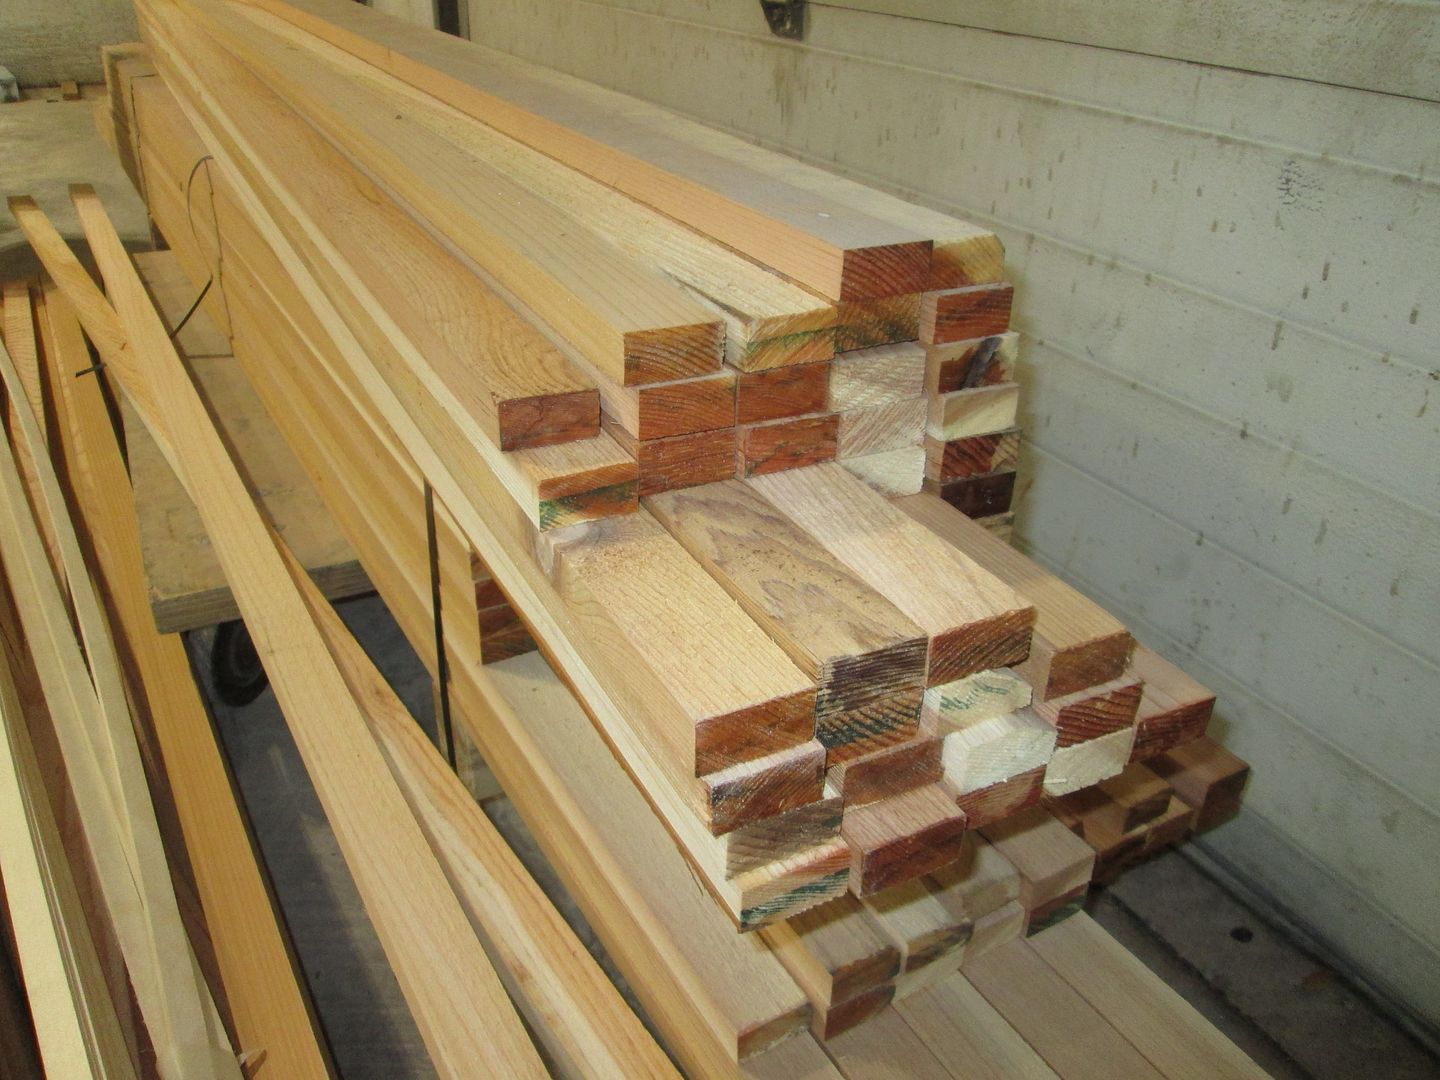
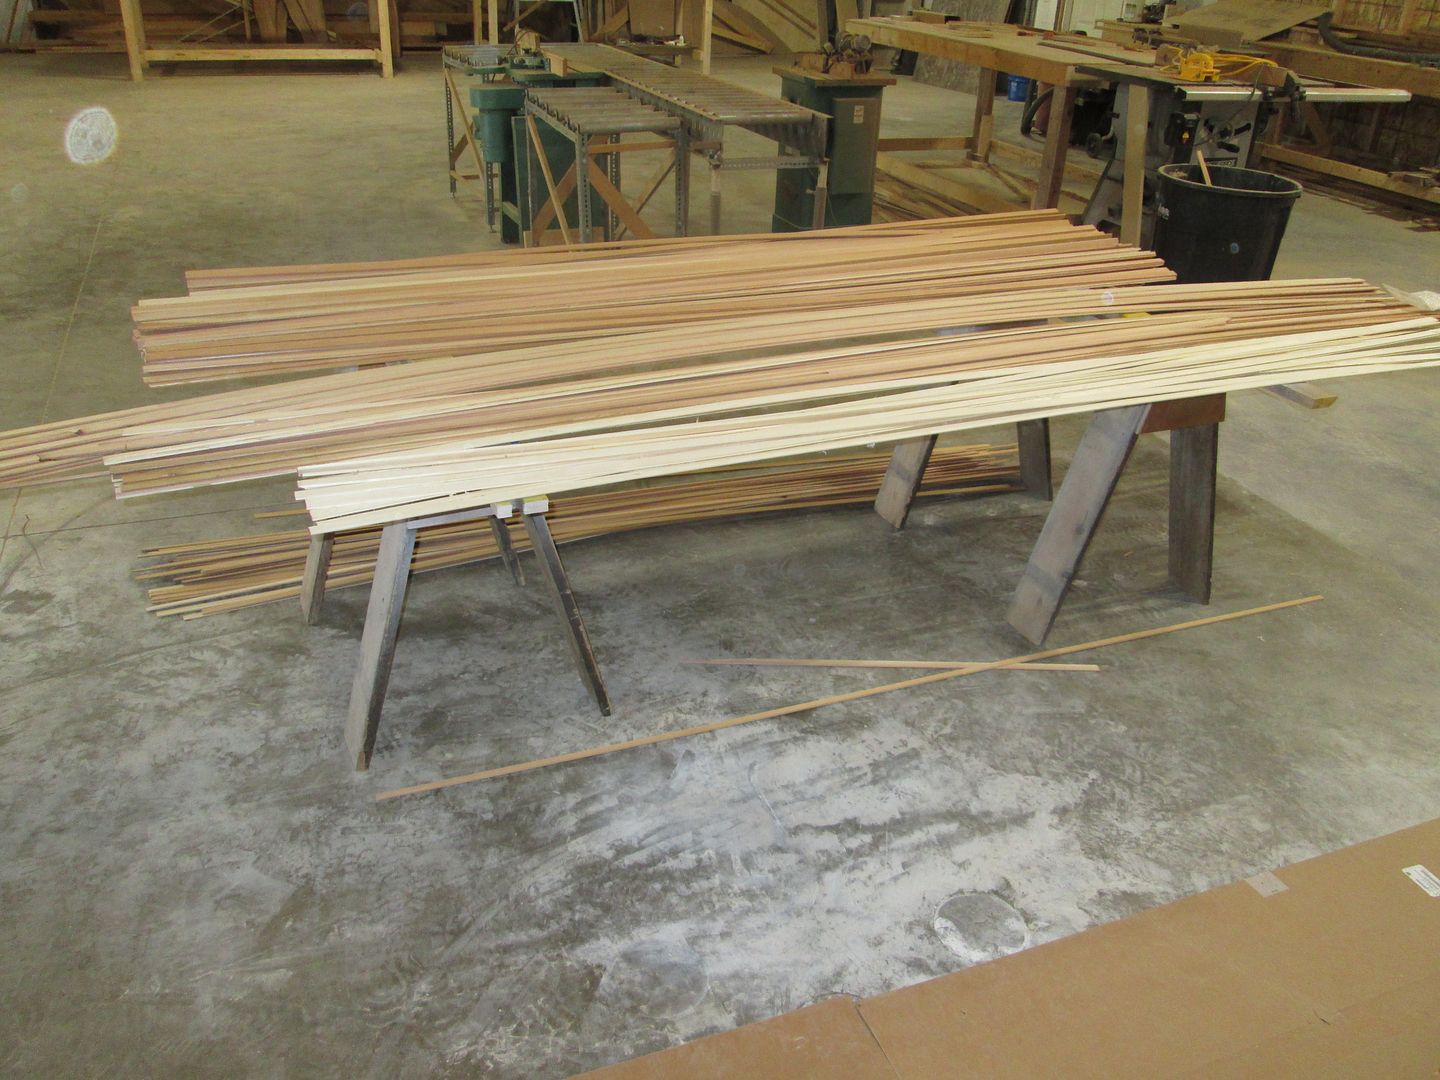
Then a bunch of WRC trimmings from a local supplier, grabbed my attention. Most of it was, 3/4"x 1 5/8"x 8'. It was mostly clear, and flat grain. I try and shy way from less than full length strips, but for the price ? I couldn't pass it up ! Enough wood for about three hulls. They gave it to me ! Once I made it back to the shop, and started looking it over ! I felt like a Thief, and went back with $100 . I slept a lot better after that !

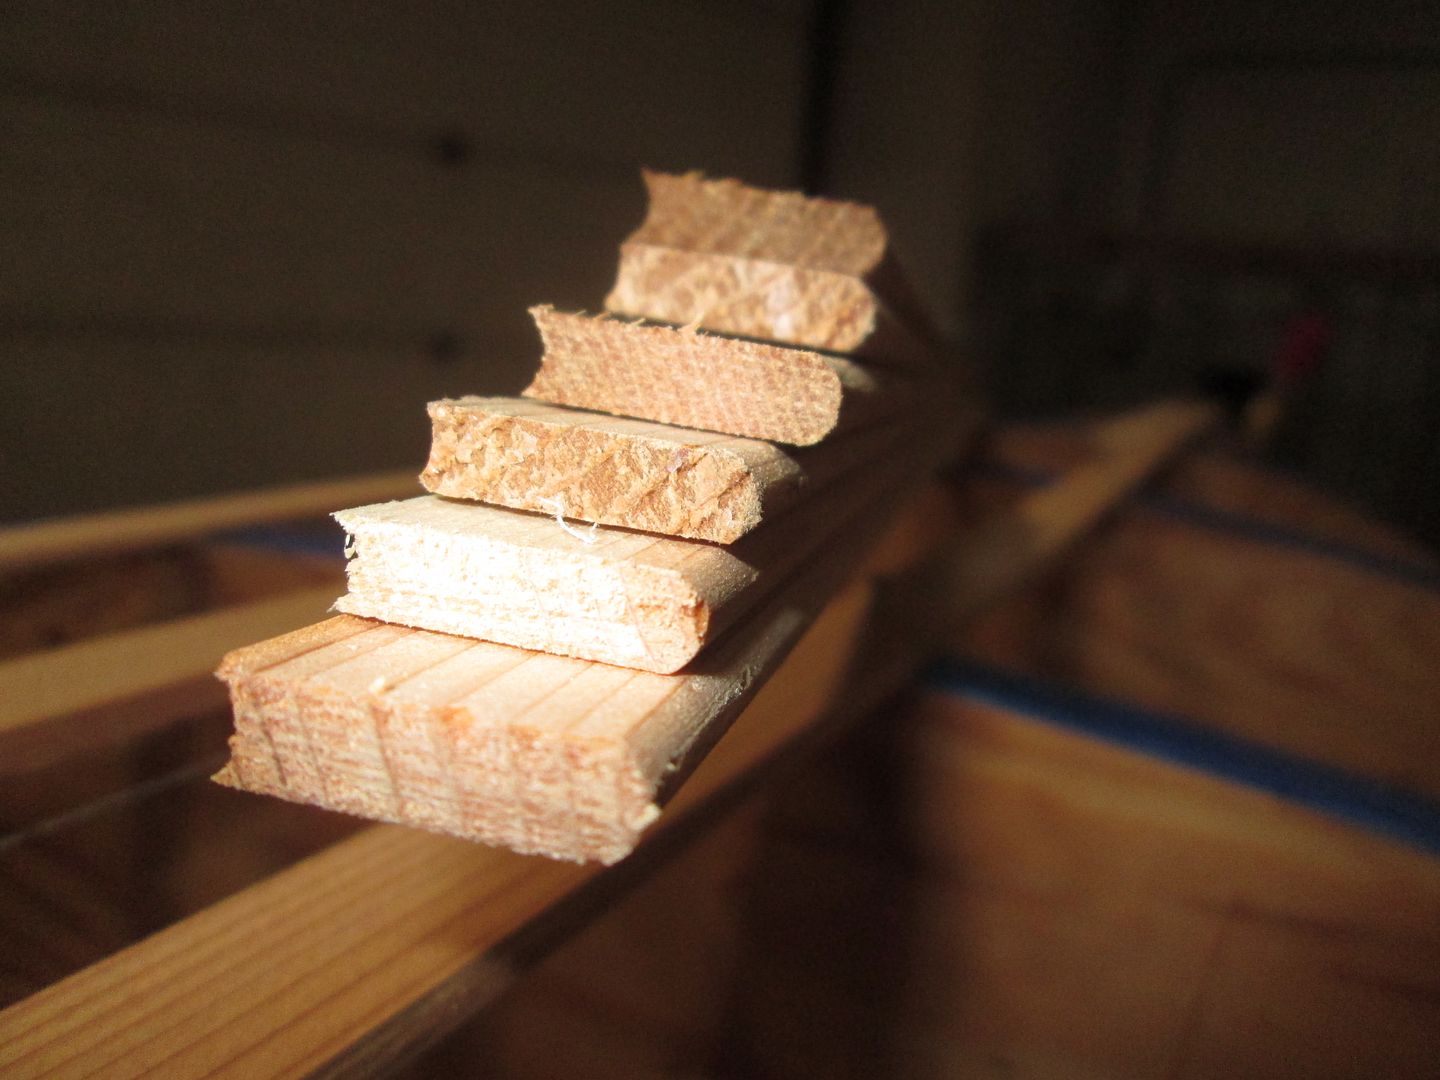
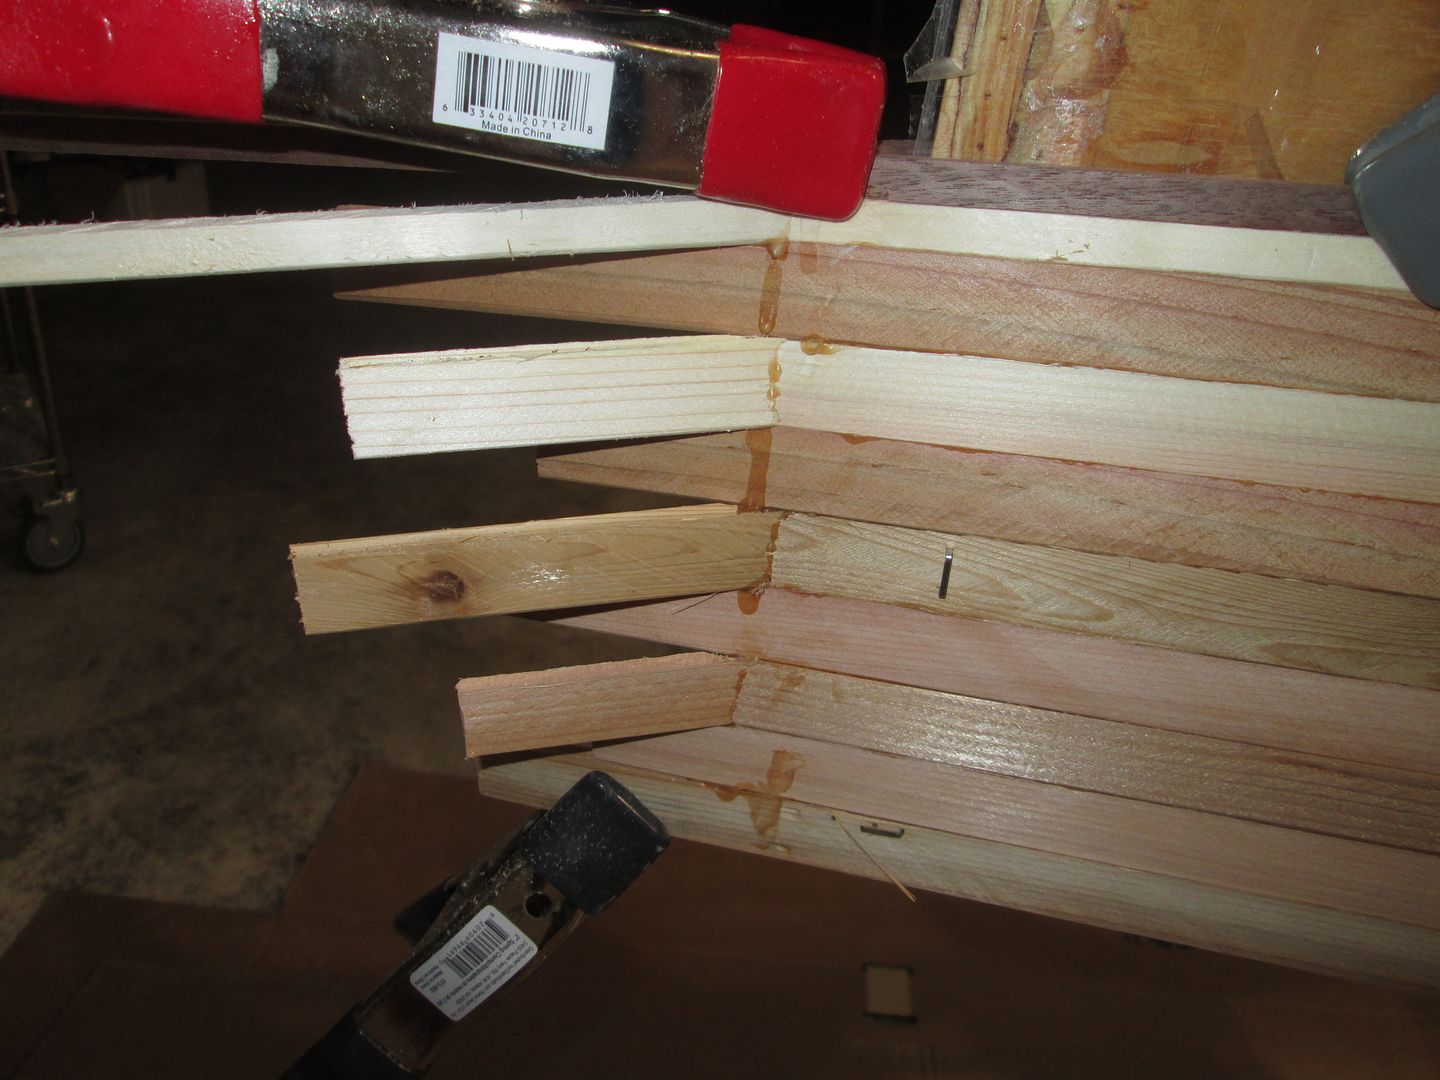
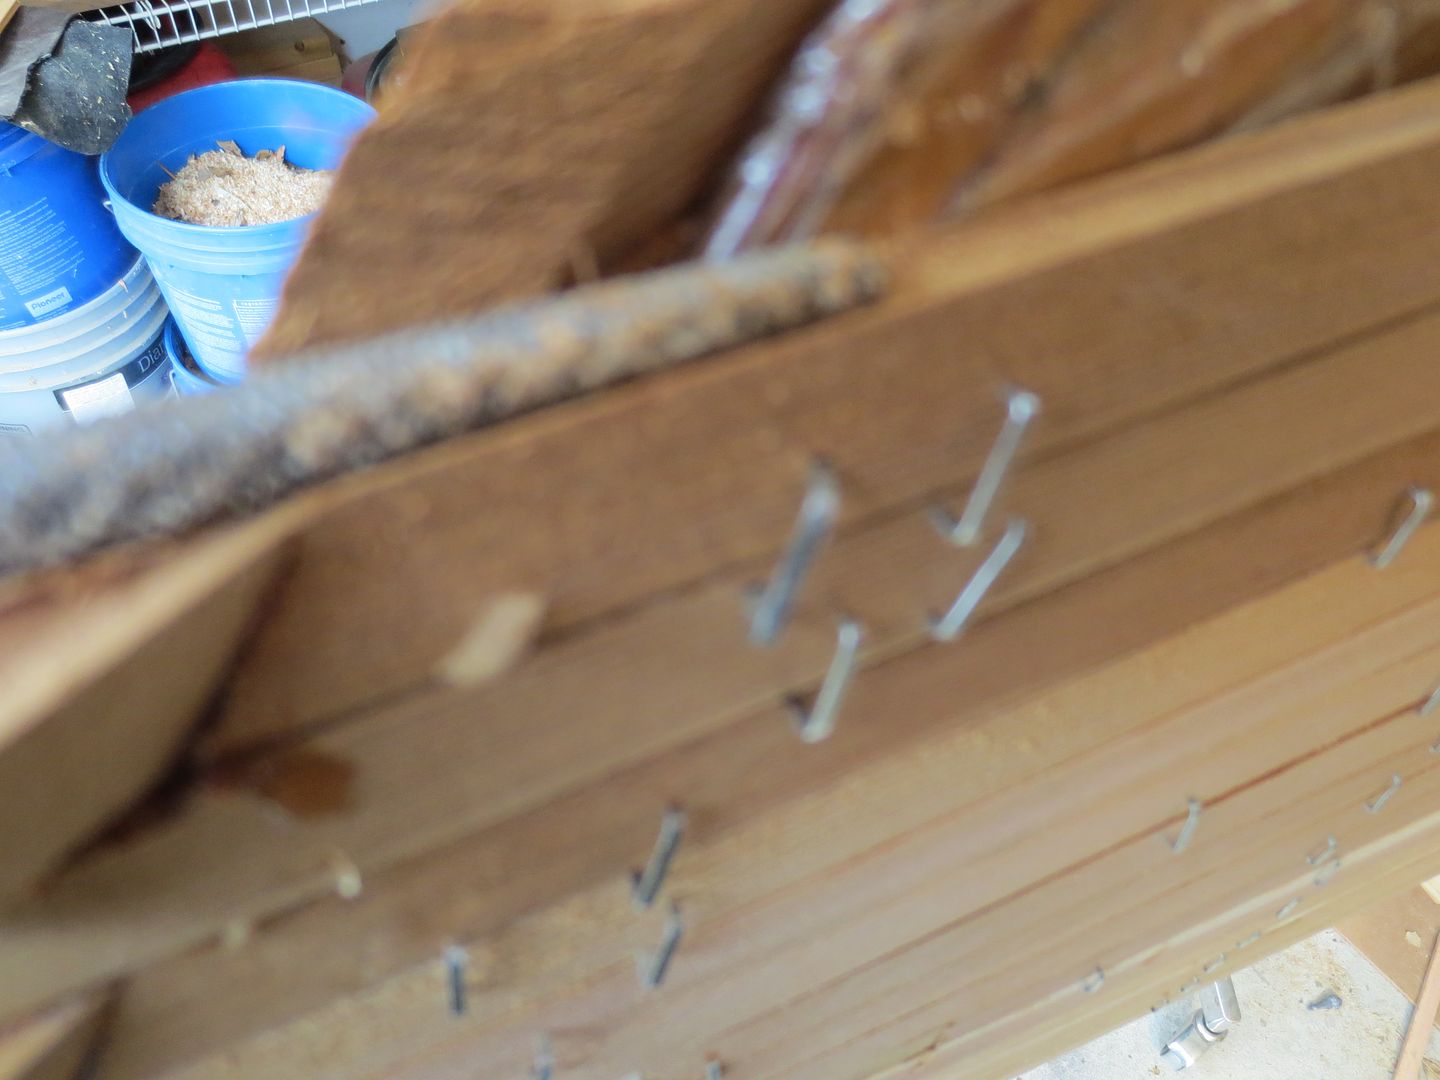
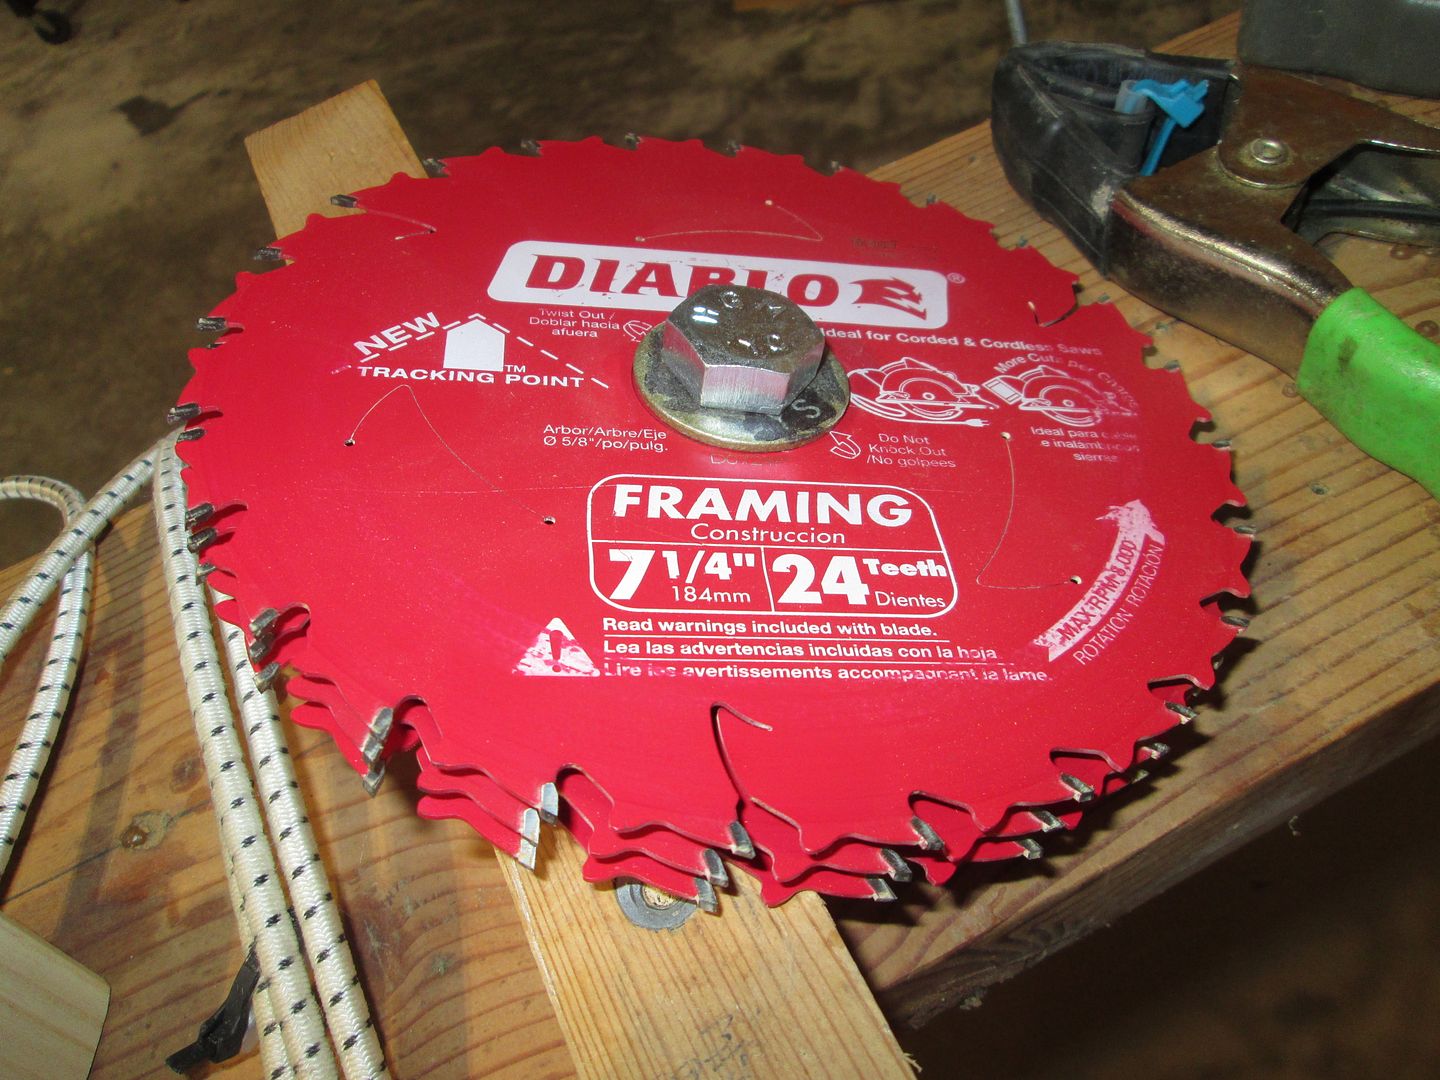
To start the project, I Cut strips on the Shop's Delta Unisaw. This was going to be my first hull, using 3/16" strips. As it turns out ? The Unisaw with a gang of three Freud Diablo blades, yielded 6 strips making only 2 passes, Perfect !.

I know a few are saying " No Skilsaw ? " In this case the Unisaw reigned as King !

It took a lot of trial and error, but with enough washers, and Dado blade spacers, I was able to get all the strips the same thickness.

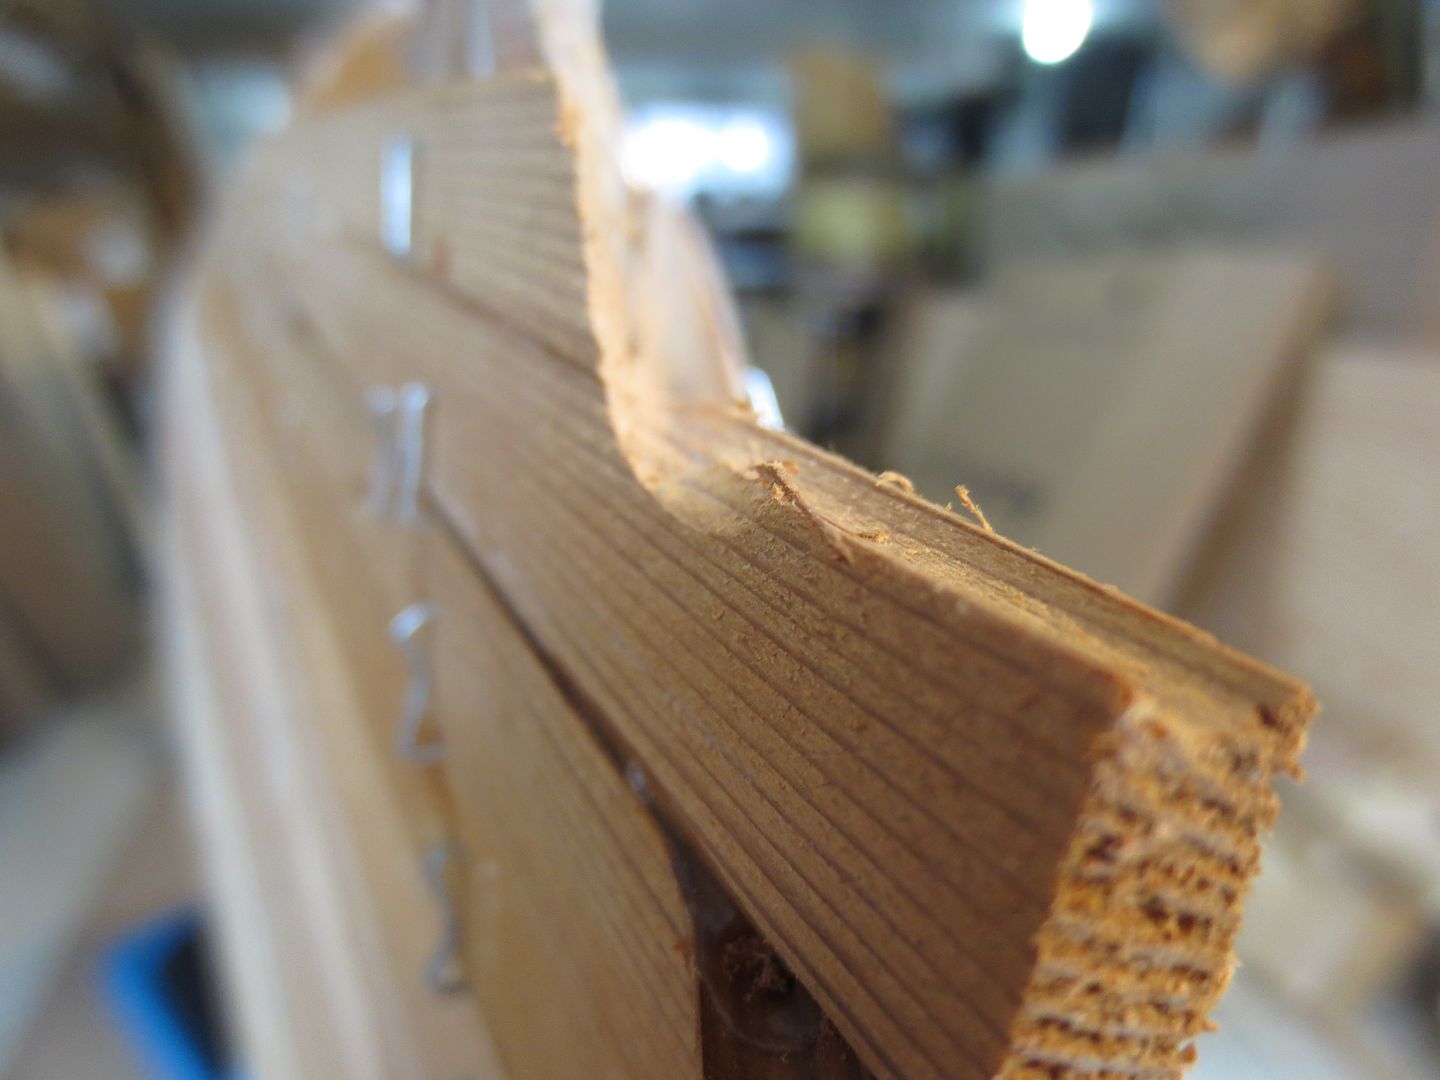
Now for bead and cove. I used the same bits I use for 1/4" thick strips. It worked, but next time, I'll go with 3/32" radius bits.

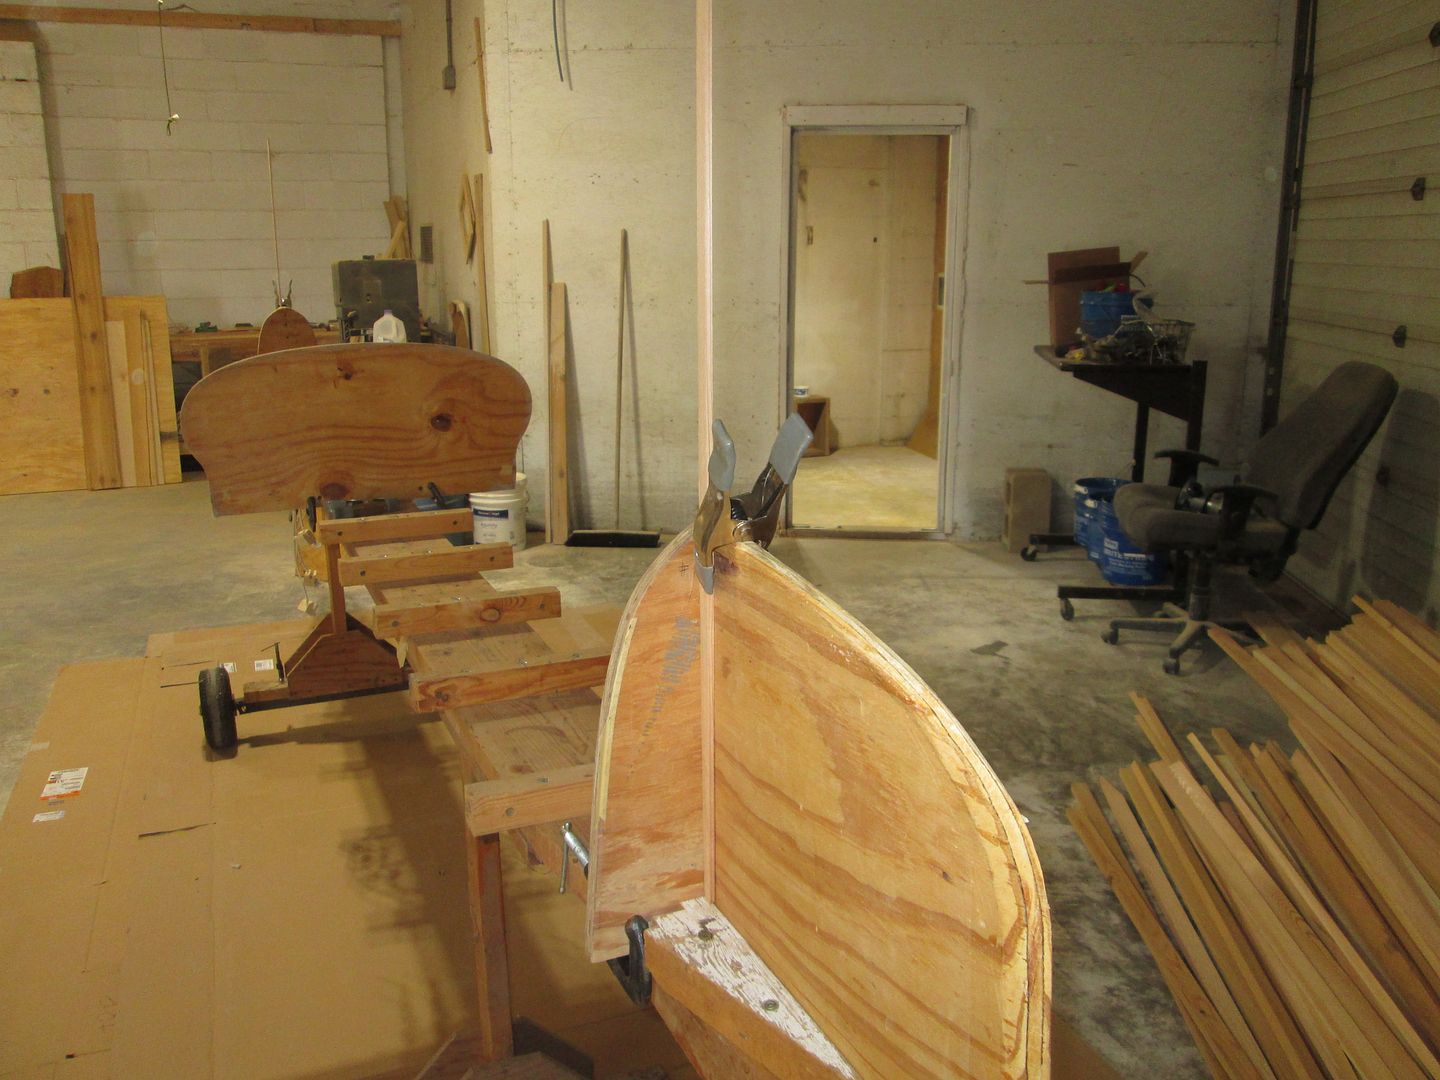
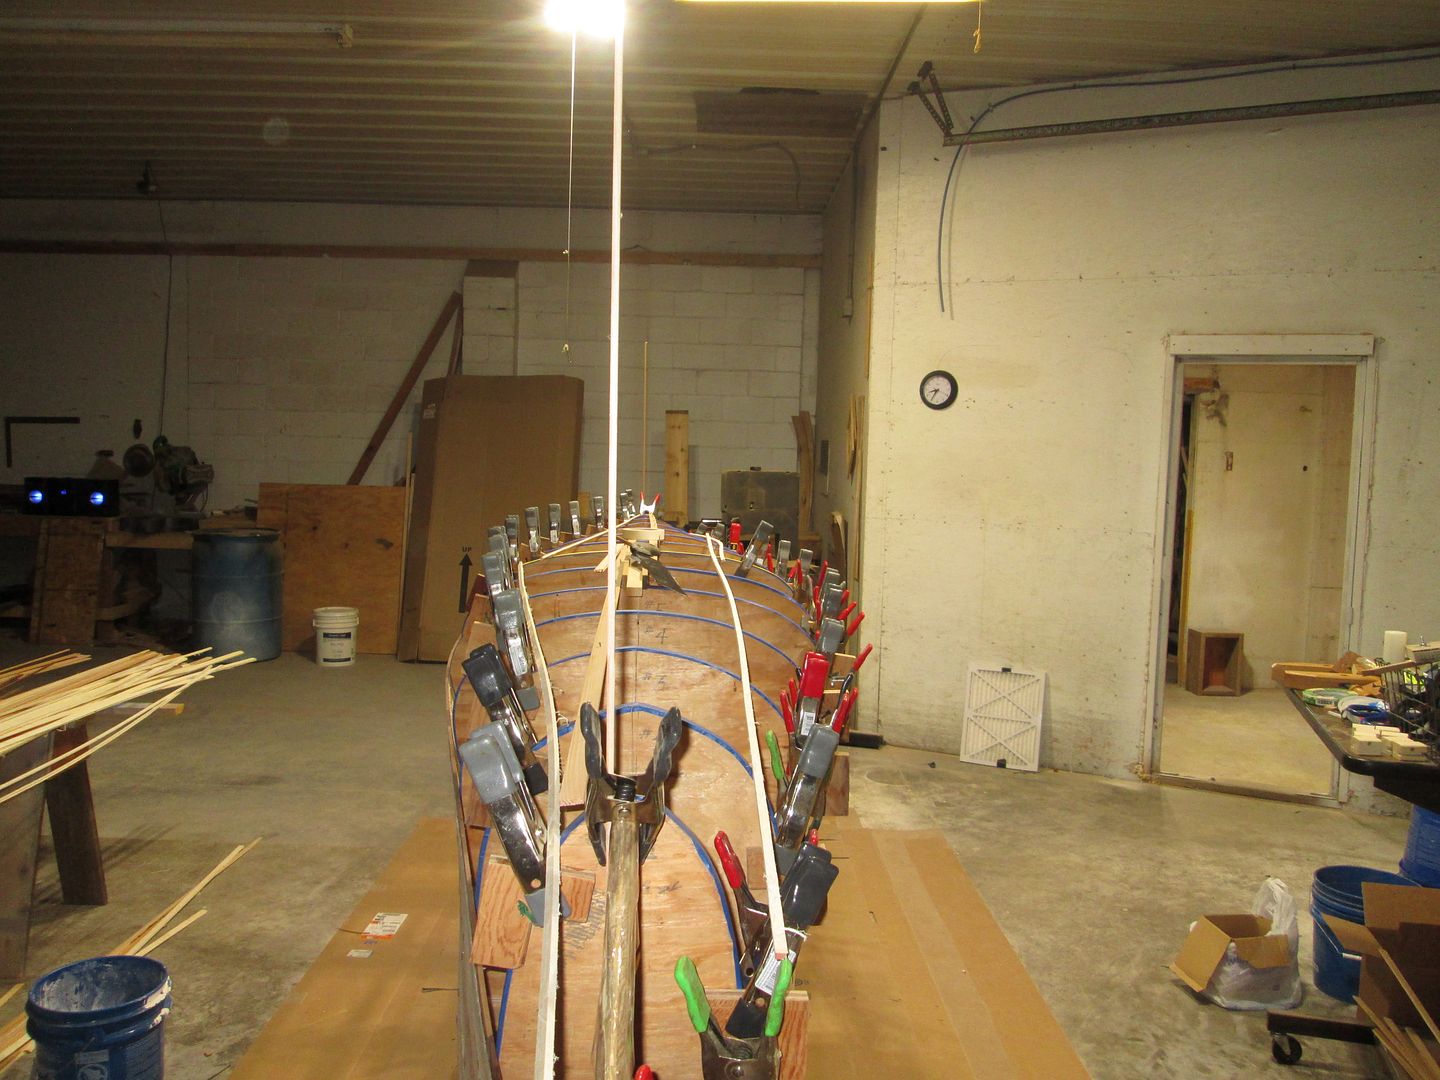
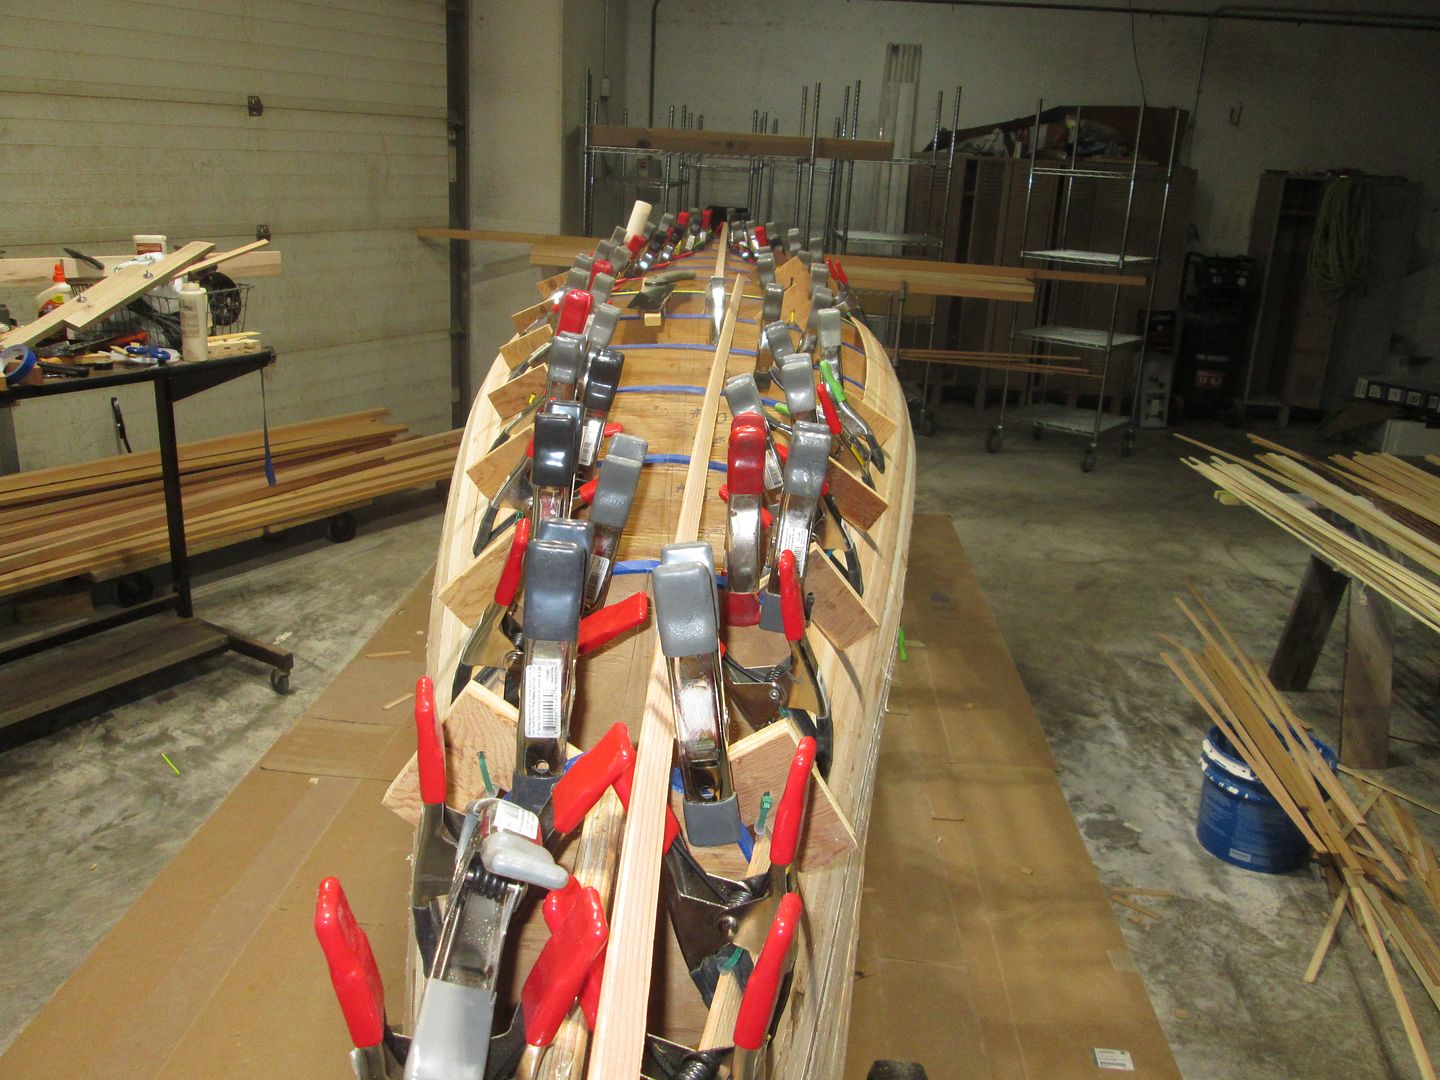
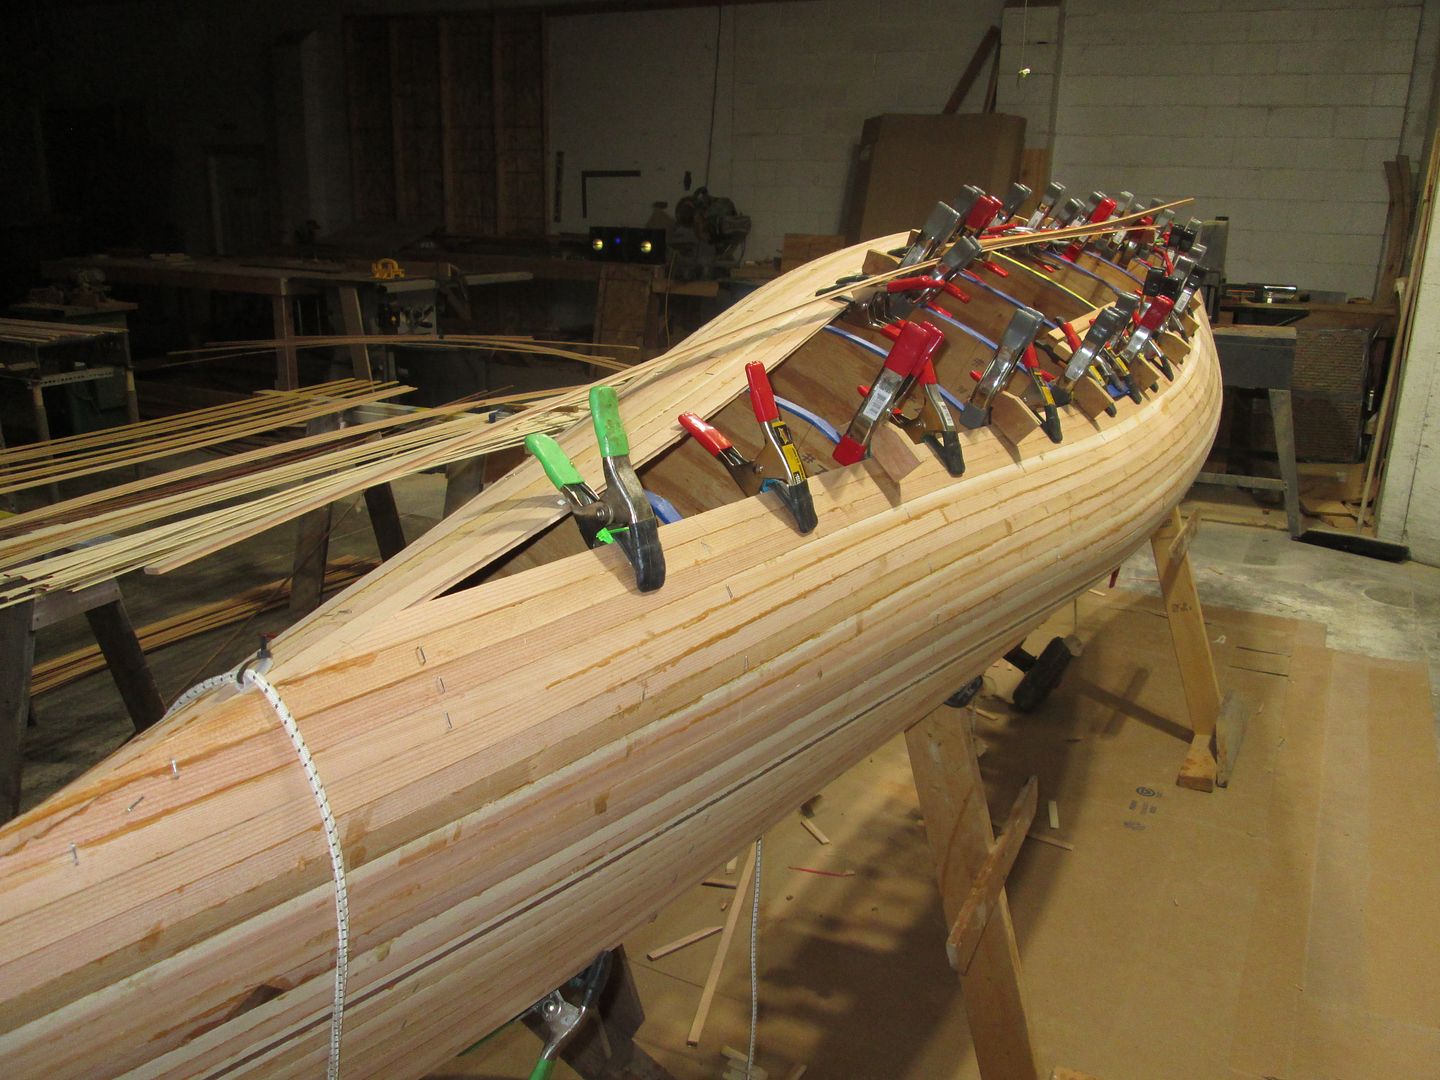
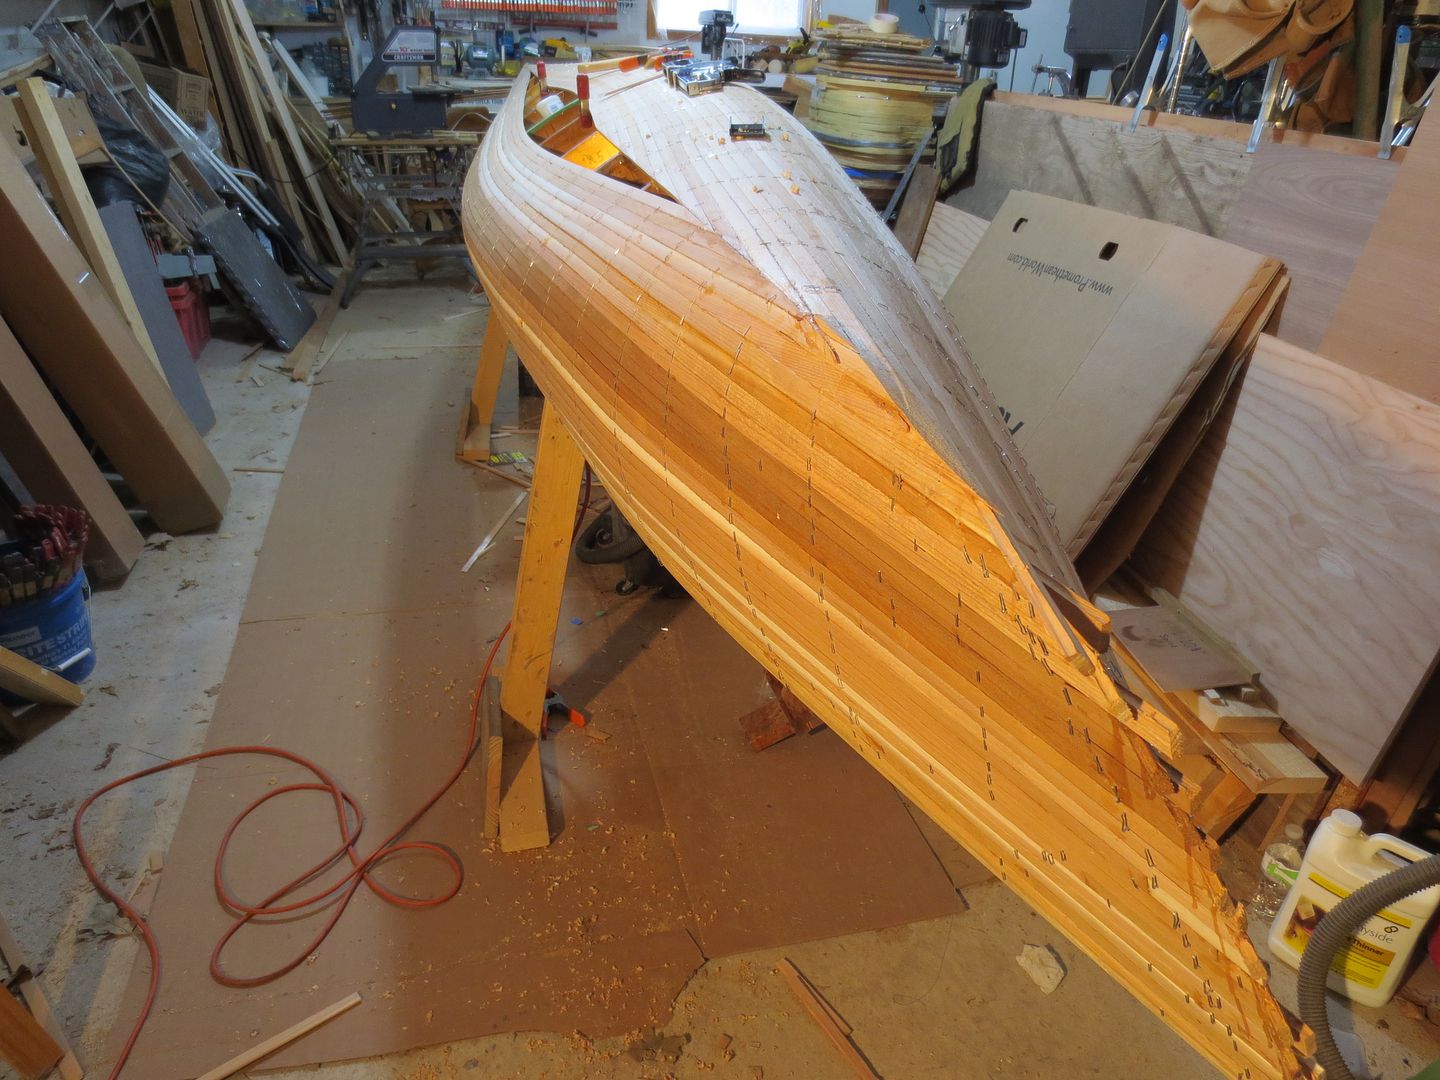
I'll throw in some picks. I started this build at the Nokomis Wood shop, last Fall. The Shop, was given access to more work space. It was just Begging for me to build a canoe in !

IMG_3612.JPG


IMG_3610.JPG


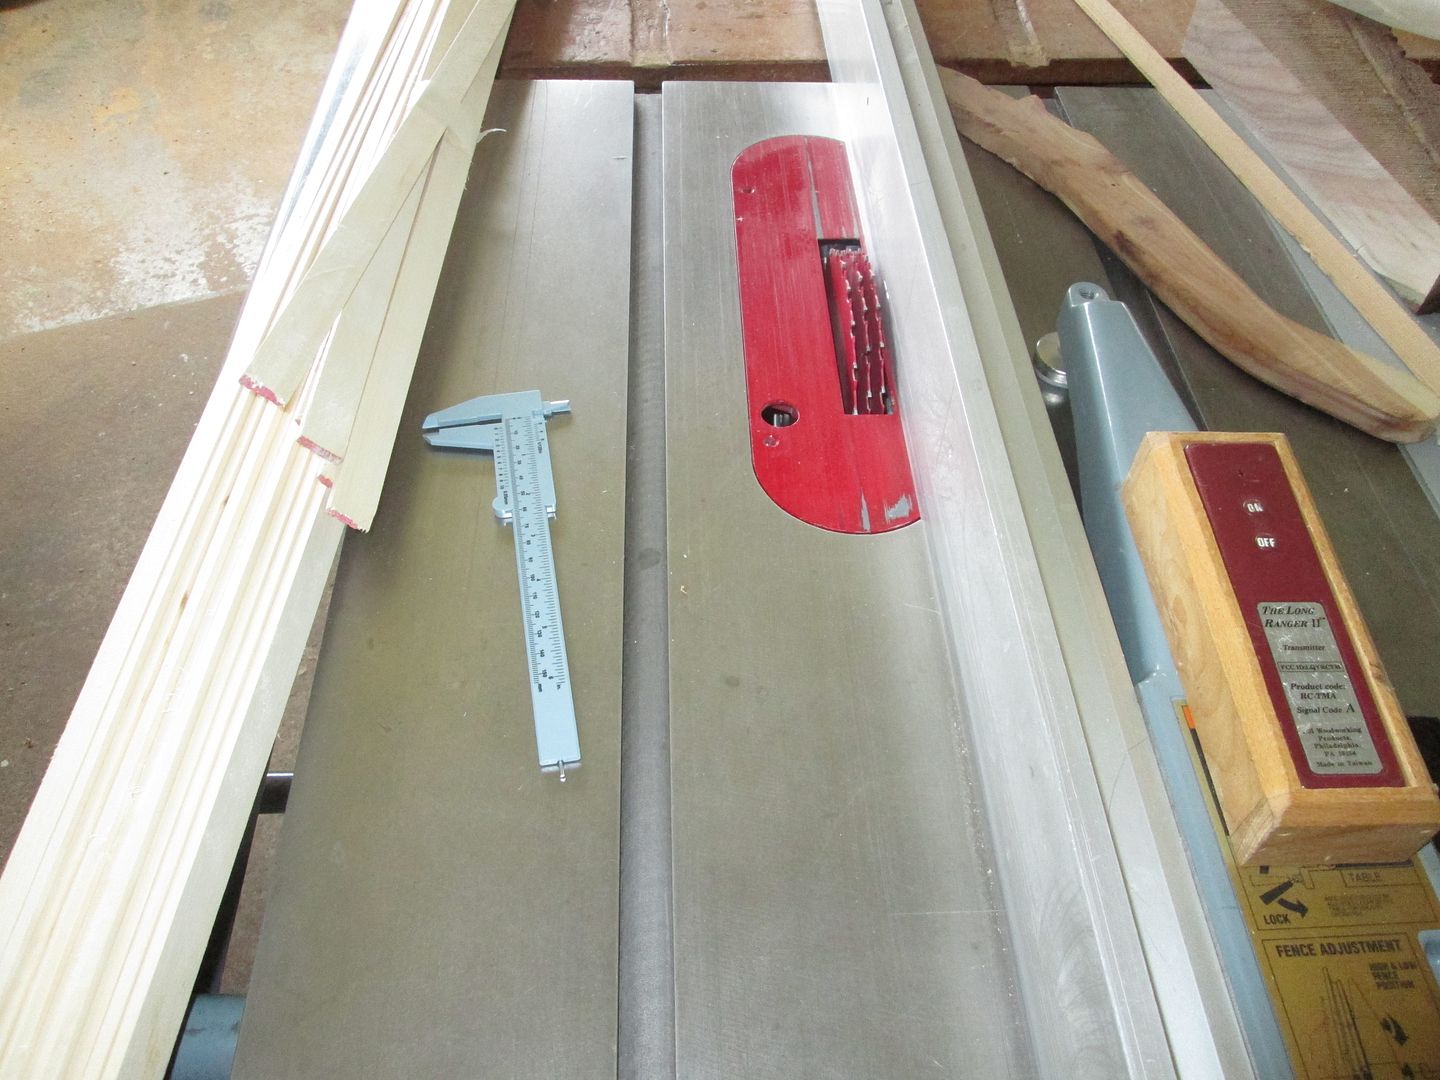
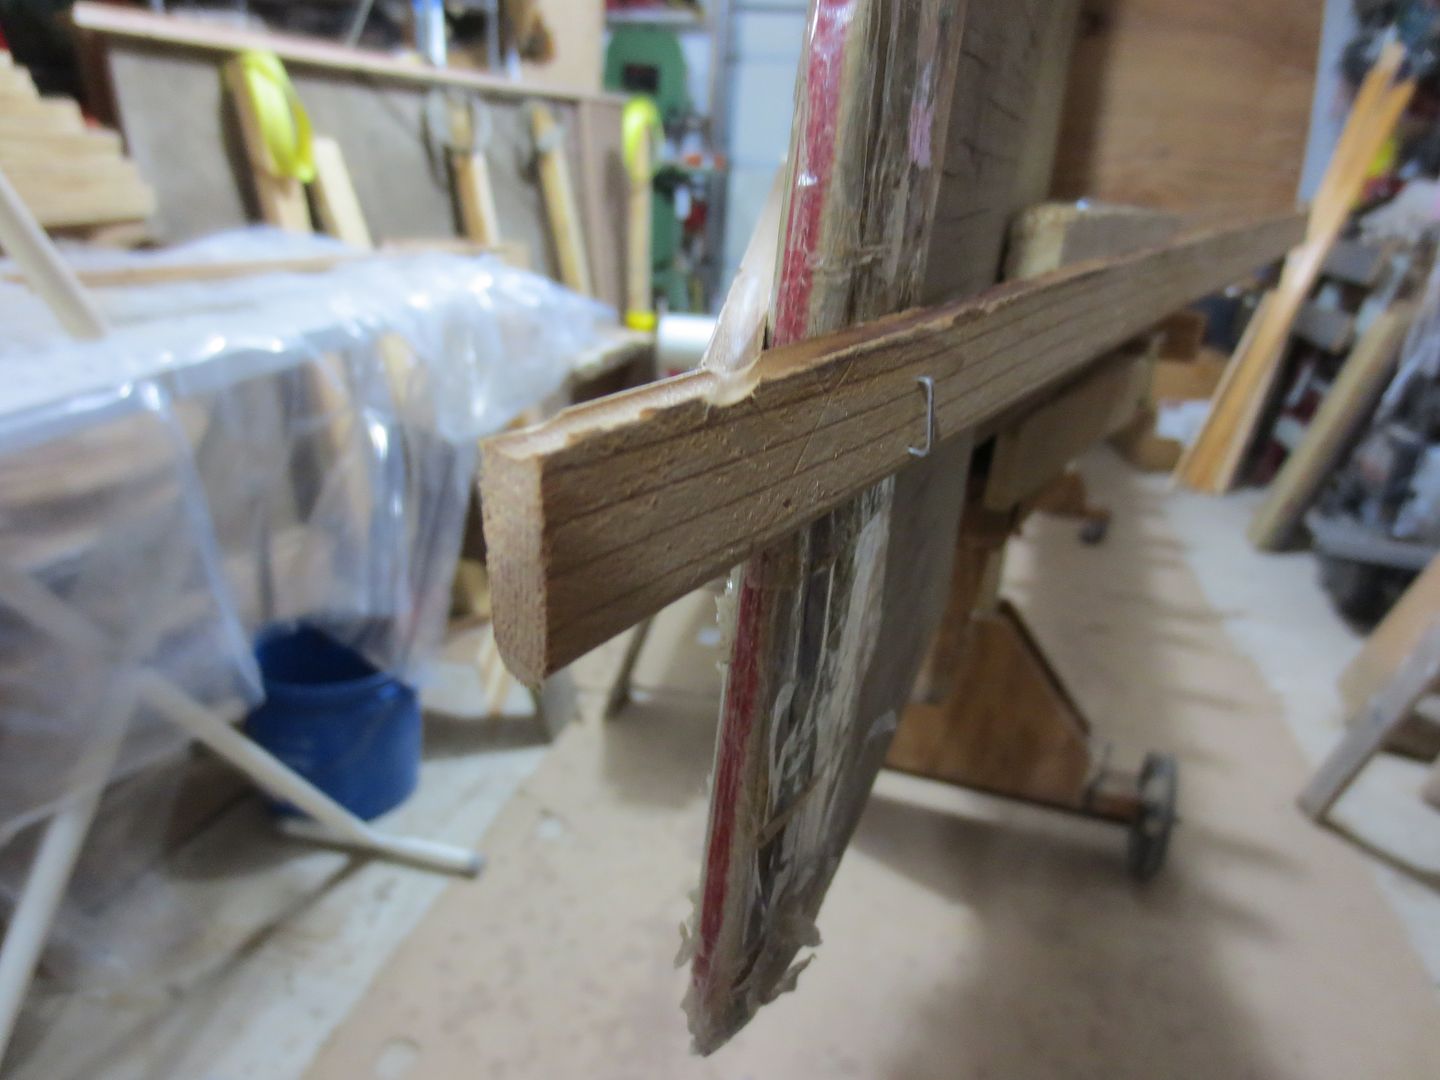
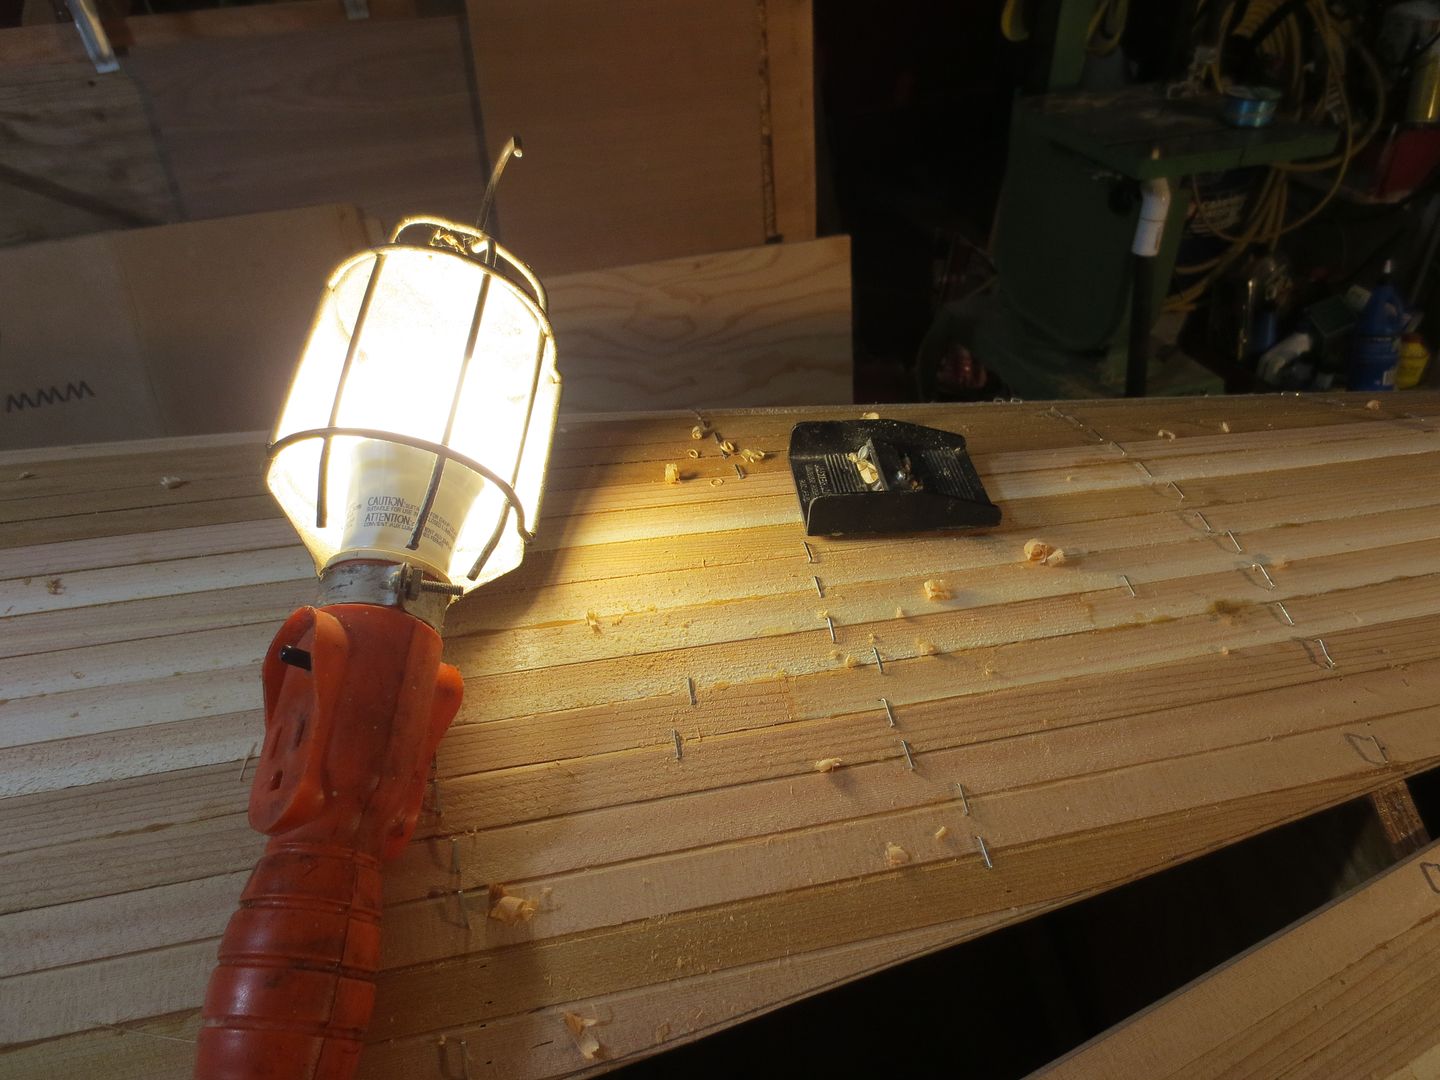
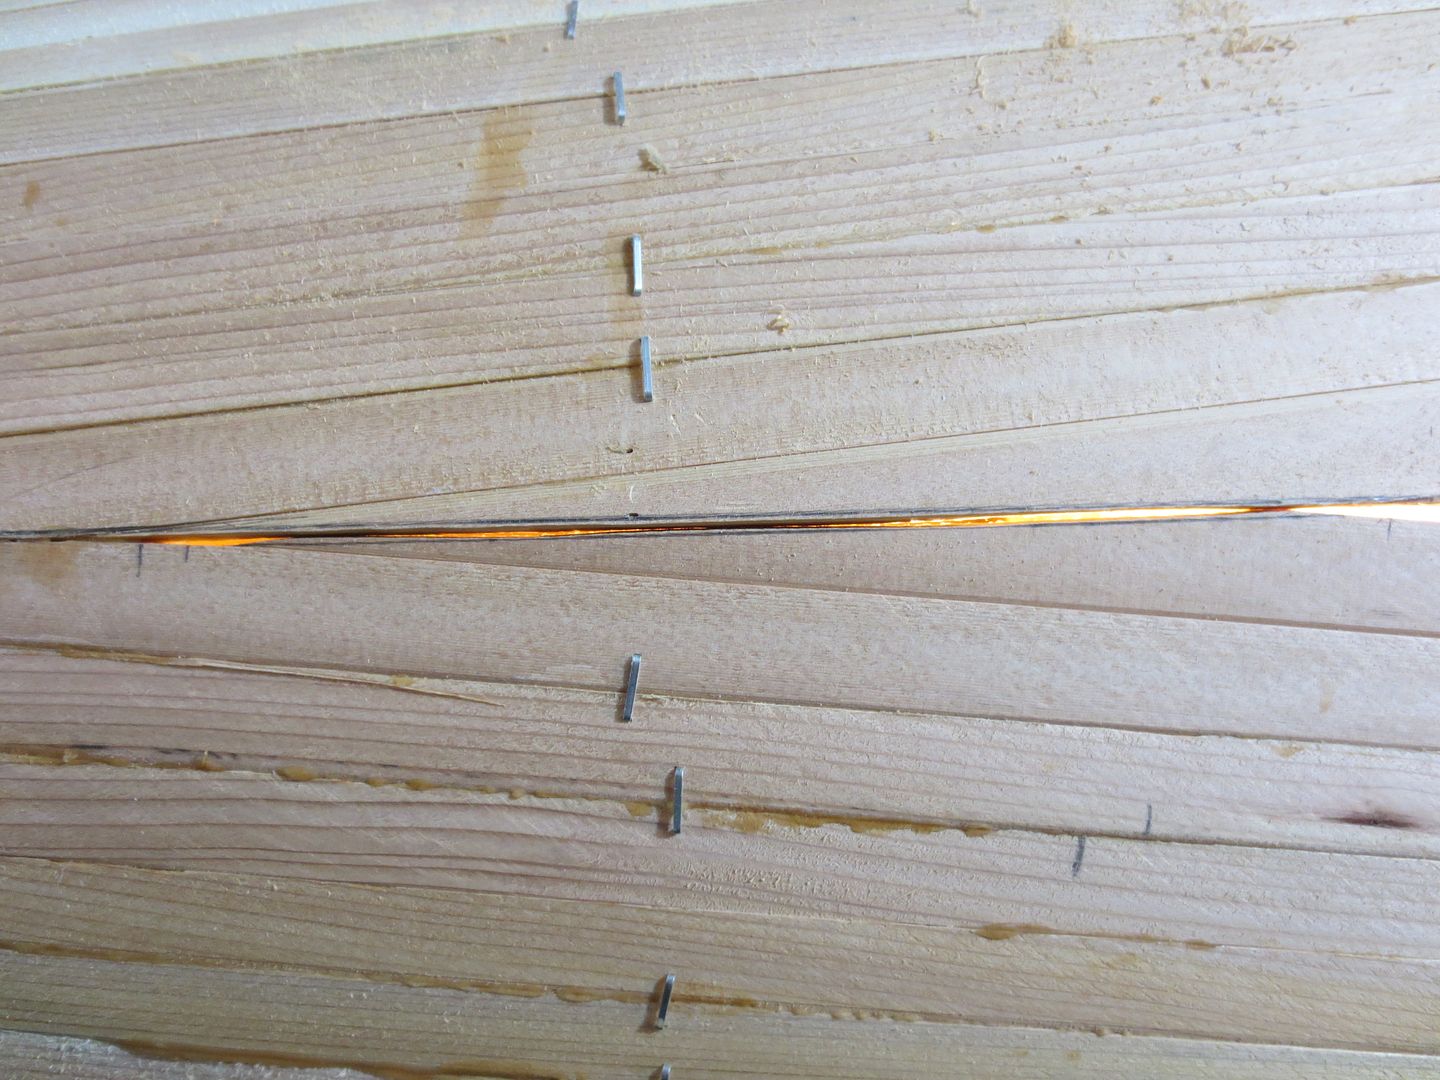
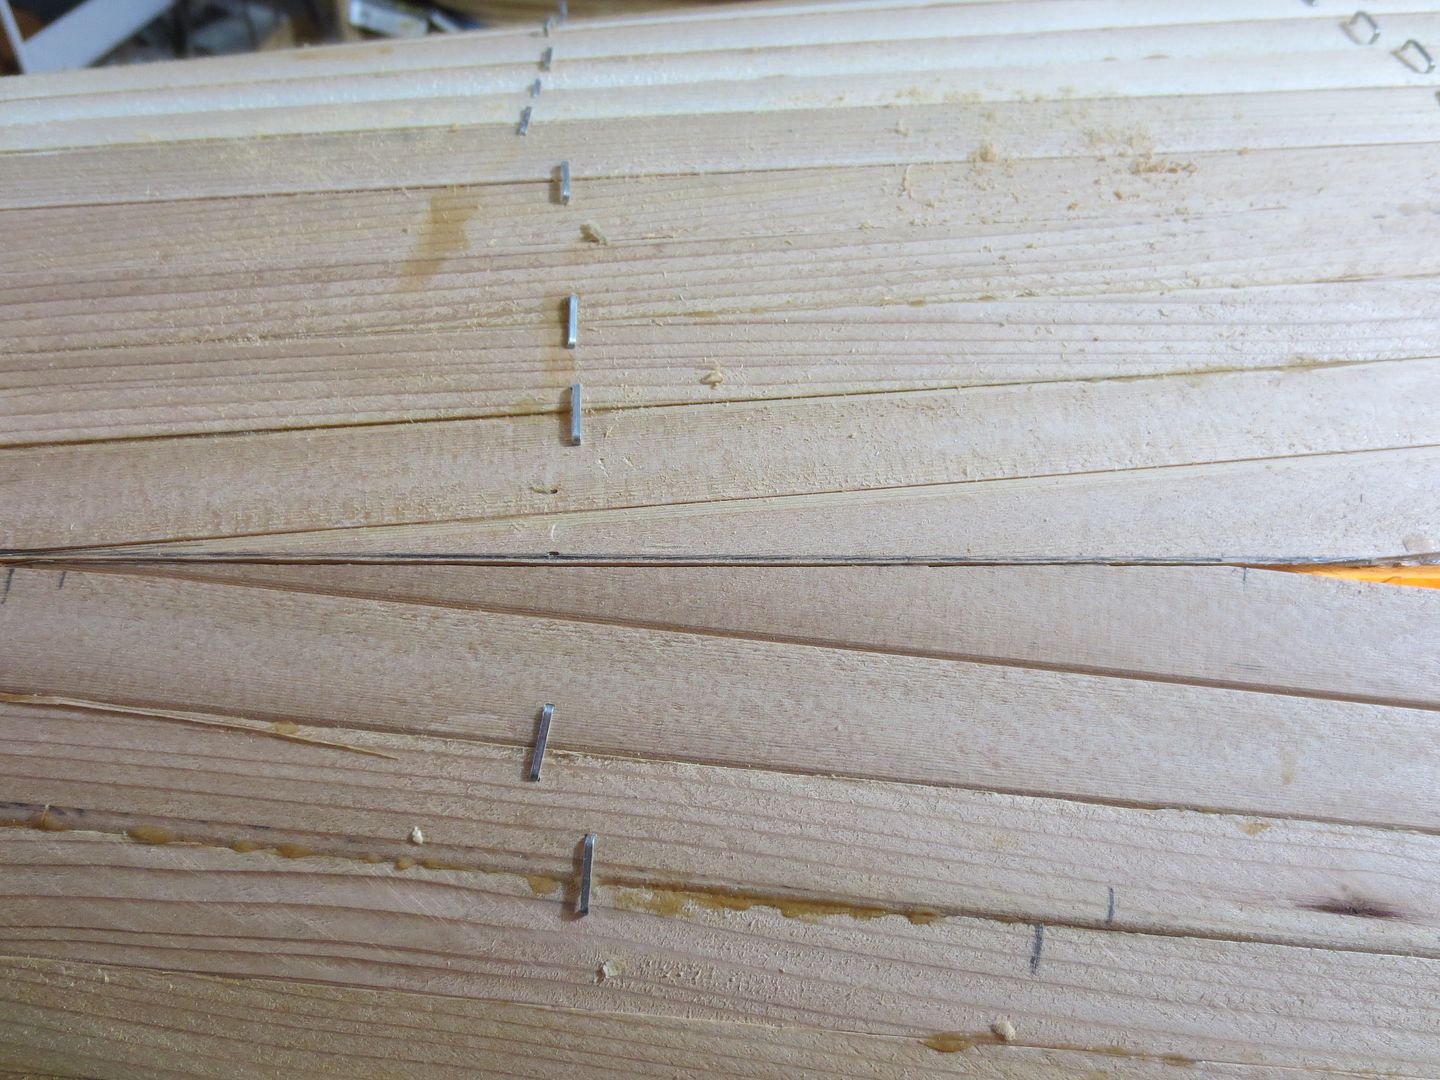
After playing with the fence, I discovered that moving the fence back towards me, I achieved a cleaner cut at the tail of the planks.
Saw was set.

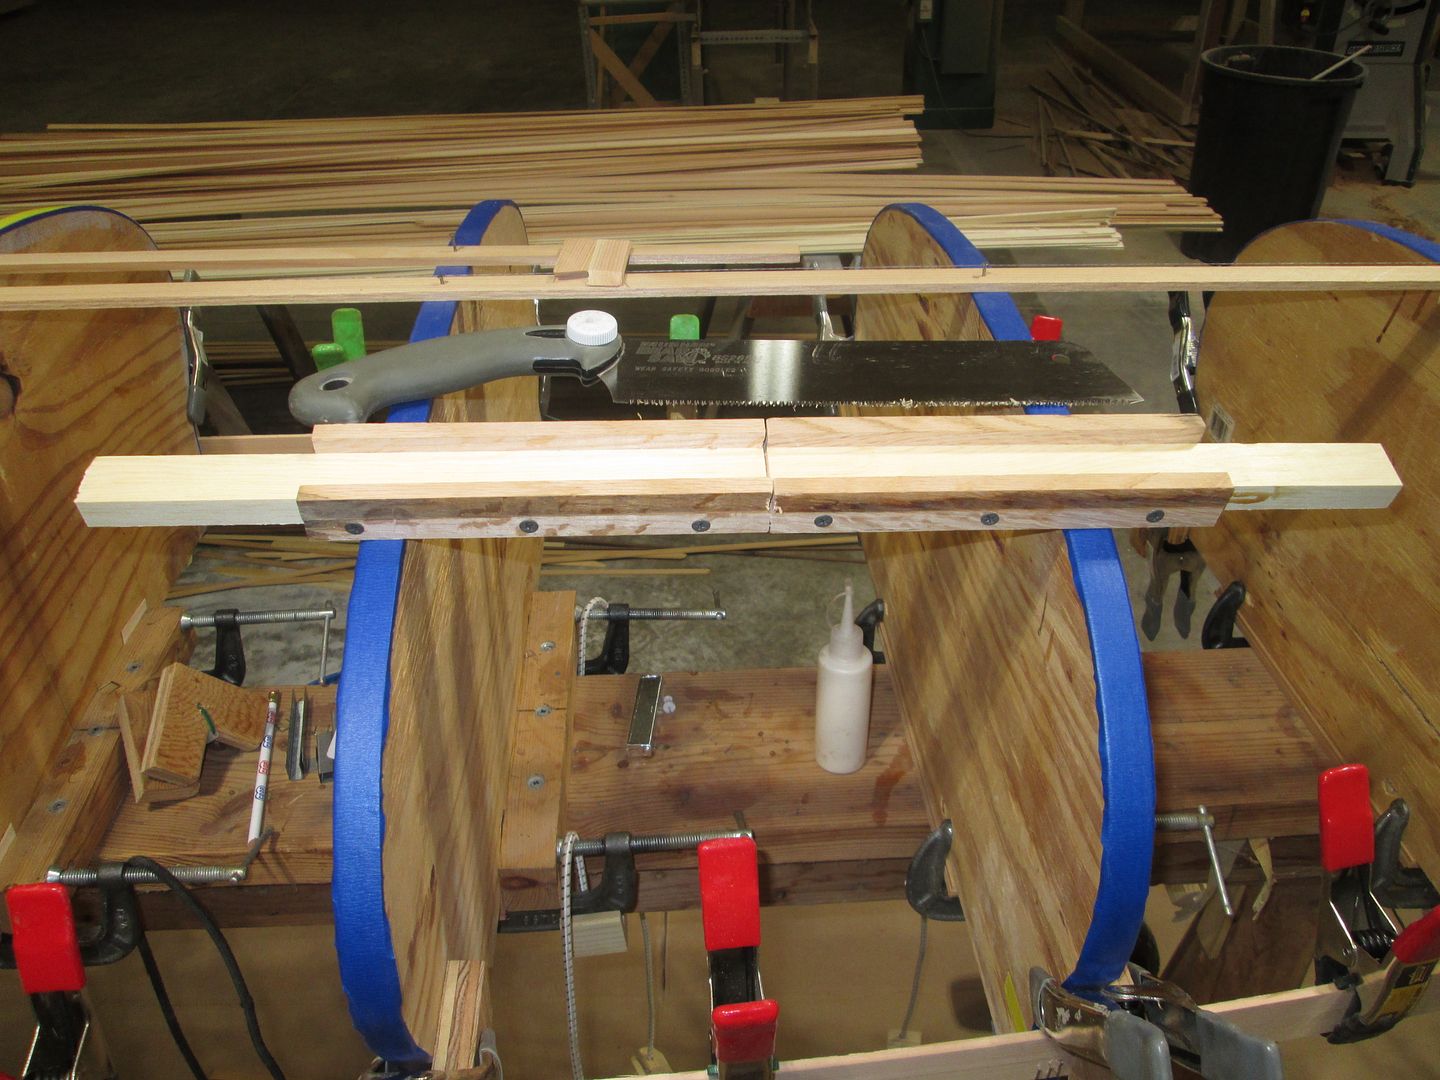
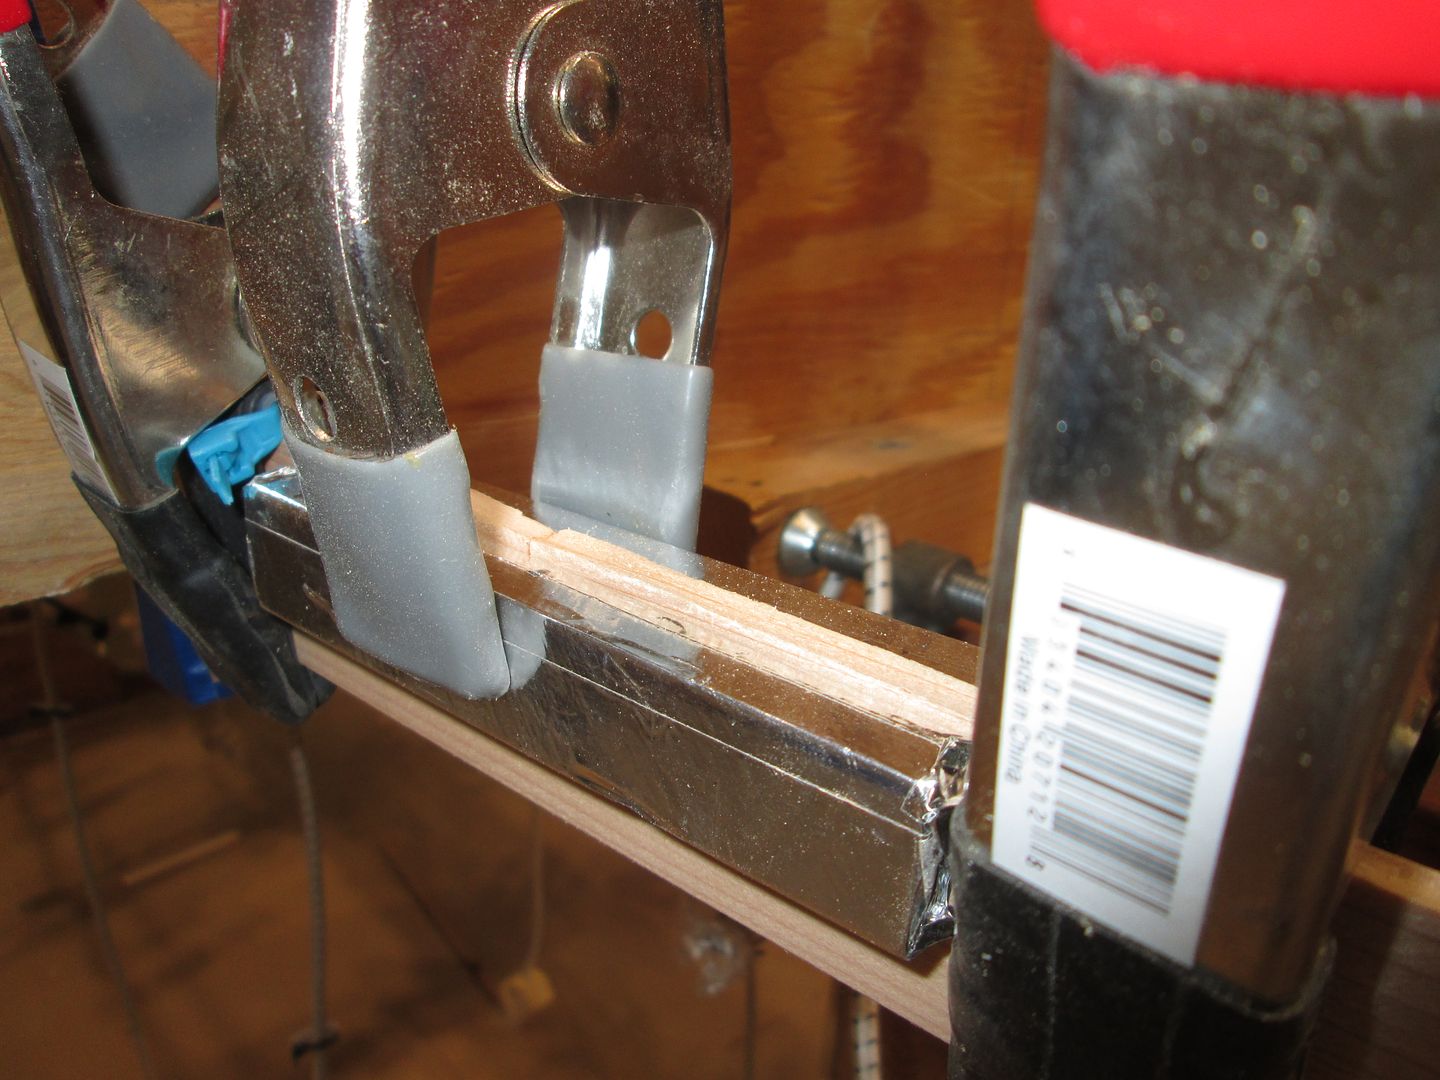
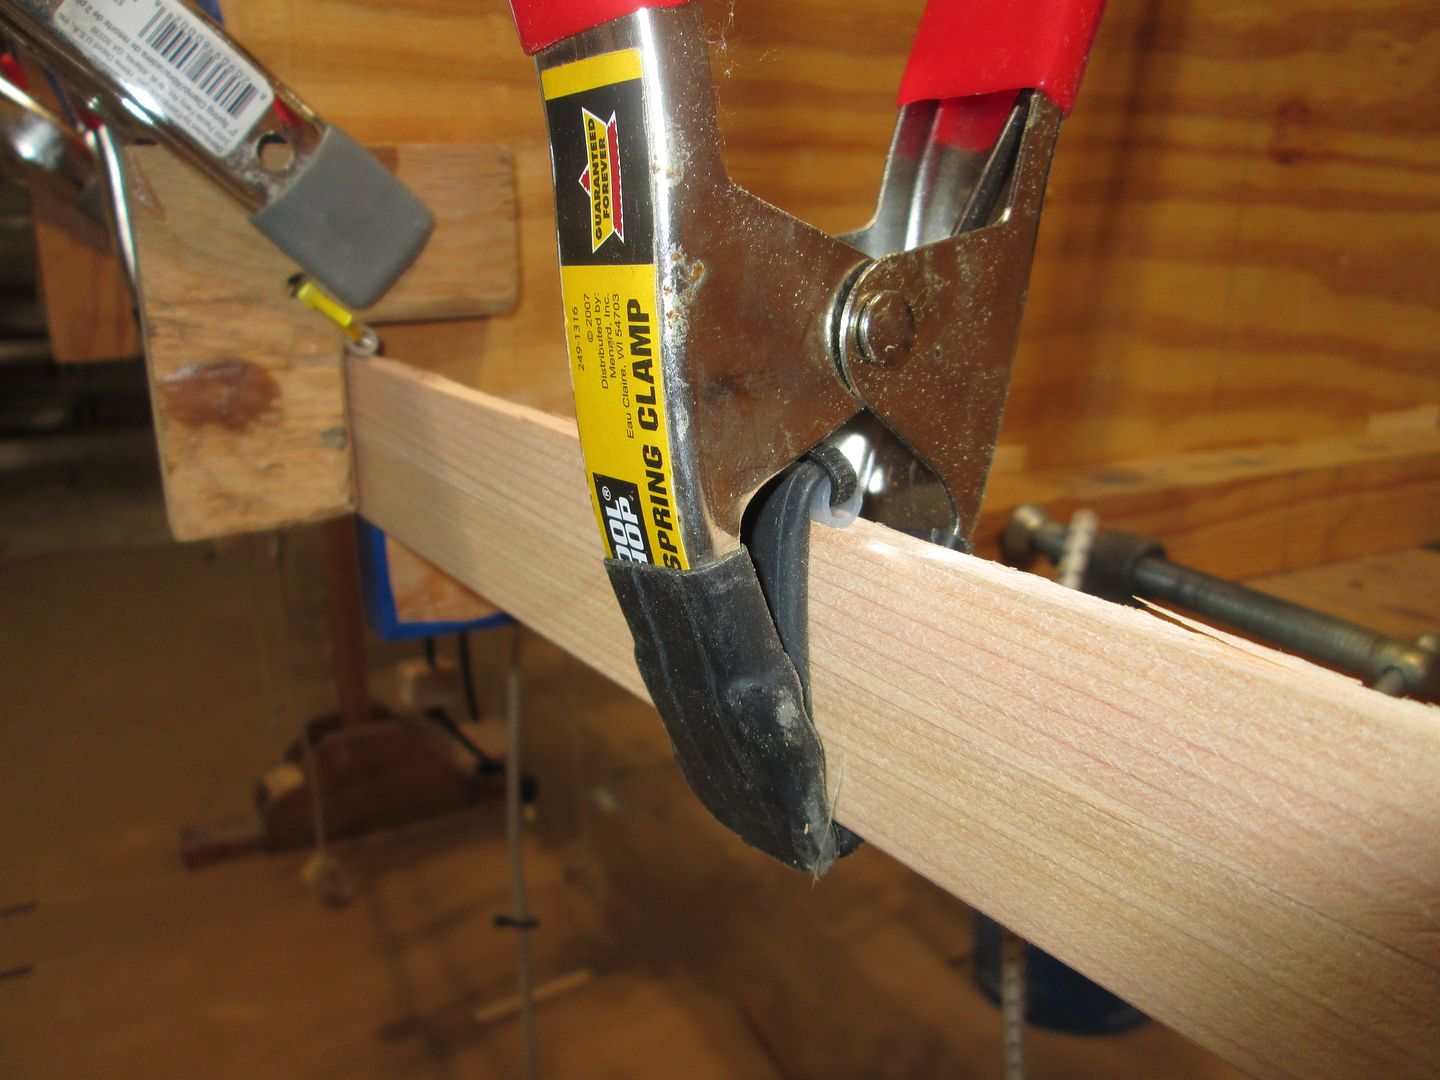
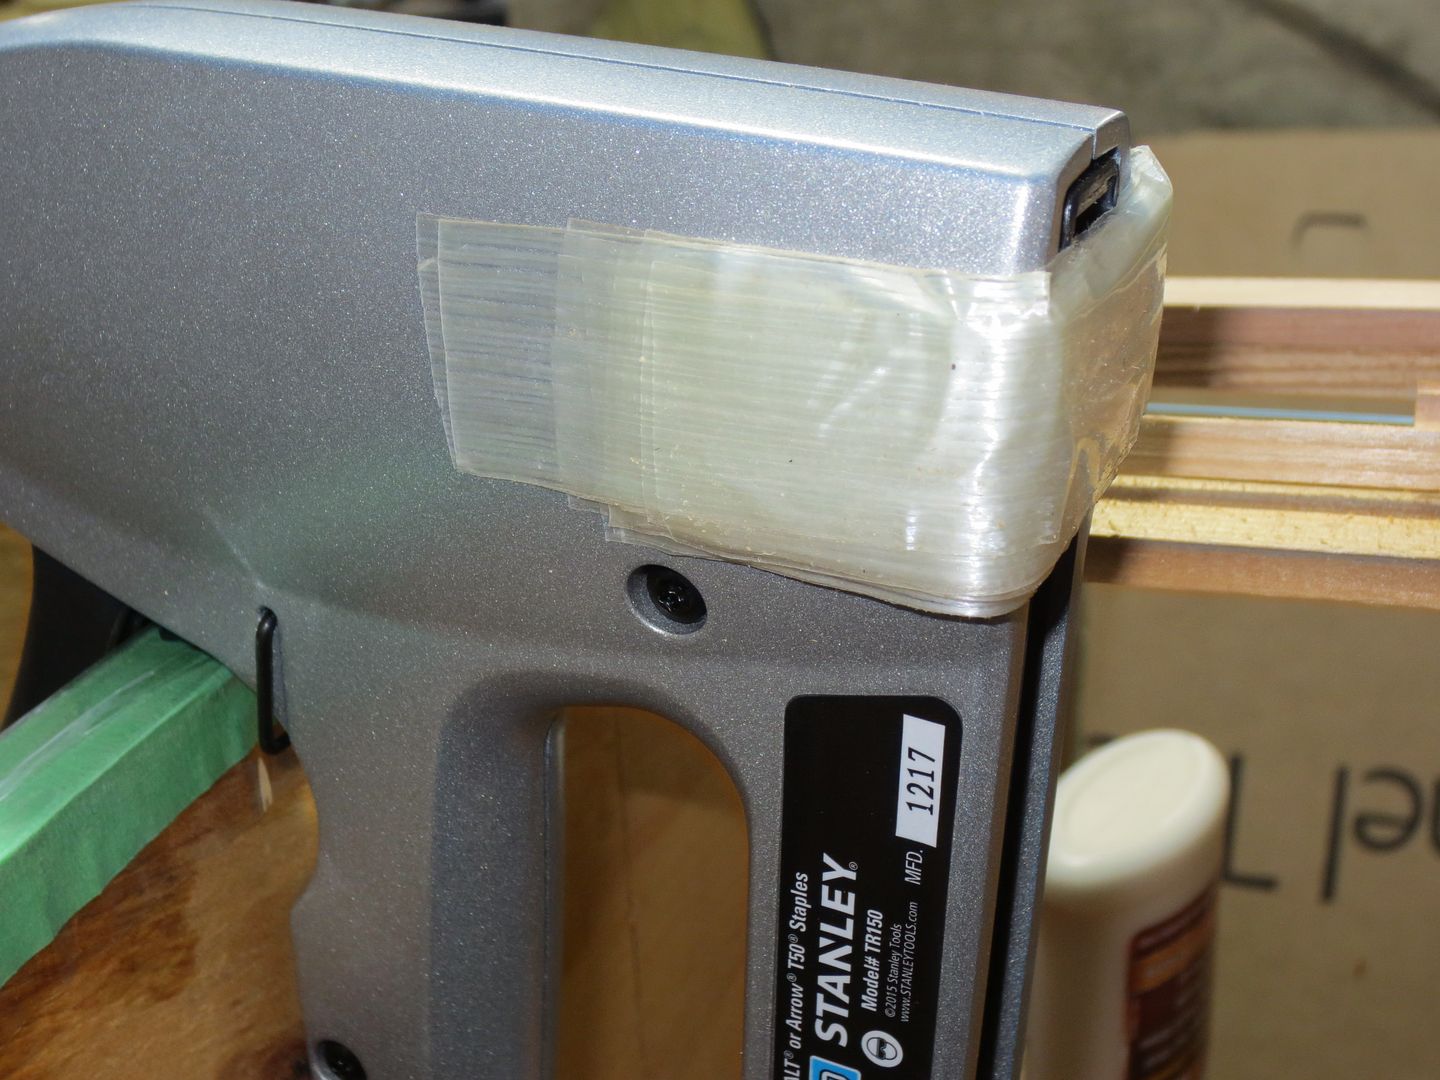
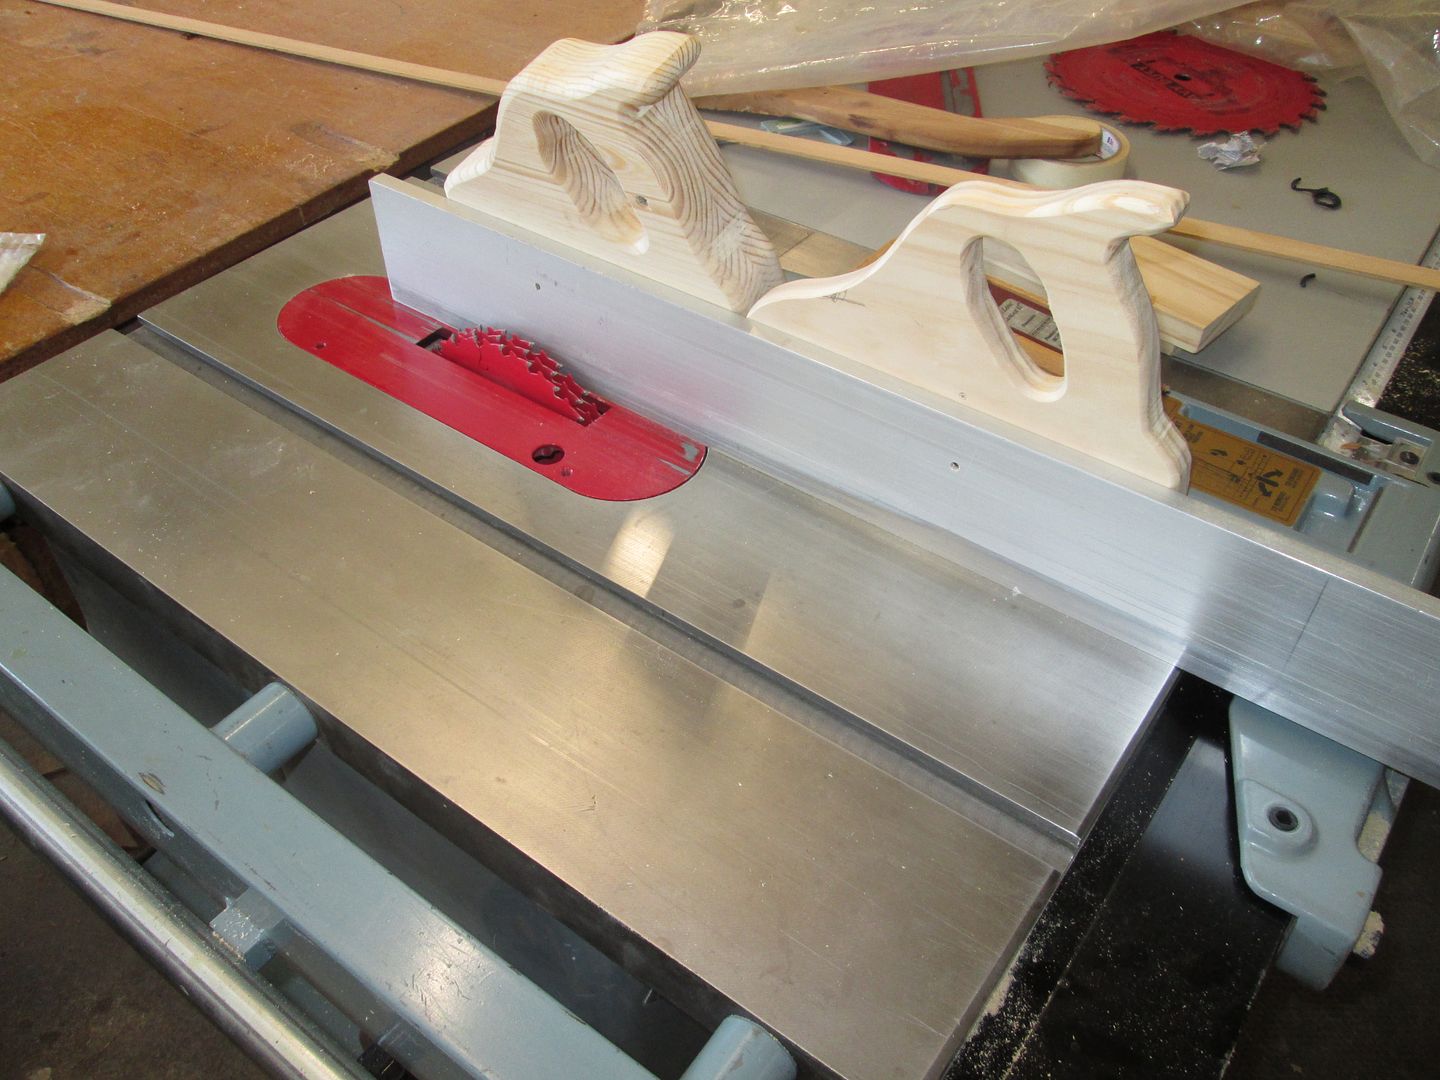
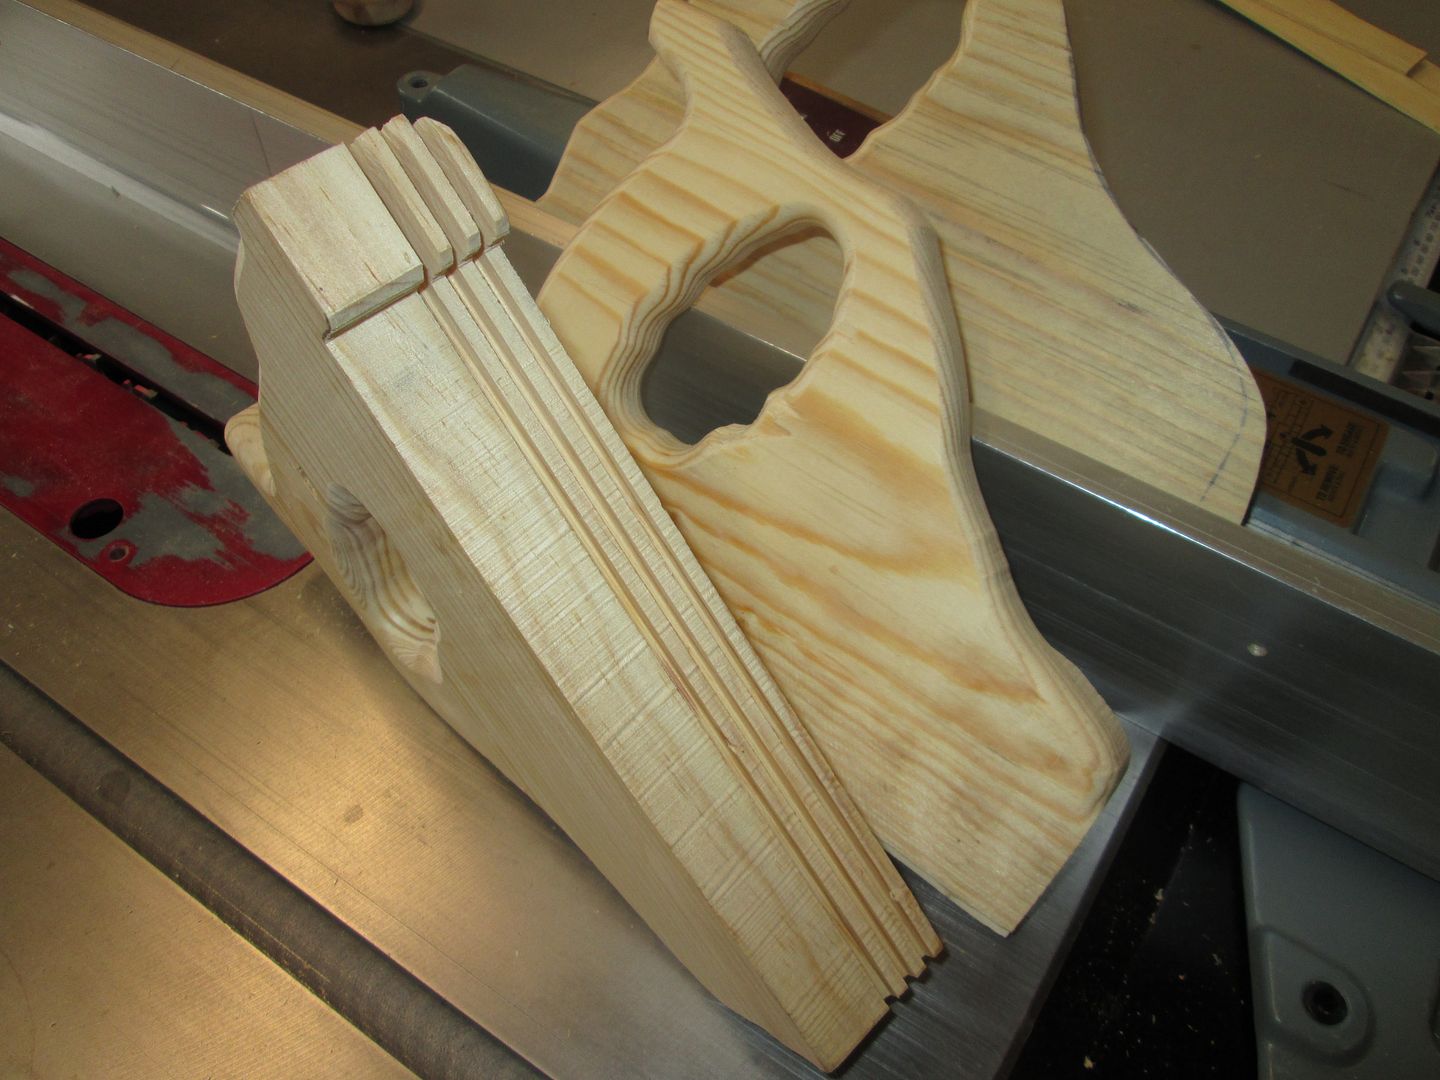
Made some push handles, to keep me safe, and planks against the fence.
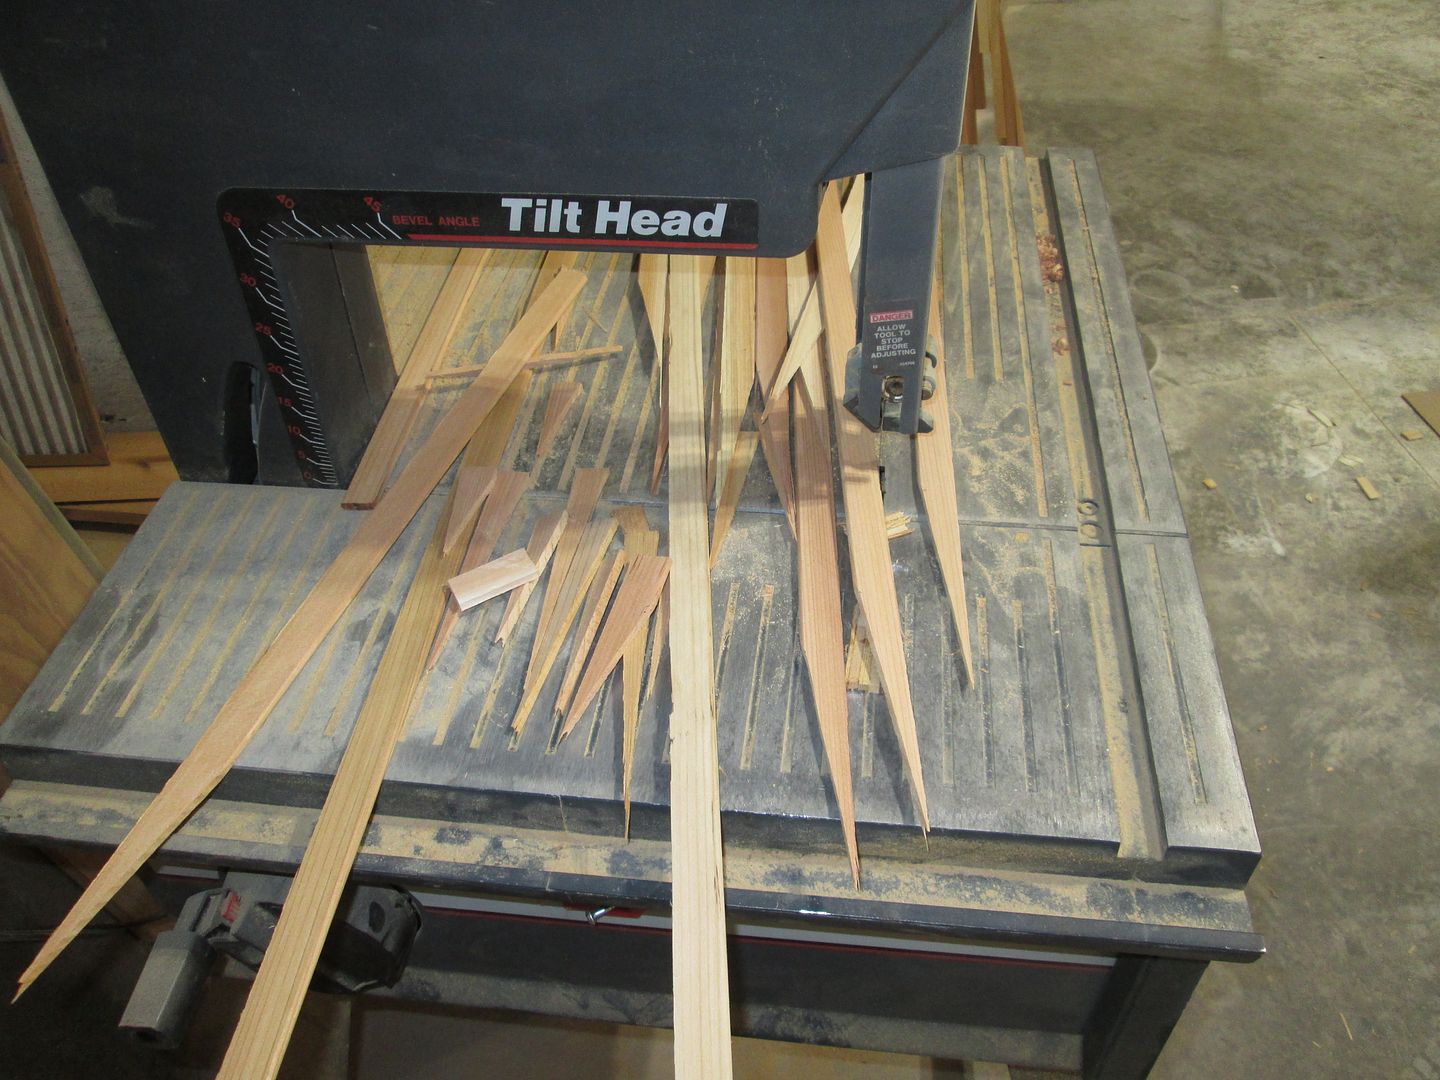
Here's a pick of the set up. I didn't use any feather boards. It worked fine, but next time I will set feathers !

IMG_3624.JPG


IMG_3634.JPG

IMG_3644.JPG

IMG_3650.JPG


More later.
 
You got your hands on some beautiful stock. Really clever saw set up. That would have never occurred to me. Is that your idea or common in the stripper world?

Bob
 
Gang cutting strips has been around a long time.
Some Commercial strip retailers, have gang cut, to my knowledge 6 strips at a time.

I just took advantage of the saw, the Shop has. It required more infeed and outfeed space, than I have inside at home. That is where the Skilsaw shines.
 
Well with strips cut. It was time for Bead and Cove.

The shop has a couple of routers, both with the Rockler lifts.
A lift transforms a router into a dream to operate and adjust.
Normally routers are meant to cut with the work piece running in the opposite direction.
By running the strip between the bit and the fence, the first pass uniforms the strip width, eliminating any need to plane the stock or planks to a uniform thickness, before hand
. This saves an extra step, No planer needed.
Some will say this is dangerous. It's not ! First I am cutting soft thin strips, that are held in place by three fences. I've done this on every canoe I ever built. No problem.
IMG_3656.JPG


Bead and cove. This is how the 3/16" strips look after being cut with the 1/8" radius bit. They worked.

IMG_3674.JPG

I always trim the ends with a homemade miter box that rests on the forms, and is handy. On this build, with short strips, I had to splice almost every course, some twice.
Note my glue bottle. The narrow tip made it easy to be minimal with glue application. When it comes to glue ? Minimum is the word ! It saves a lot of scraping and sanding, down the line ! Especially on the inside !
Also note, I use C-clamps to hold my forms to the cleats It makes it easy to adjust during setup, and easy to release when they are removed. !
IMG_3677.JPG


Time to set up the forms. I'm building an old favorite !
The 38 spl, as designed by the late Bruce Kunz, has been my goal to improve upon. I can't say I have. This time I will build two, one in Kevlar. More on that later.

I start by setting the stems, and then the center form. I staple sight sticks to the stem forms to visually inspect that they are in, and stay in alignment. This is important for a lot of things. Then fish line is strong so to aid in aligning the rest of the forms.

IMG_3646.JPG


IMG_3666.JPG


IMG_3651.JPG


I cut these forms a few years back.

IMG_3647.JPG


More later
 
Bead and cove. This is how the 3/16" strips look after being cut with the 1/8" radius bit. They worked.

IMG_3674.JPG

Jim, a non-builder, non-woodworker question about the pictured beads and coves. They look a bit rough and ragged. Do you have to sand the bead and cove surfaces smoother, or does that not matter for purposes of gluing them together?
 
Jim, a non-builder, non-woodworker question about the pictured beads and coves. They look a bit rough and ragged. Do you have to sand the bead and cove surfaces smoother, or does that not matter for purposes of gluing them together.
The roughness is just the end of the strip. The beads and coves are smooth. actually smoother than the face of the strip, that does get sanded later.

One of the beauties of bead and cove, is the strips fit so tightly together, They require almost no glue.
Had I been a little more stingy with the glue, and I should have been ! A Hull can be stripped with 12 oz of glue !
Remember when the hull is coated with Epoxy ? It will soak in and hold those strips better than wood glue.

Good question Glenn !
 
Last edited:
Well. With the forms set, the stems aligned, fish line stretched, so I can monitor the forms, as I go, The important taping of the forms. I'm ready to start stripping.
Setting strips on a couple of saw horses, I sort into pairs, Then pairs of pairs, as I'm in for a lot of Butt joining. There will be plenty of time between courses to sort. Plan to using stapleless, until the going gets tough around the bilge.
IMG_3650.JPG


Butt joining is made easy between the forms with bead and cove, a 2" spring clamp and a couple of foil wrapped pieces. Two Jimmy clamps on either side for insurance.

IMG_3669.JPG


My glue of choice is Elmers Max. Actually any glue will work. I was hoping to glue the hull, with just one 16 oz bottle. It didn't happen. Needed about 1/4th of another bottle. Sloppy on my part ! Pic is an 8 oz. The only pic I had of the Max.

IMG_0585_zpsju2ghf26.jpg


I had 4 or these slender tip glue bottles, sitting at various places on the strongback.

Take note of the strip the bottle is sitting on. It is nailed to the top of the forms, to maintain proper spacing, the full length of the hull.

IMG_3678.JPG


Now for the Work horses of my Stapleless system. The Jimmy clamp and the L brackets. Take note of the 1/4" plastic tubing Zip tied to the clamps and blocks. This protected the fragile coves, and worked well.

IMG_3668.JPG


I alternate the strip courses, so they interlock at the stems. By the way, this is a Stemless build. Such a time saver, and plenty strong ! A notch has to be filled so the strips can interlock.
IMG_1483_zps8wrs6bs1.jpg


IMG_3708.JPG

IMG_3705.JPG


I'm stripped up to the accent strip. It is made of Walnut, and Aspen. Aspen will remain white, while WRC turns dark or red, in time.
IMG_3712.JPG

IMG_3709.JPG


Note the Sight sticks are still in place. Once they become annoying, I remove them, as well as the strip at the top of the forms.

Below, the Jimmy clamps holding the accent strip together. The Walnut is not bead and coved, so I had to monitor the joints didn't slip out of place. The Real benefit of Bead and cove, is keeping strips in alignment !
Also another note I'll pass on. I later rounded the corners of the L brackets. This allowed me to use two clamps in the bilge area . Two is always stronger than one !

IMG_3714.JPG


Here I'm well into the bilge, and getting close to the football.
IMG_3721.JPG


Into the football. Two things to note in this pic. The Cardboard on the floor, and the tilted strongback. When stripping the football, I strip past center, on one side. Then cut the centerline, and go to the other side. Tilting makes stripping it a lot easier, it's easier to fit the strips, as you see the joints . The Card board keeps the floor clean from epoxy dripping. The comfort the Card board provides from standing on cement floors, is enough reason to use it ! When I drop something like staple guns or a plane? The Cardboard saves them.

Here you can see the rounded L brackets.

IMG_3743.JPG


Another great helper to my stripping process, is these Bungee cord clamps.
The Other Jim Dodd canoe builder, from Virgina Lazy river canoes , offered me the idea, for these simple, but great clamps. They have a neat, built in clamping system !
IMG_3798.JPG


Friction is the secret to the holding ability of these clamps. Note how a hole is drilled at an angle, so when it is hooked to the edge of the shear ? Friction keeps it from slipping. Great Idea Jim Dodd from Virgina !!!

IMG_3750.JPG


I zip tied plastic tubing to these as well. You can really get some tension on these. Just be careful they are under tension when in place, and you need to be carefull when you release the tension, to remove..

IMG_3749.JPG


More later !
 
Last edited:
I am constantly amazed at projects like Jim's here, and all of the projects you guys tackle on a regular basis. Incredible stuff.

If I may ask Jim, (and I wonder the same about all of you guys) is this type of work a hobby, a profession, or a little bit of both?
 
I am constantly amazed at projects like Jim's here, and all of the projects you guys tackle on a regular basis. Incredible stuff.

If I may ask Jim, (and I wonder the same about all of you guys) is this type of work a hobby, a profession, or a little bit of both?
I can't answer for the others.
For me it's an obsession ! From the time my Step Father, gave me his copy of Popular Mechanics, May 1990, that had a cedar strip canoe in the upper right hand corner ? I fell into it, head over heals !
I still have that copy.

Most of my canoes, are still in my possession. The only thing that limits my building ? Is Storage !

I wake up in the middle of the night, building canoes.

My Wife will attest, it's an Obsession !

Jim
 
Of my 407 hobbies/pastimes/interests, the end product of a stripper build seems like cheating - a loophole in the effort-to-beauty/practicality equation. I am not saying it doesn't take effort - sanding the interior blows. But paddling your practical work of art for the first time wipes that slate clean.

And I guess that first phrase requires some explanation. I need to do stuff. If my brain does not have a problem to figure out, or a new topic to discover, I get... well, I guess I don't know how I get - I've never not had something to noodle on. Which sometimes makes me a little worried.
 
I’m with you Scratchypants. I’ve got to be doing something, problem solving also. Boat building satisfied all my dreams.
My first strip canoe I built in 1976 and it was a disaster. There wasn’t the on line info there is today. So my quest for a better boat led me in the end to start my own company that I ran for 30 years. Not so much building but wood repair on boats of all kinds. Now it’s all just a hobby.
Jim
 
Going to post some pics I skipped earlier, showing how I bed the ends of the bead and coved strips,
A 1/4" Rat tail file cut a notch, in the cove, for the strip from the other side to fit.

IMG_1834_zpsalrgjqkf.jpg


IMG_1836_zpsz9midrc7.jpg

IMG_1828_zpsveiyfe7g.jpg


A trouble light helps to see if I have a good strip fit.
IMG_1895_zps9tmxkgtg.jpg


IMG_1898_zpsfuemq7ph.jpg


IMG_1902_zpsyphx6zgd.jpg

IMG_1903_zpszssjmjtp.jpg


A band saw is handy for trimming strip ends. I know a lot of guys use a pocket knife. I've broke enough ends, that I use the saw instead.


IMG_3796.JPG


A Jap saw, and a home made miter box got a lot of use on this hull. It laid up on the forms, nice and handy.
IMG_1806_zpsklmilow7.jpg


A padded staple gun sure saves a lot of sanding later on, and aids big time in staple removal.
IMG_1803_zps9itbunsq.jpg

Here I trim the top edge of the cove, so instead of looking like a C, it looks more like a J. Now I'm ready for the Whiskey strips ?
IMG_3815.JPG


The Whiskey strip, goes in in three pieces.
IMG_3817.JPG

A little support to keep everything in place !
IMG_3819.JPG


Whiskey strip done. Sorry ! No Whiskey this time !
IMG_3826.JPG


More later.
 
Back
Top