G
Guest
Guest
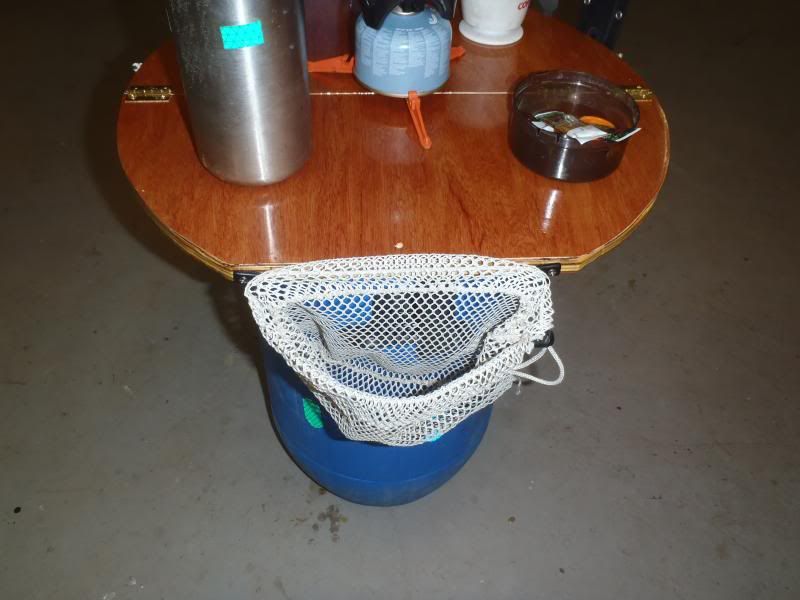
The Mark 1 folding table top works well, it is just heavier and need be, and not very elegant.
I found wide cedar boards at the local lumberyard, but only in really long, rough cut planks. I don’t need a dozen+ feet of length, and don’t own a thickness planer. That seemed like a lot of extra work, and not exactly an everyman solution, although I may yet try some cedar.
Or even, eventually, a UL version with foam core, cloth and epoxy; I’m not sure why, all that extra work to save the weight of a couple cans of pale ale. . . . .meh. . . .
As a ubiquitous Home Depot materials solution I opted for a 2 x 4 foot sheet of ½ inch birch plywood. I could have used ¼ inch but wanted the extra stiffness for the wider overhang on a 60L barrel tabletop, without adding stiffening ribs underneath. We shall see how that works.
It won’t be that much lighter than the Mark 1, which is ½ inch thick scrap plywood covered with epoxied on ¼ inch Lauan, but should provide good design implementation and construction practice before I find a suitable cedar board and haul it two counties over to a friend’s planer
Shop Day 1 (for time comparison think “Alan starts building a canoe”)
That single 2x4 sheet of birch plywood is large enough to cut Mark 1.5 tabletops for both a friend’s 30L barrel and for our 60L barrel. The 30L top is a squared circle 19 ½ inches wide, identical in size/shape to the Mark 1. The 60L tabletop is 27 inches wide between the circle sides, and either will fit inside their respective barrels (once the barrel has been partially emptied enough they make an OK divider)
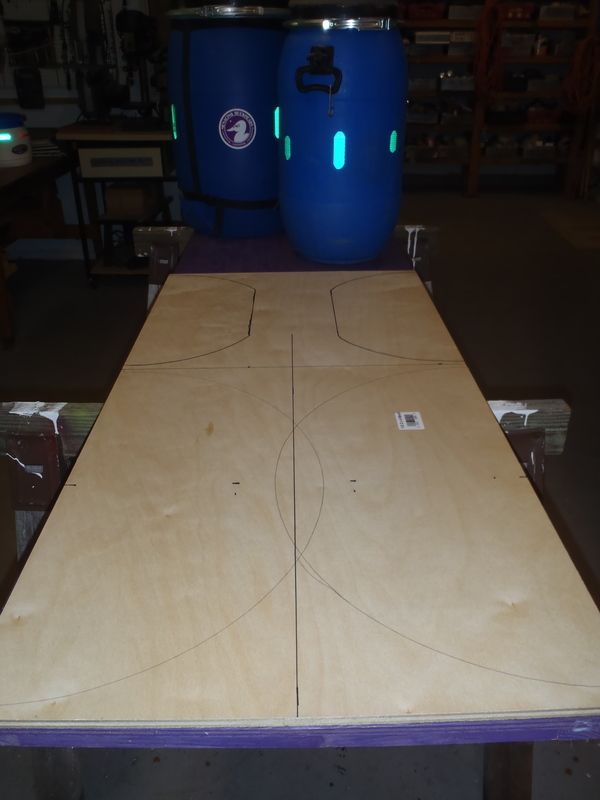
From a frugal Scot’s perspective I like it; not a lot of wasted wood. One odd stylized arrow leftover, to be determined painted for turn-here party directions or medieval cosplay battle axe, and a couple of curved slices.
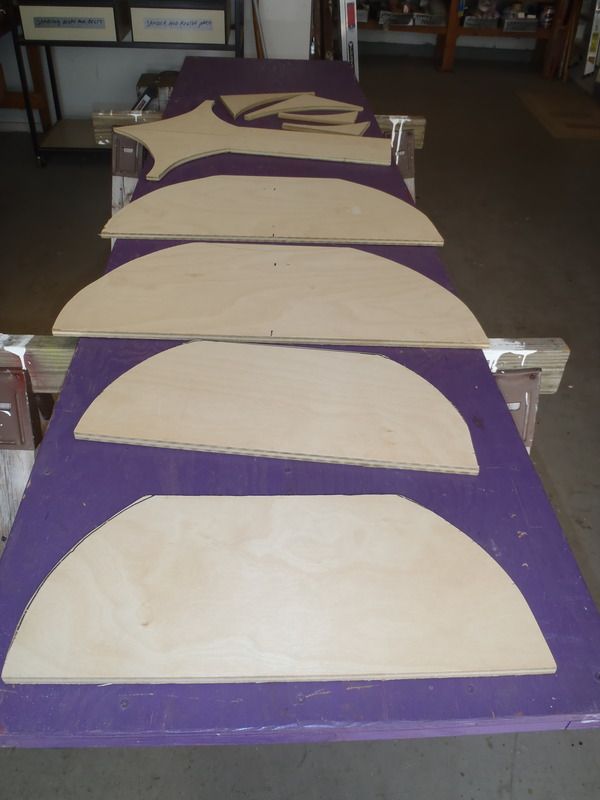
I ran an RO sander across the cut out pieces, mostly to remove my Sharpie and pencil lines, and then ran the non-hinged perimeter edges across a ¼ round router for some countertop curvature elegance.
One coat of epoxy resin on the bottom, two on the top. The epoxy may have been superfluous had I simply used multiple coats of spar urethane, but epoxy I got and epoxy is easy.
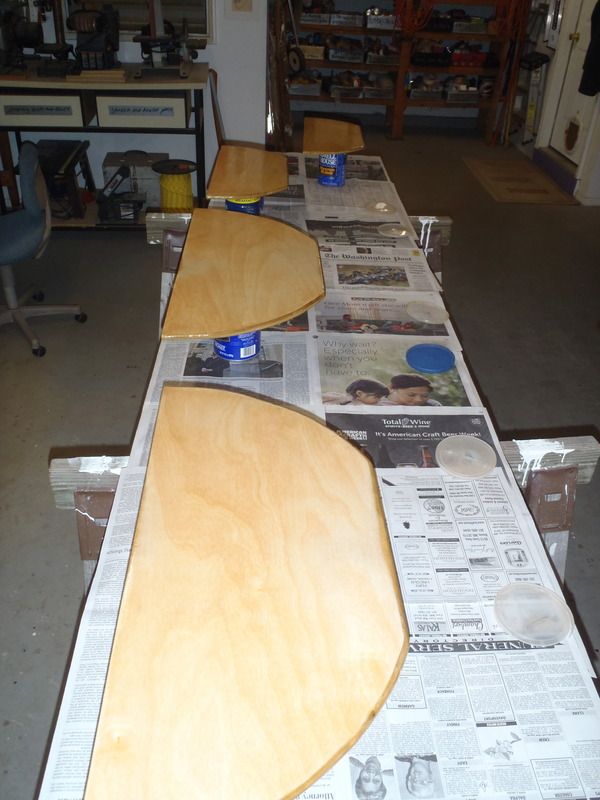
Now the waiting game for cure and dry time begins.


