- Joined
- Jun 7, 2022
- Messages
- 27
- Reaction score
- 4
SO (all caps are purposeful). The reason I feel the vinyl was so easy to peel of was because it was sitting in warmer temps as well as under the sun for who knows how long.
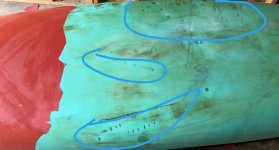
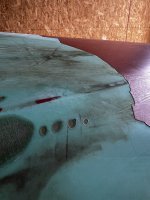
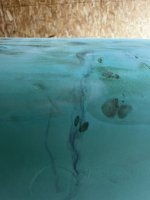
I went back to the garage to test the integrity of the canoe. All is good with that. It gives just as a canoe normally would. Just recoils but it isn't soft anywhere and there are no major cracks.
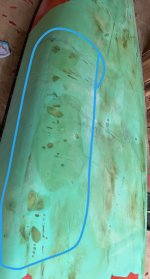
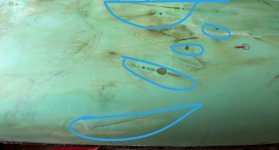
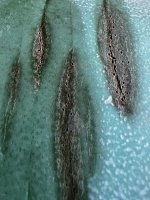
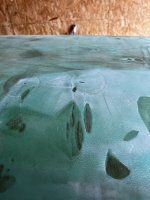
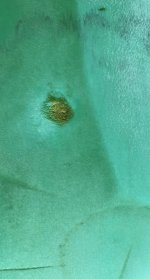
When I started to sand down the edges of the remaining vinyl, that's when something interesting happened. It makes sense as to why it happened since it is a form of plastic. Plastic under friction is exposed to heat. The heat, like the sun's warmth, expanded and loosened the vinyl away from the ABS and the rest of the boat.
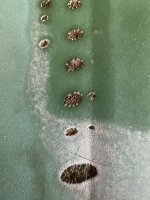
I did a test on video of which will be shown in the next video. But do seriously note, unless you're either intending on taking the entirety of the vinyl off I do not recommend sanding the vinyl unless you're doing it by hand with loads of friction less. And even that, I'm not sure would turn out too well.
I have a new bare spot from where the vinyl basically heated and melted. A pain in the butt.
I went back to the garage to test the integrity of the canoe. All is good with that. It gives just as a canoe normally would. Just recoils but it isn't soft anywhere and there are no major cracks.
When I started to sand down the edges of the remaining vinyl, that's when something interesting happened. It makes sense as to why it happened since it is a form of plastic. Plastic under friction is exposed to heat. The heat, like the sun's warmth, expanded and loosened the vinyl away from the ABS and the rest of the boat.
I did a test on video of which will be shown in the next video. But do seriously note, unless you're either intending on taking the entirety of the vinyl off I do not recommend sanding the vinyl unless you're doing it by hand with loads of friction less. And even that, I'm not sure would turn out too well.
I have a new bare spot from where the vinyl basically heated and melted. A pain in the butt.