G
Guest
Guest
I had been looking high and low and far and wide for a canoe project, including near daily searches of every Craigslist from Pennsylvania to North Carolina. Bupkiss.
Finally found one – Nova Craft Cronje in Royalex:
http://www.novacraft.com/canoe_cronje.shtml
I wasn’t looking for a tandem, but it is getting harder to pass on RX canoes. The hull is in very good shape, with only a couple of dings and dents and two small gouges in the vinyl on one side.
Even the vinyl stickers are still in decent shape. So before washing the hull I peeled them off. Nothing against Nova Craft or Thunderbird emblems, but those vinyl letters and etc are easier to peel off before they are all scraped up and will only peel off in tiny shards.
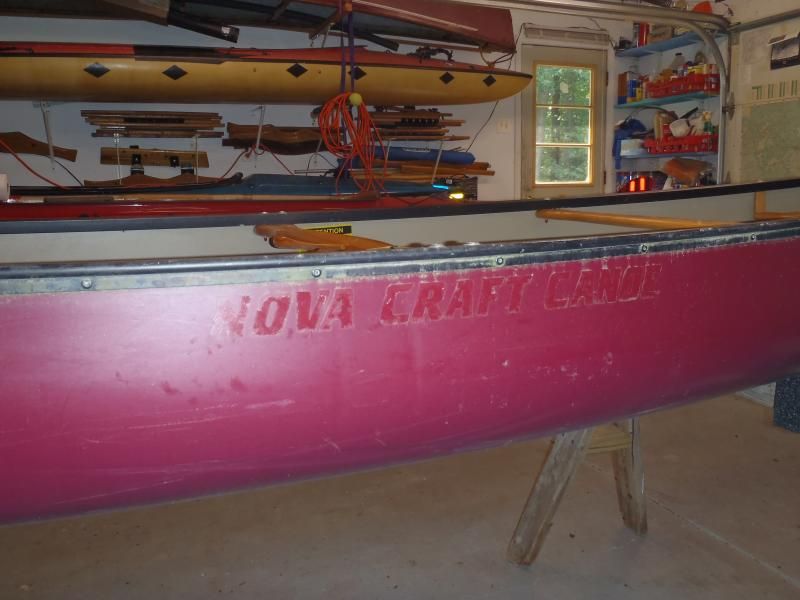
Besides, I like the lines of this canoe and the deep burgundy hull will look better unlettered.
I know what to expect when detail washing a used canoe. First, it is a great way to get up close and personal with a hull and thoroughly inspect every ding, bing, scrape and dent. Second, the amount of crud that blasts free from under the gunwales can be amazing.
Up close and personal the Cronje looks great. The hull isn’t even faded under the vinyl stickers and a little lighter fluid scrubbing removed the adhesive residue.
De-decaled, washed and dried I tackled the small gouges in the vinyl. A coat of G/flex tinted (a very unmatching) red put everything back together nicely. I’ll spring for a can of burgundy spray paint for UV protection on the epoxy and a better color match.
All cleaned up and hull patched I found myself at a crossroads – what am I going to do with the Cronje?
My first thought was to soloize it; strip all the brightwork and install a solo seat and custom thwarts to trap barrel and portage pack.
And if the current seats or etc needed work I probably would. But all the brightwork is in excellent condition, and I really like that deep sculpted yoke. But I don’t paddle tandem, no one in my family does, and we already have a couple of tandem loaners.
After some dithering I decided to leave it a tandem. It is a symmetrical hull, and any guise in which I’d solo the Cronje would be from the bow seat backwards with a tripping load up front for trim. The bow seat is already positioned well back from the end; in a “backwards” orientation the front edge of that seat is 6’ 5” from the bow end and I wouldn’t gain much by installing a solo seat 10” forward.
That greatly simplifies the “rebuild” and I can concentrate on the outfitting, using whatever I have on hand in the shop.
Comfort stuff first. Those square aluminum inwales are not fun on the knees. I like to brace my knees against the gunwales, especially to lock in place when seated and using a foot brace and back band. Just pressing my knees against that right angle aluminum inwale to mark the knee bumper locations hurt. That’s got to go.
Knee Bumpers
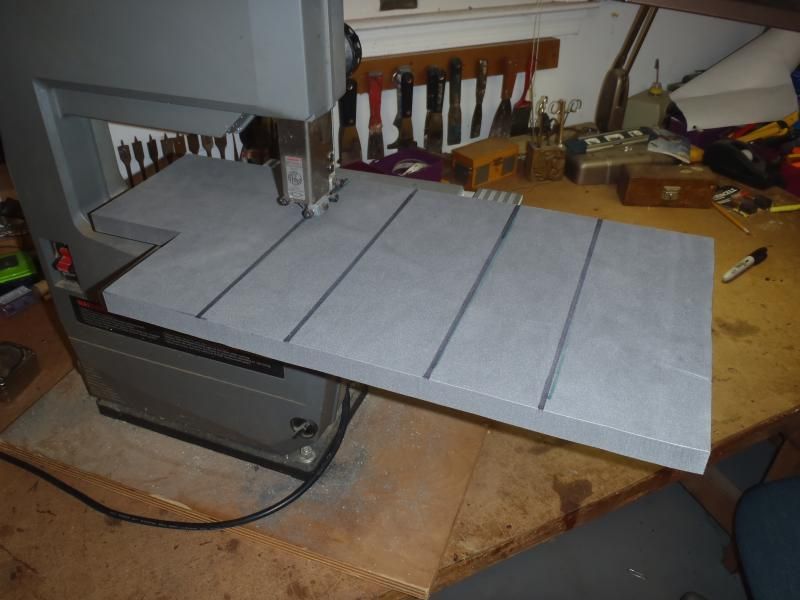
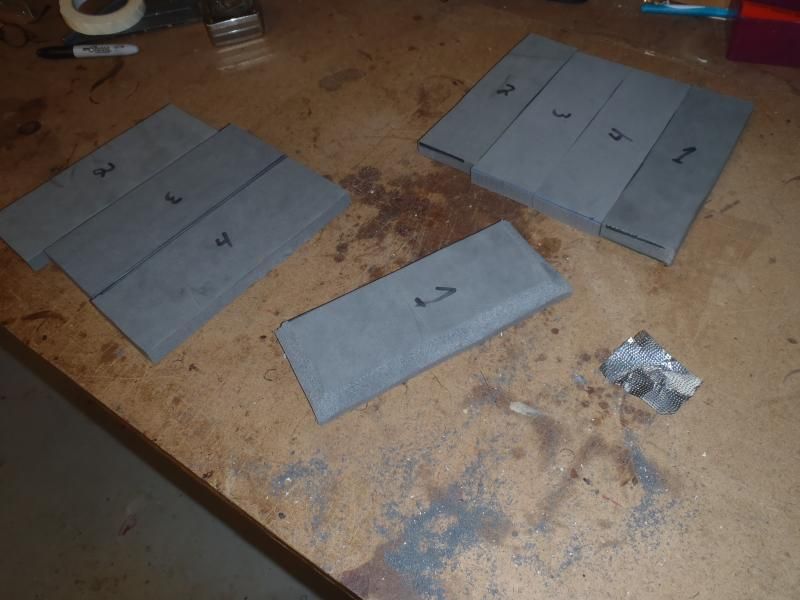
I had some rectangular pieces of ¾” thick minicel already cut in the scrap box that fit perfectly. Sized 10” x 2 ½”, which fit nicely under the gunwales bringing the surface flush with the edge of the inwale, and a couple of larger pieces sized 10” x 3 ¾” to glue atop the inner pieces and cover the right angle pain of that aluminum inwale.
I cut a couple more so I had four inners and four outers, and rounded the edges of the outers with Dragonskin to help alleviate any sheer forces peeling from back the edges of minicel when getting in or out of the canoe. Shaping minicel with Dragonskin may be the fastest and funnest part of outfitting.
I marked the knee positions in pencil with a couple of test sits before realizing that I had forgotten to alcohol wipe the hull locations. Wrong order of business, but at least the pencil marks don’t smear like Sharpie when alcohol wiped.
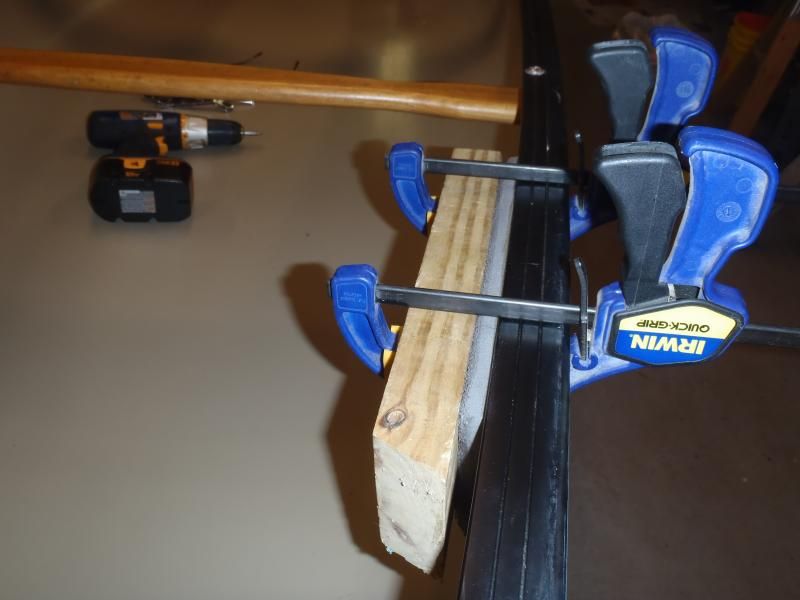
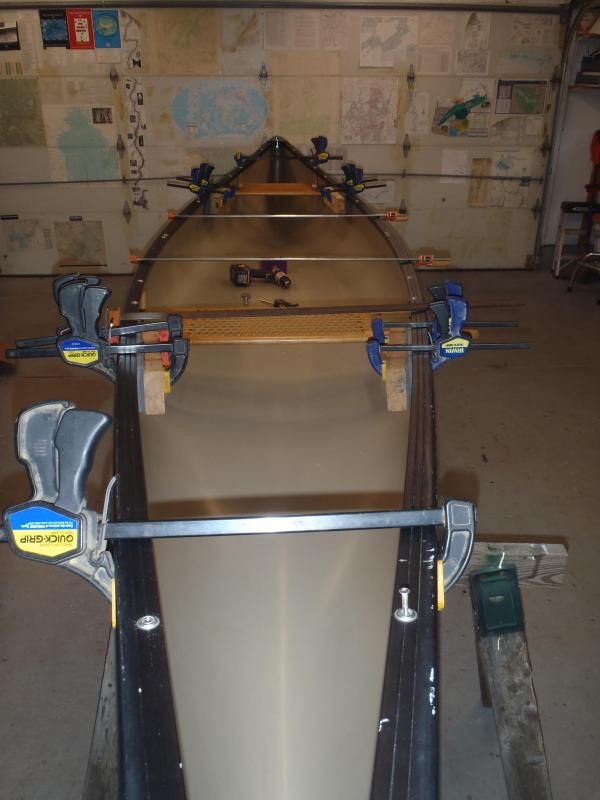
Time for some contact cement work. The exhaust fan goes on and each piece of minicel gets three timed coats of contact cement, the hull gets two coats. I enjoy the sequence of contact cement work; first coat on the minicel, first coat on the hull, and by then the first minicel coat has vanished completely dry into the foam and is ready for the second coat.
Wait some, second coat the hull, third coat the minicel. Wait, heat gun both surfaces and try not to F up the instantaneously stuck alignment. Clamp the innes in place for the best possible adhesion and walk away for a few hours.
Then, three coats of contact cement on the face of the in-situ innes and gunwale edge, the final coat on the outies, heat gun, stick them in place, clamp and walk away overnight.
With the contact cement drying wait times that is a long process, but I’ve added almost no weight and the knee comfort is so well worth the effort. If you have several days of contact cement work on the schedule a strip of wax paper wrapped around a disposable brush will keep the bristles useful until the next adhesive application.
I’ll go back to the knee bumpers later and lay small a bead of Plumber’s Goop adhesive sealant around the hull-to-minicel edges. That seems to help prevent sheer forces from lifting an edge and keeps grit, grime and water from infiltrating and loosening the glue over time.
Webbing loops
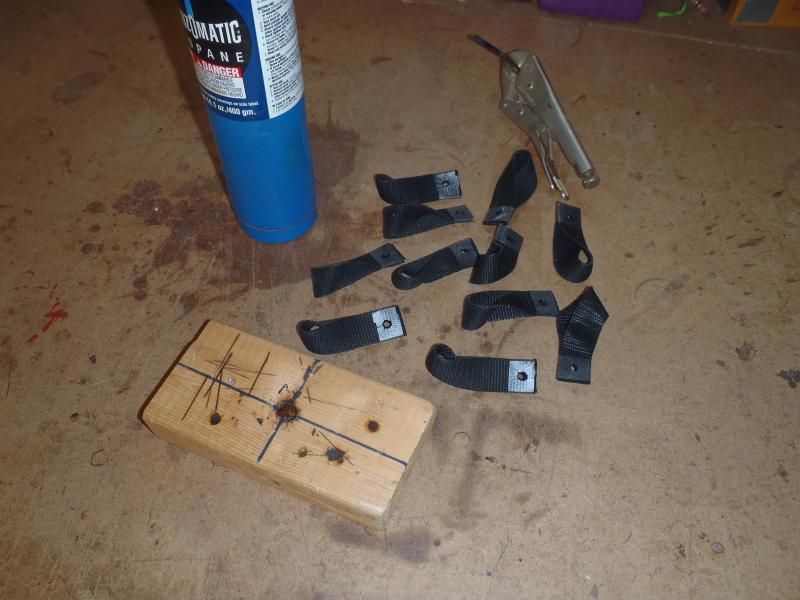
While that contact cement was setting up and I had the exhaust fan running I made some webbing loops. Between that lovely, sculpted & neck-notched, double-hung yoke, the thwart and the carry handles I had 10 machine screw ends to use as webbing anchors and plenty of scrap 1” webbing in the shop, including some fugly colored stuff.
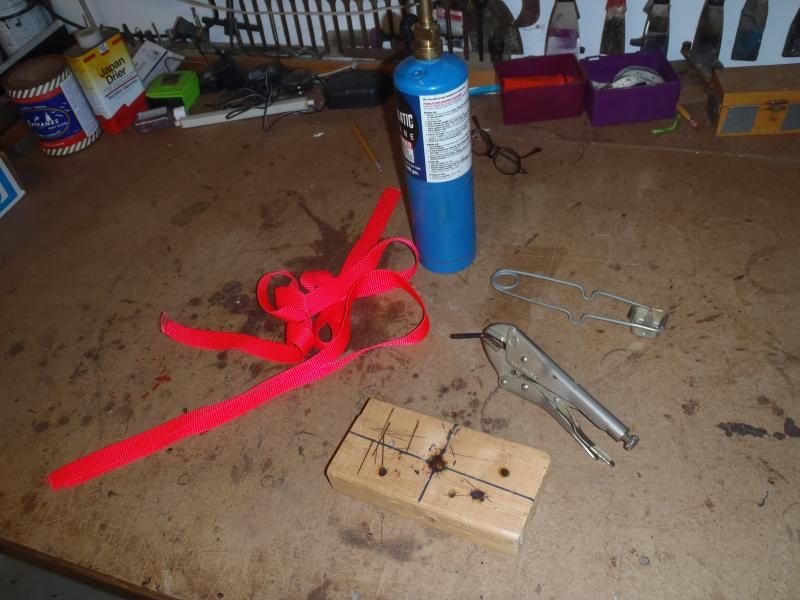
I behaved myself and used black webbing. 7” lengths of webbing with a single fold gave me an always open loop that I can easily pass line or straps through. Mark them, cut and seal them with a hot putty knife blade, single twist, tape the ends together and burn a perfect 3/16” machine screw hole with a 20-penny common nail.
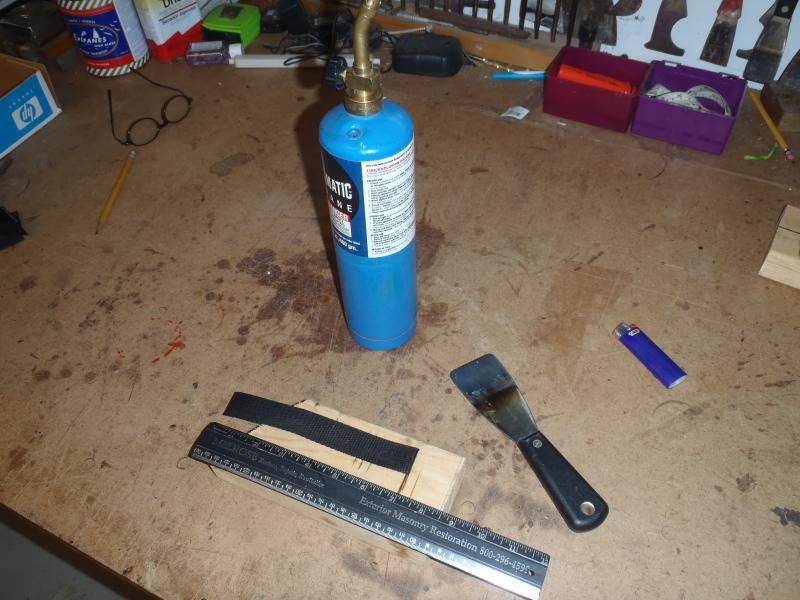
I don’t want my delicate digits trying to hold the webbing loops ends in place that close to a hot nail head, so the tape serves to holds the ends aligned while melting the holes.
With the webbing loops made I removed the nuts and washers from the machine screw shanks. Well, first the thread protectors on every machine screw, a factory touch that shows an appreciated attention to detail.
Since I had the nuts and washers off now was the time to remove the thwart, carry handles and that beautiful yoke, and reseal the ends to forestall any decay or rot in those suspect areas.
Taking a canoe apart reveals much about the care with which it was put together. The butt ends of the brightwork were in excellent condition for a 6 year old boat that had the expected grunge under the gunwales, so NC must have sealed those ends with more than just a single quickie meh-who-is-ever-gonna-see coat of varnish.
Everything else is ship shape construction wise. The holes in the brightwork are all centered, no missing washers or other miscues. All in all one of the best quality builds I’ve seen in a long time. Kudos to Nova Craft.
The bright work may be in good shape, but while it is out I’ll sand the butt ends to bare wood and coat them with, um, epoxy resin. I don’t want to wait through multiple coats of varnish and there is no UV exposure on those butt ends.
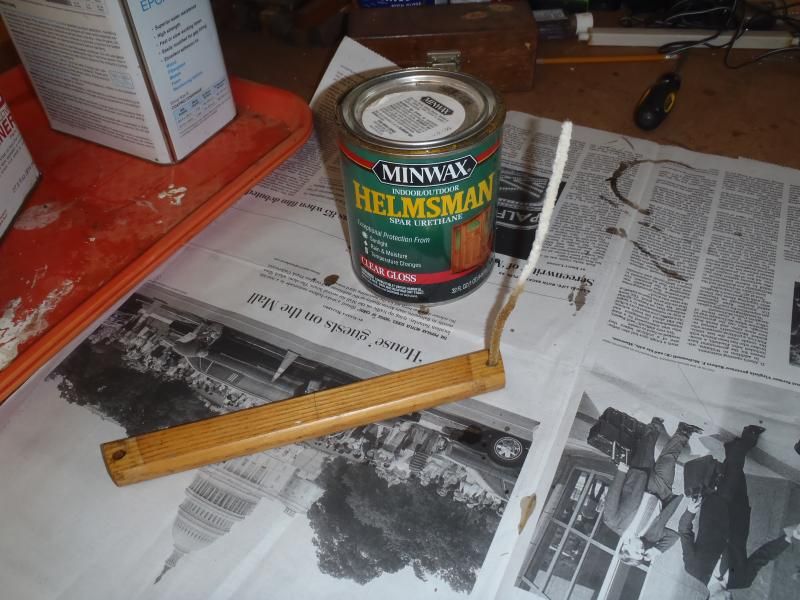
Correction –I did use a little varnish, or, more specifically, Helmsman Spar Urethane. I poked a saturated pipe cleaner into each machine screw hole to help seal the bare wood inside.
I would have done the same inspection, sanding and sealing for the seat hangers, but I’m not sure if I want to keep them or install truss drops.
It should all go back together tomorrow better than new.
Finally found one – Nova Craft Cronje in Royalex:
http://www.novacraft.com/canoe_cronje.shtml
I wasn’t looking for a tandem, but it is getting harder to pass on RX canoes. The hull is in very good shape, with only a couple of dings and dents and two small gouges in the vinyl on one side.
Even the vinyl stickers are still in decent shape. So before washing the hull I peeled them off. Nothing against Nova Craft or Thunderbird emblems, but those vinyl letters and etc are easier to peel off before they are all scraped up and will only peel off in tiny shards.

Besides, I like the lines of this canoe and the deep burgundy hull will look better unlettered.
I know what to expect when detail washing a used canoe. First, it is a great way to get up close and personal with a hull and thoroughly inspect every ding, bing, scrape and dent. Second, the amount of crud that blasts free from under the gunwales can be amazing.
Up close and personal the Cronje looks great. The hull isn’t even faded under the vinyl stickers and a little lighter fluid scrubbing removed the adhesive residue.
De-decaled, washed and dried I tackled the small gouges in the vinyl. A coat of G/flex tinted (a very unmatching) red put everything back together nicely. I’ll spring for a can of burgundy spray paint for UV protection on the epoxy and a better color match.
All cleaned up and hull patched I found myself at a crossroads – what am I going to do with the Cronje?
My first thought was to soloize it; strip all the brightwork and install a solo seat and custom thwarts to trap barrel and portage pack.
And if the current seats or etc needed work I probably would. But all the brightwork is in excellent condition, and I really like that deep sculpted yoke. But I don’t paddle tandem, no one in my family does, and we already have a couple of tandem loaners.
After some dithering I decided to leave it a tandem. It is a symmetrical hull, and any guise in which I’d solo the Cronje would be from the bow seat backwards with a tripping load up front for trim. The bow seat is already positioned well back from the end; in a “backwards” orientation the front edge of that seat is 6’ 5” from the bow end and I wouldn’t gain much by installing a solo seat 10” forward.
That greatly simplifies the “rebuild” and I can concentrate on the outfitting, using whatever I have on hand in the shop.
Comfort stuff first. Those square aluminum inwales are not fun on the knees. I like to brace my knees against the gunwales, especially to lock in place when seated and using a foot brace and back band. Just pressing my knees against that right angle aluminum inwale to mark the knee bumper locations hurt. That’s got to go.
Knee Bumpers
I had some rectangular pieces of ¾” thick minicel already cut in the scrap box that fit perfectly. Sized 10” x 2 ½”, which fit nicely under the gunwales bringing the surface flush with the edge of the inwale, and a couple of larger pieces sized 10” x 3 ¾” to glue atop the inner pieces and cover the right angle pain of that aluminum inwale.
I cut a couple more so I had four inners and four outers, and rounded the edges of the outers with Dragonskin to help alleviate any sheer forces peeling from back the edges of minicel when getting in or out of the canoe. Shaping minicel with Dragonskin may be the fastest and funnest part of outfitting.


I marked the knee positions in pencil with a couple of test sits before realizing that I had forgotten to alcohol wipe the hull locations. Wrong order of business, but at least the pencil marks don’t smear like Sharpie when alcohol wiped.
Time for some contact cement work. The exhaust fan goes on and each piece of minicel gets three timed coats of contact cement, the hull gets two coats. I enjoy the sequence of contact cement work; first coat on the minicel, first coat on the hull, and by then the first minicel coat has vanished completely dry into the foam and is ready for the second coat.
Wait some, second coat the hull, third coat the minicel. Wait, heat gun both surfaces and try not to F up the instantaneously stuck alignment. Clamp the innes in place for the best possible adhesion and walk away for a few hours.
Then, three coats of contact cement on the face of the in-situ innes and gunwale edge, the final coat on the outies, heat gun, stick them in place, clamp and walk away overnight.

With the contact cement drying wait times that is a long process, but I’ve added almost no weight and the knee comfort is so well worth the effort. If you have several days of contact cement work on the schedule a strip of wax paper wrapped around a disposable brush will keep the bristles useful until the next adhesive application.
I’ll go back to the knee bumpers later and lay small a bead of Plumber’s Goop adhesive sealant around the hull-to-minicel edges. That seems to help prevent sheer forces from lifting an edge and keeps grit, grime and water from infiltrating and loosening the glue over time.
Webbing loops
While that contact cement was setting up and I had the exhaust fan running I made some webbing loops. Between that lovely, sculpted & neck-notched, double-hung yoke, the thwart and the carry handles I had 10 machine screw ends to use as webbing anchors and plenty of scrap 1” webbing in the shop, including some fugly colored stuff.

I behaved myself and used black webbing. 7” lengths of webbing with a single fold gave me an always open loop that I can easily pass line or straps through. Mark them, cut and seal them with a hot putty knife blade, single twist, tape the ends together and burn a perfect 3/16” machine screw hole with a 20-penny common nail.

I don’t want my delicate digits trying to hold the webbing loops ends in place that close to a hot nail head, so the tape serves to holds the ends aligned while melting the holes.

With the webbing loops made I removed the nuts and washers from the machine screw shanks. Well, first the thread protectors on every machine screw, a factory touch that shows an appreciated attention to detail.
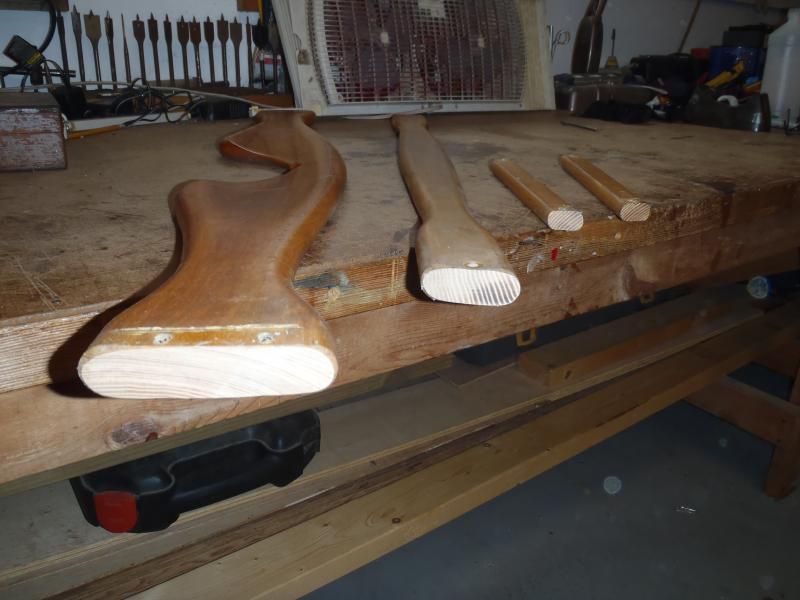
Since I had the nuts and washers off now was the time to remove the thwart, carry handles and that beautiful yoke, and reseal the ends to forestall any decay or rot in those suspect areas.
Taking a canoe apart reveals much about the care with which it was put together. The butt ends of the brightwork were in excellent condition for a 6 year old boat that had the expected grunge under the gunwales, so NC must have sealed those ends with more than just a single quickie meh-who-is-ever-gonna-see coat of varnish.
Everything else is ship shape construction wise. The holes in the brightwork are all centered, no missing washers or other miscues. All in all one of the best quality builds I’ve seen in a long time. Kudos to Nova Craft.
The bright work may be in good shape, but while it is out I’ll sand the butt ends to bare wood and coat them with, um, epoxy resin. I don’t want to wait through multiple coats of varnish and there is no UV exposure on those butt ends.

Correction –I did use a little varnish, or, more specifically, Helmsman Spar Urethane. I poked a saturated pipe cleaner into each machine screw hole to help seal the bare wood inside.

I would have done the same inspection, sanding and sealing for the seat hangers, but I’m not sure if I want to keep them or install truss drops.
It should all go back together tomorrow better than new.


