G
Guest
Guest
Oh, and Mike, I am DougD as he is me and we are all together, goo goo g'joob, more than you know, bwahahahahahah! [evil laugh]
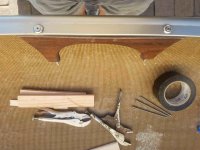
While we are talking webbing, I have a hogpodge of nylon straps of varying ages, weaves, and thicknesses, and of unknown quality. I would invest in a roll of 1” nylon webbing if I knew enough to know I was getting quality but not overkill. Any enlightenment on the basics of choosing nylon webbing would be appreciated
Oh, and Mike, I am DougD as he is me and we are all together, goo goo g'joob
Glenn, I’ve heard good things about Penetrol. I am not at the point where I want to add any weight for purely cosmetic reasons, but will keep it in mind in the future.
...
While we are talking webbing, I have a hogpodge of nylon straps of varying ages, weaves, and thicknesses, and of unknown quality. I would invest in a roll of 1” nylon webbing if I knew enough to know I was getting quality but not overkill. Any enlightenment on the basics of choosing nylon webbing would be appreciated.


")
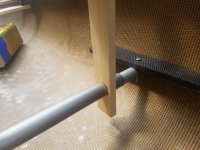
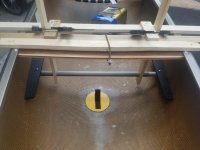
On to the vexing port gunwale problem, described in one of my first posts. On the starboard side the inner lip of the outwale covers the inwale by about 1/8". On the port side, around the seat area, the outwale lip does not cover the inwale.
The suggestion to clamp it was a good one:
filedata/fetch?id=113455&d=1593525832
I have put some muscle into bending the outwale lip down with the vice grip wood sandwich as much as I dare, with no apparent change in the problematic inward angle.