• Happy Incorporation of Hudson's Bay Co. (1670) 🍁🦫🪓

Composite Canoe Build

Lighter boats seems to be everyones goal. I have been keeping it in mind on my current build as well thinking towards a better way next time. My 16 foot solo's hull glassed without any trim came in at 30 Lbs which was about where I wanted to be. I weighed the ash gunnels, molded but not trimmed and was surprised they weighed 9 lbs.
My trim will add very close to 10# to the weight of CF Nokomis.

Jim
 
Please excuse the crude diagram, but this is what I'm thinking for the infused gunwales. Two layers of Kevlar will be come up the hull to the shear line, follow the mold scallop around the foam profile, then wrap around the foam and back to the shear/hull. This will wet out in the infusion process if I set it all up correctly.

​I may put a third layer of Kevlar up the hull to cover up the overlap of the layers around the foam. This will make 5 layers of Kevlar right below the gunwale. But, I need to resist the urge to overbuild. I do want to be able to portage this thing. :)

Gunwale Infusion by bctc95, on Flickr
 
Last edited:
The gunnels on my Freedom Solo 16'3" weigh in at just under 4 pounds of cherry. They were 3/4", rounded with 1/4" radius bit, then a 5/16" x 1/2" channel cut down the middle, then epoxied in place.

I had several people tell me that uni wales were myth or difficult, but at the time they made a lot of sense to me (read that as I may be a little stubborn at times) and they have worked well over the last few years of tripping. I don't think I would go any less than the 3/4" and so that is my reference point in reviewing composite versions for the next build, which will be another solo, with the intent of shaving off some weight.

I am in uncharted waters ( at least for me) but my modeling suggests that 2 pounds off the gunnels and likely more than that (thinking ~3-4 #) for the thwarts/yoke/seat/decks should be quite feasible with composite parts .... I won't commit to using the composites until I do some testing to determine strength and flexibility of some sample pieces.

But I still have the question from above:

One question I do have, most builders seem to use cloth to wrap the gunnels, instead of biaxial braid ... which would seem to be an easier solution and use the minimum amount of material (weight pov) .... am I missing something?

Brian
 
Made more progress on the mold.

Yellow tacky tape between the mold halves:

IMG_2786 by bctc95, on Flickr

IMG_2785 by bctc95, on Flickr

Before joining the two halves, the mold got cleaned & sealed. Once joined, I put the first coat of release on....still need 4 more coats.

Wrapped in plastics until next time...
IMG_2788 by bctc95, on Flickr

IMG_2789 by bctc95, on Flickr

Almost ready....
 
Last edited:
Not much to update picture-wise, but I put two more coats of release on the mold today. Also got the full length foam profiles for the gunwales completed. It looks like things are coming together to infuse the first canoe on March 18th. Can't wait!
 
Yesterday was the big day. We started at 6:30am with me spraying the white epoxy-compatible gelcoat.

IMG_2739 by bctc95, on Flickr

IMG_2745 by bctc95, on Flickr

​Once the mold was coated with a 20mil layer of gelcoat, the masking tape around the mold edges was removed while the gelcoat was still wet.

IMG_2820 by bctc95, on Flickr

​After the gelcoat cured until slightly tacky, we laid in two lengths of 30" wide 6oz E-glass with an over lap in the middle.

IMG_2824 by bctc95, on Flickr

​Then a 6" wide strip of 5oz Kevlar from stem to stem and on the side keels.

IMG_2827 by bctc95, on Flickr

​Then a football of 5oz Kevlar over the glass and Kevlar strips.

IMG_2826 by bctc95, on Flickr

IMG_2828 by bctc95, on Flickr

​Next was the first full blanket of 5oz Kevlar layer laid offset so that it could wrap one foam gunwale profile.

IMG_2831 by bctc95, on Flickr

IMG_2830 by bctc95, on Flickr

​Then the second full Kevlar blanket to wrap the opposite gunwale profile.

IMG_2833 by bctc95, on Flickr

IMG_2834 by bctc95, on Flickr

​We then wrapped the glass layers that were laying on the mold flange around the gunwale profiles as well.....neglected to photo-document that.

Pieces of ​3mm Soric were layed at the bow and stern seat locations and a few stripes in between.

​The last full blanket was then laid and trimmed to just below the gunwales.

​Next was the tedious task of covering everything with peelply, green-flow and feed and vacuum spiral tubing, t-fittings, tacky tape and ultimately the vaccum bag film....which we had to seam to be long enough for this 18+ foot canoe.

IMG_2837 by bctc95, on Flickr

IMG_2838 by bctc95, on Flickr

IMG_2839 by bctc95, on Flickr

Vacuum was then applied and a leak-down test completed. After a few leaks were resolved, it was time to infuse.

​The proper amounts of epoxy & hardener were mixed and infusion commenced.

IMG_2847 by bctc95, on Flickr

IMG_2845 by bctc95, on Flickr

IMG_2846 by bctc95, on Flickr

​Infusion of the integral gunwales worked flawlessly!

IMG_2850 by bctc95, on Flickr

Infusion complete!

IMG_2853 by bctc95, on Flickr

IMG_2854 by bctc95, on Flickr

​We then assembled our make-shift oven to accelerate the curing process. It ran fine for about 2 hours and then the over-heat safeties tripped out. Thankfully the epoxy hardened before the oven problems. We'll fix the oven on Monday and then run the required 8 hour cure.

​I am really looking forward to demolding, weighing and finishing the canoe!
 
Last edited:
Awesome Indeed!! That is so much fun to watch, like all the other builders here, always fun!!
 
That is soo cool !

Curious ! How much epoxy did it take !
Anxious to see it out of the mold too !

Great job !

Jim
 
Yeah, what Jim said. How did you calculate the amount of resin. And how did you (or maybe you didn't?) determine which feeds got how much resin?
Pretty cool.
 
Curious ! How much epoxy did it take !

​The amount of used epoxy is a little concerning. I prepared two 20lb buckets of epoxy and two 6.4lb buckets of hardener thinking that was more than needed. We ended up putting all of it in. But, there is epoxy in the tubing, including the feed line, vacuum line and catch pot. All of the greenflow is covered in epoxy, which will come off with the peelply. So, no real way to know how much of that 52.8lbs is in the canoe until it is weighed.

And how did you (or maybe you didn't?) determine which feeds got how much resin?​

​There is only one feed line. The solid tubing engages the spiral tubing at the t-fitting, which pokes through the vacuum bag. The epoxy hits that "T" and shoots down the spiral tubing to the stems and then flows through the Kevlar & glass.
 
That's slick!
I bet you can't wait to pull it out of that mold...
I know I would be feeling extremely impatient if I were in your shoes.
 
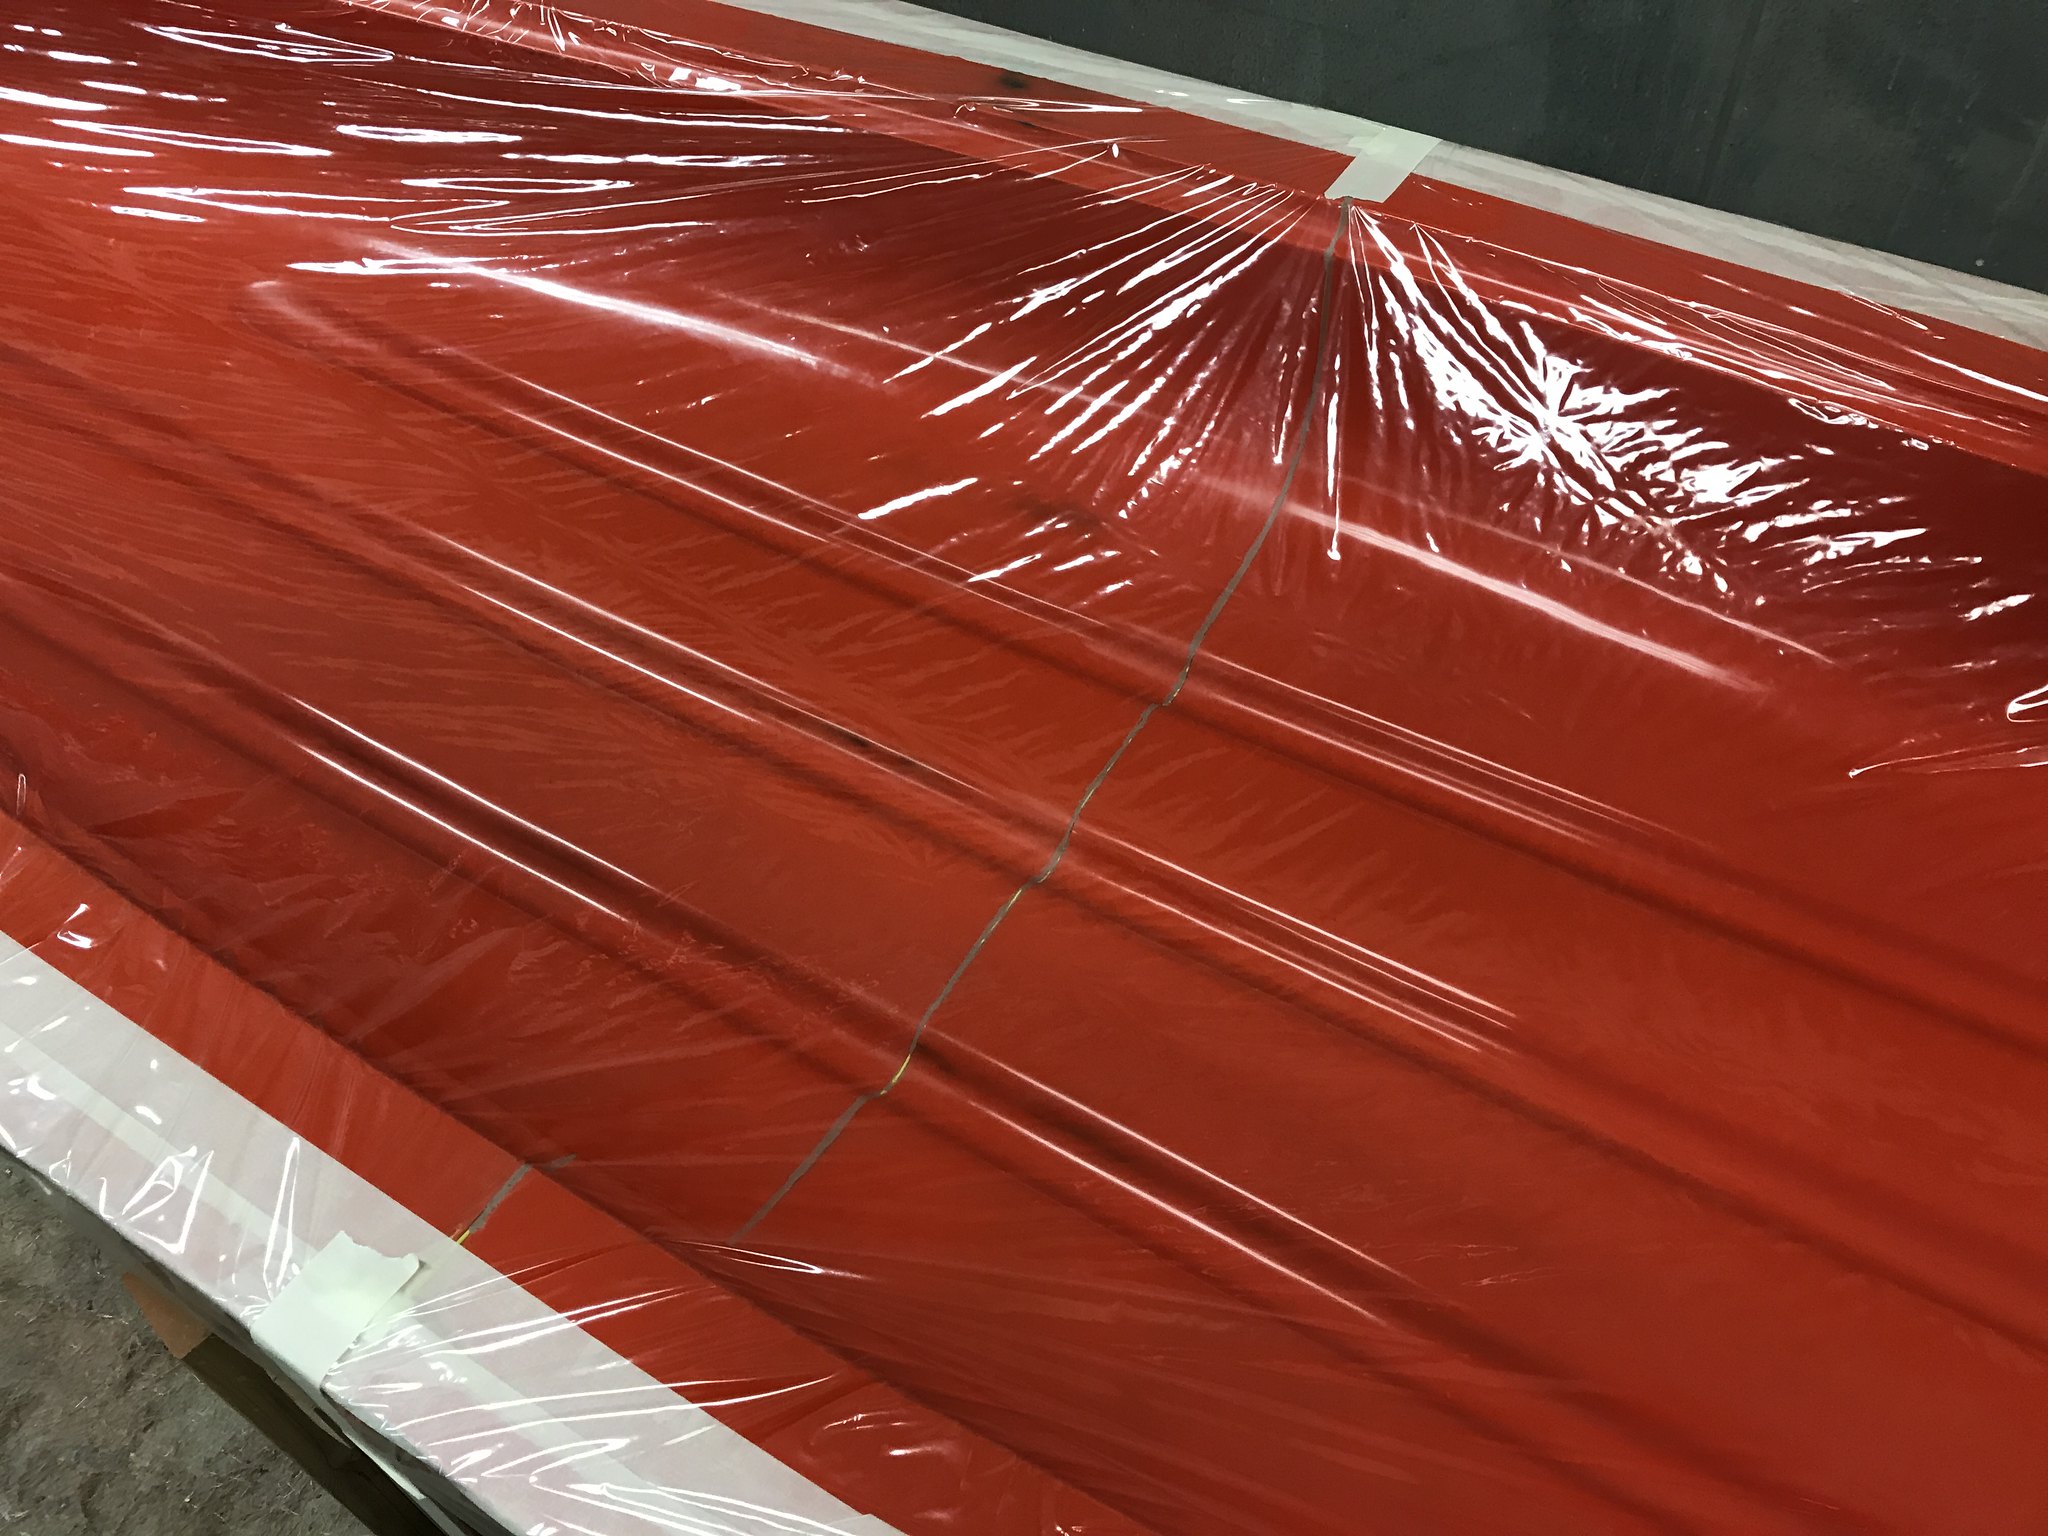
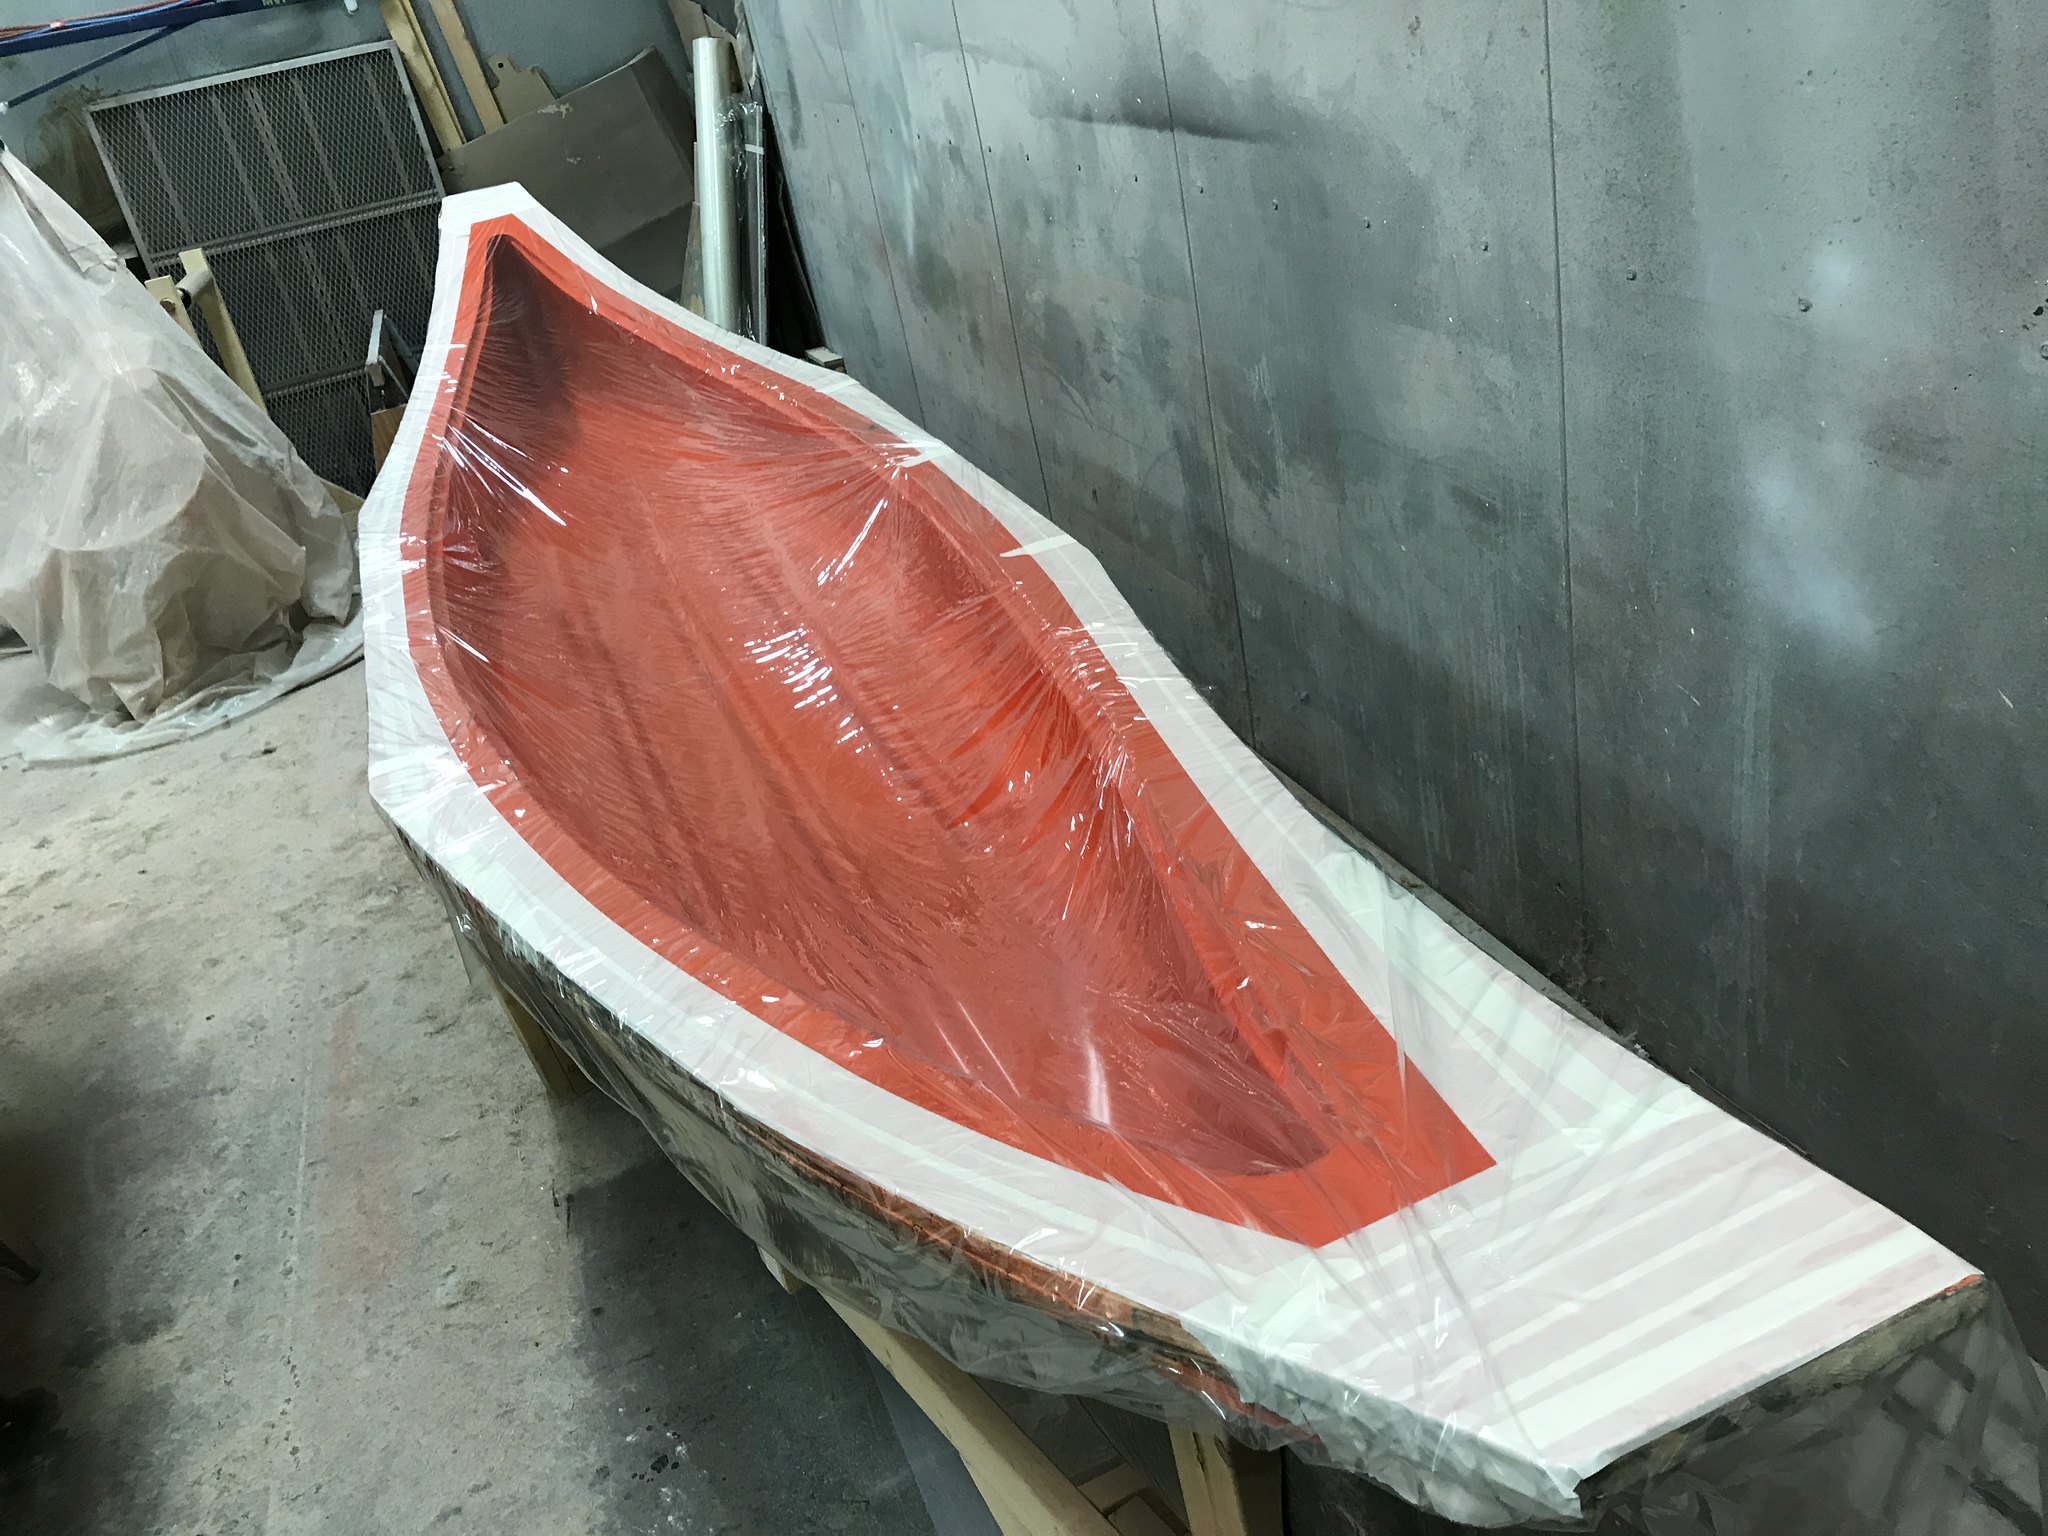
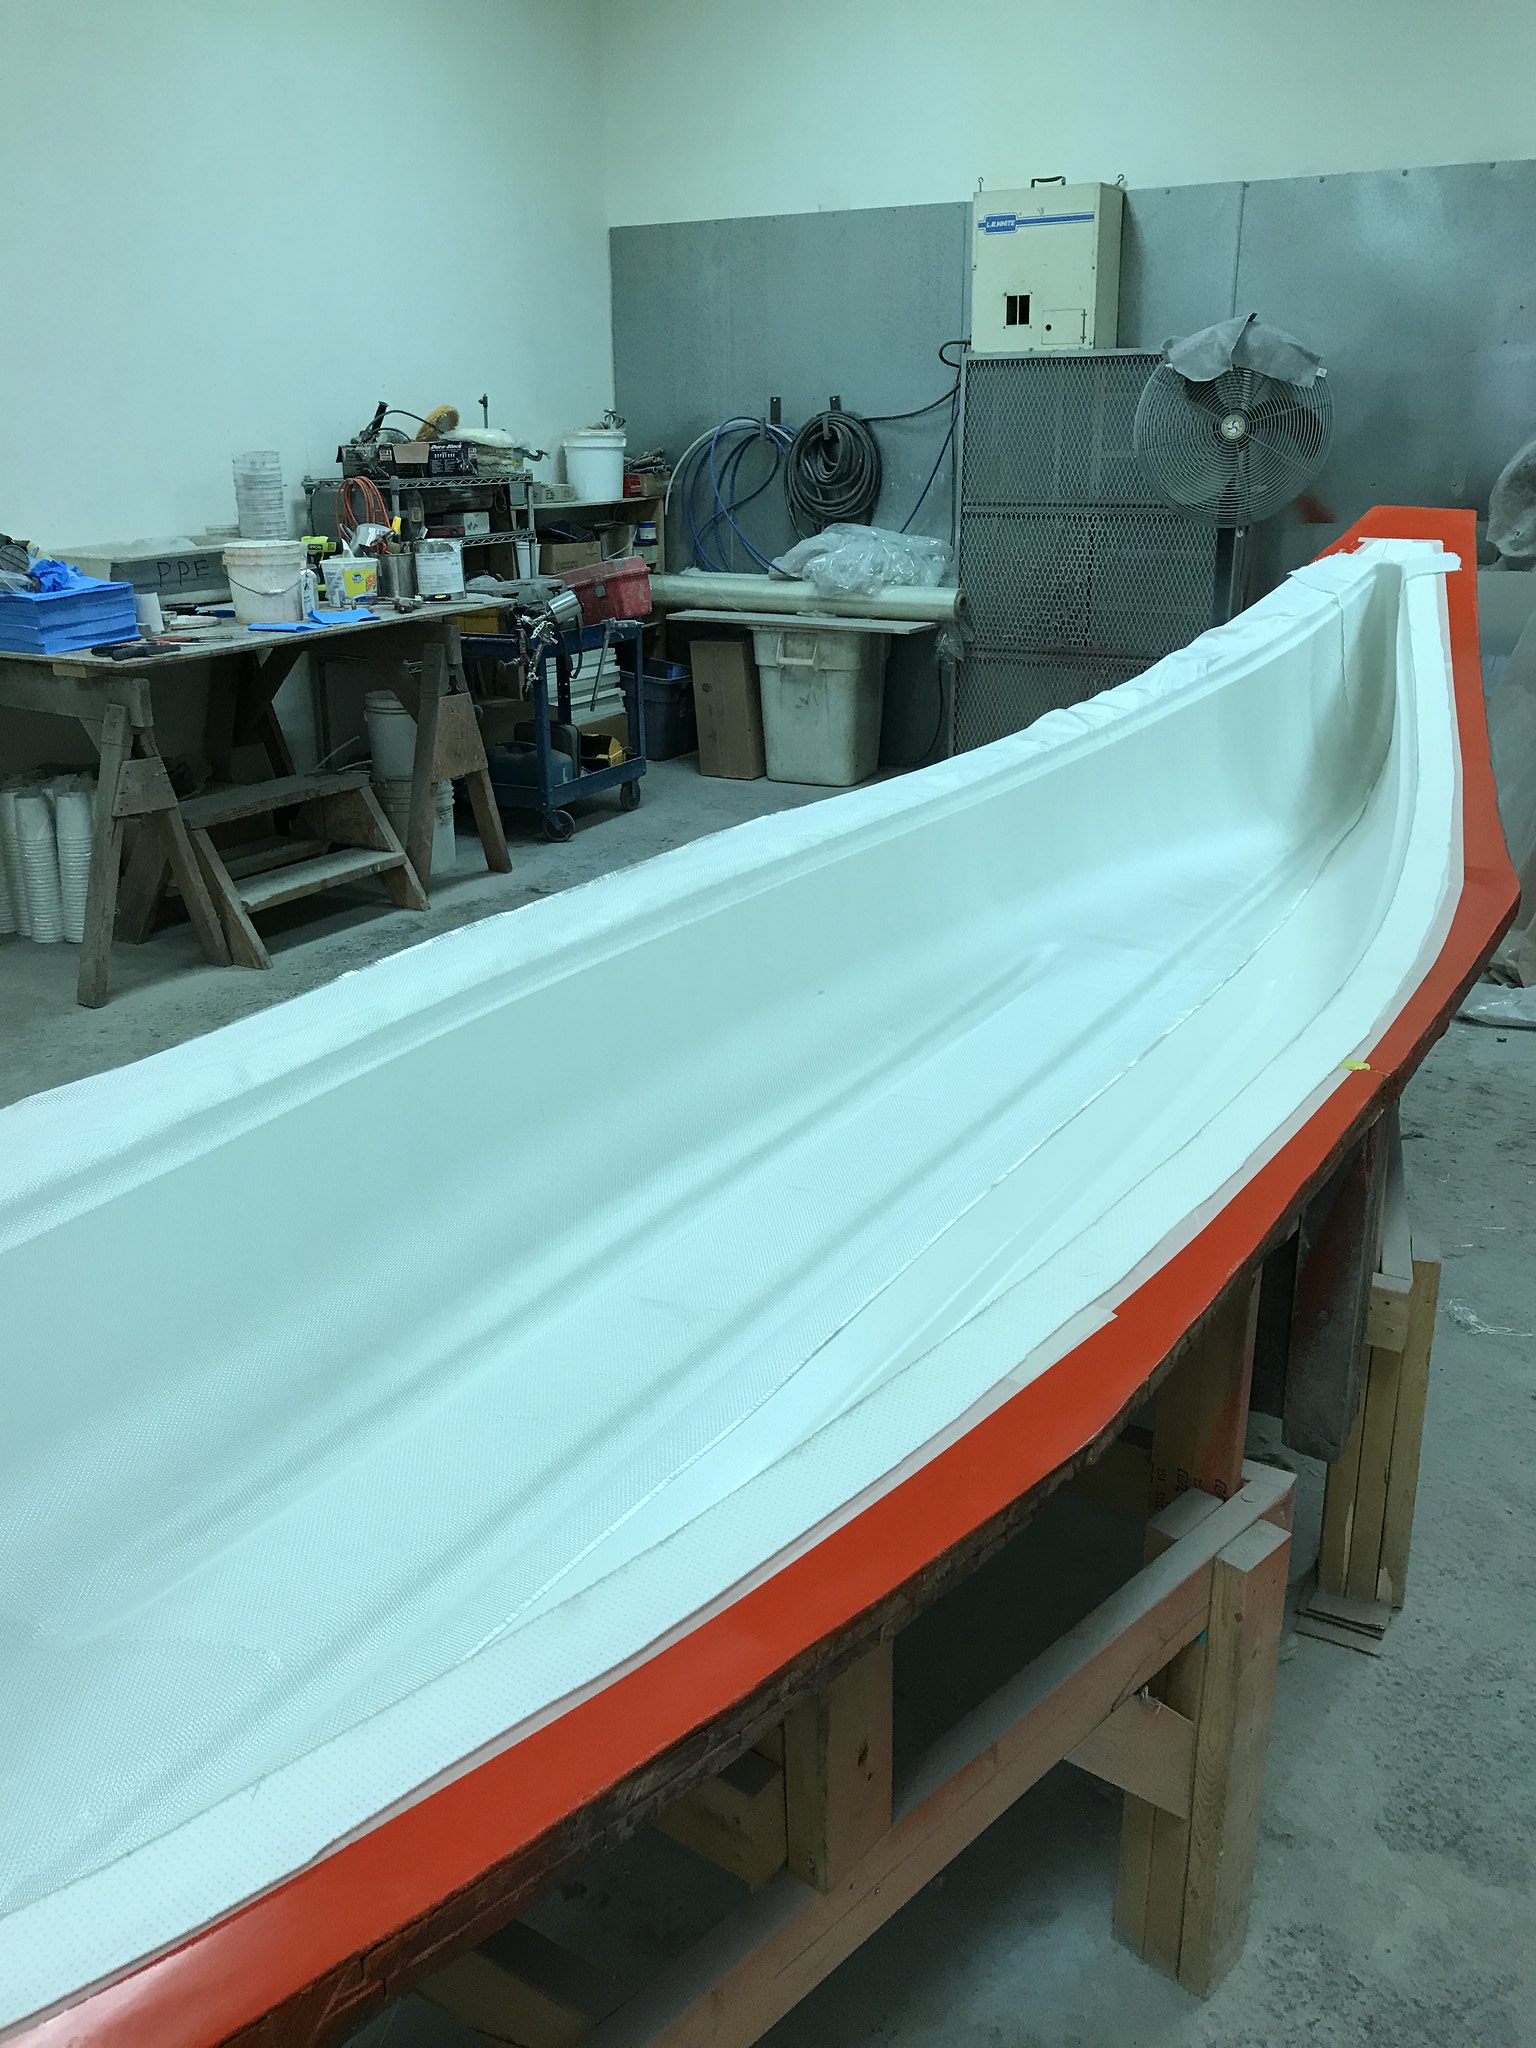
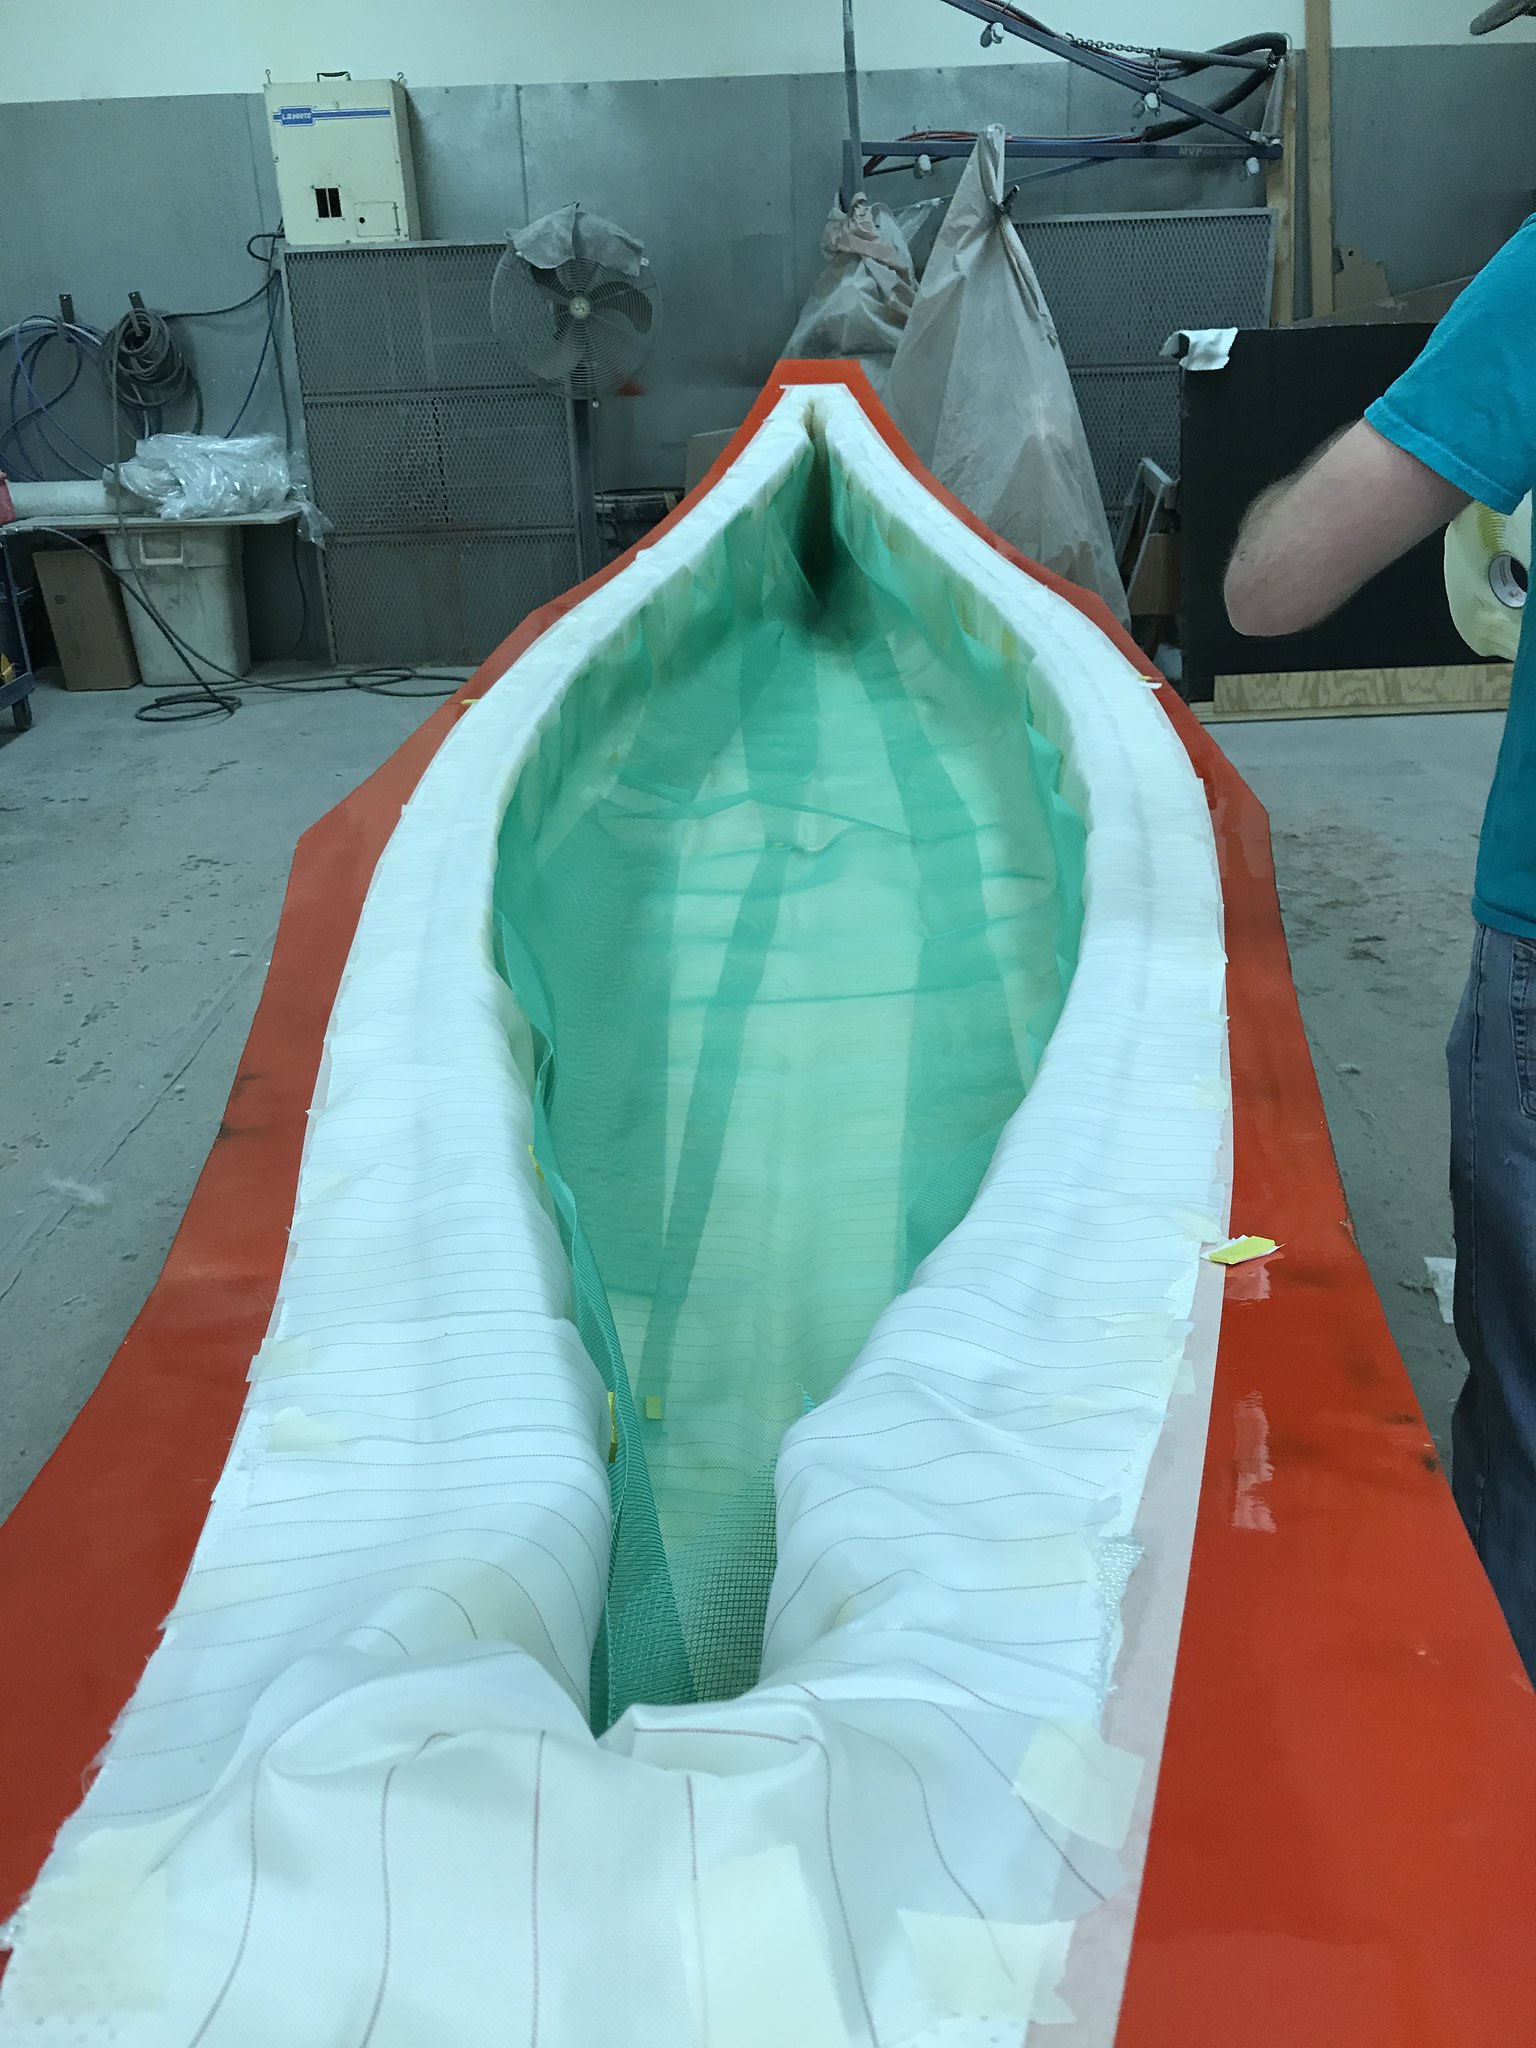
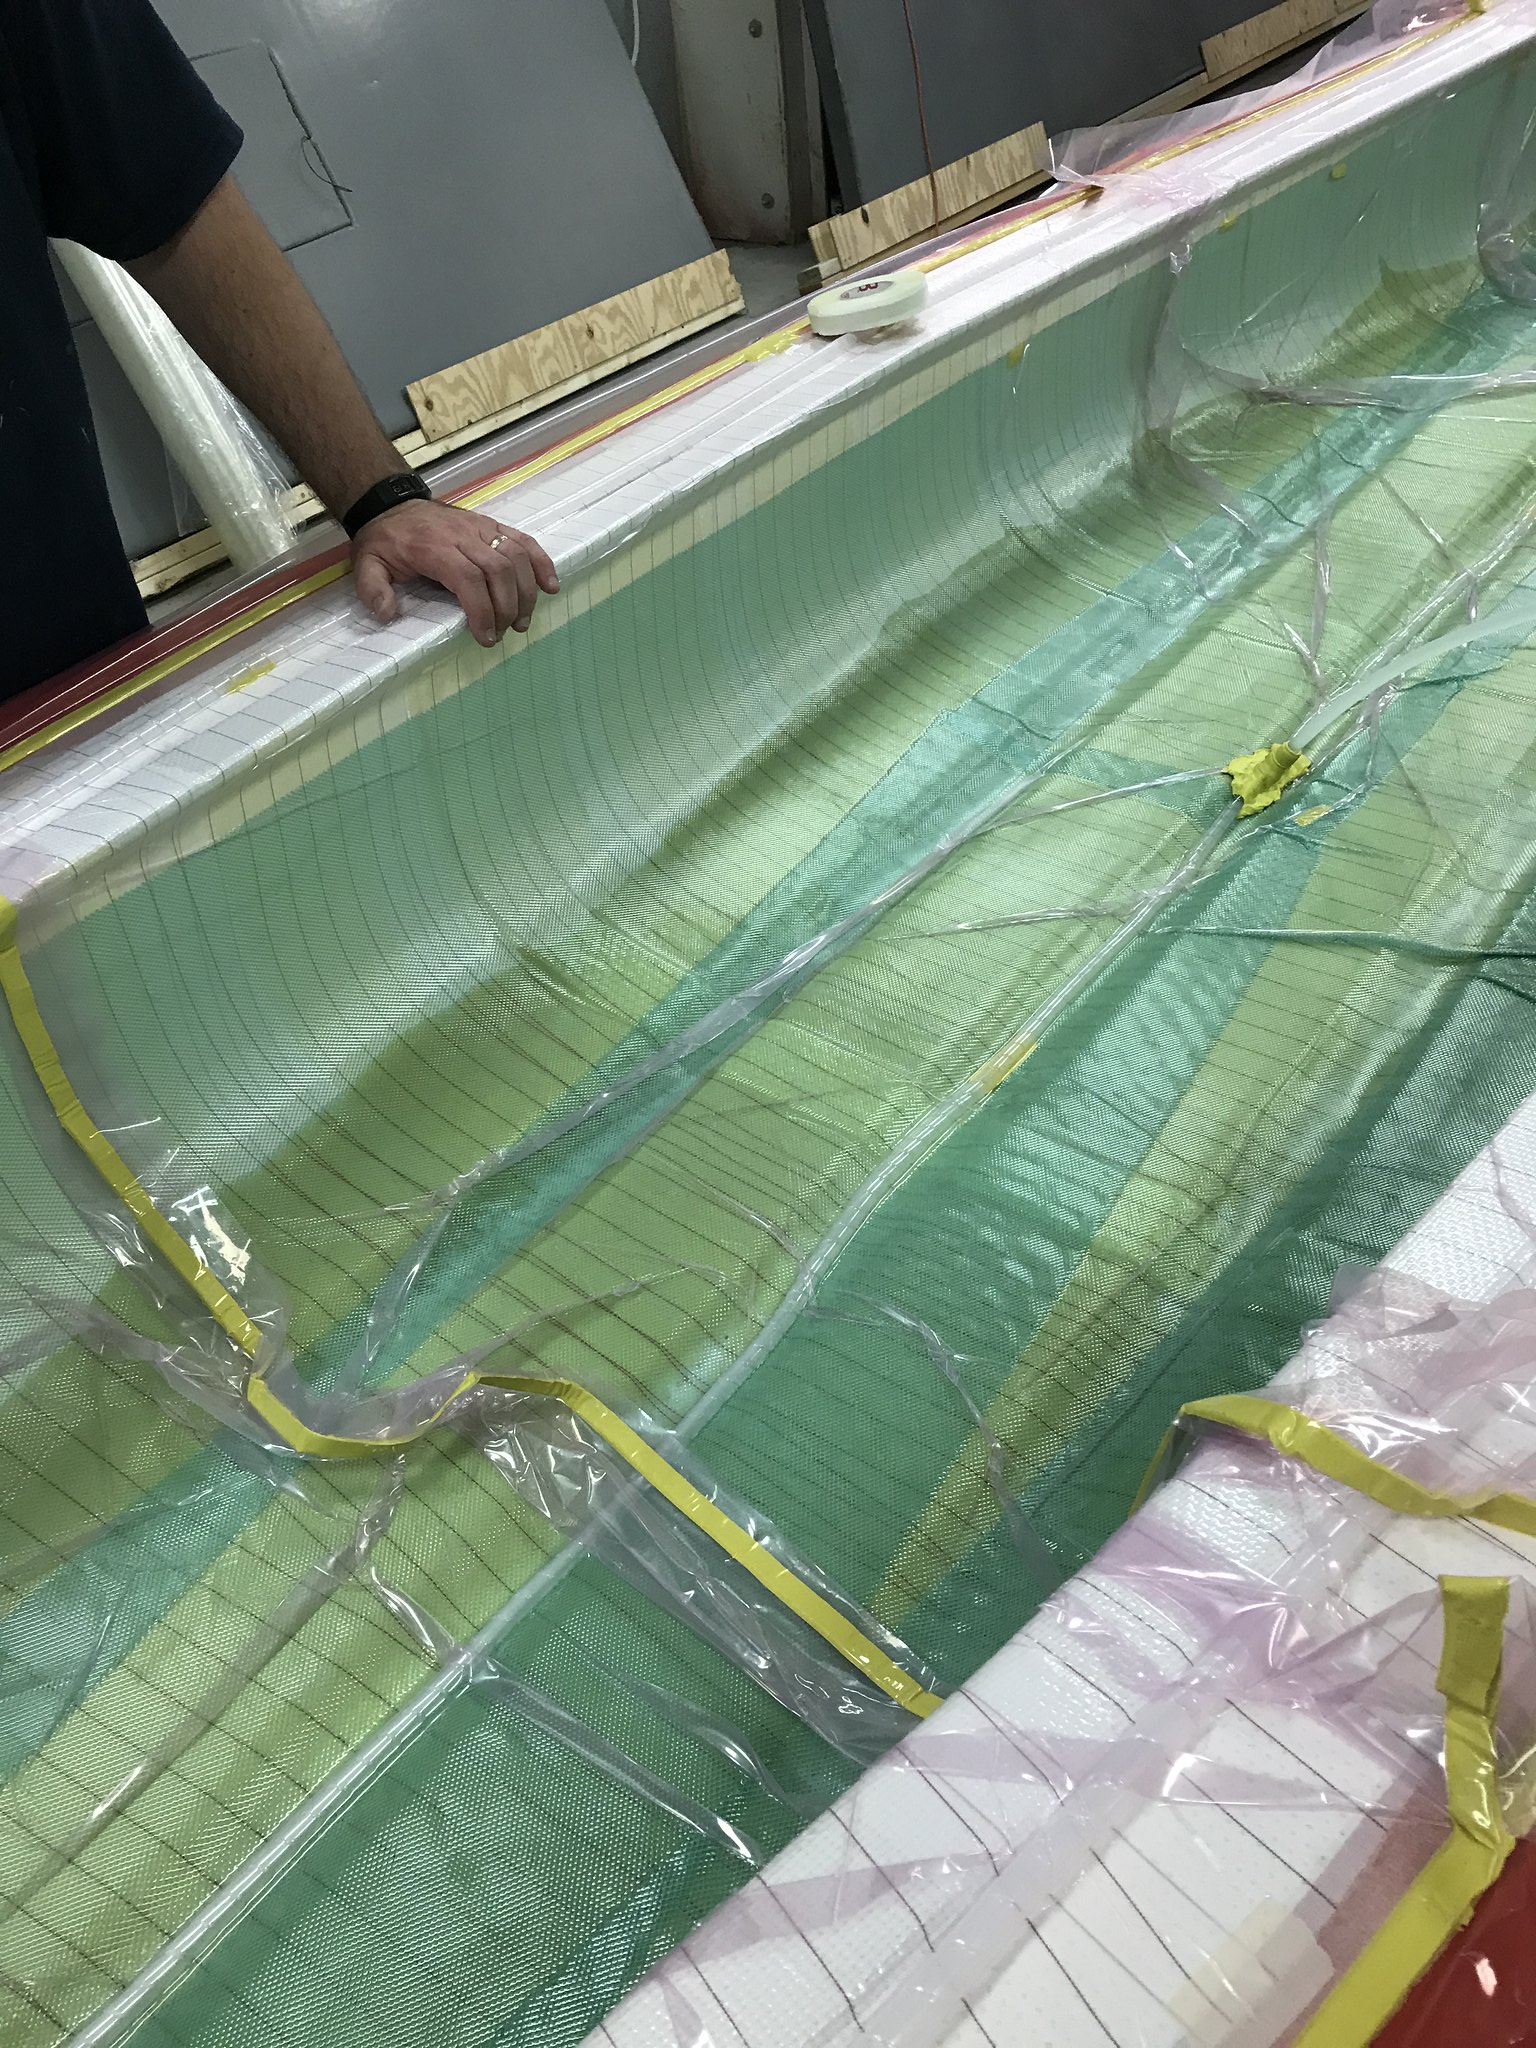
After baking all day, the canoe was ready to de-mold. Drum roll........

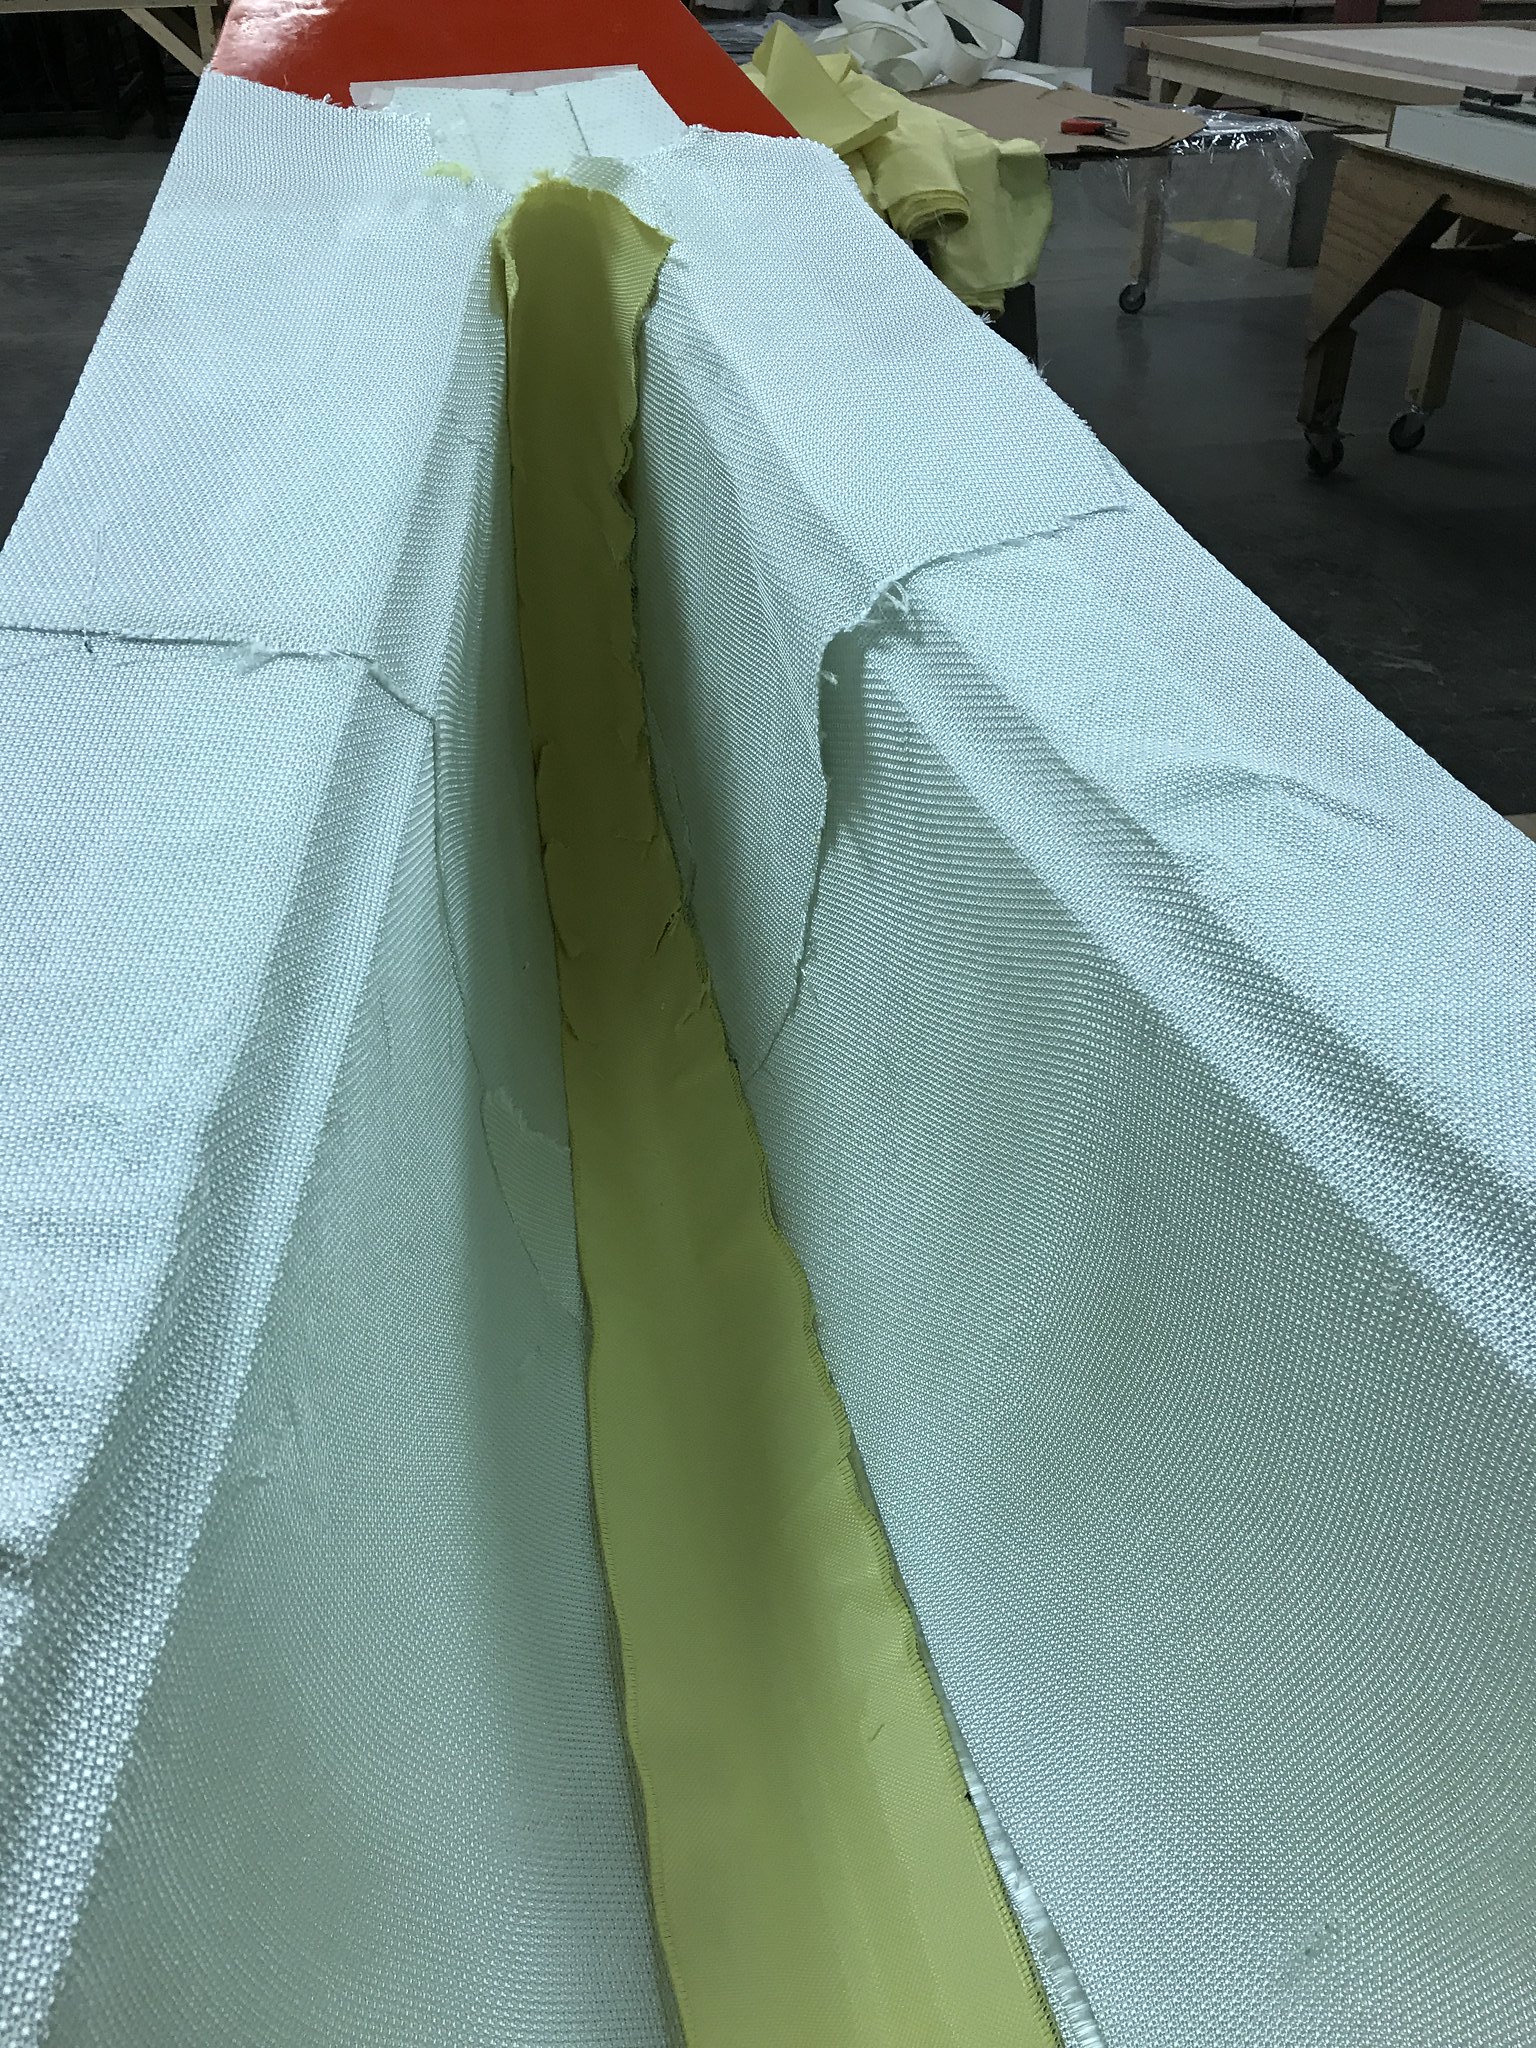
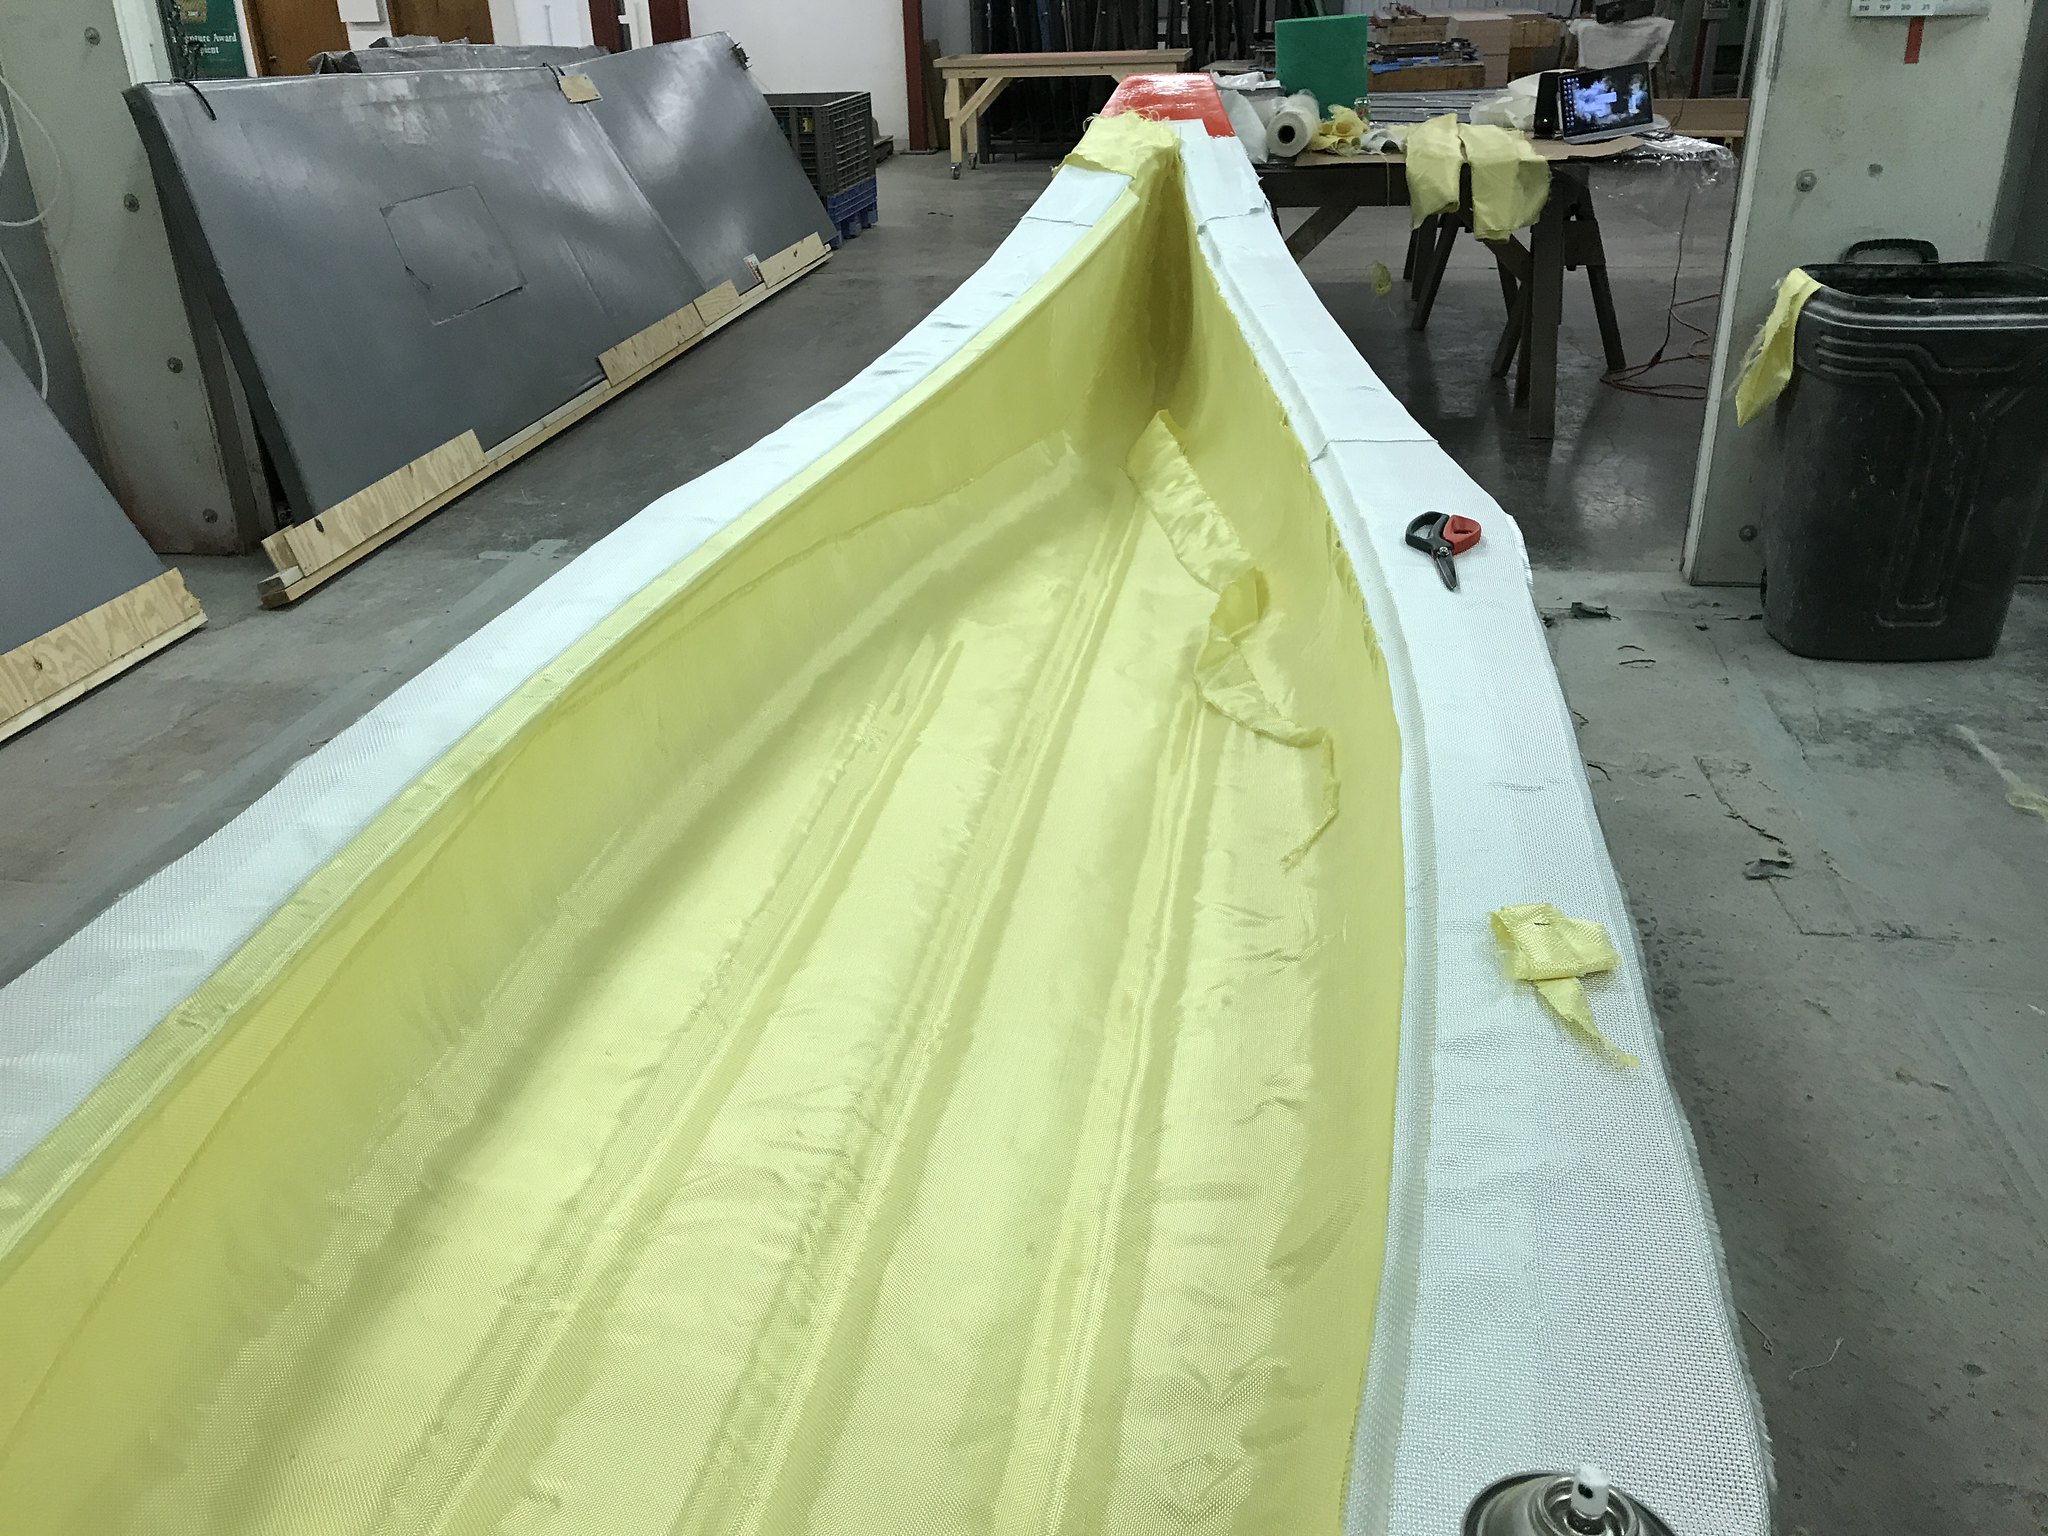
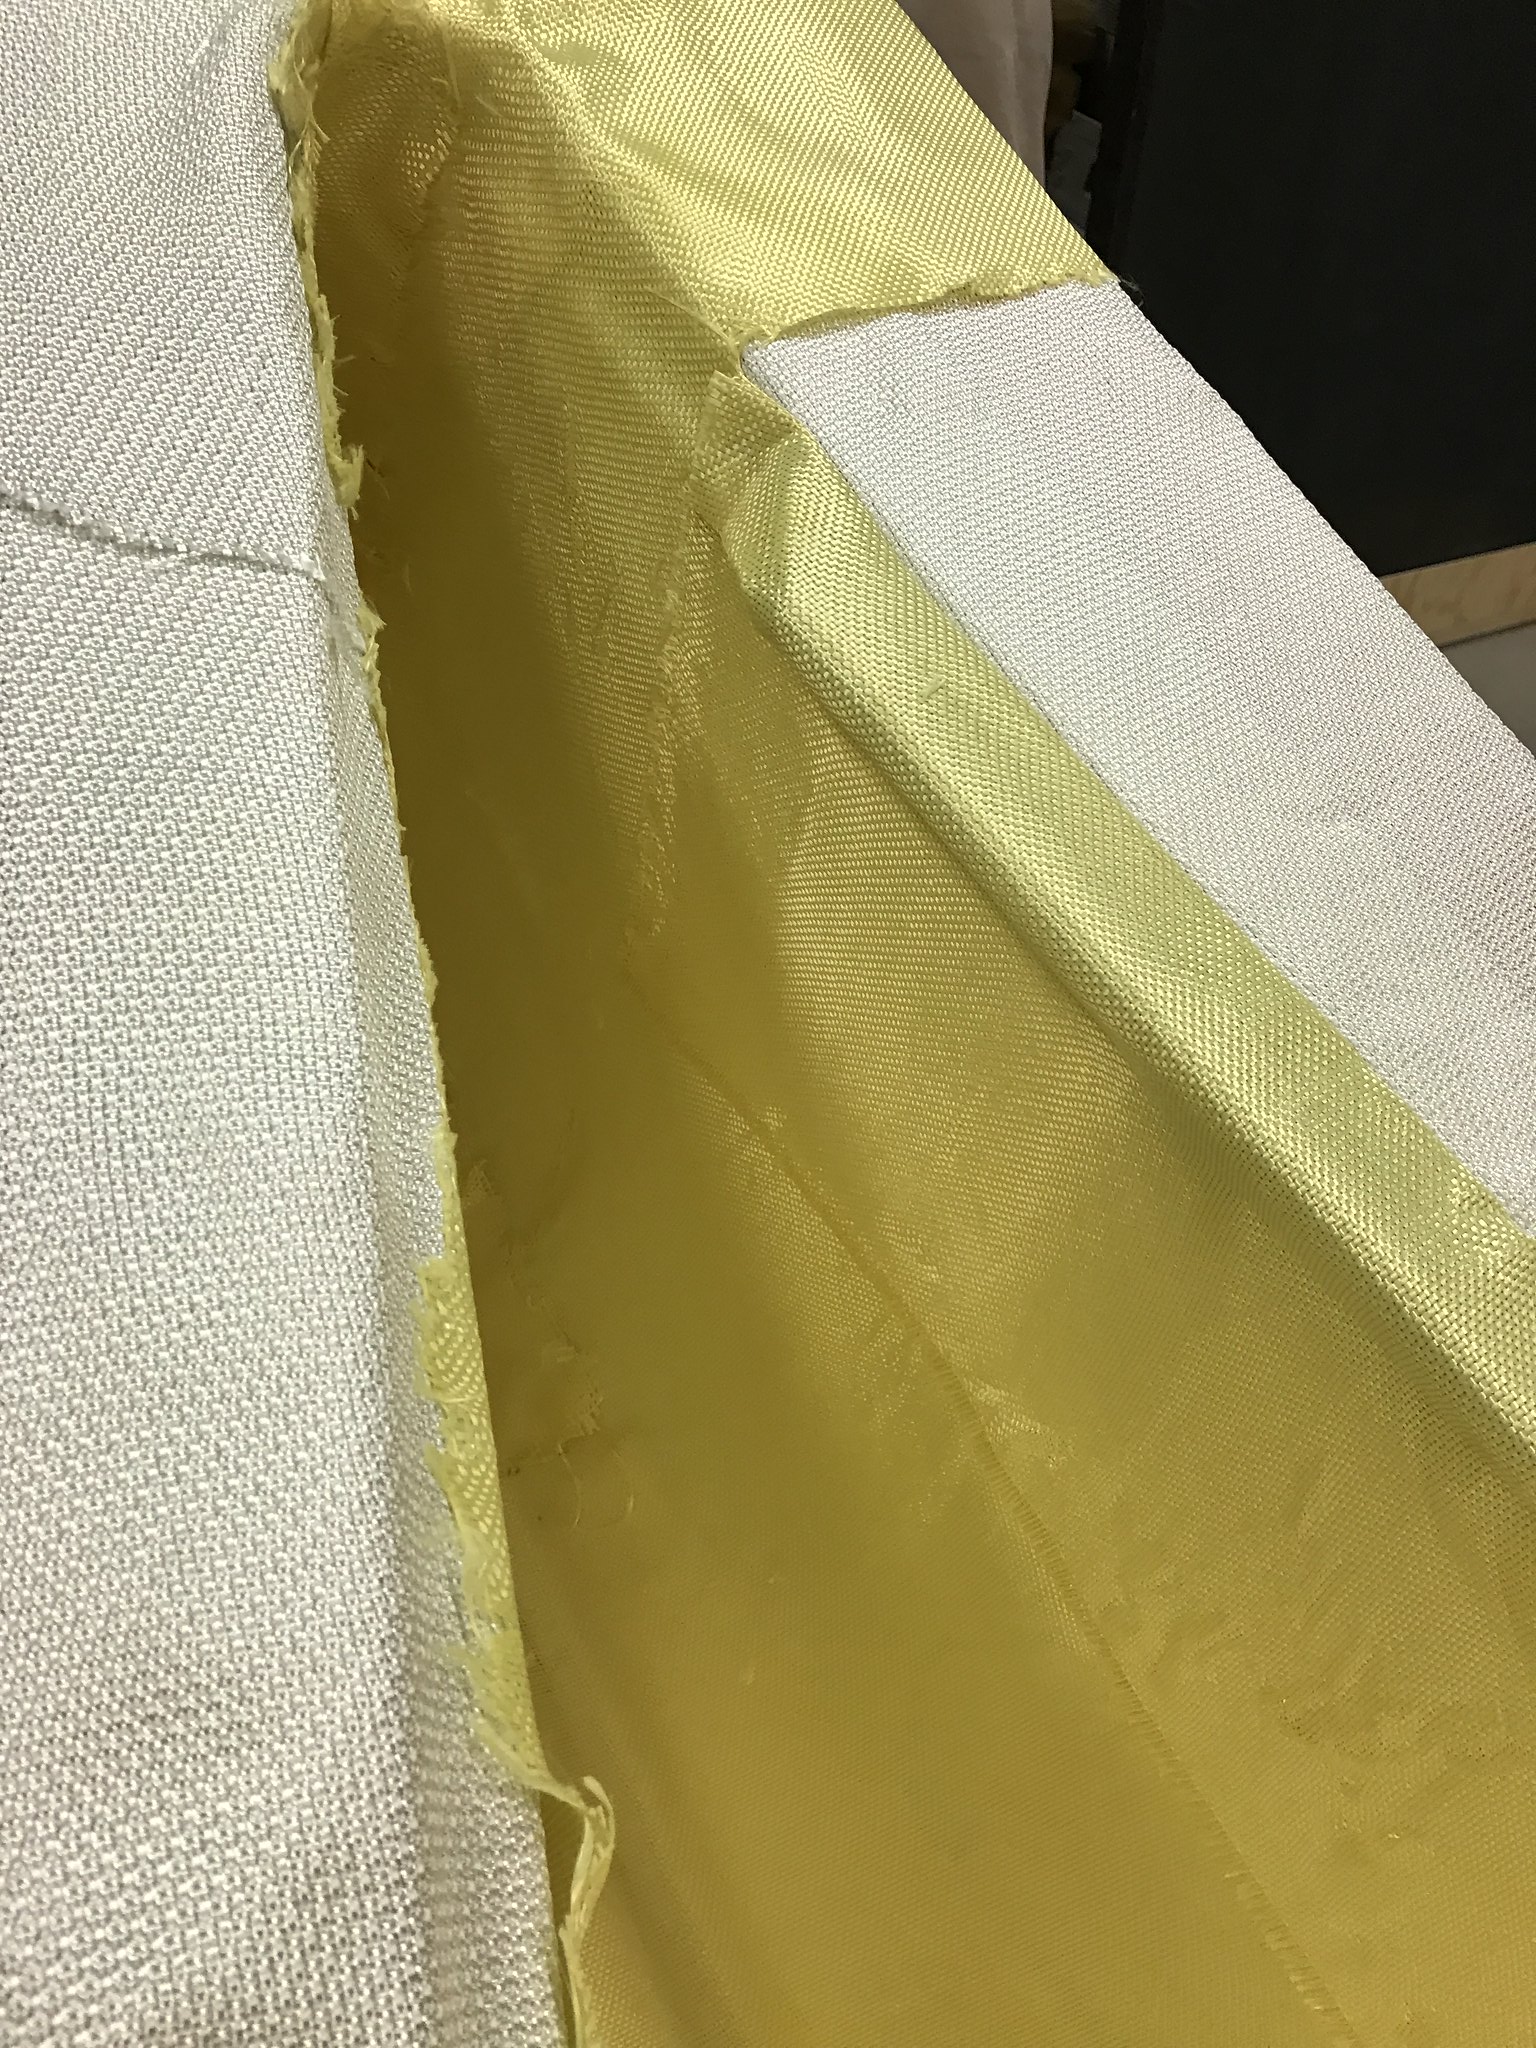
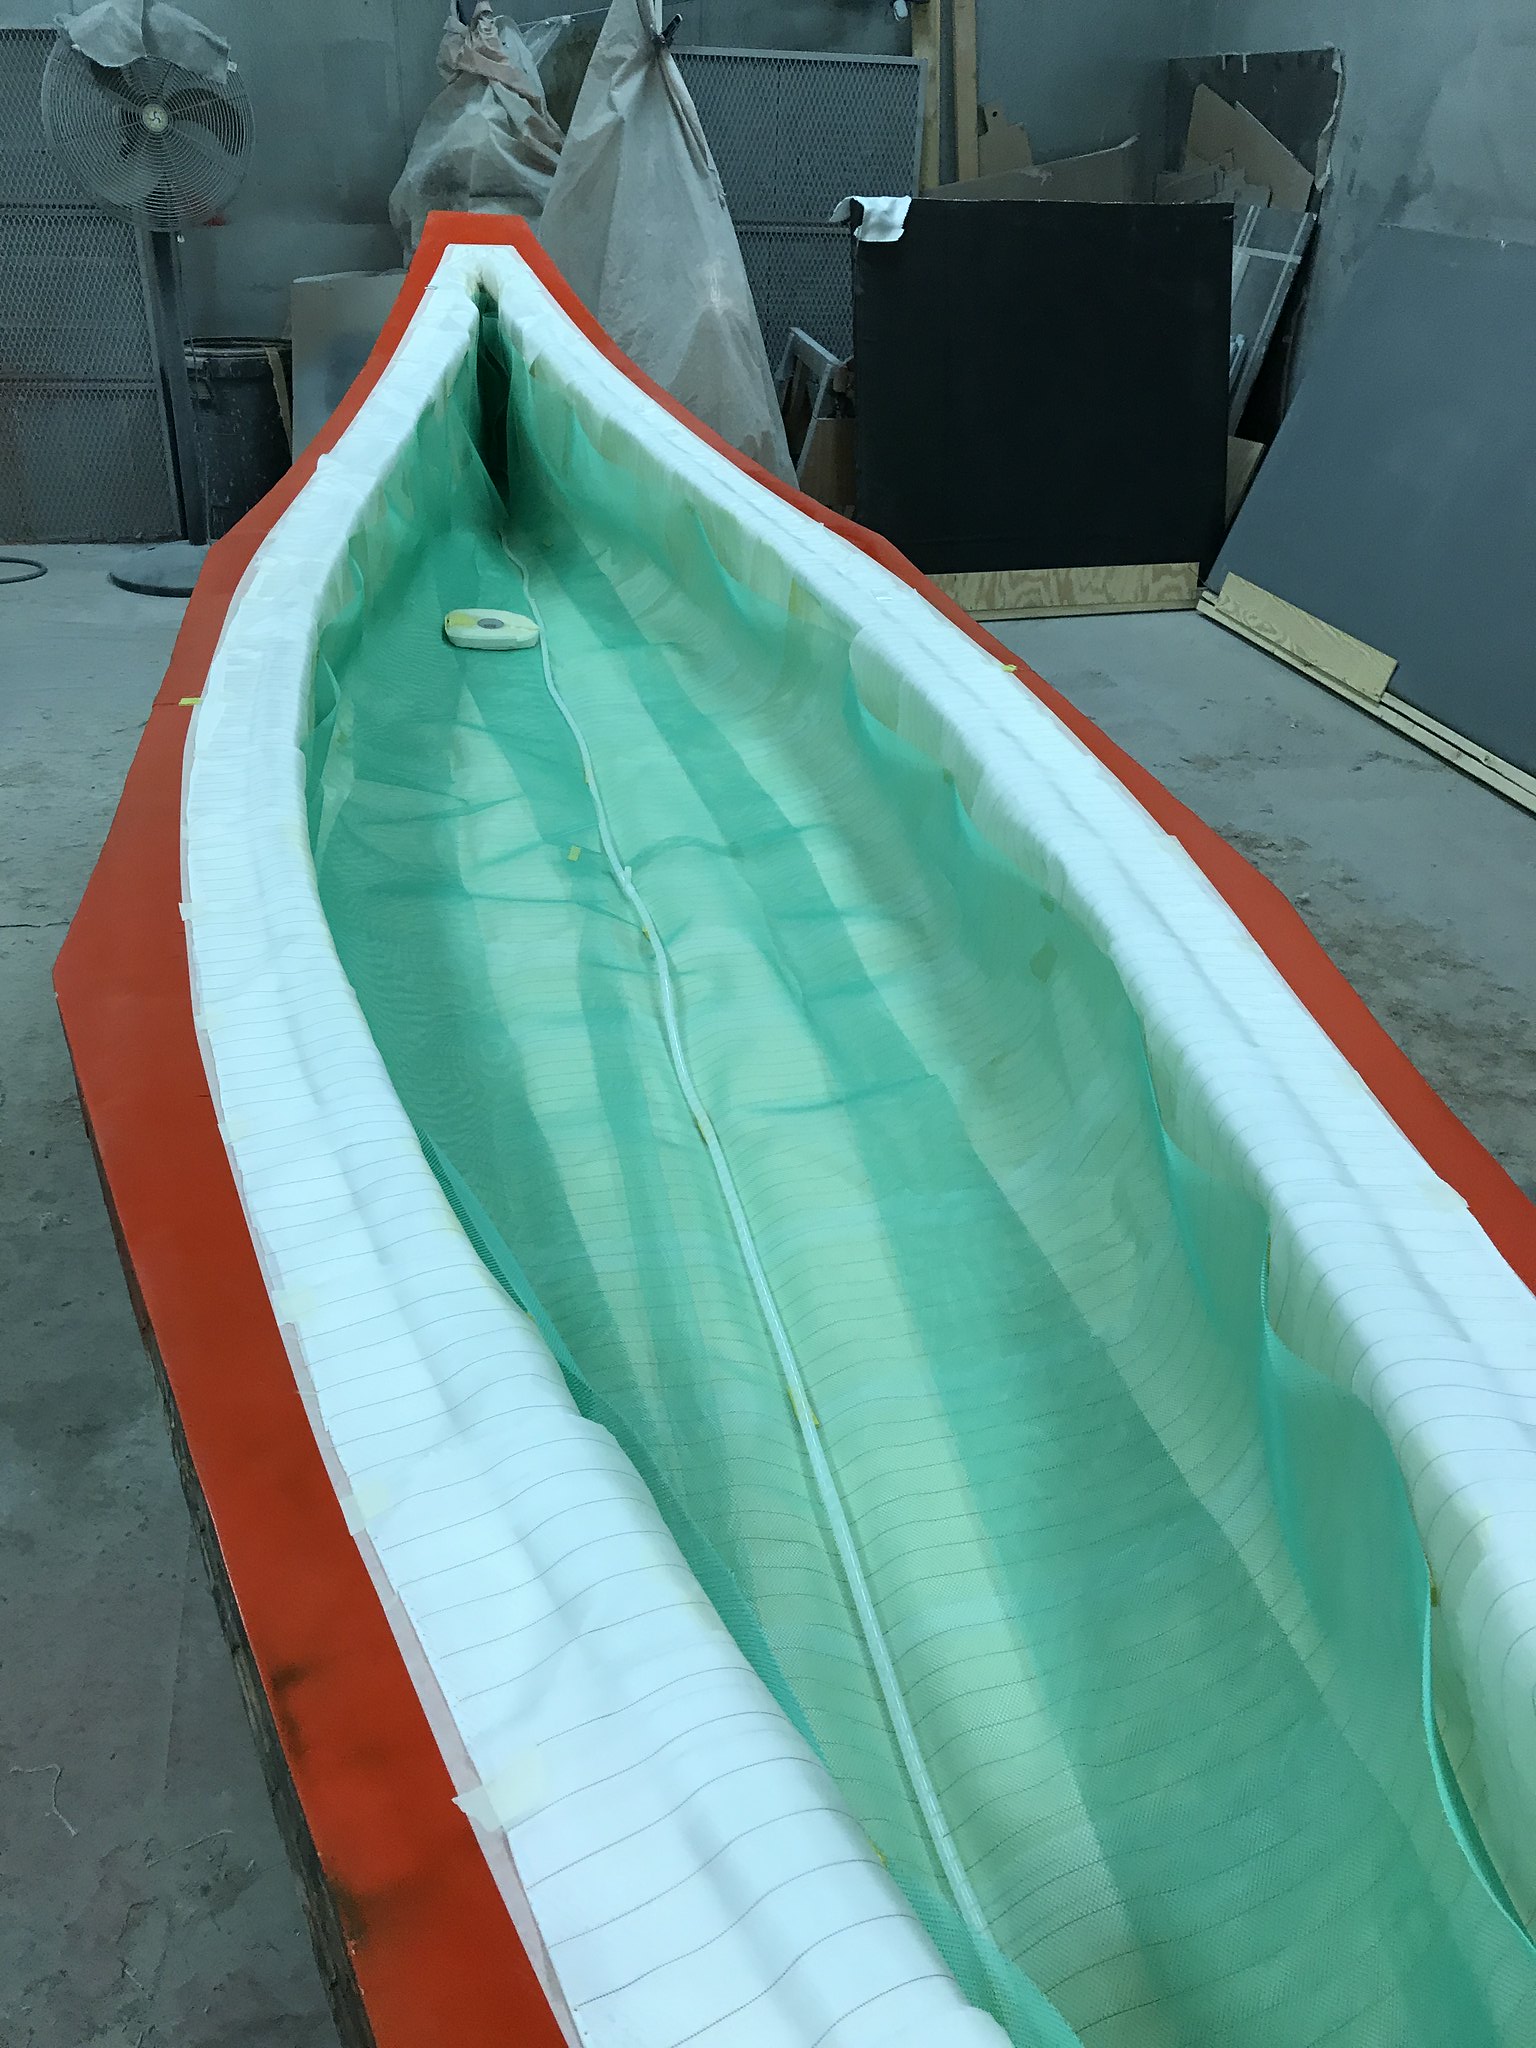
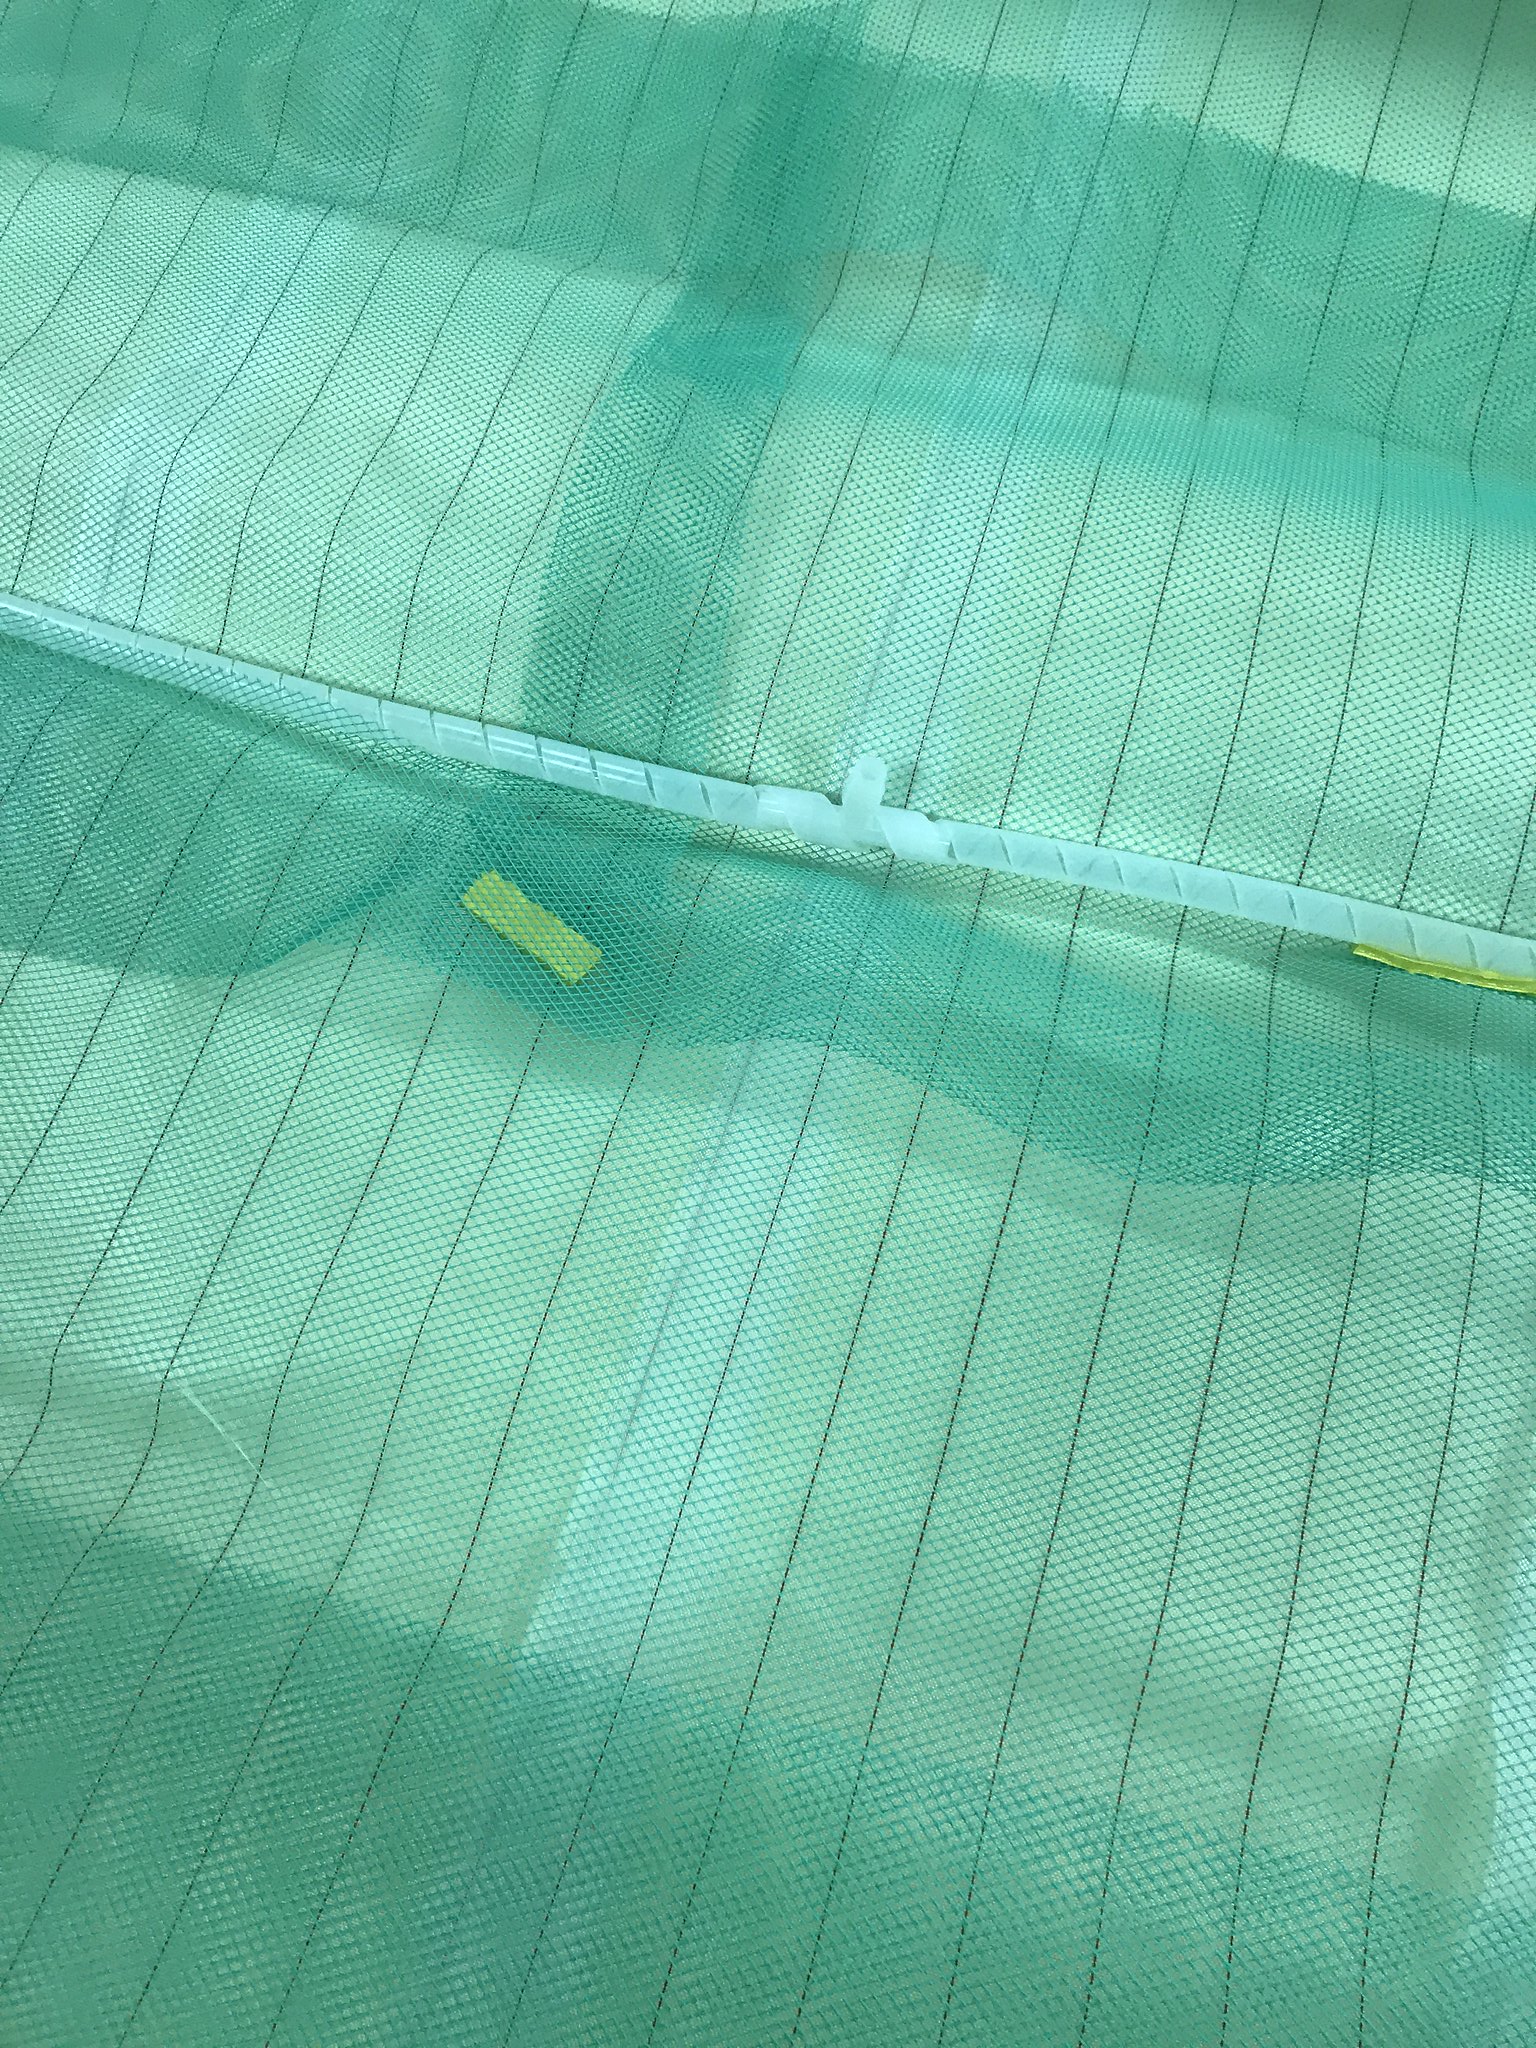
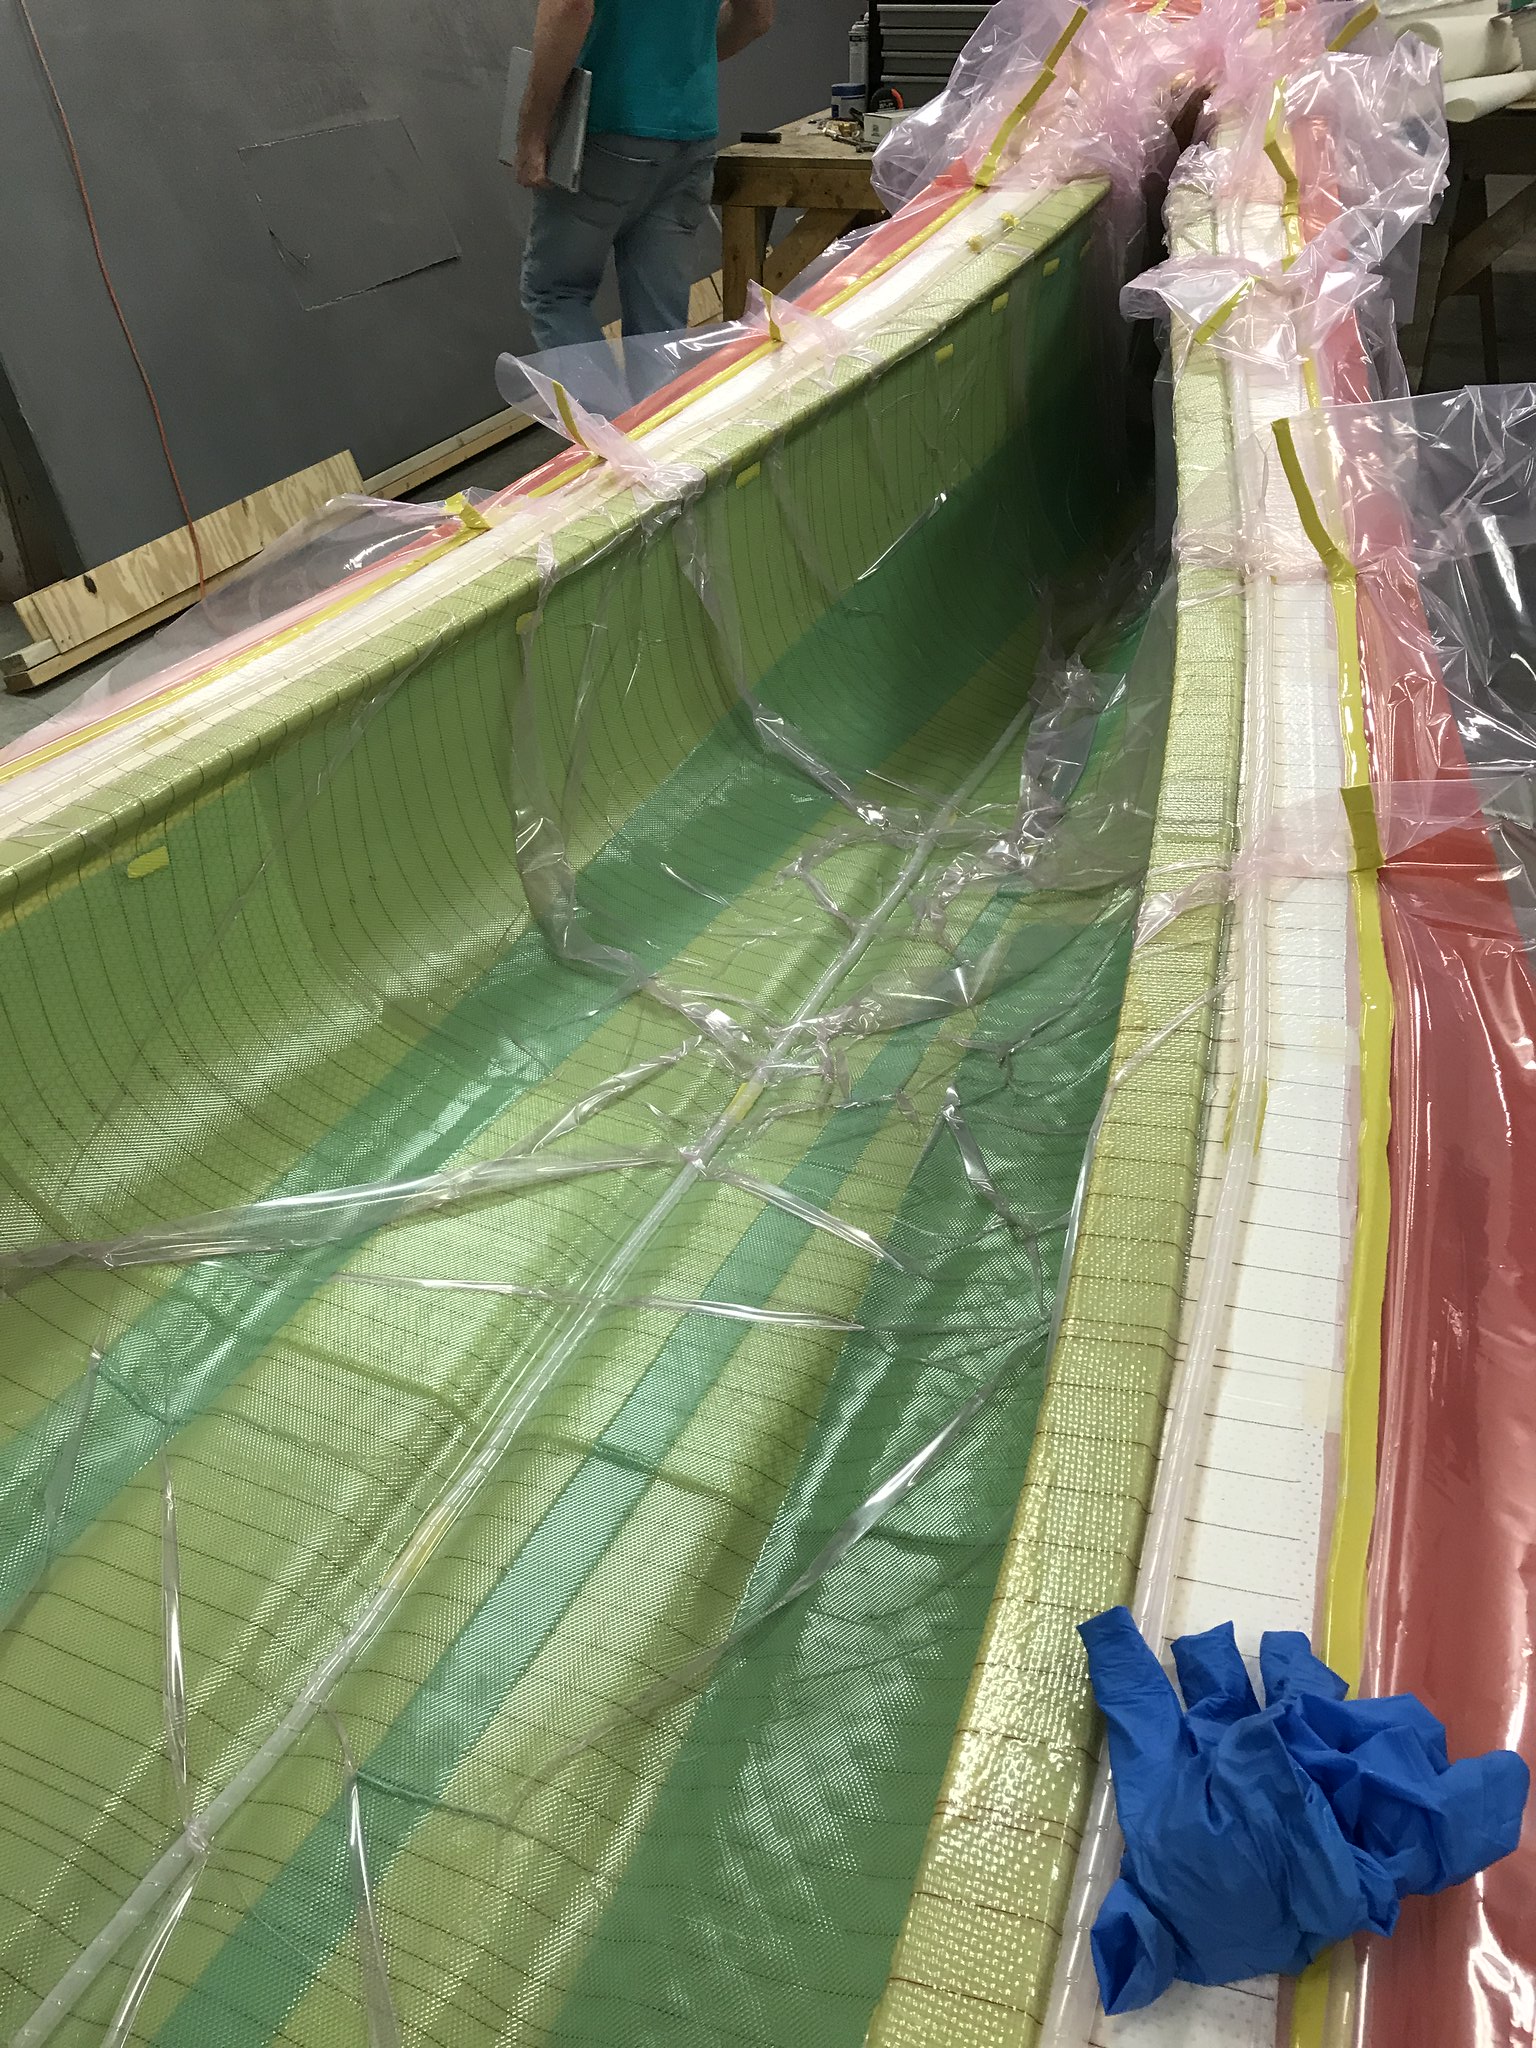
​I removed the vacuum bag this morning before starting the oven cure. Once that was finished, I began removing the greenflow and peelply. Now, I have removed both before, but never from an epoxy canoe after full oven cure.....you know, where the epoxy realizes its full durability properties.
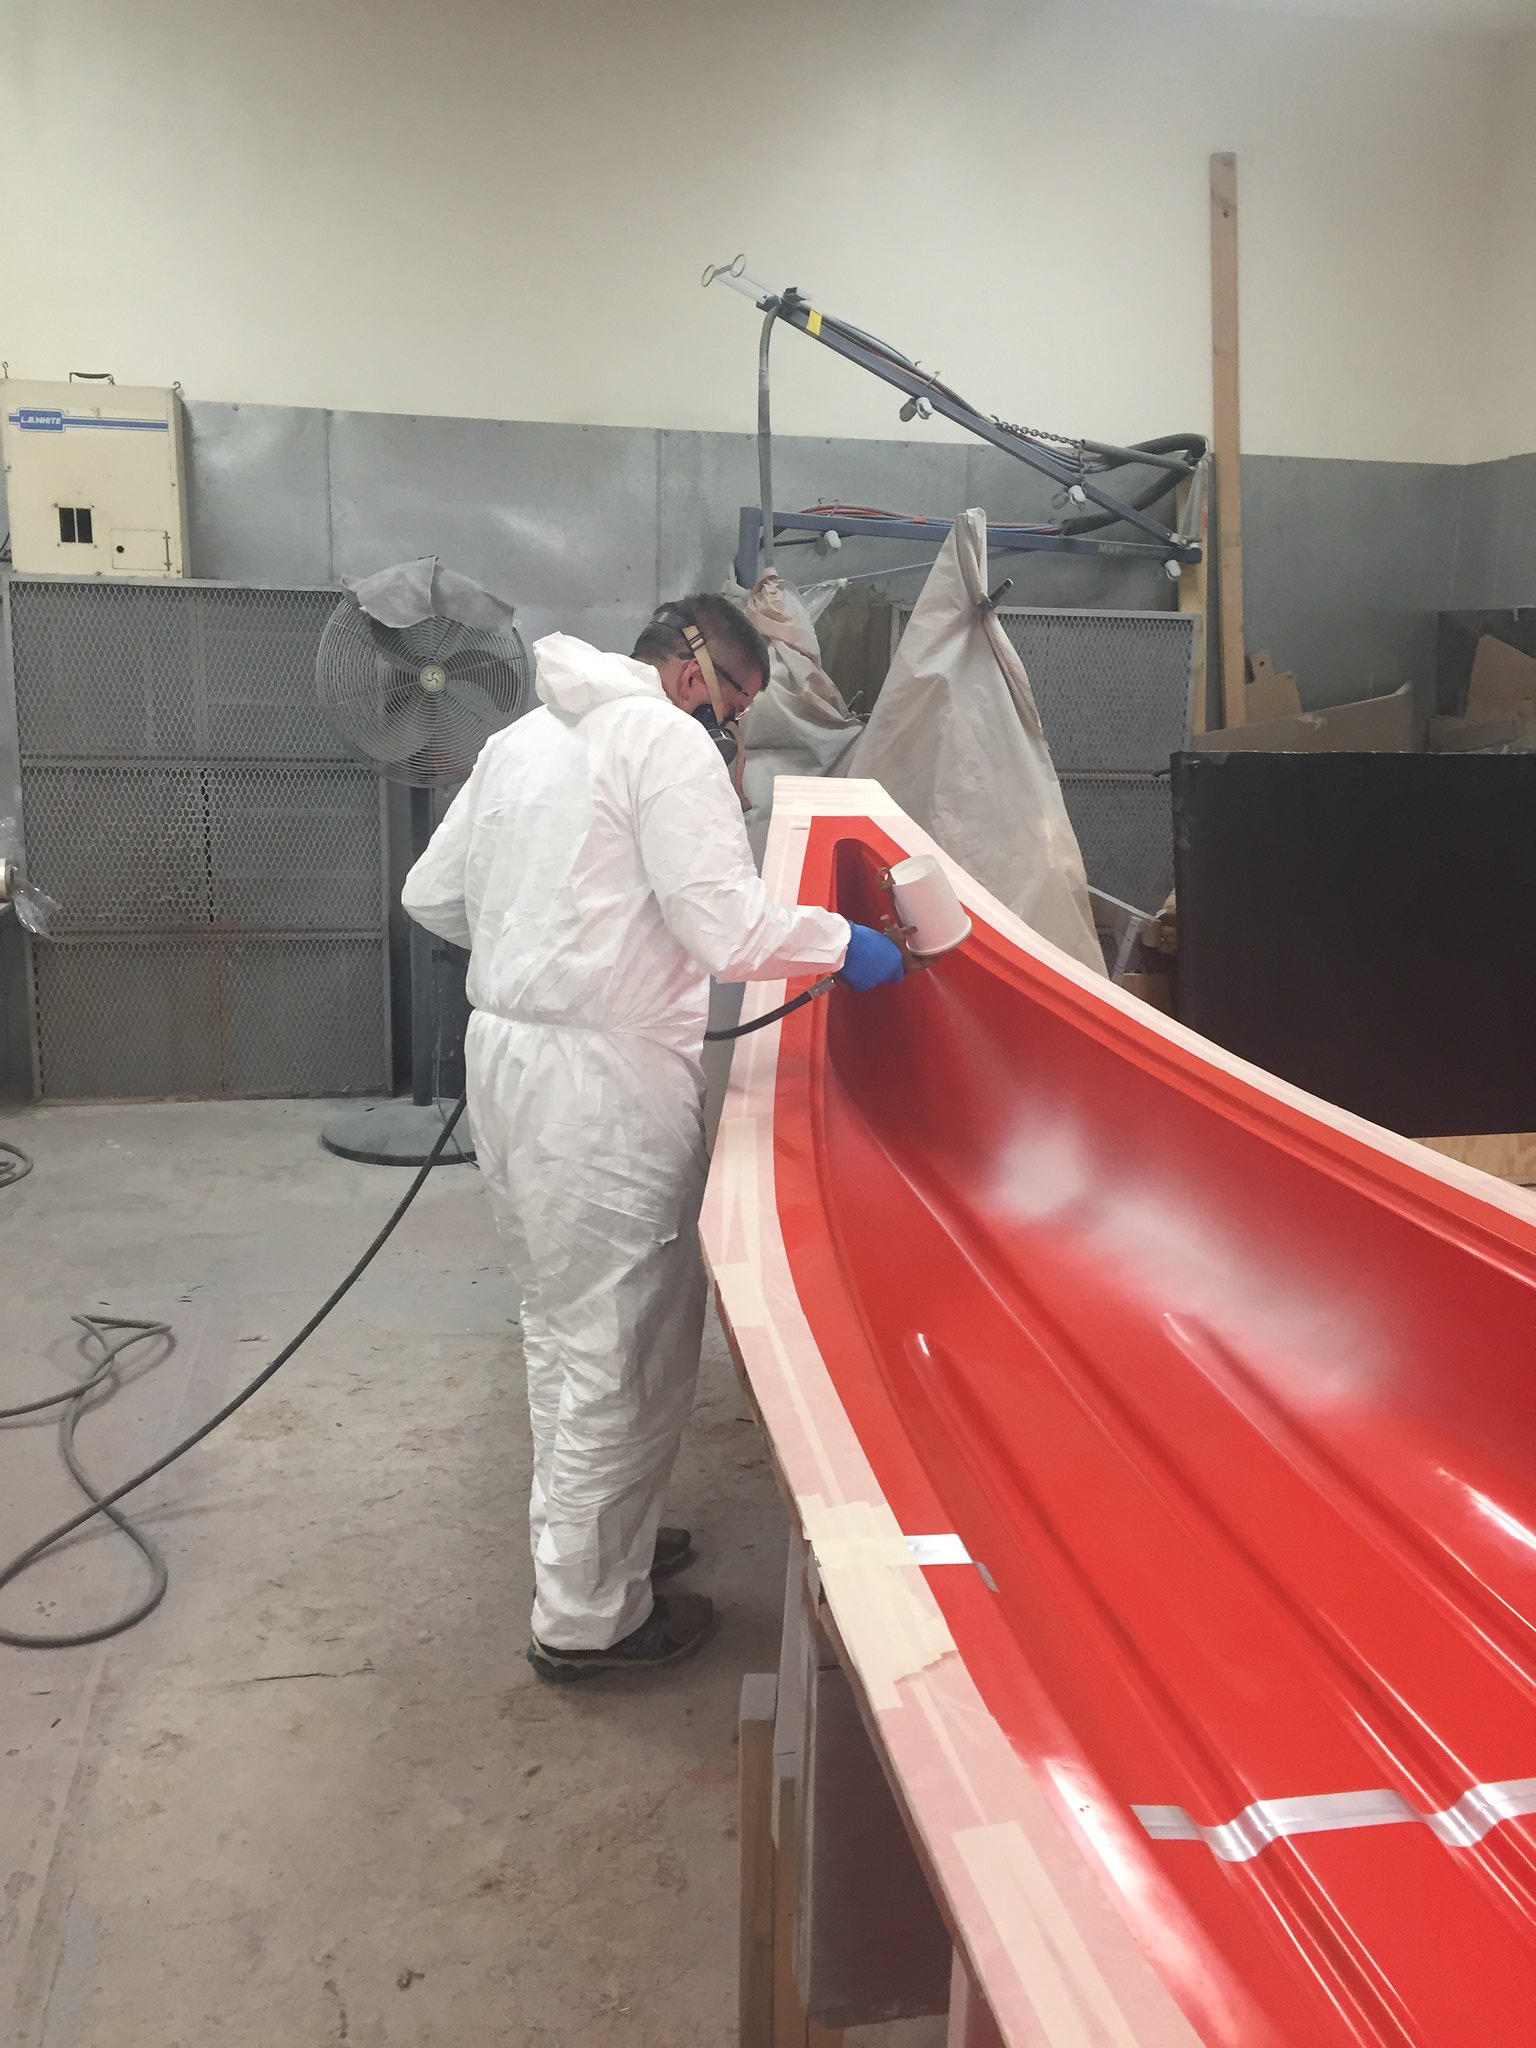
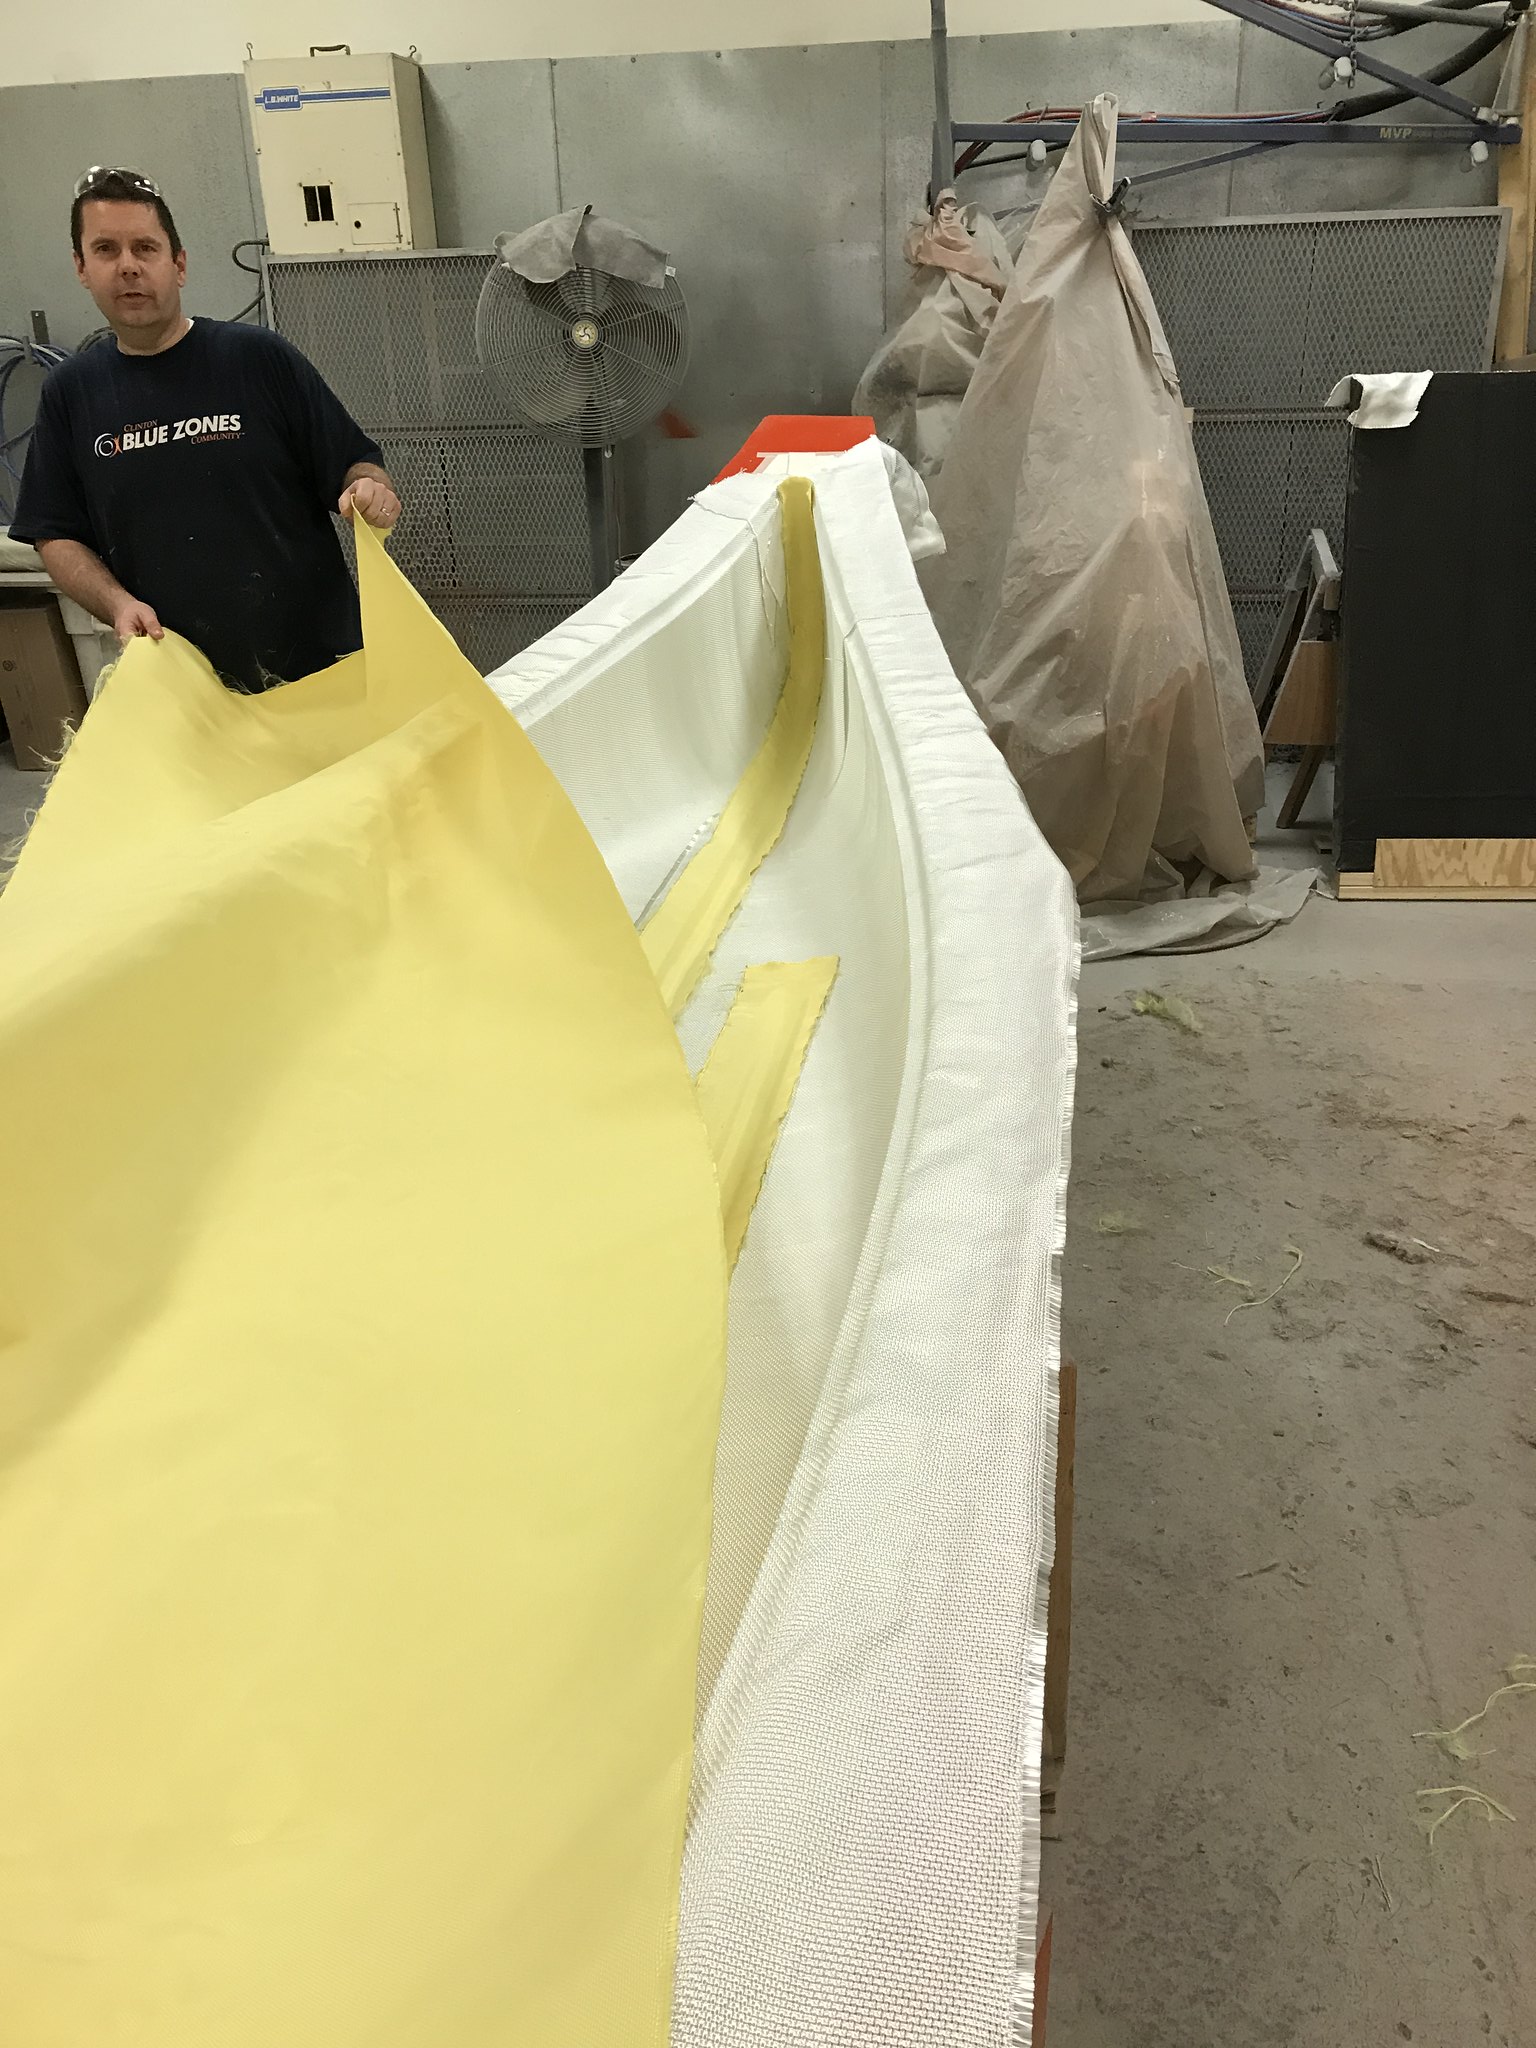
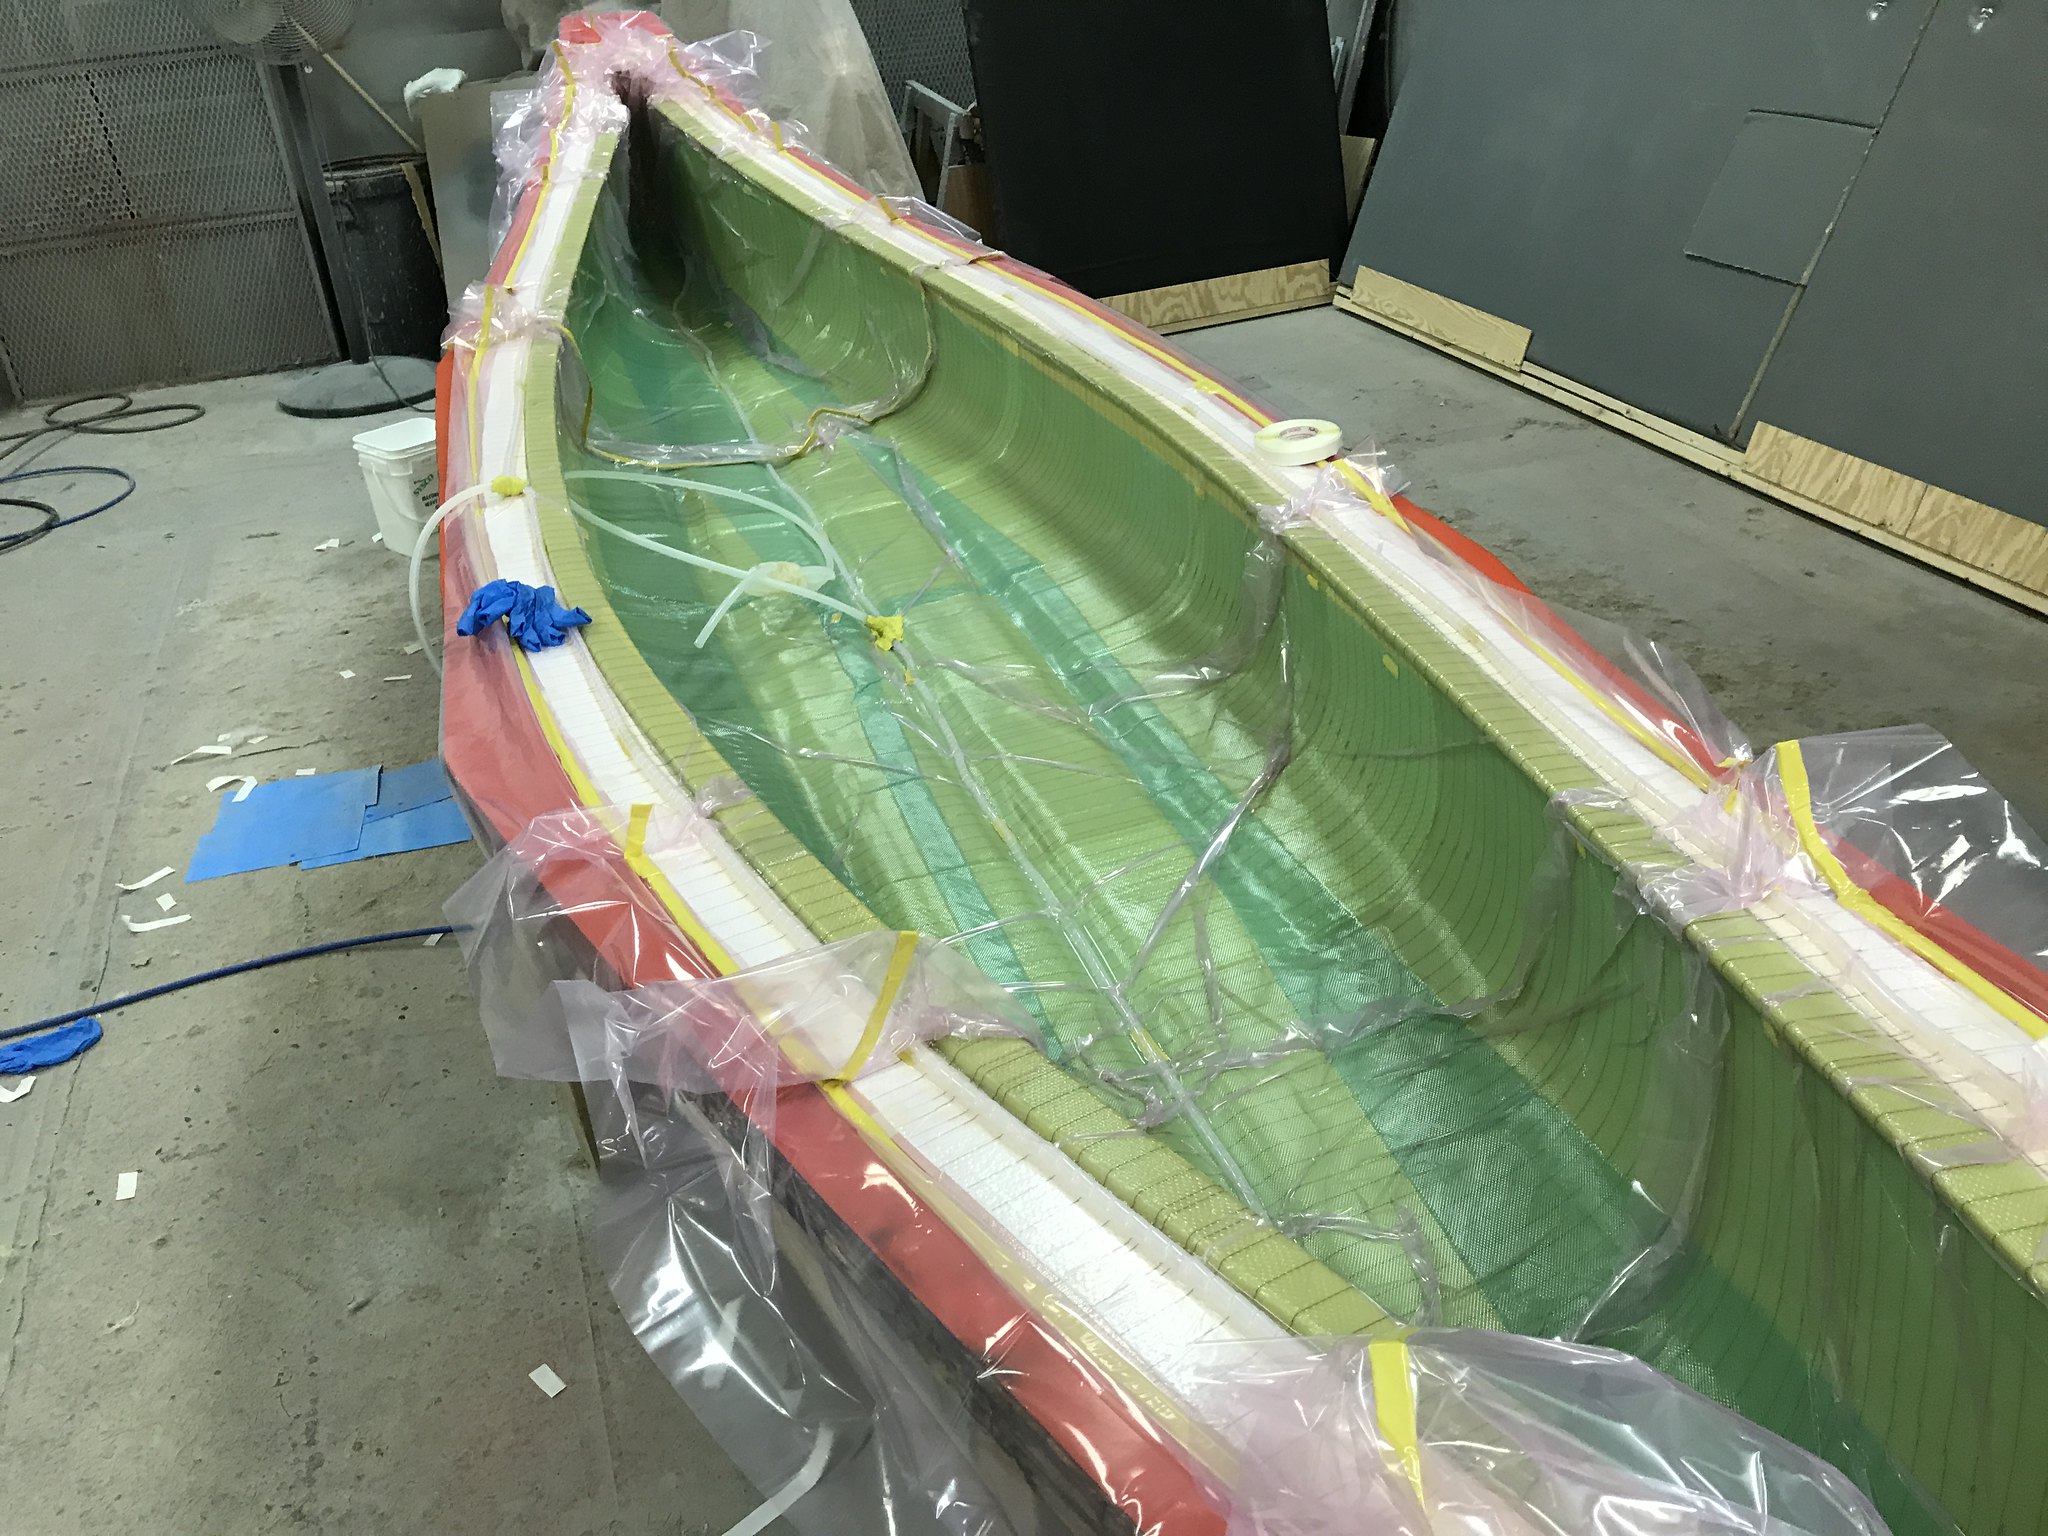
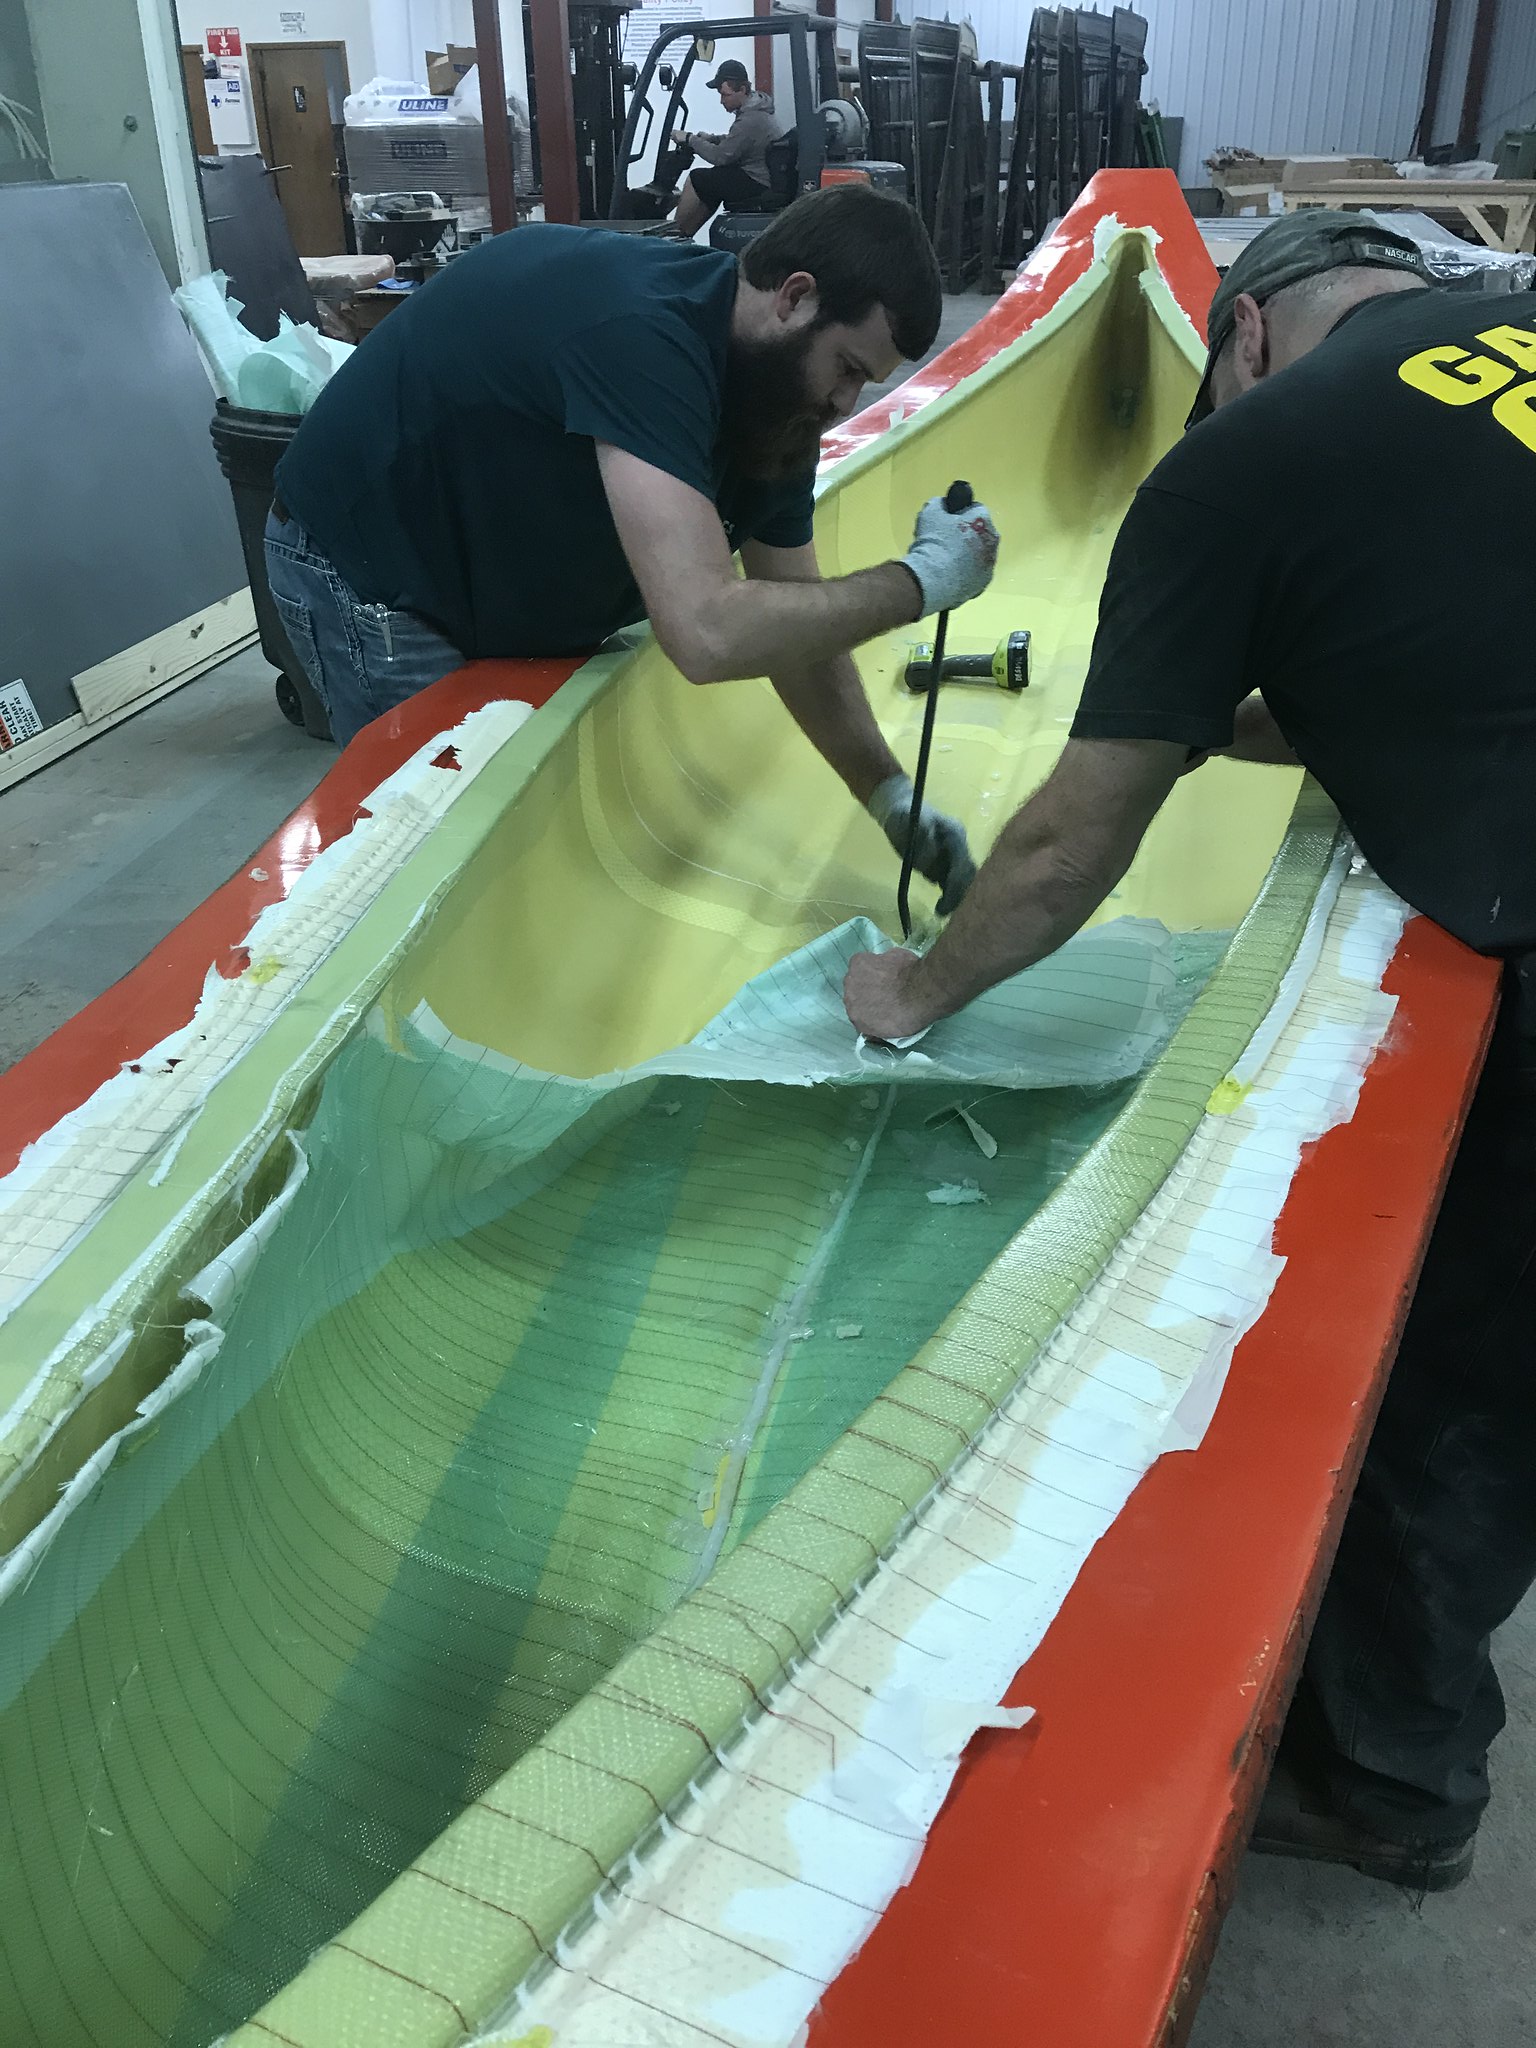
Thankfully, a couple of coworkers stuck around to help. There was blood, sweat and almost tears getting most of it off. My forearms look as though I fought off 30 cats....
IMG_2873 by bctc95, on Flickr

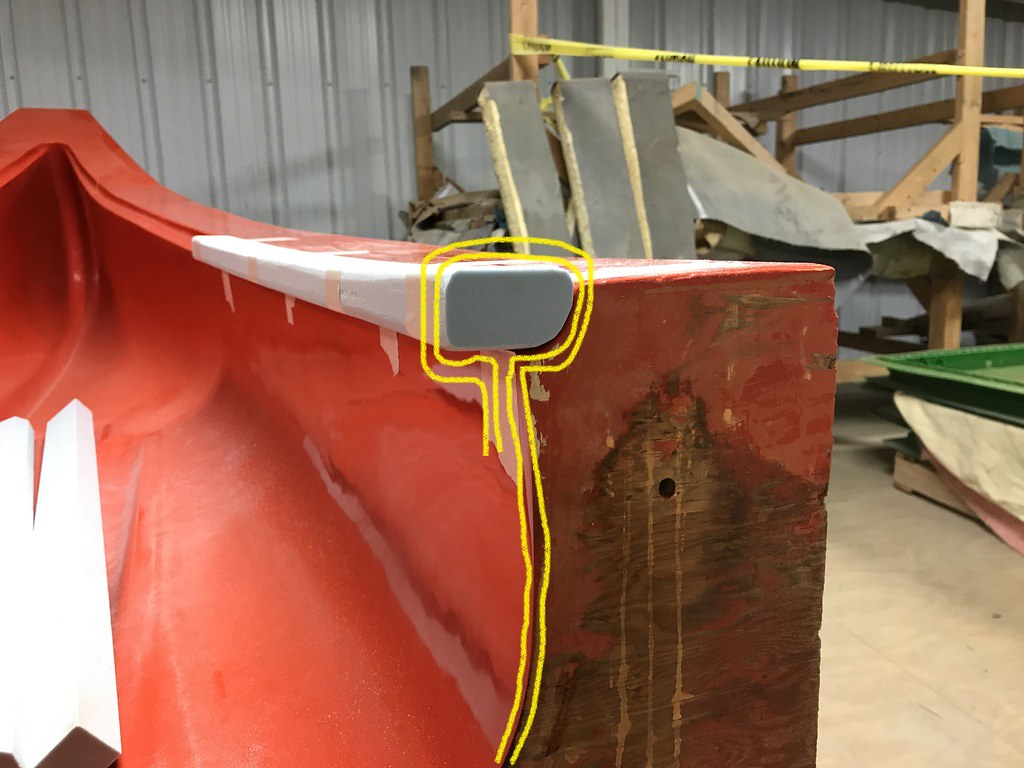
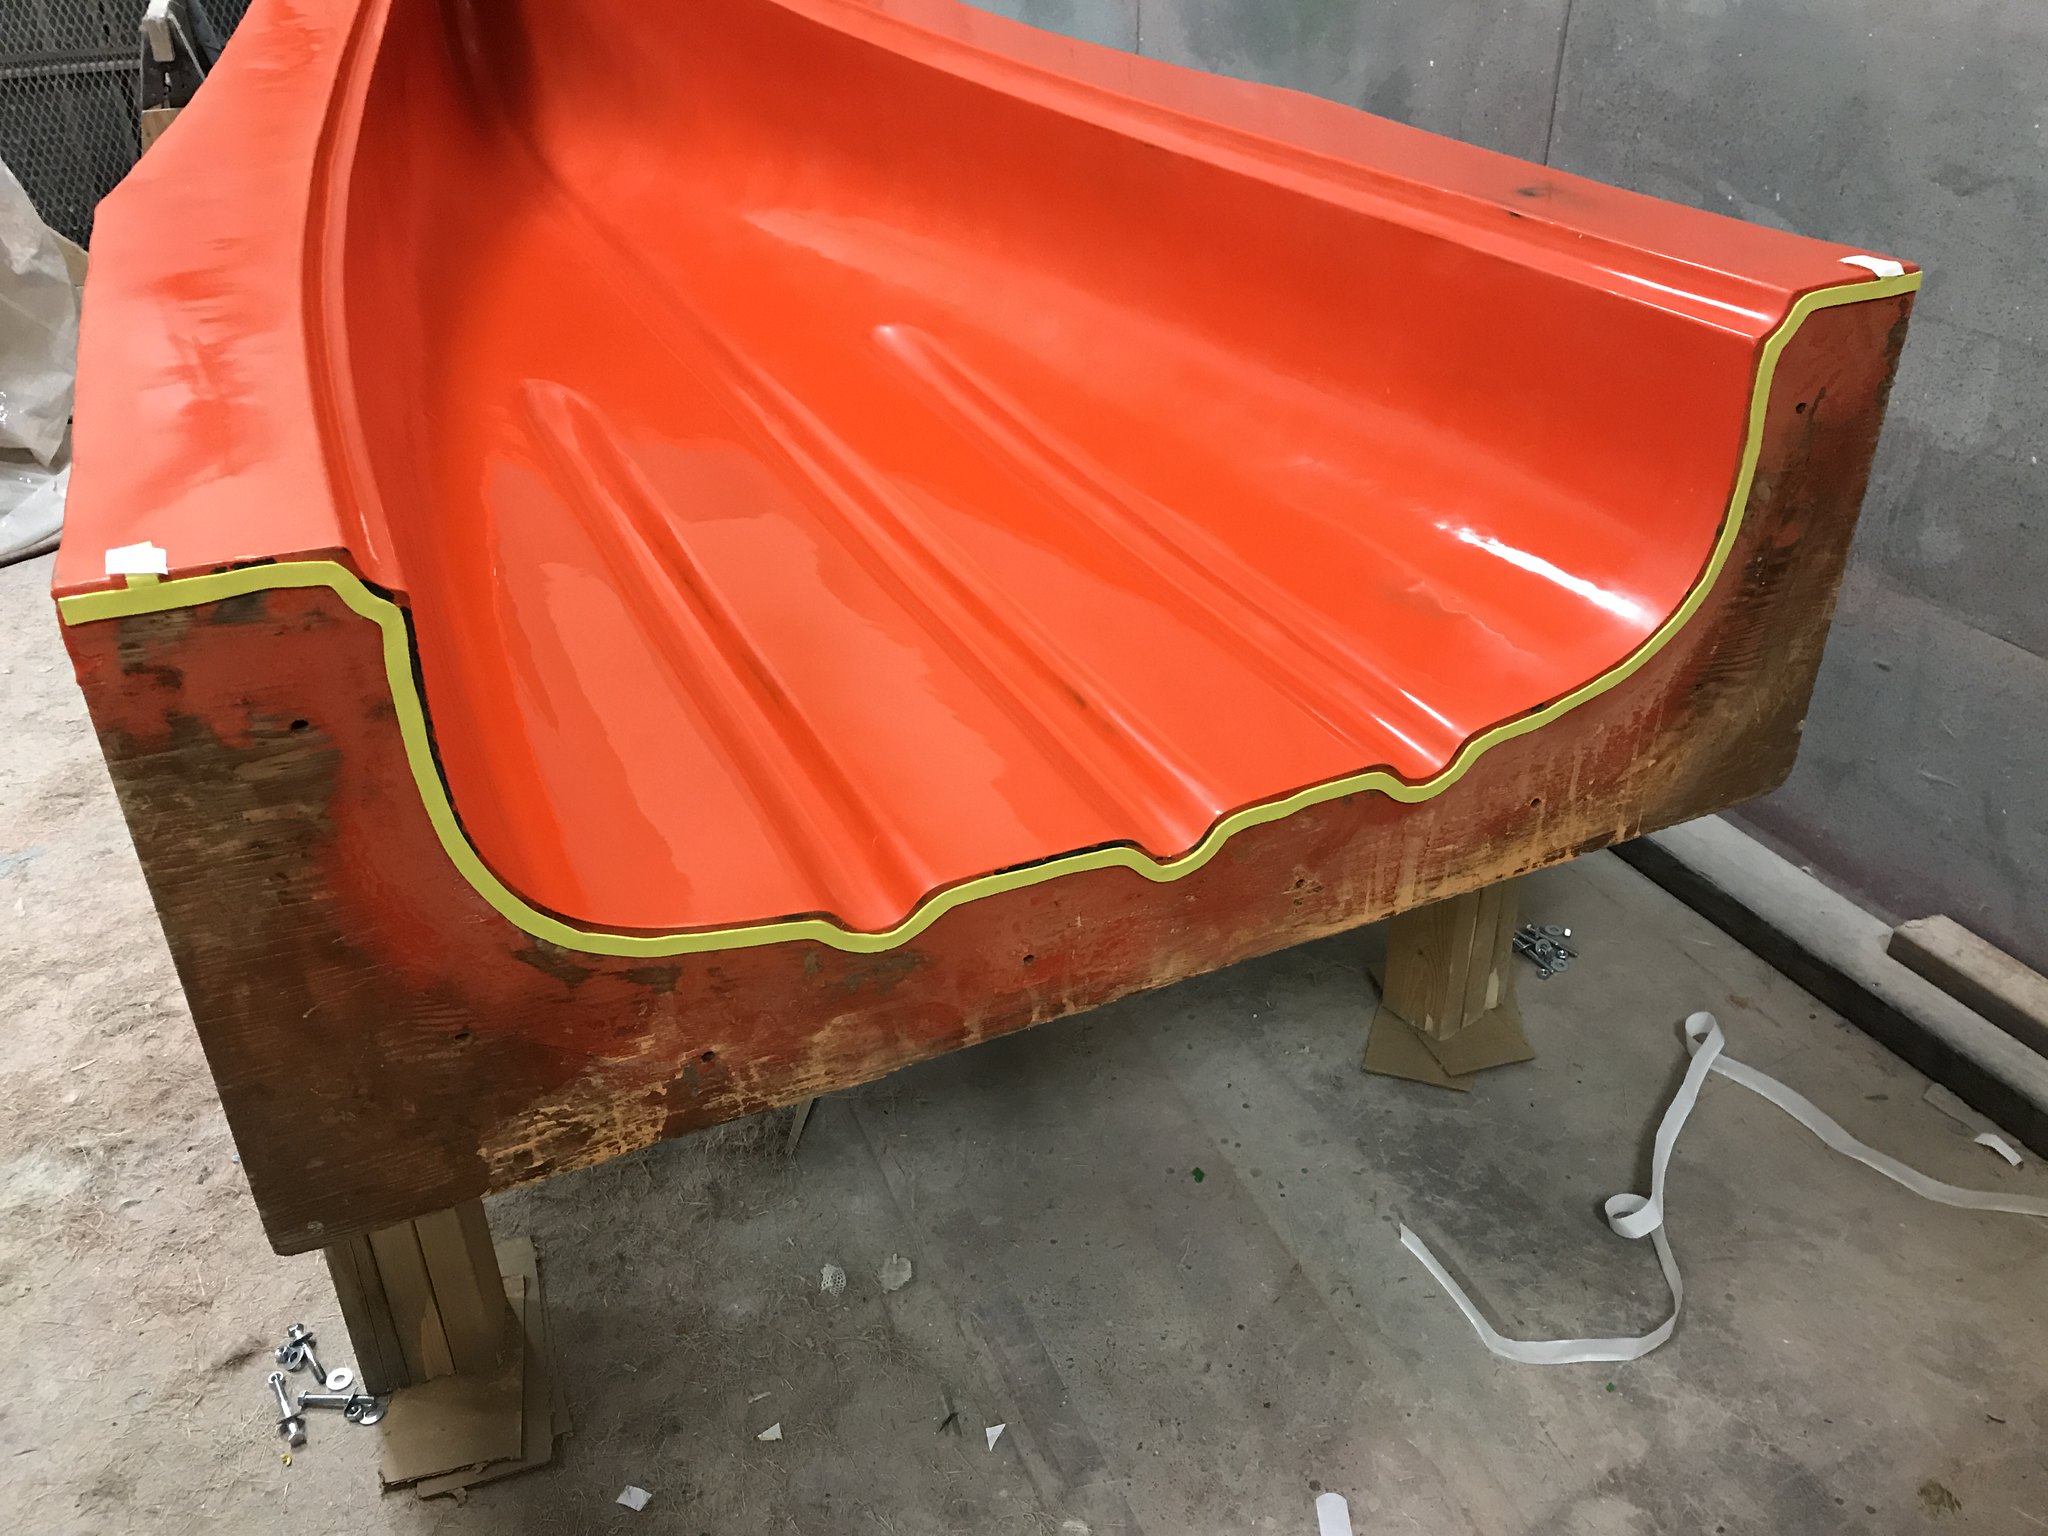
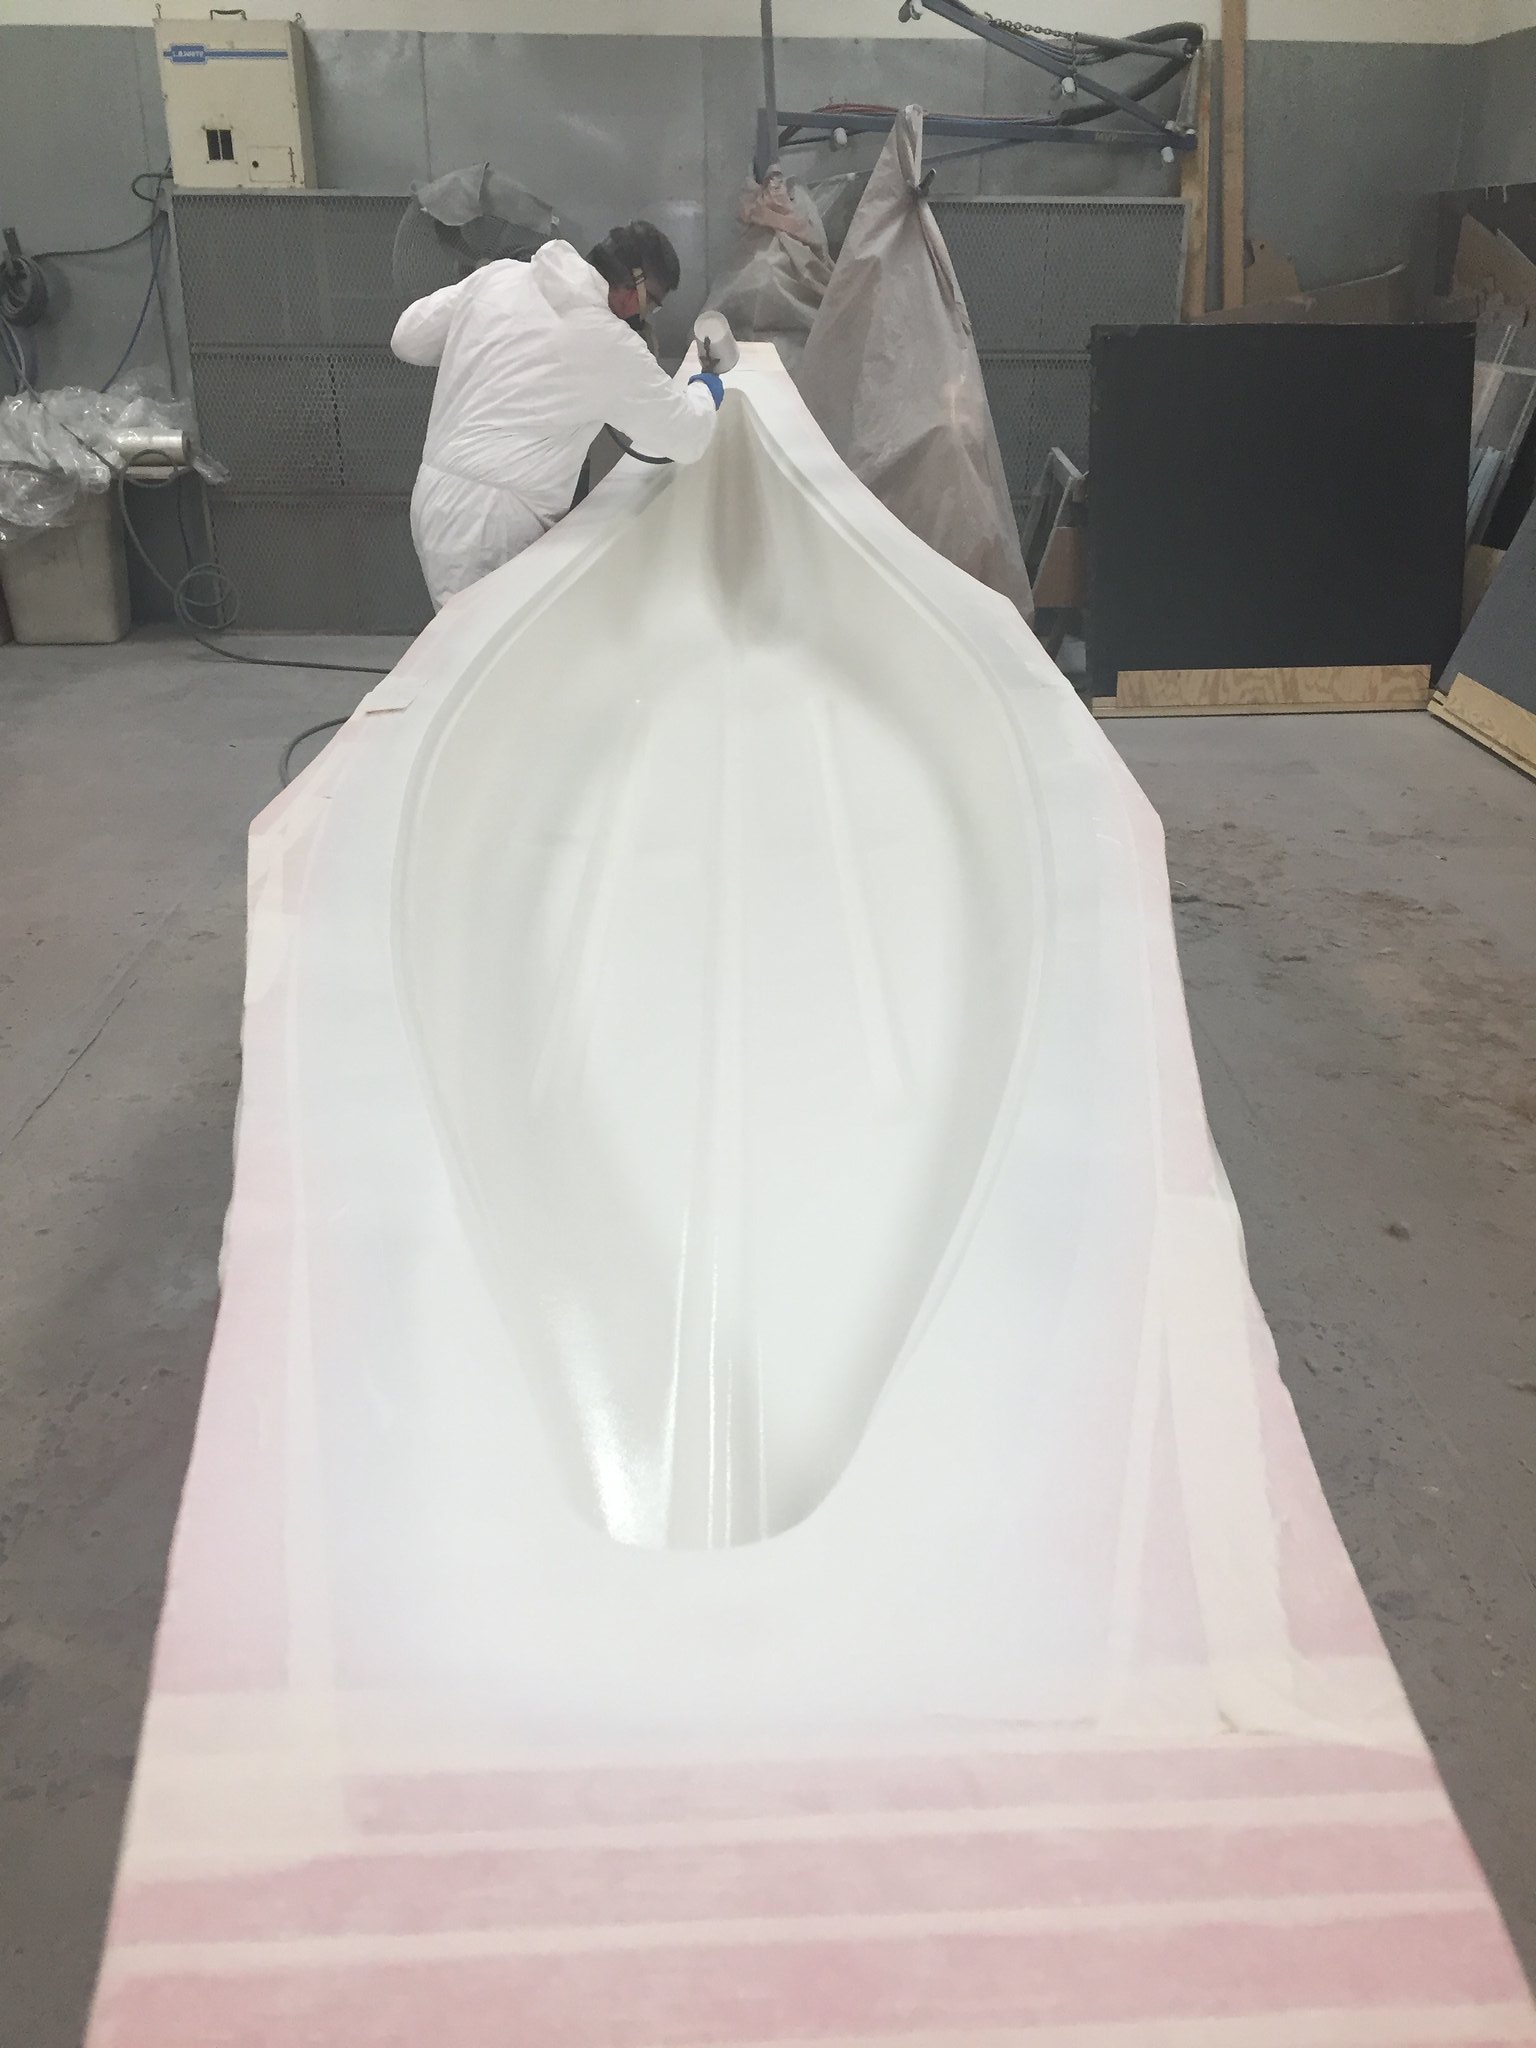
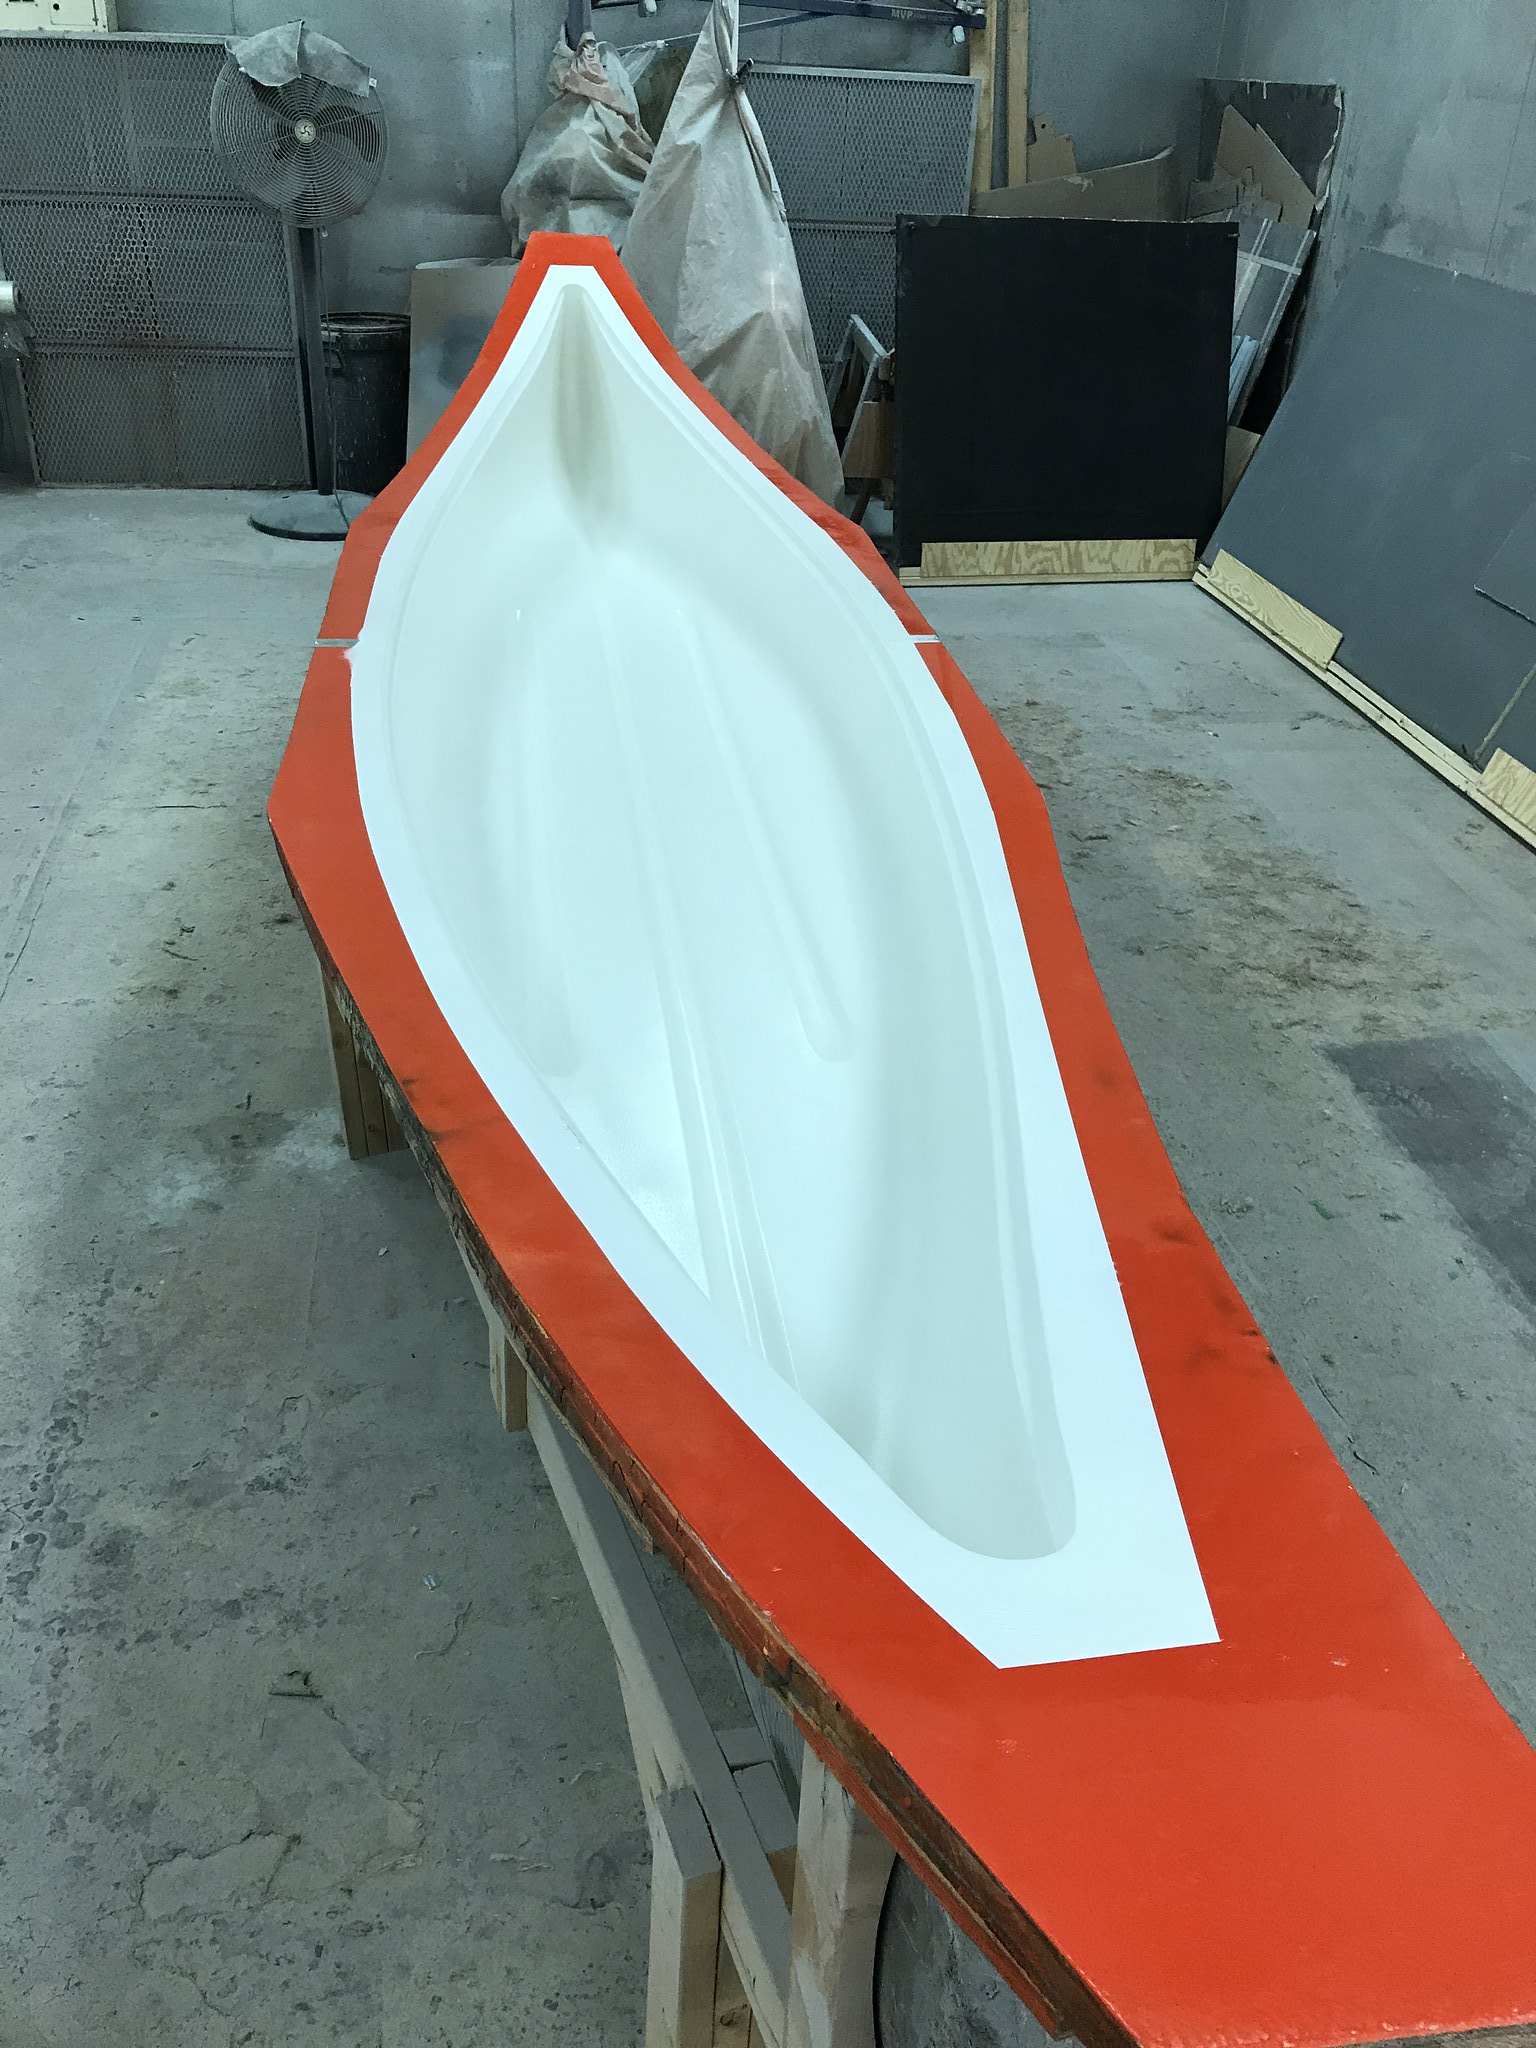
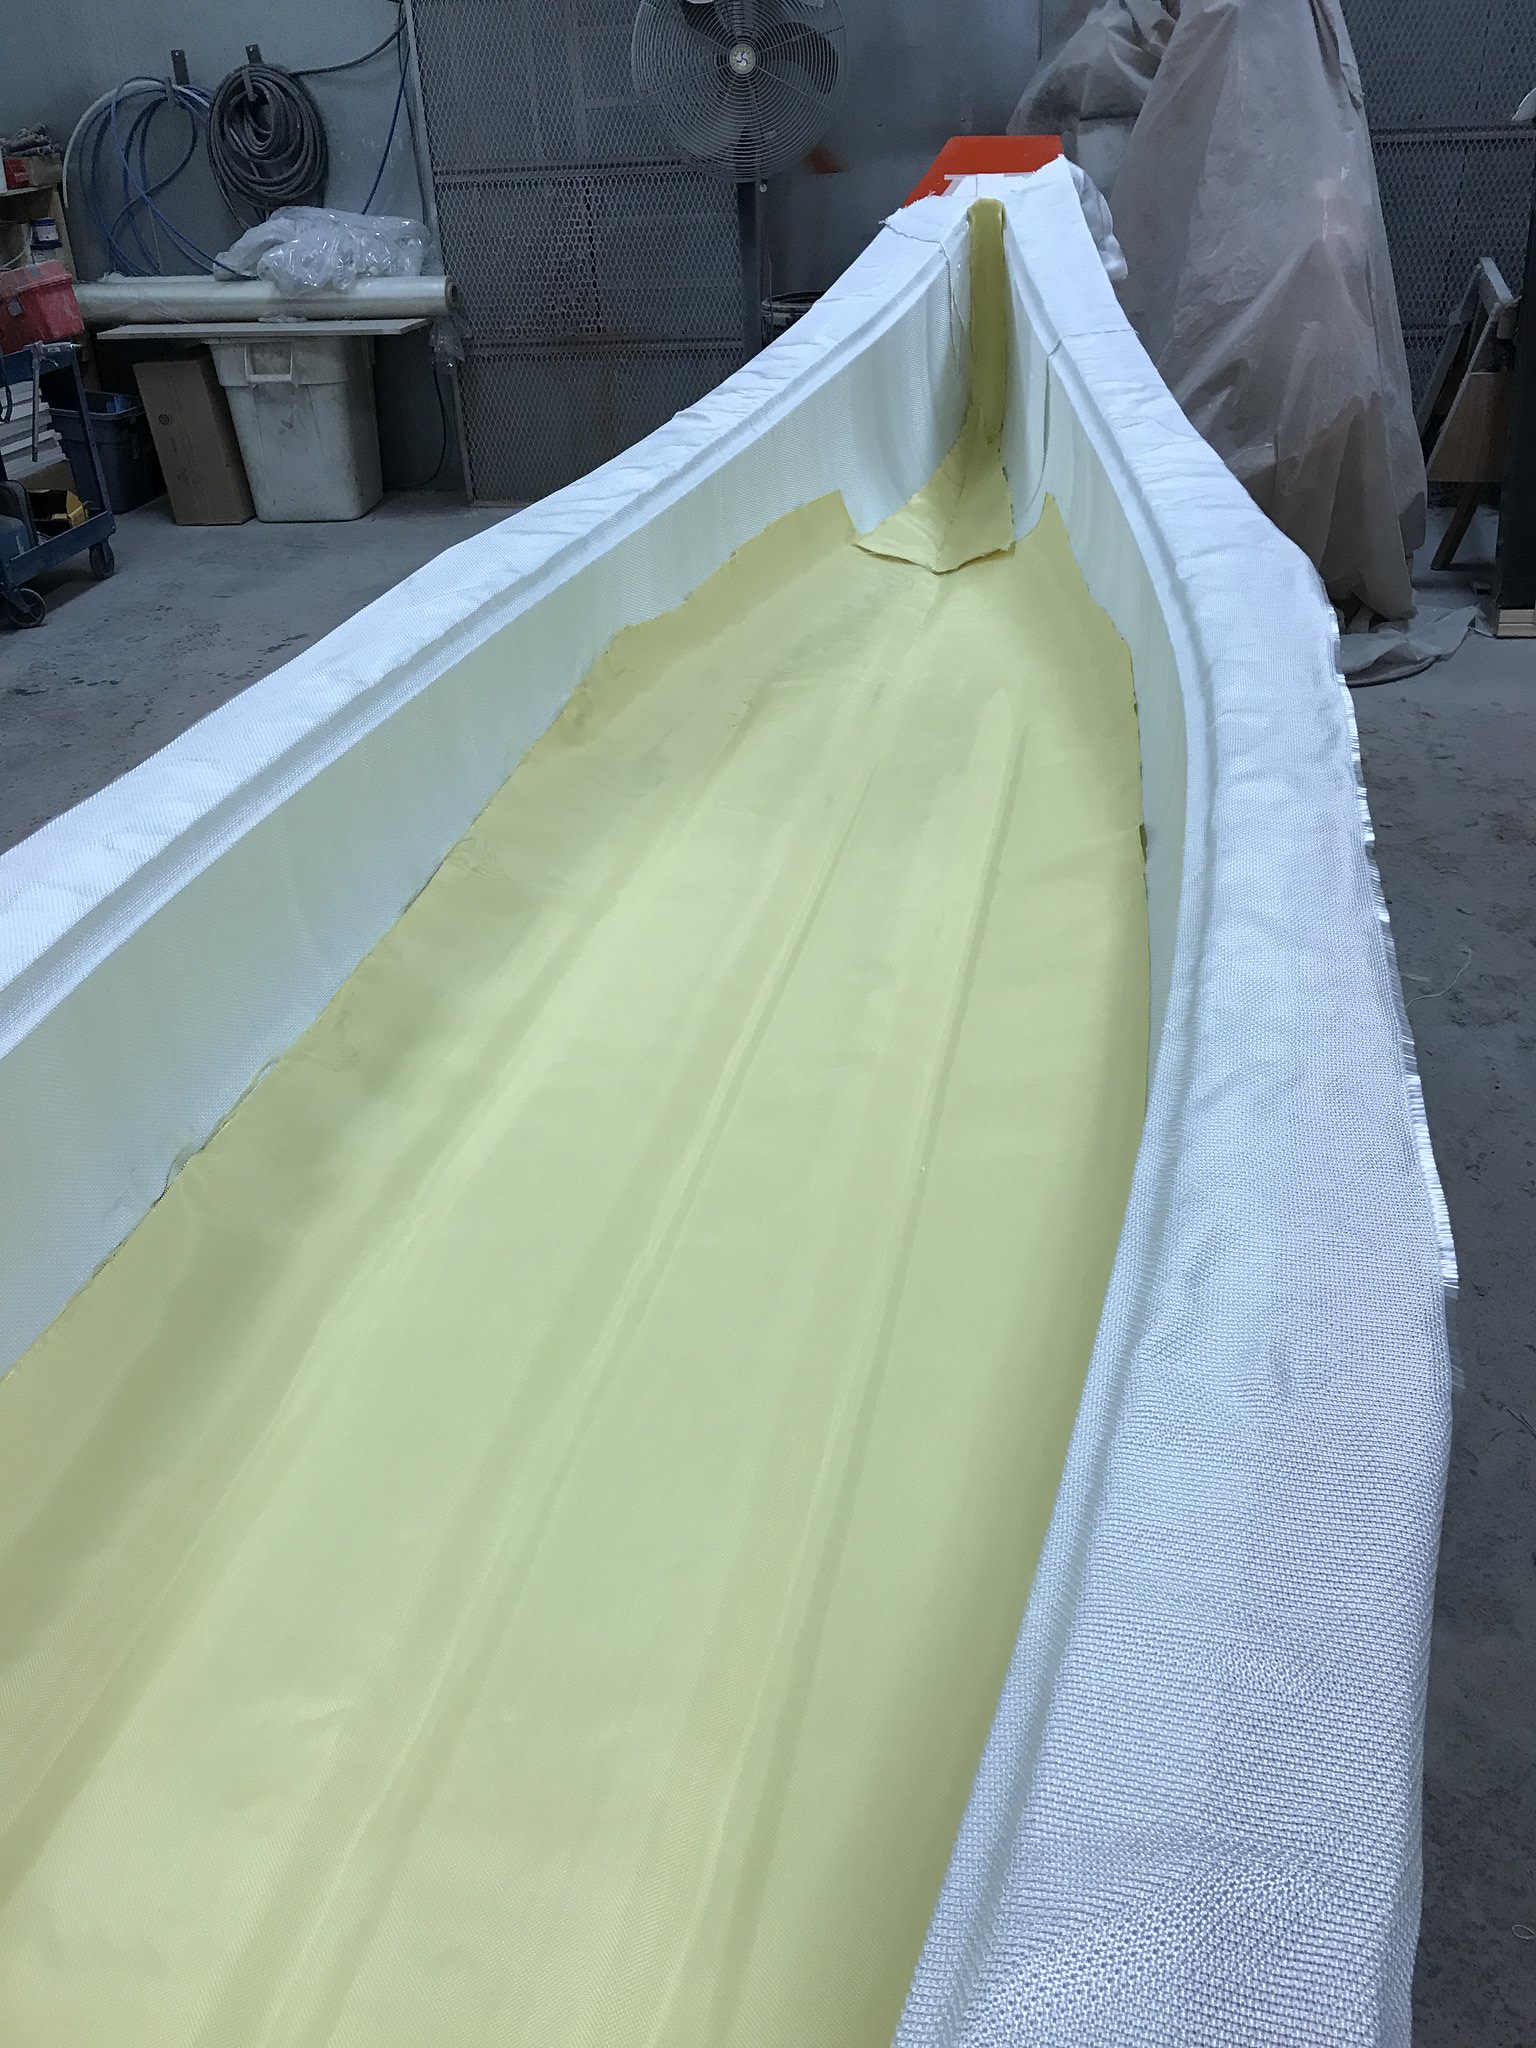
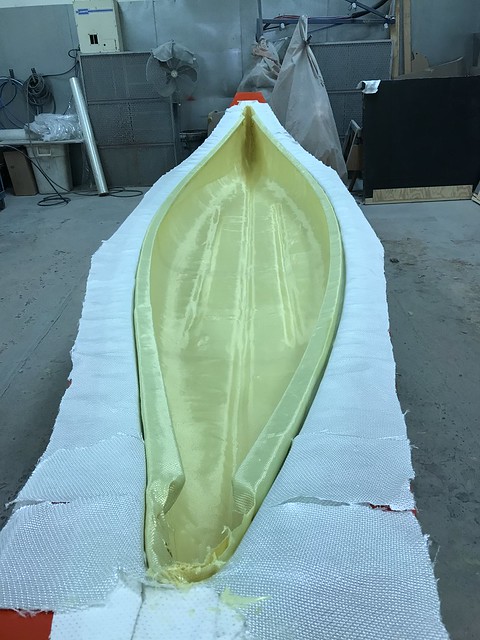
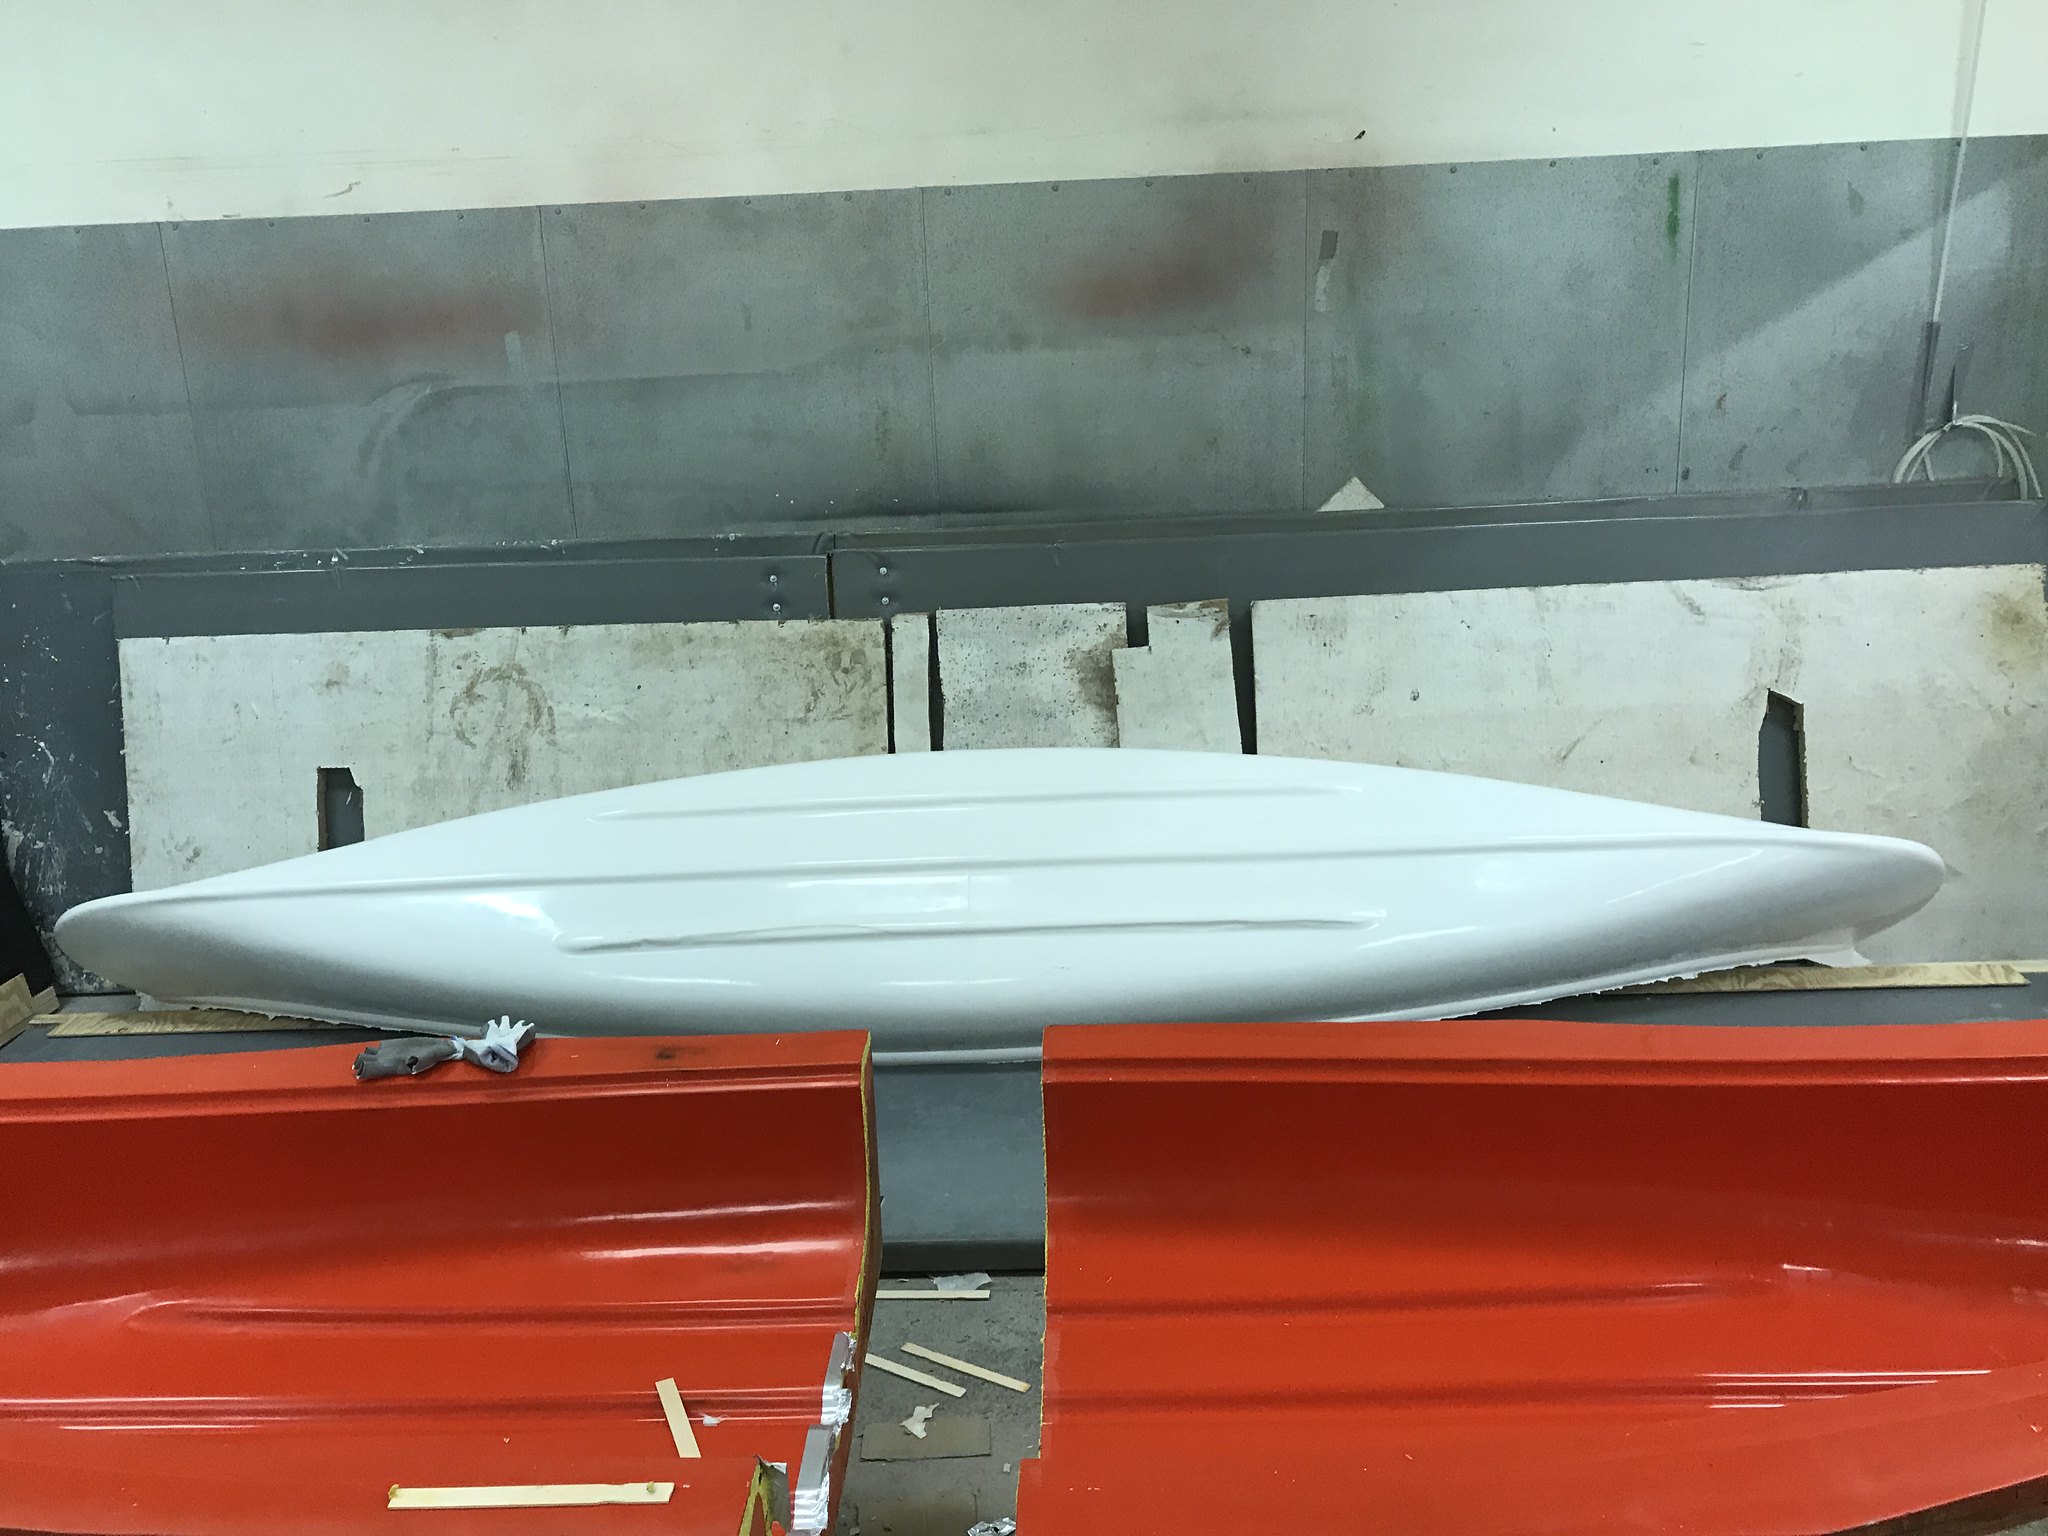
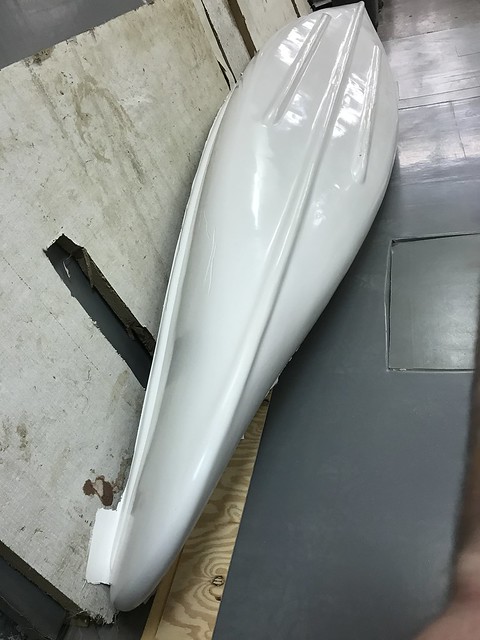
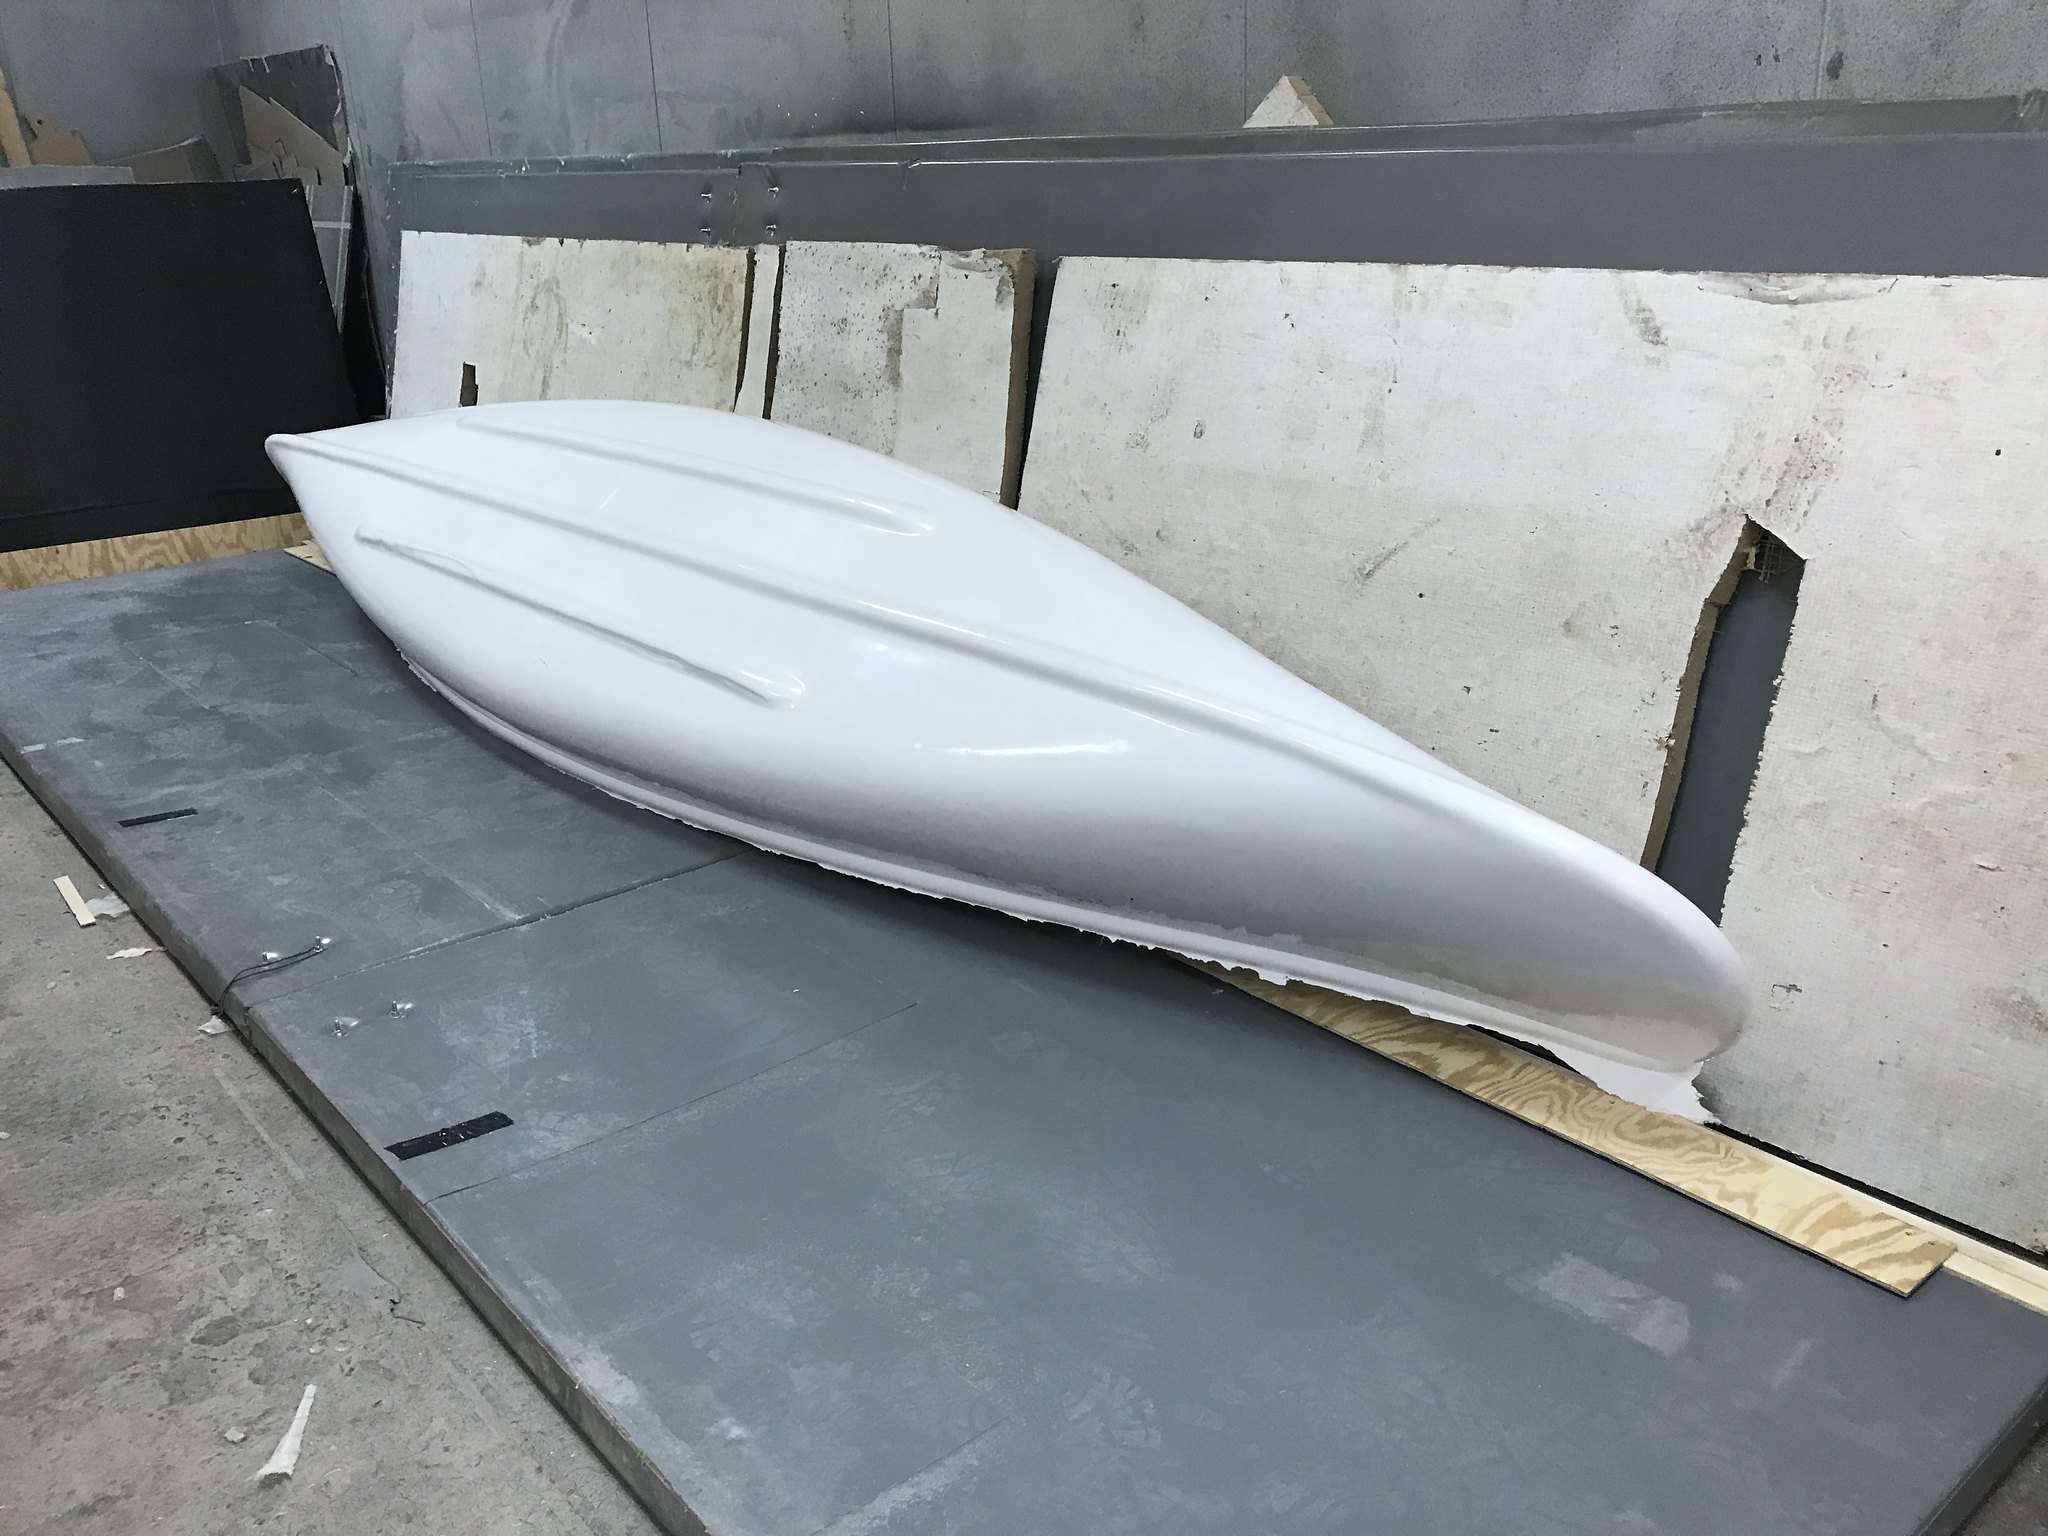
​Once the epic battle was won, we separated the mold and pulled out the hull......
IMG_2875 by bctc95, on Flickr

IMG_2874 by bctc95, on Flickr

IMG_2876 by bctc95, on Flickr

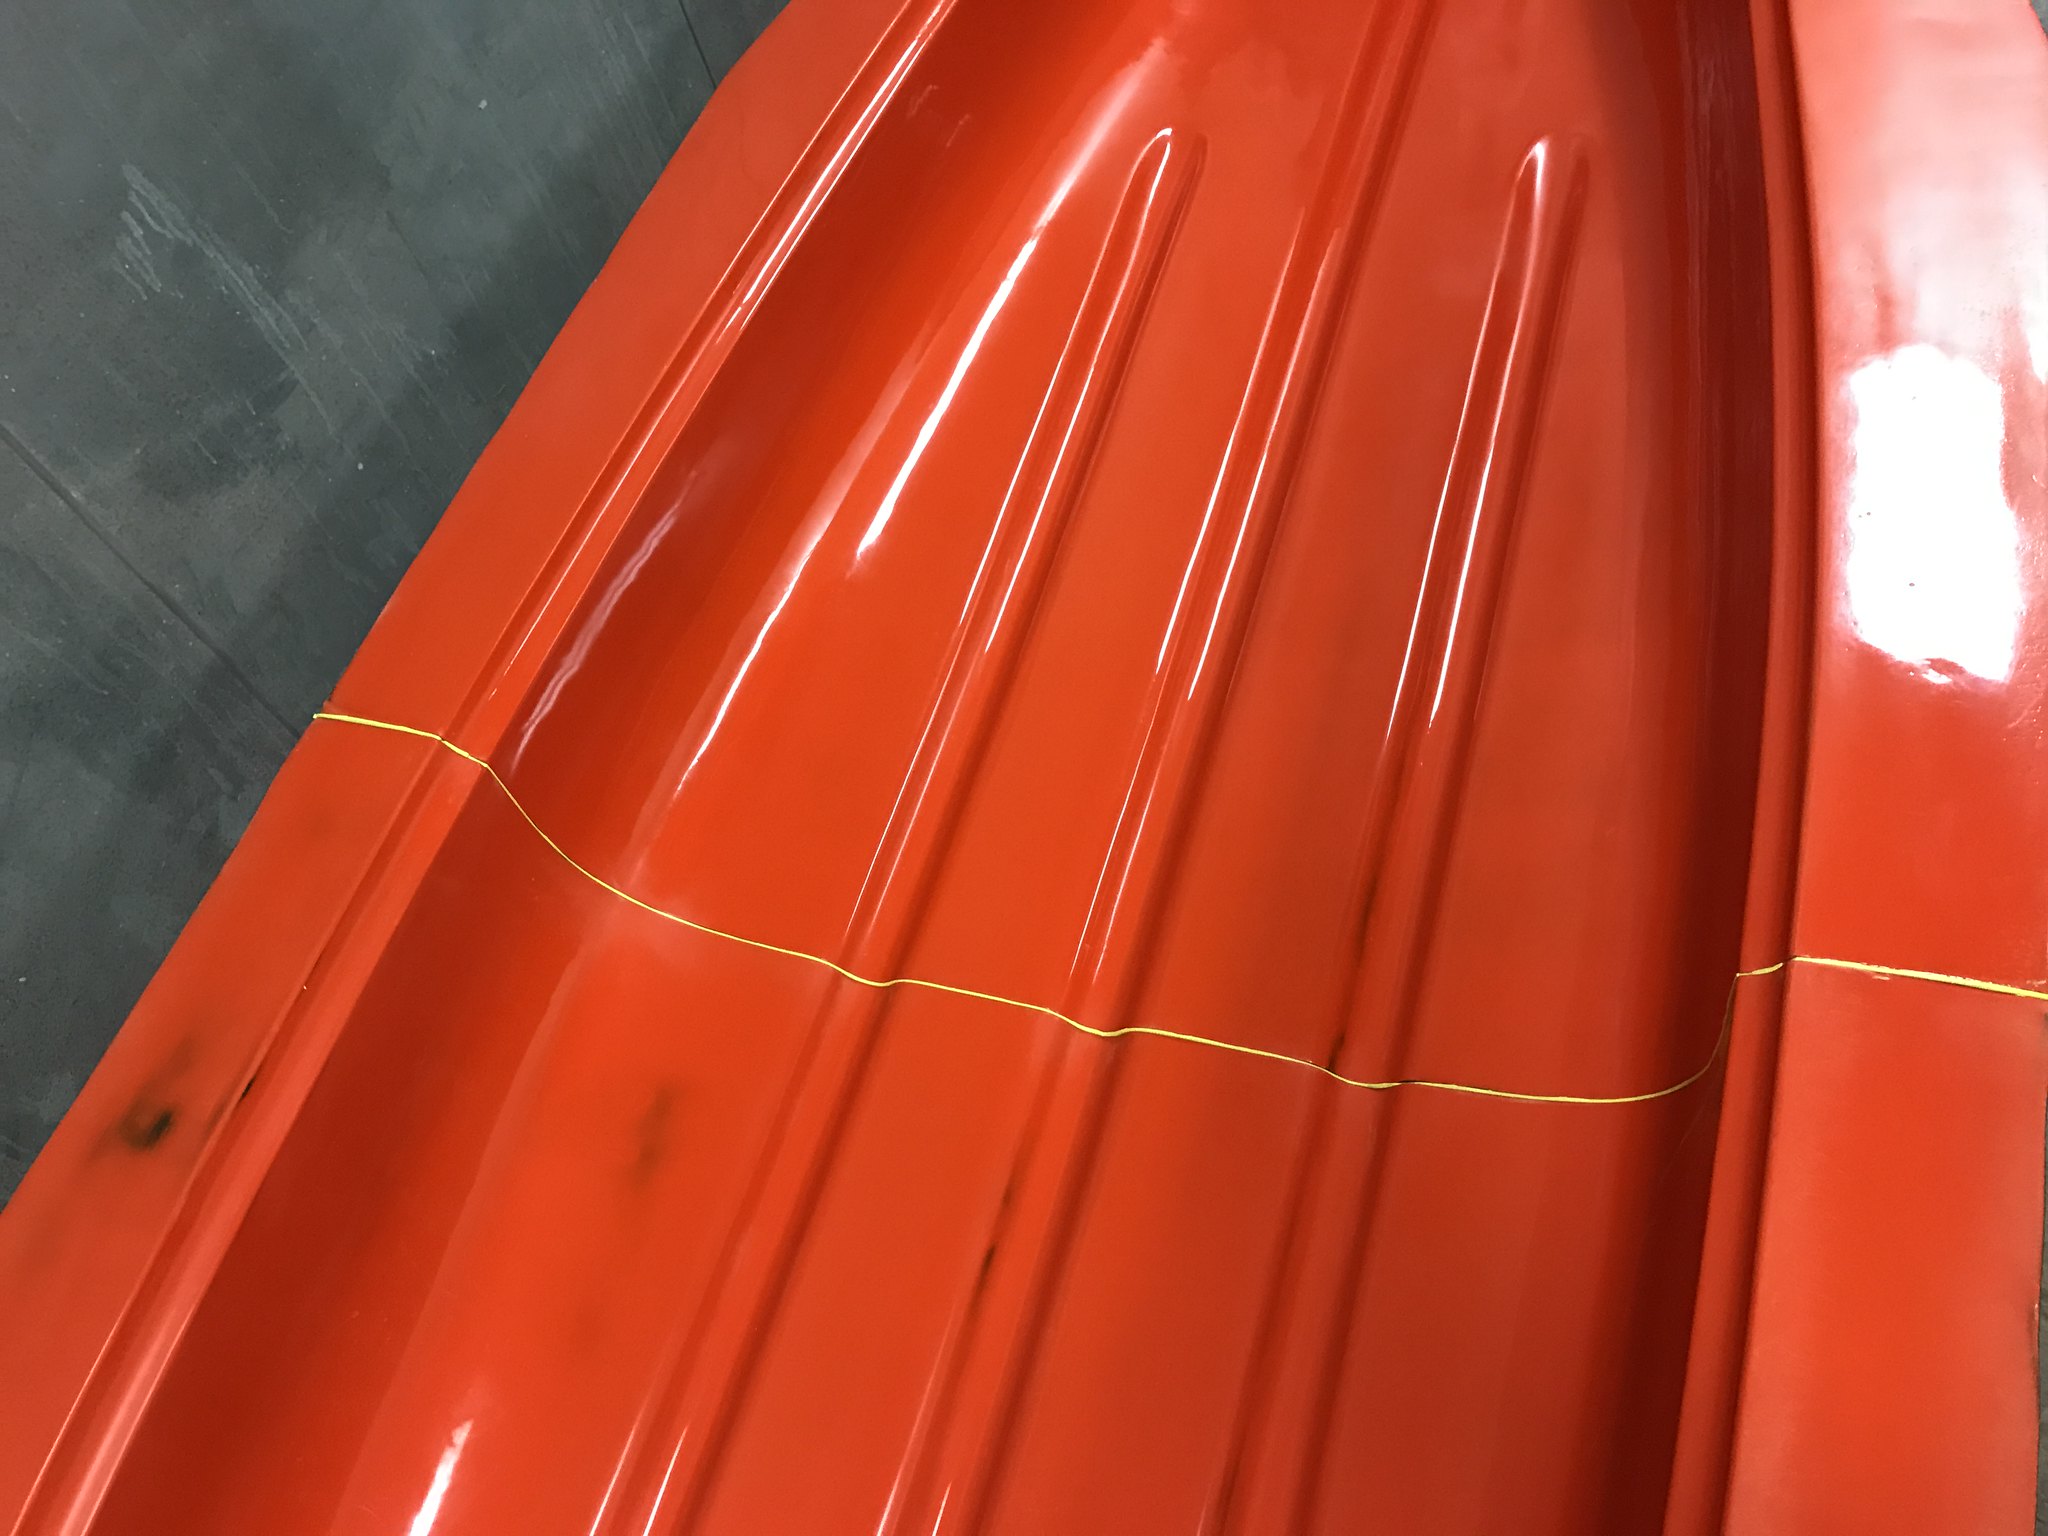
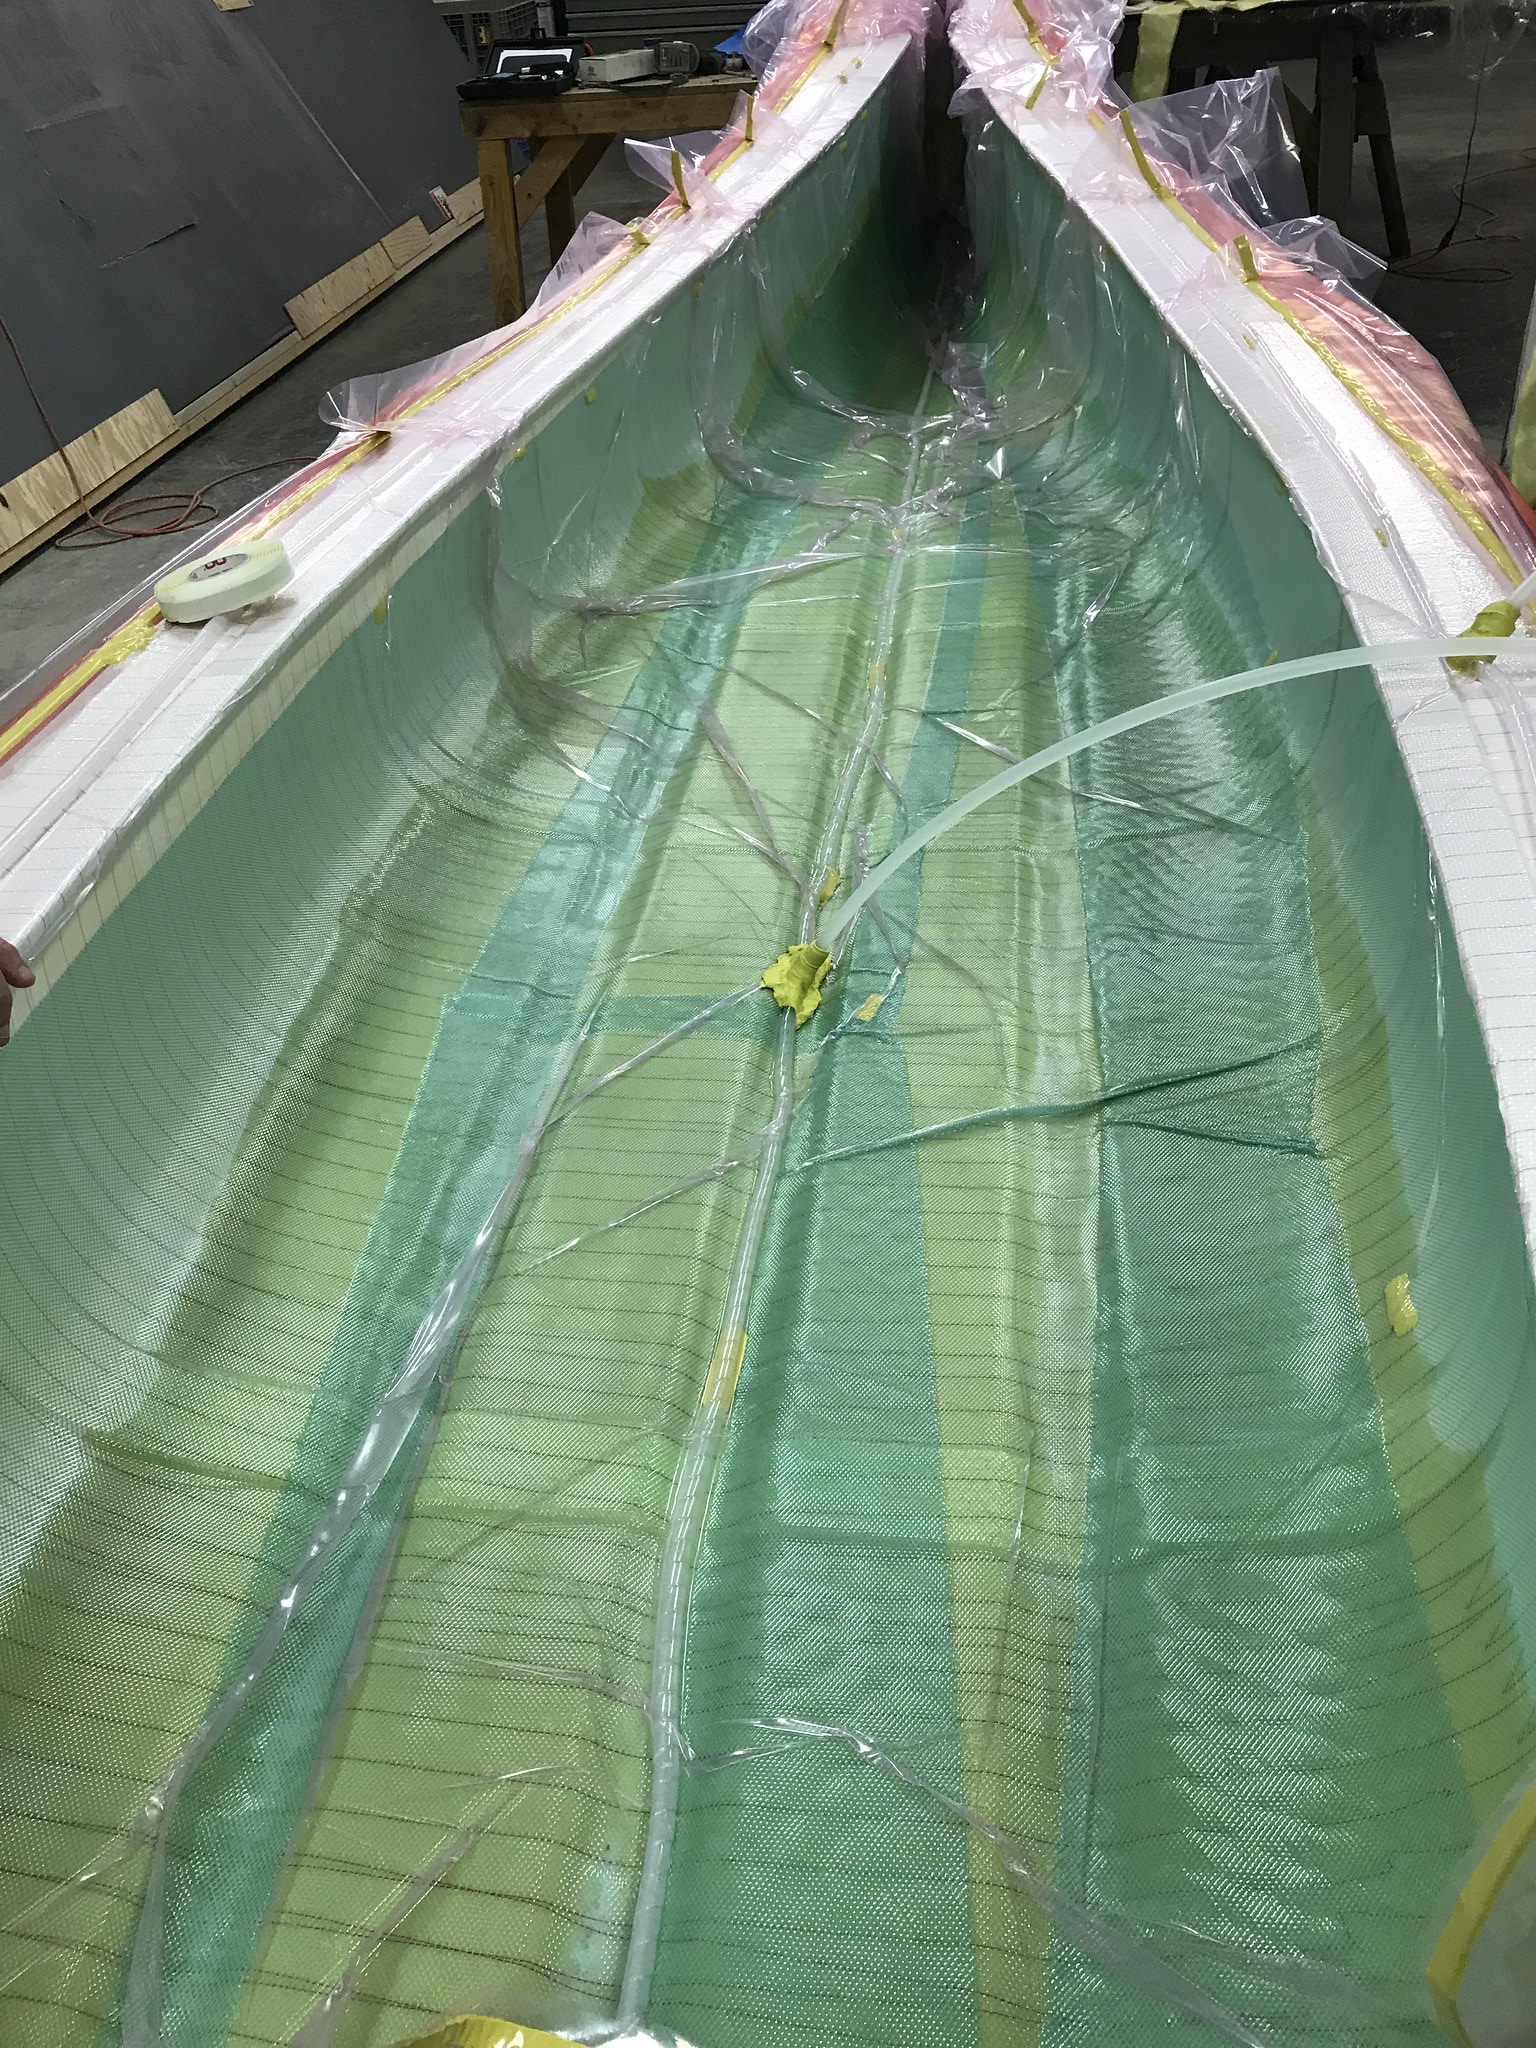
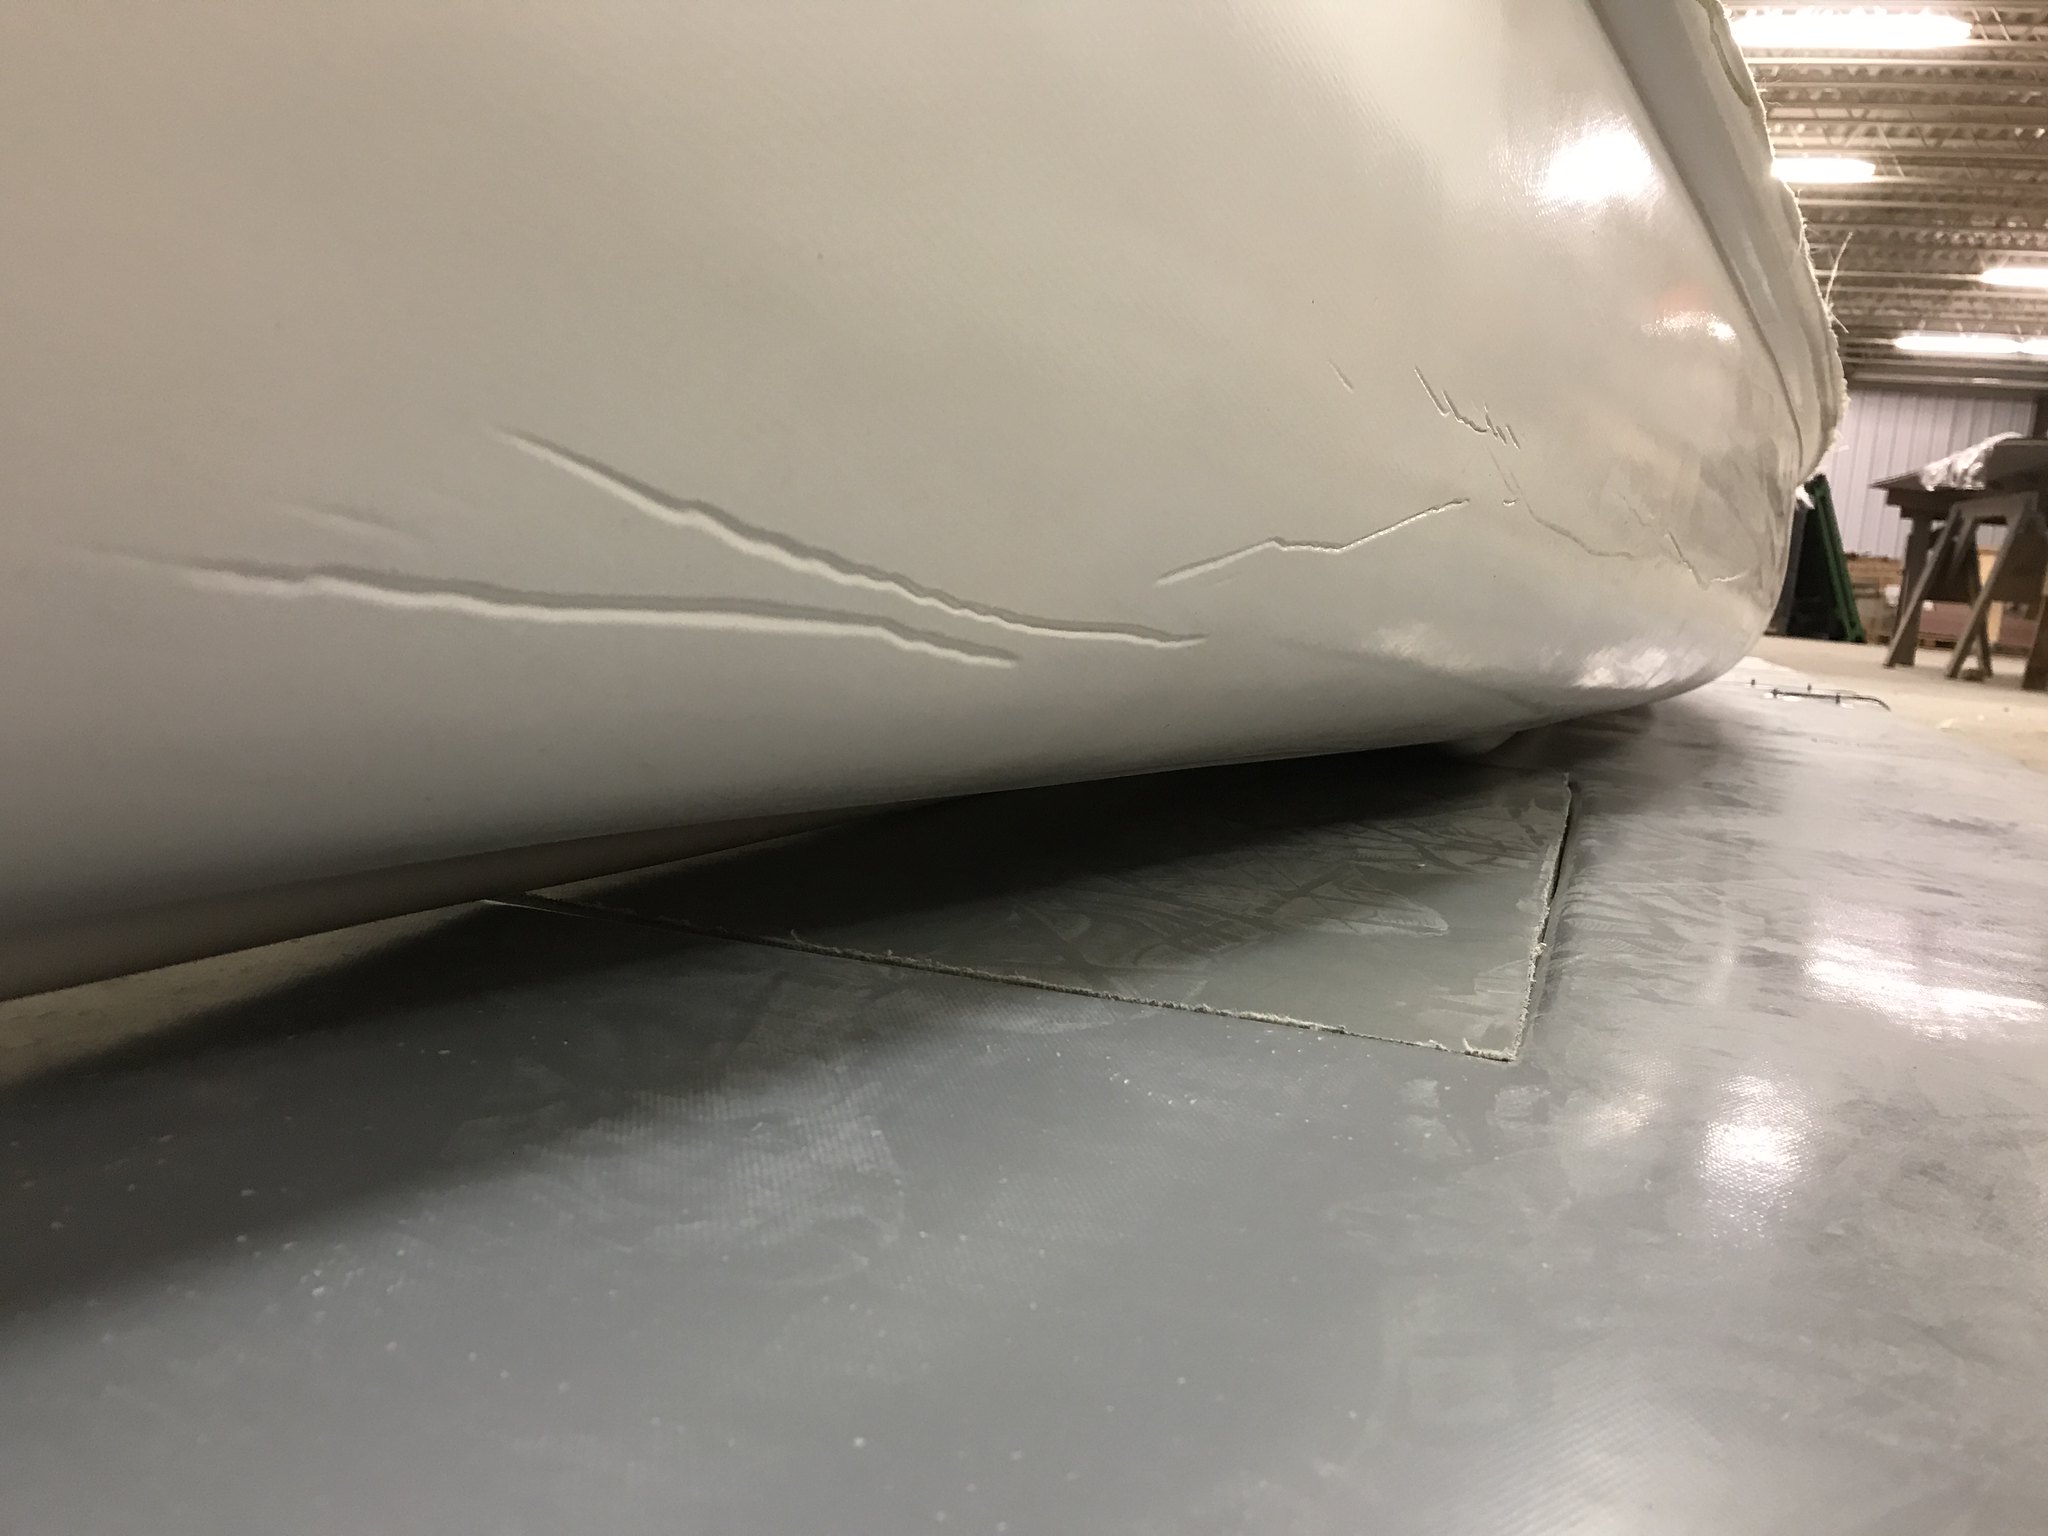
​Unfortunately, there are some flaws that I am not happy about.
​We had some bridging under vacuum during infusion. I had hoped that these would just fill with epoxy, rather than distort the gelcoat on the other side. There are a few wrinkles, and some deformity in the keels. Luckily, nothing a little FRP body work can't take care of.
IMG_2881 by bctc95, on Flickr

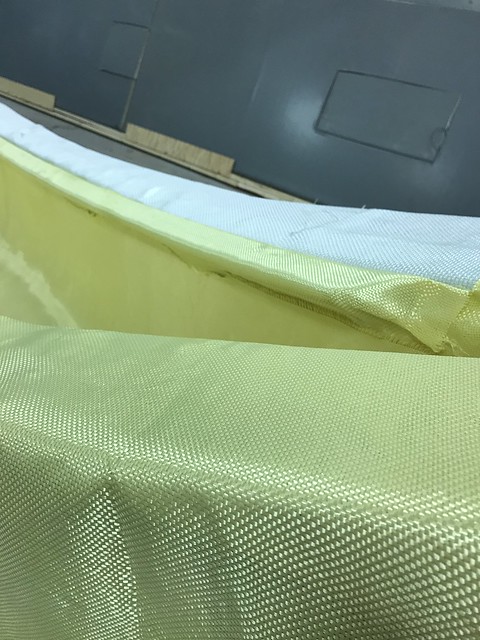
​The Soric ribs are easily visible under the one layer of Kevlar.
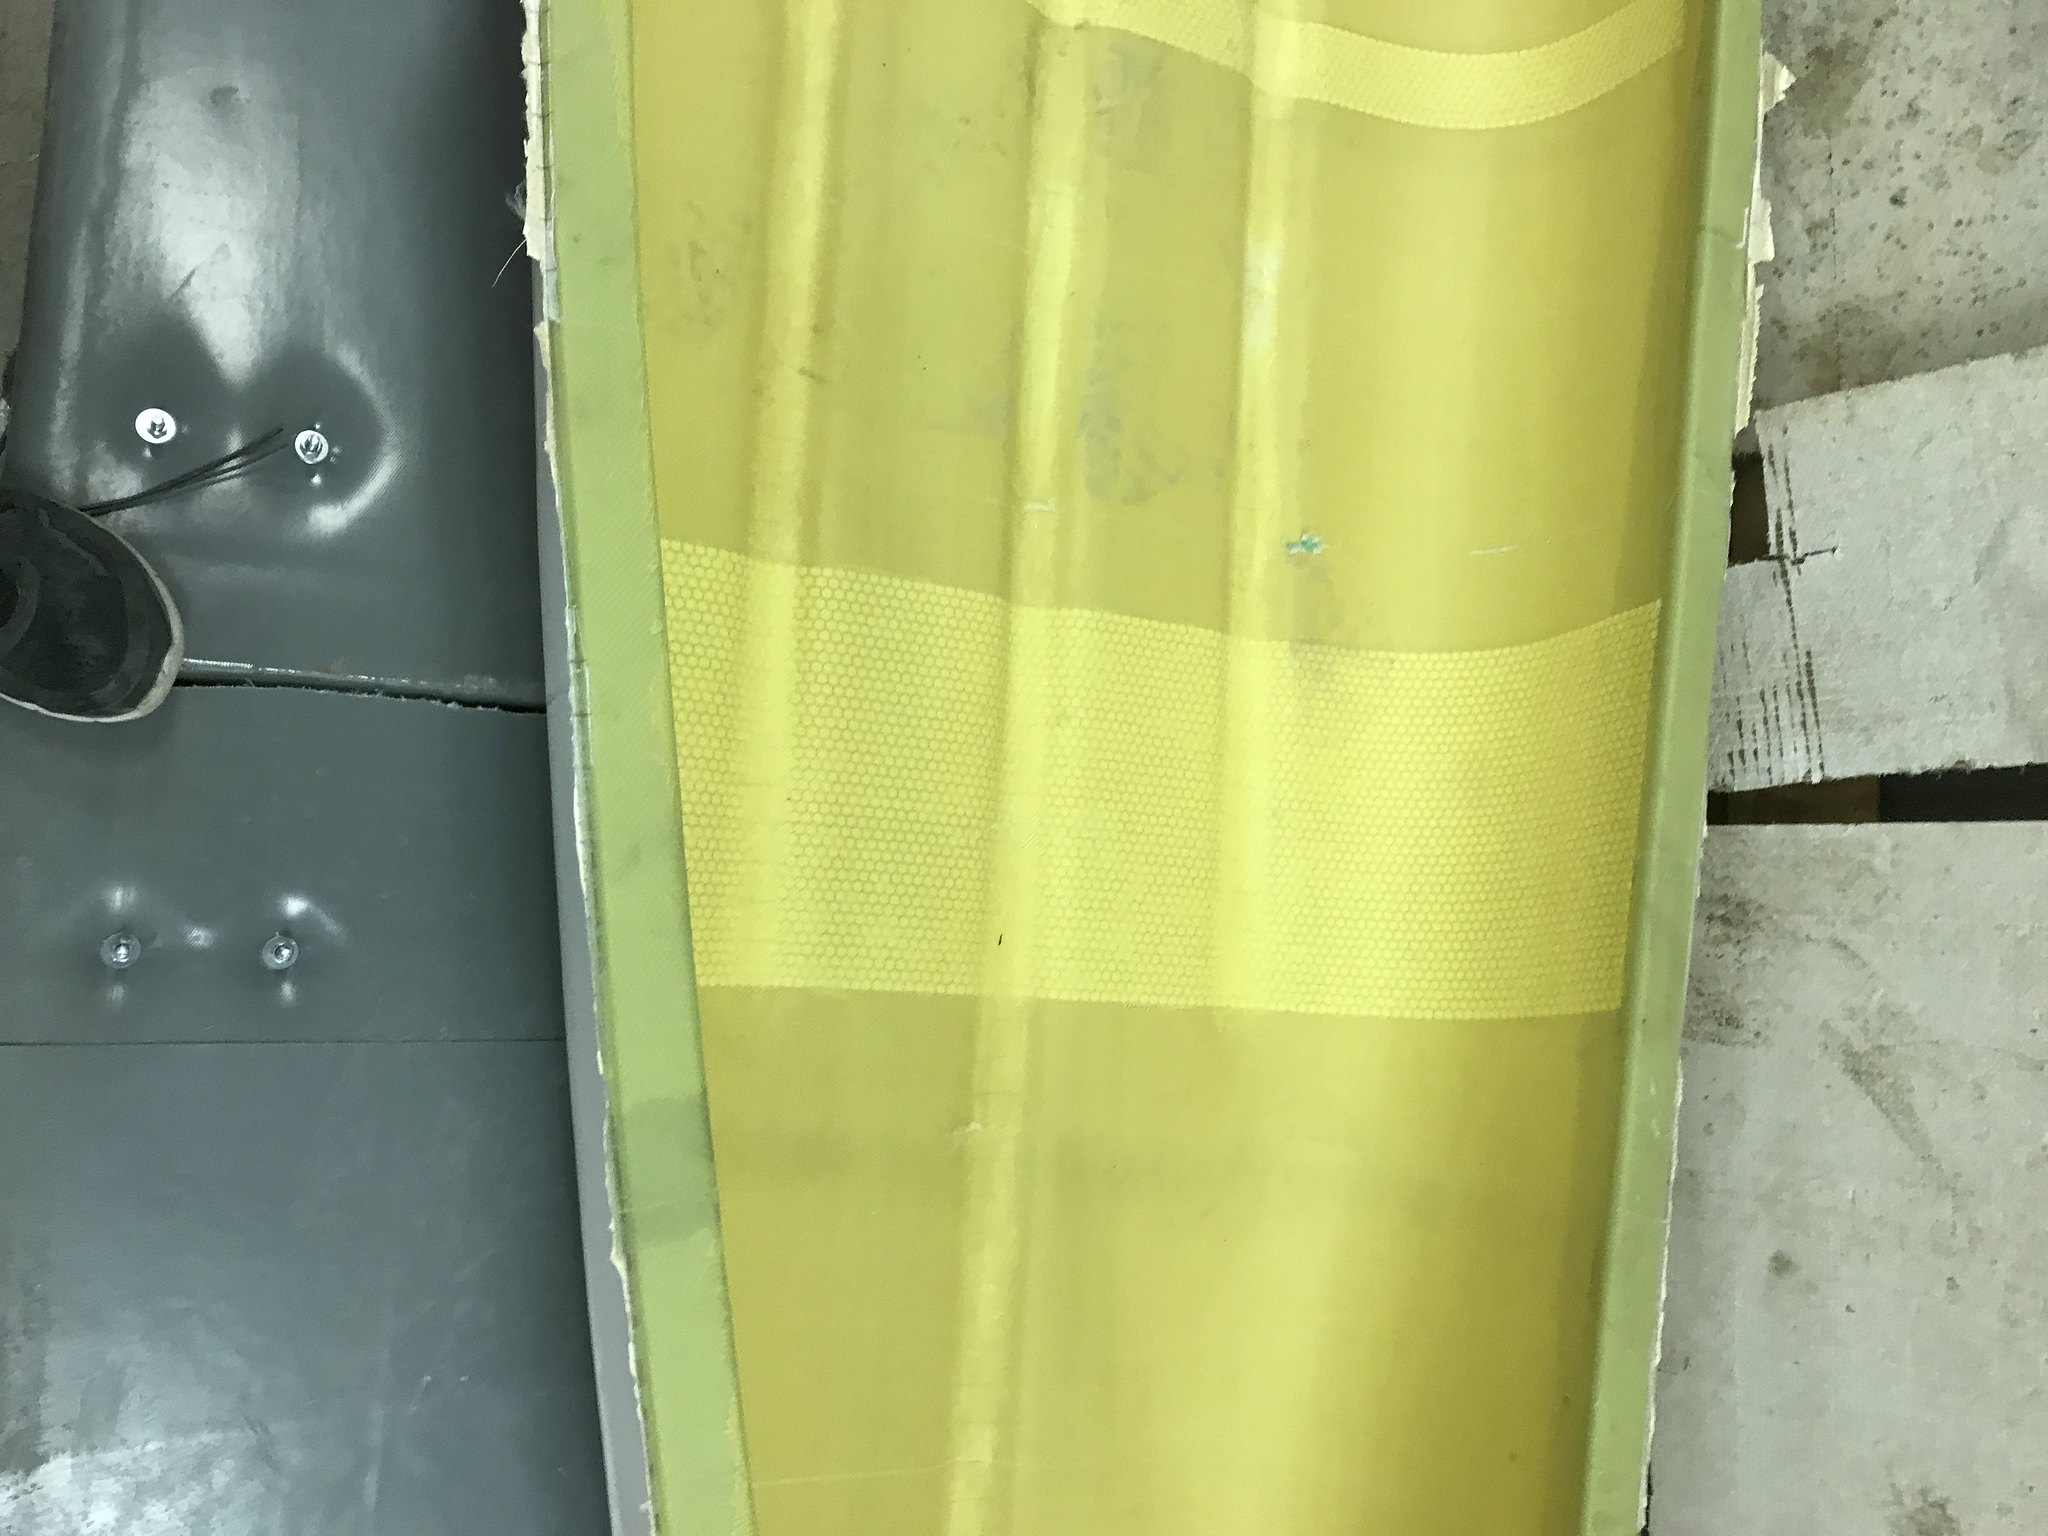
IMG_2879 by bctc95, on Flickr

IMG_2880 by bctc95, on Flickr

IMG_2878 by bctc95, on Flickr

​I need to trim off the excess material at the ends and sand the excess epoxy from the sides of the gunwales.
IMG_2885 by bctc95, on Flickr

​Anybody have a suggestion for deck plates?

I can pick the canoe up over my head, but I bet it is heavier than my hopes. Once I get it cleaned up, I'll get a weight.

​We are making a second canoe for my friend, so we'll make a few tweaks in the layup schedule and methods.

​Now its time to mount seats, yoke, deck plates and a couple of thwarts!
 
Last edited:
Phew!! I was nervous and all I'm doing is virtually watching...
Are you also adding bulkheads? Or some sort of sealed chambers?
Some thin bulkheads and decks would provide flotation and convenient steps for ingress/egress. If it were my boat, I would make them color matched to the outside and inside of the hull.
 
That's sweet!
I'm glad you shared this build!
How much time do you have into the build, not including the time to sand and buff out the mold?
You could make some end caps from foam and laminate with Kevlar and glass....
Your build reminds me that building my Kevlar from a male mold is very "Stone Age" and it will be weeks before I get to the point that you are at with yours.
 
Simply want to echo comments above !
I've been anxious to see this post !
Your friend is getting a heck of a deal, beings you learned so much on the first one !

OH, when you license this canoe, tell the Recorders office it is made of fiberglass, not wood, obviously ! :rolleyes:

Congrats ! I'm sure you will enjoy it !!!
I know I've enjoyed your build ! Thanks for sharing !!!

Jim
 
Back
Top