• Happy National American Red Cross Founder's Day (1881)! 🇨🇭🚑🏥

Building A Steambox Advice

Joined
Jan 13, 2013
Messages
271
Reaction score
1
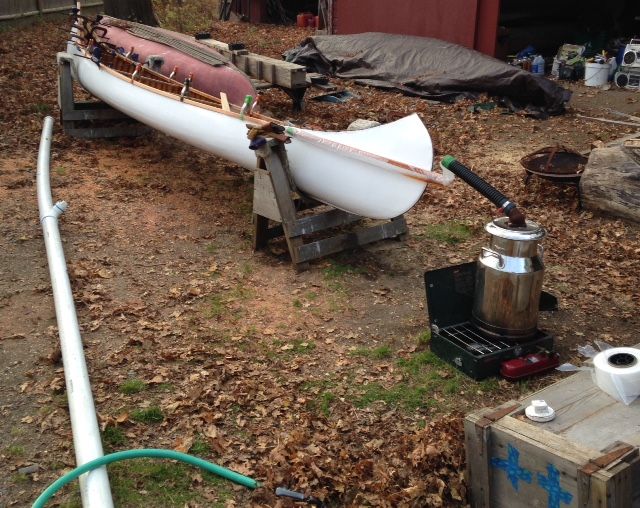
I've been working on a project for a while now that now requires that I stem wood to get the bend and angles I need. So now I'm in the process of building a steambox. I've done a lot research on this but am now looking towards folks who actually do/have done this for some advice. Here's my ingredients. One 8' x 4" diameter PVC pipe, 1 5 gal gas can, propane for fuel, propane stove and a long section of very thick garden hose. I also have lots of hose clamps and other appropriate hardware on hand.

My thoughts after reading a lot about this are to hook up the 5 gal can, water heater/steamer, garden hose to go from the can to the pipe, I'll have to buy adapters for the hose. Question 1: will a garden hose hold up to the heat?

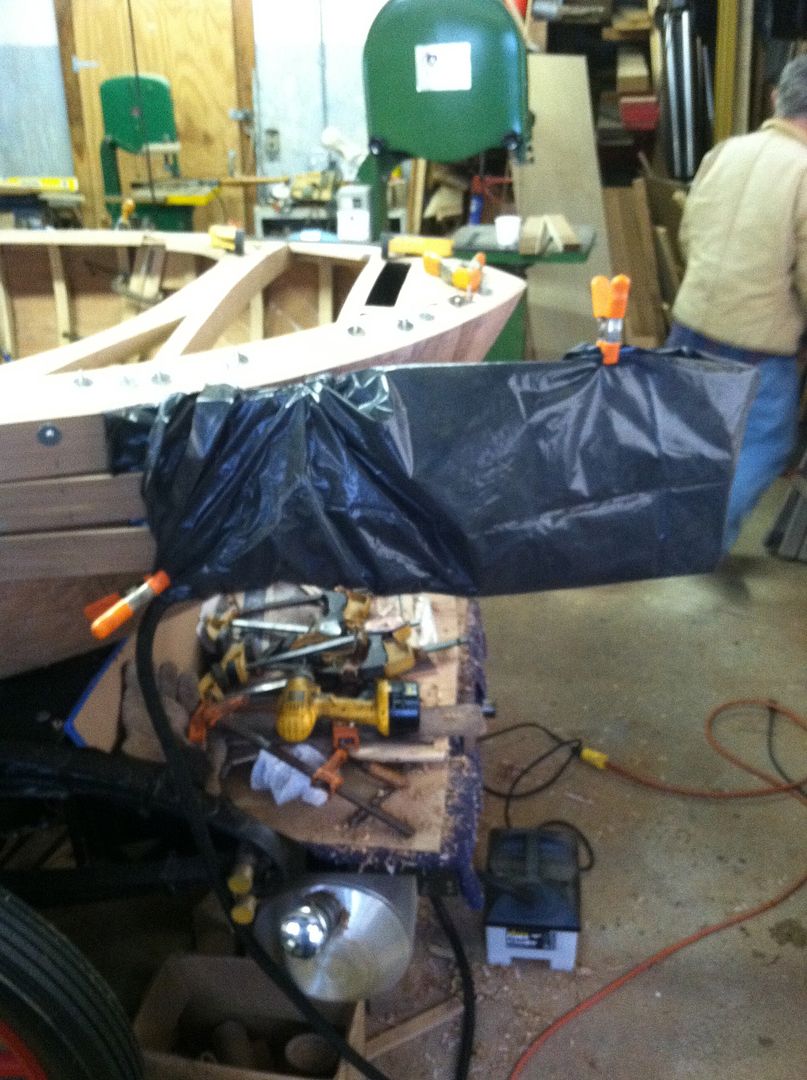
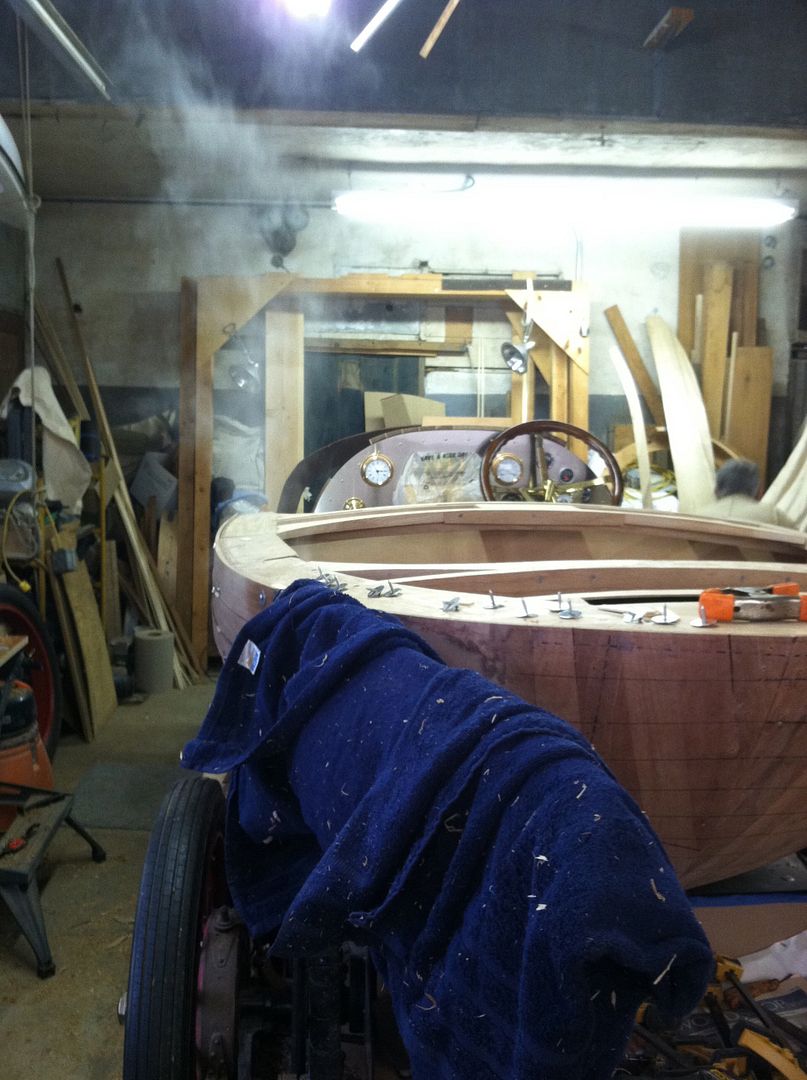
Question 2: I'm trying to put gunwales on a boat that I don't want to take off, the way the sheerline of the hull is that there is a severe upward curve and an inward twist that seems to defy and that portion of the 6 feet or so is at the last maybe 18-20". I read someone from the site said they soaked their gunwales in oil and then steamed them. The question is does treating the wood with oil help or not help with steaming. Just trying to figure out how to add protection to the wood before steaming. For the record I need to bend gunwales for the Rob Roy at 6' long or so.

I'm adding dowels through the steambox to hold the wood off the bottom as well as release holes and a heat gauge. Any advice would be appreciated, still in the building stage.

dougd
 
We use a piece of automotive heater hose for the link to our ABS pipe. Presently just using a steel watering can but will eventually use a steel milk can once I find one.Your gas can is steel right?

Ours has pieces of wire to hold the wood off the bottom and only one vent hole at the end where we place the thermometer. You want to keep the steam in the chamber for maximum heating. We also tend to tilt it so the steam rises the length of the pipe and put a weep hole at the other end on the bottom to allow water drainage.
 
I've been using a wall paper steamer for the last couple of years and will not go back to the propane tank and boiling water in an unused gas can. I did that for a long time but had to do it outside of course. The wall paper steamer costs about $50 bucks and you just plug it in.
Time for dinner, more later.
Jim
 
I've seen that as well but finding a wall paper steamer here is nigh impossible. Once I have my new box done you will see why I need a bigger steam source.
 
I always make the box according to the work with little extra space. I have a long box for planking big boats and I have it fitted with a baffle to shorten it if need be.
I think Lee Valley might sell the wall paper steamer. I bought mine from Home Depot. I'll try and find a link later. For the last long thin pieces I had to bend I used a gutter downspout wrapped in towels to keep the heat in and was very pleased with the result. Also I use the bag method when only an end needs the heat. I'll hunt up some pics later.
Jim
 
This is the only steaming pic I can find at the moment, just using a garbage bag over the back ends of three planks. You can see the steamer on the floor in the photo.

847d3062cab5b7d4c4c33f8f5e3b21f8_zpssy1jgimv.jpg


They had towels draped over the bag the help hold in heat.

f58977f886d7c01c089349ebb687d181_zpsledz0ppy.jpg


Jim
 
I am still mystified about one process point in steam bending gunwales. When and how do you oil (or, eesh, varnish) the gunwales?

If oiled are the gunwales pre-soaked in oil, then steamed and installed with the necessary bend?

Or are the gunwales steam bent, installed, allowed to dry and take shape and then removed, treated and reinstalled?

In the latter version I would fear my ability to seat the gunwale screws precisely in the existing sheerline holes.
 
Never done this myself, but I've seen the process where the rail is clamped in place until the bend is set, and then it can be removed, treated, and then screwed in place. There really is no time to screw as you go as the piece starts to stiffen up rather quickly once removed from the steam.

The steam in bag method seems to be the best way to go as it gives infinite working time. Another method I've seen is making a long pan like a gutter and soaking the wood for days followed by boiling right before application. Should give longer working time than steam.
 
Yes when the wood to be steamed is in a box and has to be removed and brought to the boat or forms, time is very short. Something the dimensions of a gunnel you would have less than a minute probably 30 seconds to get it in the shape you want before it cools too much and fractures. I always have all the clamps laid out and adjusted, and do a walk through with the helper of the day (usually my wife). We have done steaming many times different jobs have different challenges, so a walk through i.e. The cold wood is in the cold box, I pull it out, line up the index marks on the boat and rail then furiously clamp away. Sometimes it's easier to make a plywood mold/jig to bend to then later put it on the boat.
Jim
 
That's not working time! I've never done this and assumed it would be a little longer then that. The Rob Roy has a 6ish foot cockpit with a nasty and odd shape at the up sweep. I tried soaking wood for a week and then putting them on but due to that sweep the clamps didn't hold, can you say rocket! Along with that maybe 18" up sweep it also angles in if that makes sense. The idea of a steam box seemed to make sense but without more playing time I am having doubts about trying this although the bagging thing, already seen that video, might be the way to go. I don't think I could make a jig because of the way it angles in at the tip of the bow! Ummm, gonna have to think some more on this.
 
I used a wallpaper steamer plumbed to a piece of 3" PVC and glued on PVC fittings. Be sure that you create a small amount of pressure in the steam "box", that will really help the moisture penetrate the wood fibers. Barely above ambient is adequate.
And yes, working time will be short, make sure you have all your clamps and fixturing ready. It also helps to have an extra pair of hands. I have tried unsuccessfully for years to grow an extra hand, I just can't seem to do it.
 
Just remembered, you will need gloves as the wood you are about to pull out of the steam box should be over 200° or it isn't hot enough.
Jim
 
Plastic bag method. You will wonder why you didn't try it way before now!

Bag%20steaming_zpsbov4ptik.jpg


This one is Honduran mahogany at 35F outside. The PVC pipe is my gunwale soaker. The bag material is 4 mil polyethylene. It is a tube that comes in a roll that is made for custom polybag packaging. Available at Staples, Uline etc. The roll is shown sitting on my steambox. I still use the box for ribs.

Polytube%20steam%20bending_zpsldzfegnm.jpg
 
Last edited:
That is the route I'm going to go and was going to PM you Fitzy. Think I'll have some questions before I start. Thanks for the pics.

dougd
 
Me thinks too much plastic is involved in your restoring of wood canoes Fitz...haha, looks good for sure!
 
Worse that Fitz my husband thanks you for your demo at Assembly and thats what its going to get the job done here!
 
Me thinks too much plastic is involved in your restoring of wood canoes Fitz...haha, looks good for sure!

I am pretty Green. The plastic is re-usable too.
 
Back
Top