- Joined
- Jul 6, 2021
- Messages
- 643
- Reaction score
- 1,184
The last of late friend Brian’s canoes, excepting the 10’ OT Rushton pack, is a 70’s vintage Mad River Explorer I rebuilt for him nearly 30 years ago as a three-seater family canoe. Old school Vermont era Royalex, heavy as hell before it received my then semi-crude rebuild efforts. By way of history the Explorer was a cold cracked, rotted wood gunwales freebie I picked up in 1989.
After delivering a couple boats my intention was to take that hideous thing home on my emptied roof racks, do a rudimentary repair job on it, buy a 2022 Liberty Reservoir permit and leave it at that launch for Brian’s nearby family, thinking mostly of his fisherman son Eddie, whose spirit and sly sense of humor reminds me of his father.
That was an early, unskilled and on-the-cheap rebuild of a battered freebie, and it shows in the crude non-craftsmanship. If I could rebuild it, fix some of my early ugly, and have it float Brian’s son (or daughter) happily on the water it would please me to see it come full circle squared and re-repaired.
The Explorer, when I arrived, was fortunately resting gunwales down, unlike the windblown gunwales up rain-collecting Rushton. The Explorer had taken likewise taken flight in last week’s extreme winds, lofted off the high top rack, flown over a fence. . . . .and fortunately landed gunwales-down.
Unfortunately it landed gunwales down squarely on a 4 foot tall metal stake sticking up from the ground on the other side of the property line. A stake just randomly there, all by its lonesome amidst the trees. Attached to nothing. Six feet back from the fence line. No other naked stake like it anywhere in sight. Poking up speared clean through the hull.
I wish I had taken a photo of that in-situ impalement, or a selfie of my expression on seeing it. Not a big hole, the busted chunk is still attached, which will aid in repairs.
 PC200021 by Mike McCrea, on Flickr
Just getting to the other side the tall wire fence and extracting it from the impalement was a challenge. I would have simply walked away if Brian’s son Eddie hadn’t stopped by.
It is one seriously ugly canoe, and what the hell, it’s in my shop. With some sandpaper, DIY’ed thwarts and seats and spar urethane I can put it back together using just the parts and pieces, epoxies and etc I have on hand. If I leave it ugly but functional nobody will steal it.
I don’t need to aim for light weight in the rebuild; chained up at the reservoir in March it won’t need to be roof racked again until the end of December.
Still dirt encrusted it weighs in at 85 lbs on the hanging shop scale.
 PC200034 by Mike McCrea, on Flickr
Yeah, the scale reads 90lbs. I wasn’t looking for the balance point, just the initial weight, so rather than try for a balanced hang on the single cam strap I moved a 5lb weight around inside until the Explorer hung level.
 PC200032 by Mike McCrea, on Flickr
Not needing to aim for light-weight the challenge may be leaving it ugly on the outside.
No question this was one of my early rebuilds. It had a few cold cracks, which I cunningly repaired using – jeeze I was clueless at the time – kevlar felt and the urethane resin that came in skid plate kits. Peel ply to smooth out the rough felt surface? Never heard of such a thing.
 PC190007 by Mike McCrea, on Flickr
 PC200020 by Mike McCrea, on Flickr
Stunning craftsmanship; couldn’t even manage to cut the kevlar felt with straight edges.
I had, knowing no better at the time, spray painted it green. Spray paint that is now flaking off everydamn where.
 PC190009 by Mike McCrea, on Flickr
 PC200029 by Mike McCrea, on Flickr
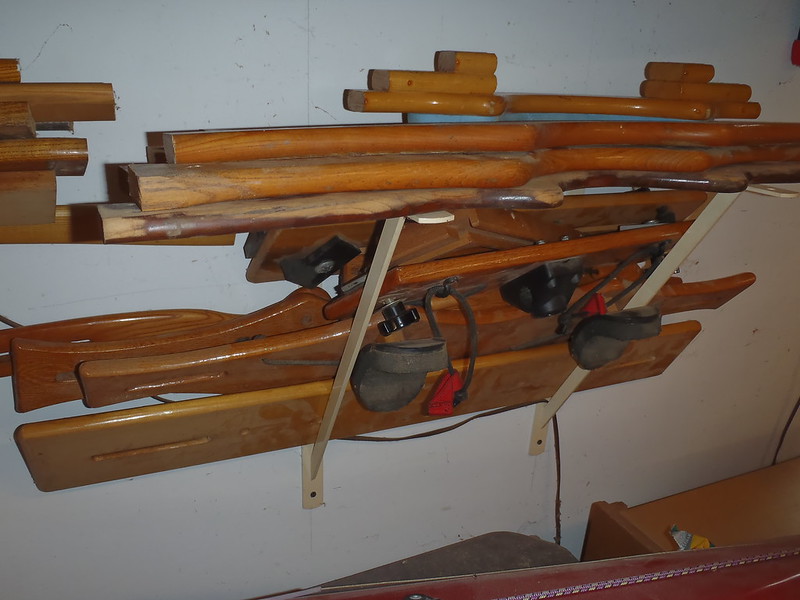
It is too cold to even wash the hull, but I’ll need to attend to a vigorous scrub before I do much work. Originally wood gunwaled I rebuilt it with new black vinyl gunwales, and old used brown vinyl deck plates. Those old Mohawk gunwales were worn away at the tips and I repaired them with – you guessed it – kevlar felt and urethane resin. I loved me some kevlar felt back in the day.
 PC200015 by Mike McCrea, on Flickr
Yes, those are the plaid seats I re-webbed in a lot of rebuilds in that era. The webbing, though faded, is still surprisingly taut. At least I did a good if colorful job on that part. All three seats, including a wide center seat, are hung on heavy duty DIY truss drops.
 PC200017 by Mike McCrea, on Flickr
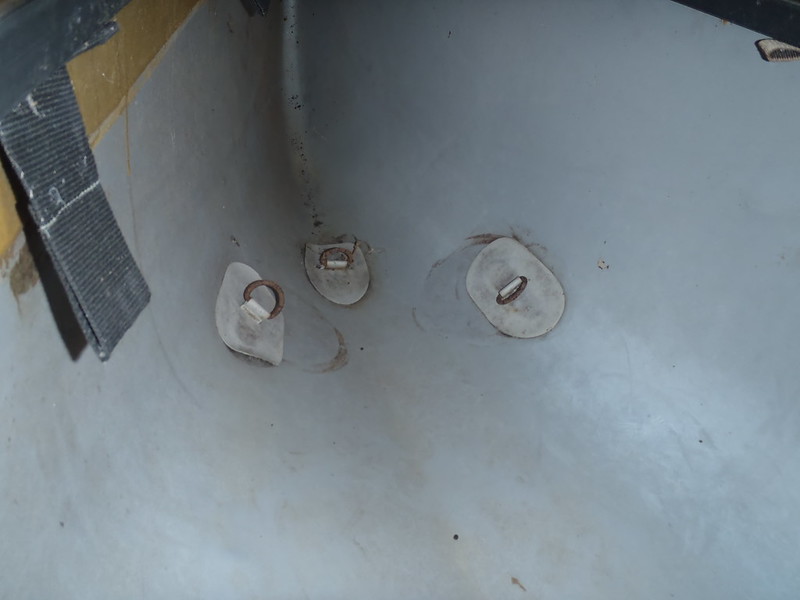
The seat drops may be salvageable with some sanding. In that rebuild I did not, for some reason, remove any of the original owners outfitting, all of which is now failing or failed.
 PC200024 by Mike McCrea, on Flickr
 PC200023 by Mike McCrea, on Flickr
Those D-rings, straps and pads are coming out this time around. Surprisingly only a few of the parts I installed had actually fallen out.
 PC200031 by Mike McCrea, on Flickr
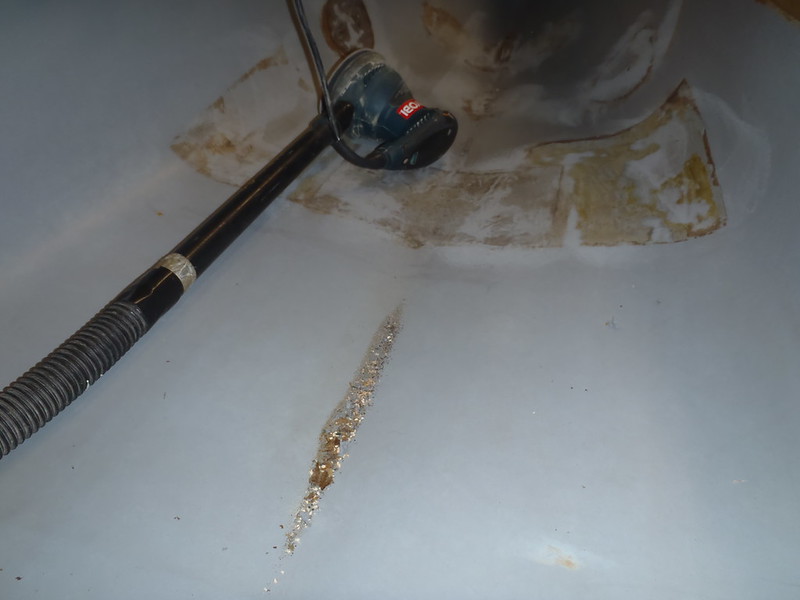
Yeah, that’ll buff right out. Might need new bungee cord though.
I will not describe every step of the rebuild in nanoscopic detail. But I will take photos along the way. The Explorer will live on, carrying the next generation to new adventures.
After delivering a couple boats my intention was to take that hideous thing home on my emptied roof racks, do a rudimentary repair job on it, buy a 2022 Liberty Reservoir permit and leave it at that launch for Brian’s nearby family, thinking mostly of his fisherman son Eddie, whose spirit and sly sense of humor reminds me of his father.
That was an early, unskilled and on-the-cheap rebuild of a battered freebie, and it shows in the crude non-craftsmanship. If I could rebuild it, fix some of my early ugly, and have it float Brian’s son (or daughter) happily on the water it would please me to see it come full circle squared and re-repaired.
The Explorer, when I arrived, was fortunately resting gunwales down, unlike the windblown gunwales up rain-collecting Rushton. The Explorer had taken likewise taken flight in last week’s extreme winds, lofted off the high top rack, flown over a fence. . . . .and fortunately landed gunwales-down.
Unfortunately it landed gunwales down squarely on a 4 foot tall metal stake sticking up from the ground on the other side of the property line. A stake just randomly there, all by its lonesome amidst the trees. Attached to nothing. Six feet back from the fence line. No other naked stake like it anywhere in sight. Poking up speared clean through the hull.
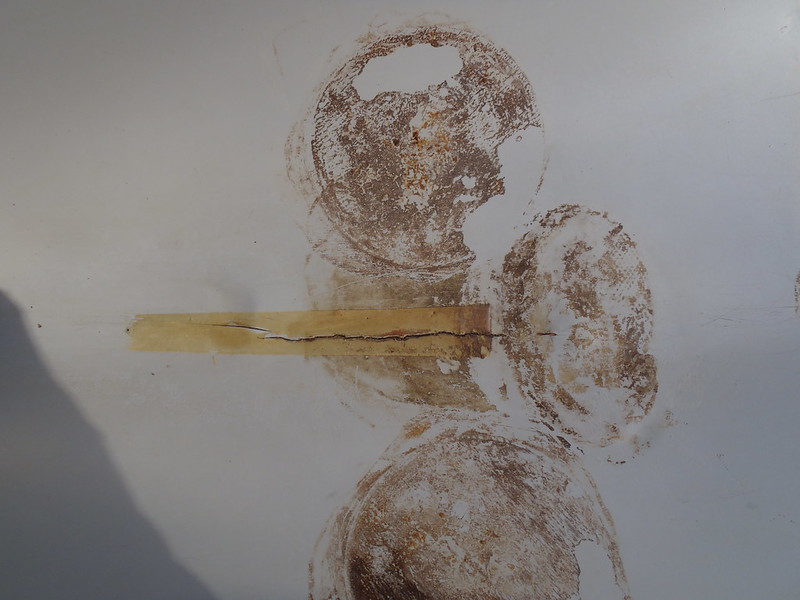
I wish I had taken a photo of that in-situ impalement, or a selfie of my expression on seeing it. Not a big hole, the busted chunk is still attached, which will aid in repairs.
PC200021 by Mike McCrea, on FlickrJust getting to the other side the tall wire fence and extracting it from the impalement was a challenge. I would have simply walked away if Brian’s son Eddie hadn’t stopped by.
It is one seriously ugly canoe, and what the hell, it’s in my shop. With some sandpaper, DIY’ed thwarts and seats and spar urethane I can put it back together using just the parts and pieces, epoxies and etc I have on hand. If I leave it ugly but functional nobody will steal it.
I don’t need to aim for light weight in the rebuild; chained up at the reservoir in March it won’t need to be roof racked again until the end of December.
Still dirt encrusted it weighs in at 85 lbs on the hanging shop scale.
PC200034 by Mike McCrea, on FlickrYeah, the scale reads 90lbs. I wasn’t looking for the balance point, just the initial weight, so rather than try for a balanced hang on the single cam strap I moved a 5lb weight around inside until the Explorer hung level.
PC200032 by Mike McCrea, on FlickrNot needing to aim for light-weight the challenge may be leaving it ugly on the outside.
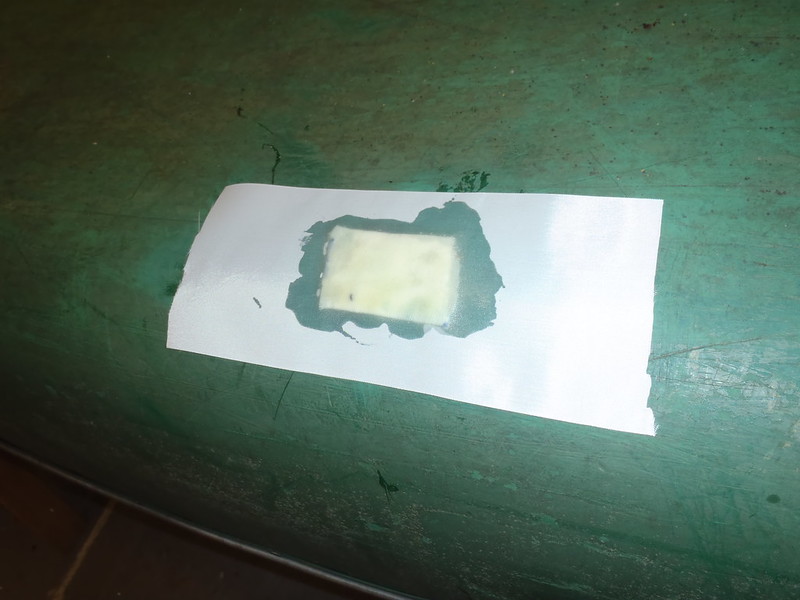
No question this was one of my early rebuilds. It had a few cold cracks, which I cunningly repaired using – jeeze I was clueless at the time – kevlar felt and the urethane resin that came in skid plate kits. Peel ply to smooth out the rough felt surface? Never heard of such a thing.
PC190007 by Mike McCrea, on FlickrPC200020 by Mike McCrea, on FlickrStunning craftsmanship; couldn’t even manage to cut the kevlar felt with straight edges.
I had, knowing no better at the time, spray painted it green. Spray paint that is now flaking off everydamn where.
PC190009 by Mike McCrea, on FlickrPC200029 by Mike McCrea, on FlickrIt is too cold to even wash the hull, but I’ll need to attend to a vigorous scrub before I do much work. Originally wood gunwaled I rebuilt it with new black vinyl gunwales, and old used brown vinyl deck plates. Those old Mohawk gunwales were worn away at the tips and I repaired them with – you guessed it – kevlar felt and urethane resin. I loved me some kevlar felt back in the day.
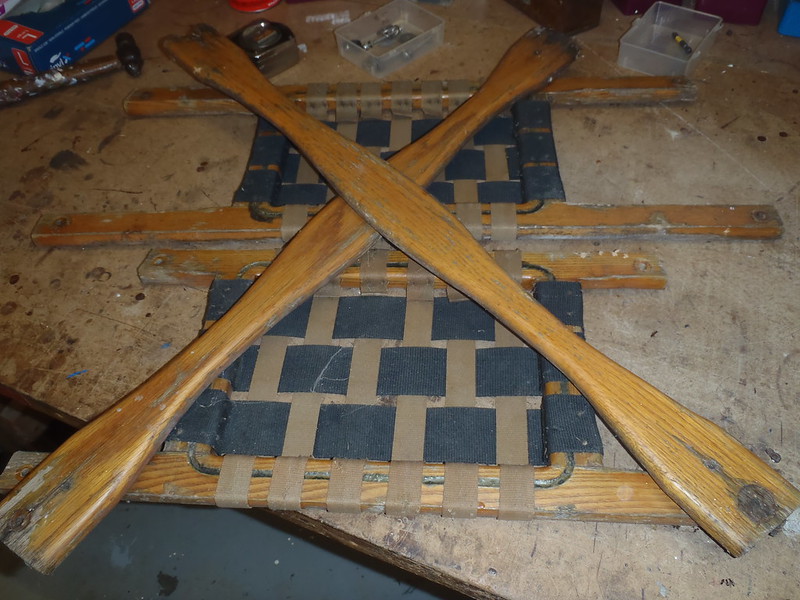
PC200015 by Mike McCrea, on FlickrYes, those are the plaid seats I re-webbed in a lot of rebuilds in that era. The webbing, though faded, is still surprisingly taut. At least I did a good if colorful job on that part. All three seats, including a wide center seat, are hung on heavy duty DIY truss drops.
PC200017 by Mike McCrea, on FlickrThe seat drops may be salvageable with some sanding. In that rebuild I did not, for some reason, remove any of the original owners outfitting, all of which is now failing or failed.
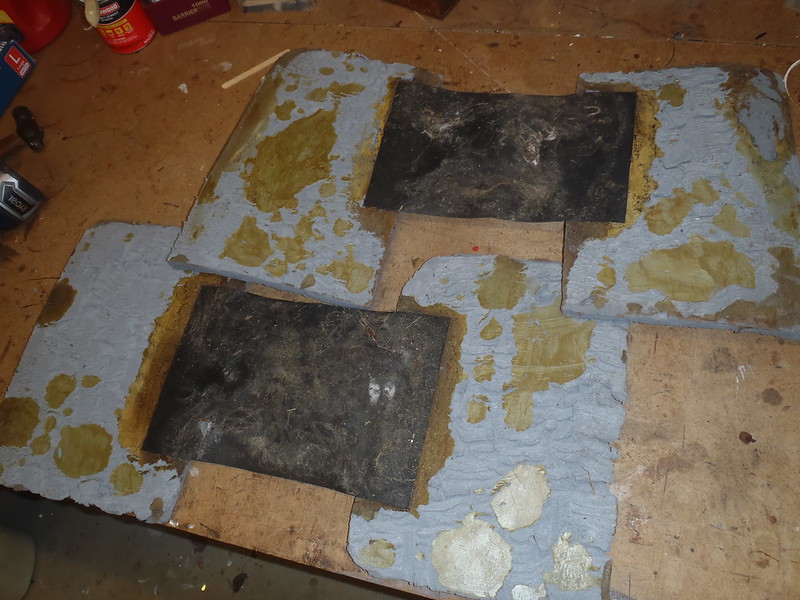
PC200024 by Mike McCrea, on FlickrPC200023 by Mike McCrea, on FlickrThose D-rings, straps and pads are coming out this time around. Surprisingly only a few of the parts I installed had actually fallen out.
PC200031 by Mike McCrea, on FlickrYeah, that’ll buff right out. Might need new bungee cord though.
I will not describe every step of the rebuild in nanoscopic detail. But I will take photos along the way. The Explorer will live on, carrying the next generation to new adventures.