• Happy Marine Mammal Rescue Day! 🐳🐬🦭🦦

A Raven from Scratch

I'm trying to understand why a builder would choose a heavy wood to be the core of what is essentially a composite canoe. I can think of a few reasons.

1. Simple curiosity and desire to experiment with unusual woods as a hobby.
2. The heavy wood is spectacularly aesthetic or valuable such as 200 year old drowned cypress or Sri Lankan ebony.
3. It's the only wood one has on hand or can afford.

Aside from those situations, for an actual usage canoe rather than a garage or mantel queen canoe, I'd prefer a 25% lighter canoe to a 25% more aesthetic wood core canoe any day. And I know from experience that I'd prefer the lightness factor more every day I get older.
 
Glenn, I'm choosing the heavier woods because:
1) I like the aesthetics, particularly of the various wood combinations
2) the woods I'm using are readily available near me at much cheaper prices than Cedar
3) These trees grow at much faster rates than Cedar so they can easily be replaced within my lifetime
4) I like to be different
5) and enjoy seeing what's possible.

I plan to actually use the canoes I build and this particular hull is destined for another 100 mile(ish) trip near Memaquay on the Marshall lakes loop in (hopefully) July. I think it's less portaging than I did on the Steel river but I'll still try to keep weight reasonable.

I think that, shortly after I joined, someone "dared" me to build one from Oak. If the micro balloons actually work, I may build the next from 1/8 inch strips of White Oak. (I'm just ornery that way). 🤷‍♂️

Is balsa wood a real option?
Yes. I'm pretty sure I read somewhere about someone having done it already. IIRC, it wasn't aesthetically pleasing. (which is ok, as it doesn't grow near me)

You will want to play with the forms to get them as accurate as possible but, honestly, grab some wood & dig in. Worst case: it's 100% flammable and the next might be better. As I'm sure you're aware, there are lots of people here who will help steer you clear of failure. We'll also watch intently if you decide to do something nuts.
 
If you build one of oak, consider adding frames and deleting the cloth. Just seal both sides with epoxy.
Larger boats have often been built with unclad strip planking. My 39' ketch has 1.25" square strips of cypress, edge nailed and glued with resorcinol, coated with only paint. She has heavy sawn frames, in a canoe I would bend lighter ones.
 
OK, I'm about done messing around with test panels and such.

I'd previously determined that the Larch could be sanded without gumming up the paper but I wanted to be certain that the epoxy would bond and I needed to try out the micro balloons to see if they would affect the bond and if the aesthetic change be tolerable.

In order to find out, I sanded 2 test panels and then wet out 4 oz e-glass w/ straight epoxy on one and, on the other, I wet out 4 oz e-glass with epoxy that was mixed 2/3 epoxy and 1/3 micro balloons. I was impressed with how well the micro ballooned epoxy wet out the glass and coverage was noticeably better (like, almost double... more than I'd expected from a 1/3 volume change).

Note: as you'll see in the pictures, I also experimented a little with burning the wood with a propane torch to enhance the grain & try a different appearance. I think burning might be an option for a later build if the wood used is unremarkable but I felt the Larch was prettier in its natural appearance. IMO it was worth trying but I'll not be burning this boat (at least, not until after I portage it a few times)

I allowed the epoxy to cure about 5 days and then broke the panels on Sat night to see what what kind of adhesion I'd achieved and if the micro balloons affected the bond. I was very pleasantly surprised by how much pressure it took to break the panels and I actually had to jump up and down on them to get them to fail. (I know, not very scientific. I suppose I could calculate my body weight vs the area of the test panel vs the area of my footprint and then take into account the height of my jump, etc. but I don't feel like it. I jumped on it, it broke and I tried to pull the glass away from the wood... good 'nuff)

IMG_20240217_150455520.jpg

I found that I was tearing wood fibers away from the strips on both the micro balloon panel and the straight epoxy panel so I feel that good adhesion was achieved with both. The micro balloon cloth, when torn away, seemed much more flexible and felt softer but I assume this was due to the micro balloons themselves and the panel did not seem to be any easier or harder to break when I stepped on it. Like the un-micro ballooned panel, it held my full weight until I jumped up and down on it.

The deal-breaker for me was that the addition of the micro balloons did leave the glass with a slightly cloudy appearance... enough so that I won't be using them on this build. Given the extra coverage and the feel of the cloth I was able to rip off of the panel after breaking it, I feel fairly certain that they would provide a good bond with potentially significant weight savings but I prefer the look of wood and I'll accept the extra weight in order to enjoy the improved aesthetics.
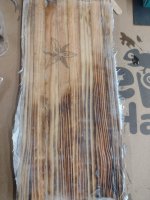
IMG_20240211_200521045.jpg

For comparison, here's the straight epoxy panel
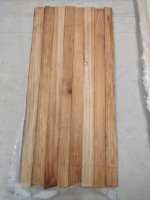
IMG_20240202_084449353.jpg

The rest of this afternoon was spent cutting some holes in the garage and building some heat runs to warm the upstairs of the garage. As winter tries to stage a comeback in my neck of the woods, it'll be nice to be able to warm the boat shop enough to cure epoxy. I should be able to get the forms set this week and, if all goes well, I should be milling strips next weekend.
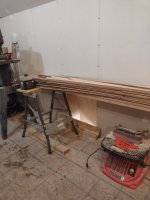
IMG_20240217_212821480.jpg
 
Ready to go! I love it. I never take the time to do test stuff. I know I should. Great job on test panels.
Roy
 
Since the last posting, I've stolen a few hours here & there to prep for the build and thought I'd update:

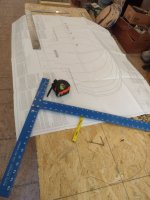
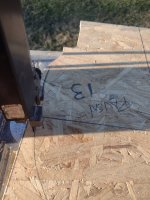
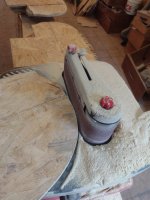
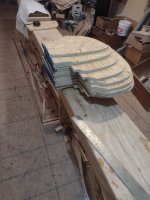
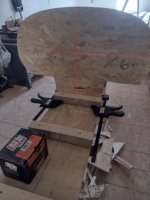
I took about 5 hours last weekend transferring the lines to the plywood, cutting out the forms slightly wide of the lines & then sanding to true them.

IMG_20240303_150653248.jpgIMG_20240303_172159881.jpgIMG_20240310_160347240.jpg

As you can (maybe) see in the above pictures, I used the factory edge for the bottom of the forms and penciled a line 12 inches up from the base and parallel to the factory edge. I'd found tracing the pattern and setting up the forms to be the least enjoyable part of my last build (it's stressful in that the care taken during these steps will impact the integrity of the hull so I try to get it as close to "perfect" as possible) and I believe that will be the case on this one as well.

I did find the plans easier to transfer as the Freedom had fore & aft stations on the same piece of paper (I had to trace 1/2 and then invert the page for the other side) while the Raven plans had the whole pattern on one page and fore & aft stations were on separate pieces of paper. (note: I bought actual paper plans, not digitals, from Green Valley though I suspect that there's no difference)

One place that I cheated (hard) was the chine (at least, I think that's what the hard knuckle at the tumblehome is called). I didn't enjoy fitting long, tapered strips on the Freedom and I saw that Green Valley wanted me to put the 1st strip in the middle of the boat also... I cheated here as I figured that anything above waterline would not affect paddling performance (what happens above waterline, stays above waterline, right?) so I rounded off the hard edges and I'll start stripping at the gunwales and simply bend & twist to get past the knuckle (I like skipping "sucky" parts)

IMG_20240310_164920357.jpgIMG_20240303_182704397.jpg

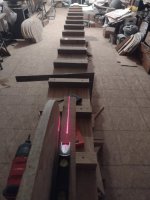
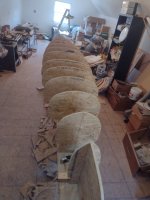
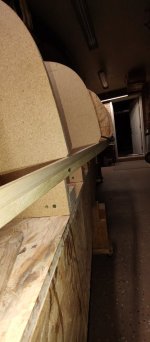
That done, I repositioned the 2x2 station attachments on the strongback to 12" intervals (the extended version of the Freedom was [IIRC] 12 & 3/4"), turned off the overhead lights on that 1/2 of the shop and set up the laser level. This was the reason for the line 12" up on the form as it simplified alignment and I started at the bow and worked my way back.

IMG_20240310_195729585.jpgIMG_20240314_121408109_HDR.jpg

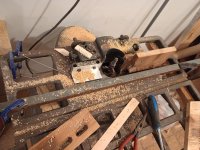
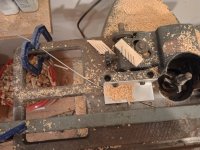
In all, I had about 7 or 8 hours from 2x4 strips of plywood to the finished jig. Next step is to clean up all the scraps around the strongback so that I'm not walking on them and then machine the strips. I'm hoping to start stripping next week (cover your eyes if you're squeamish).

IMG_20240314_124327187.jpg
 
Last edited:
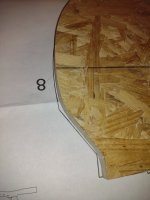
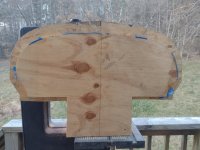
Oh, one more thing for any who might be interested... While cutting the forms, I did a comparison and it became clear just how much more volume this boat will have than my Freedom. Shown is the widest form (#8) of the Raven vs the widest (#9) of the Freedom.

IMG_20240303_174728716.jpg

I may regret all of that extra wood on portages and I suspect the challenge will be to keep weight under 60# using Larch but I'm going to proceed as planned. I think that most of the w/c canoes are heavier than that and (at least for now) I can handle it.
 
Looking good👍 I struggled a little coming around the chime on mine also. I think it's just one of those things. Mine came in about 60#. The poplar wood I used was about 32lb/ft
 
Back
Top