-
Happy National Avocado Day! 🥑💚
You are using an out of date browser. It may not display this or other websites correctly.
You should upgrade or use an alternative browser.
You should upgrade or use an alternative browser.
My first cedar strip canoe build -- 17' Kooteny (was Micmac)
- Thread starter bernjo
- Start date
- Joined
- Oct 15, 2015
- Messages
- 33
- Reaction score
- 12


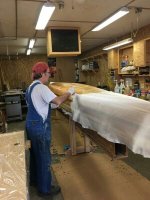
I like to get all my fill coats on the same day. Each about an hour apart. When the previous coat is still tacky, it nearly eliminates any runs, as it grabs resin and holds on.
Keep applying fill coats until all the weave has vanished. The vertical surfaces are the hardest to fill.
I use those Cigar type rollers, instead of brushes.They seem to put on a more uniform coat, than brushing with a chip brush. Menard's has them. Make sure they are foam, and white.
Lookin good.
Nice shop by the way ! I like the cardboard on the floor also.
Jim
Last edited:
All chip brushes shed. You can pull out most of the loose bristles with your fingers before starting but they'll still shed. I try not to use them much. If I need a brush for epoxy I usually use foam.
On the exterior I start with a plastic squeegee for the big flat bottom of the hull. I can quickly spread a lot of epoxy. On the sides I switch to the same rollers Jim mentioned. I put the epoxy on pretty heavy and then come back with the squeegee to take off excess before it's started to get too sticky.
On the inside I do the whole thing with the squeegee. Otherwise I'd recommend the little cigar rollers again.
Alan
- Joined
- Oct 15, 2015
- Messages
- 33
- Reaction score
- 12
More progress. Took a week off to take a vacation with the family for spring break. I'm just about done sanding the inside. Thanks for the tips regarding the interface pad on the ROS and also the pool noodle sanding block. One question: when doing the "final" sanding on the outside of the hull prior to varnishing, I sanded to where I could see the fiberglass cloth in several areas where I had multiple layers coming together. Will the varnish hide this, or do I need one more coat of epoxy?


My rule is that if I can see the glass, the varnish won't hide it, I would roll on a thin coat of epoxy and lightly sand, after it is cured, with 150-220 prior to varnish ... it is a bit of extra work, but you will find that that final epoxy coat will come out like glass.
When I do this last coat of epoxy, I roll it on sections with a foam roller, then tip it off with a foam brush .... then move on .... roll on only enough for coverage.
rain
When I do this last coat of epoxy, I roll it on sections with a foam roller, then tip it off with a foam brush .... then move on .... roll on only enough for coverage.
rain
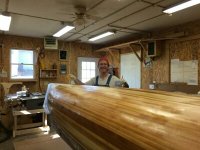
Looking good. Being done with the inside is always such a relief.
Varnish usually seems to hide exposed glass but not always. What does it look like when you wipe it with mineral spirits? That's pretty much how it's going to look with varnish. If it disappears with mineral spirits you should be golden.
Alan
Varnish usually seems to hide exposed glass but not always. What does it look like when you wipe it with mineral spirits? That's pretty much how it's going to look with varnish. If it disappears with mineral spirits you should be golden.
Alan
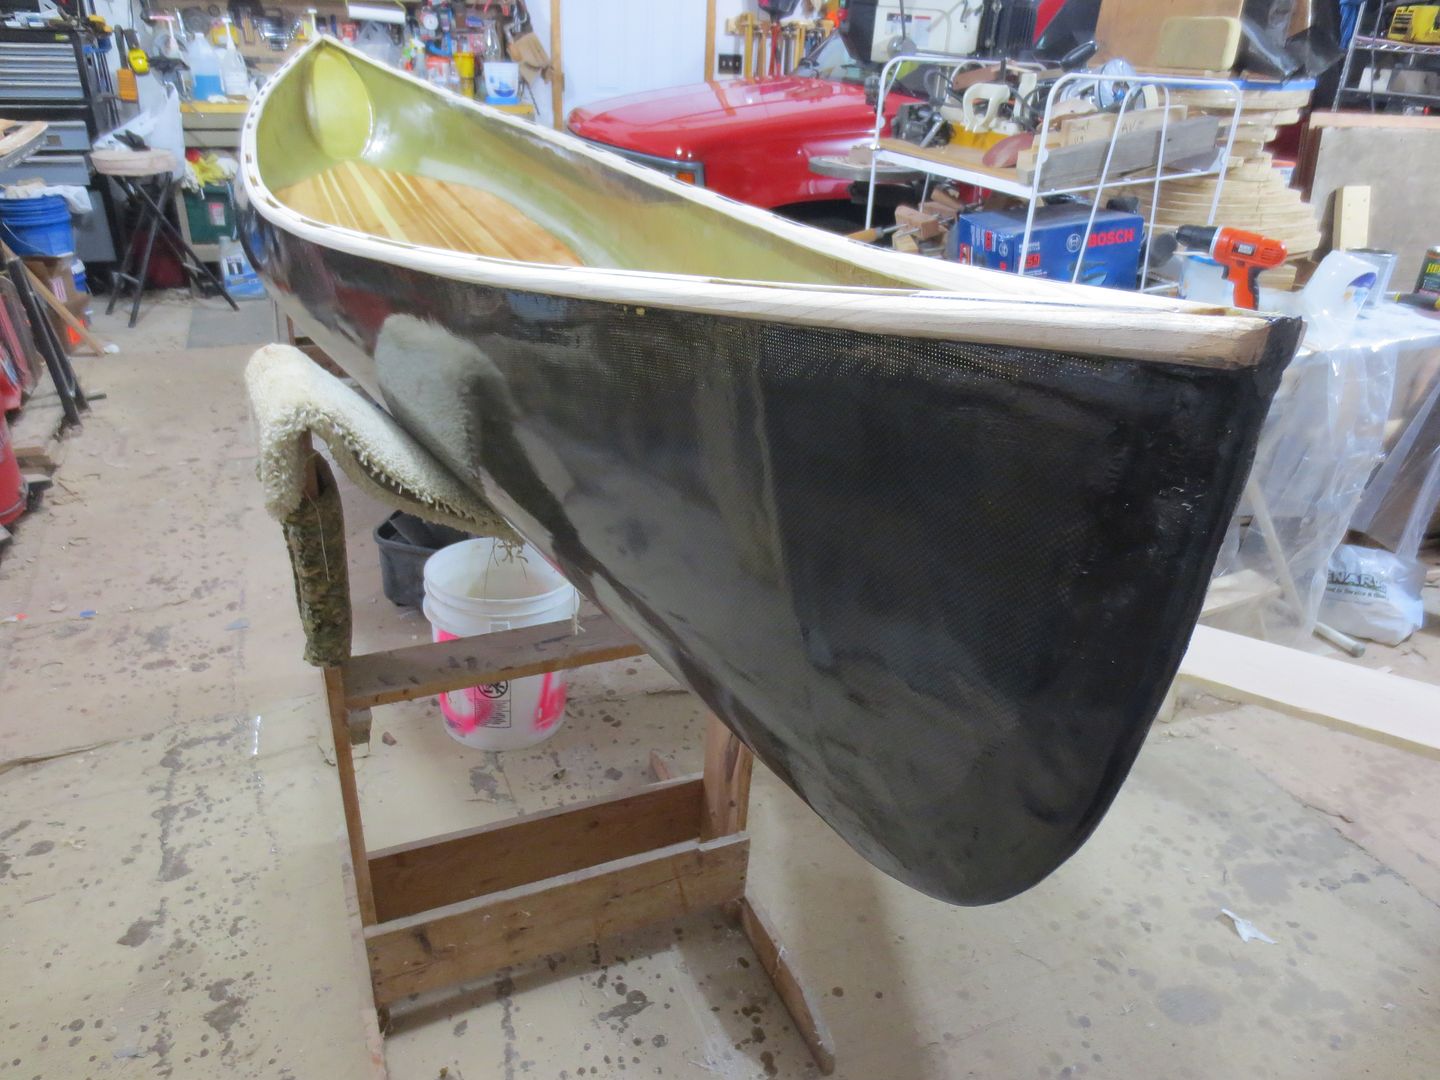
I just varnished Vader, and I agree with Alan. The E-glass, weave, or feathered edges disappear !
The S-glass shows. Typical of S-glass !
I always double layer my bottoms, adding the extra layer, on top of the main layer, after the wet out coat. It's plain as day when I'm sanding the hull, but disappears when I varnish. I often can't tell where that extra layer is !
Spots, that I went too deep, into the weave while sanding, disappear also. Any sanding dust that collects in pits, needs to be cleaned, as they will show. Air pressure to clean.
Hull looks good ! Did you double layer the bottom ?
Jim
Last edited:
- Joined
- Oct 15, 2015
- Messages
- 33
- Reaction score
- 12
Thanks for the advice everyone. I did not make a lot of progress last weekend - I only had one day to work on it and it was spent filling and sanding the inside before fiber glassing. Hopefully I will be able to fiberglass the inside this coming weekend. What is the consensus on fill coats on the inside of the hull?
wingnut - the rope stands I must give credit for to Northwest Canoe. They have plans on their website and everything!
Jim Dodd - I did double layer the bottom up to about the 4" waterline, with the partial layer on top (when the boat was upside down) of the full layer. I also have 3 progressively wider strips on the stems, as well as overlap from the sides.
Jim Dodd - you also asked about how I like the RAKA UV inhibited epoxy. I thought that it was very easy to work with, but on the stems where I have quite a few layers built up it seemed to retain some blue color. I am hoping that over time this disappears as the epoxy more fully cures. I can't really tell if it is getting any better now now since sanding the outside.
Jim Dodd - you had also noticed my extra pile of strips several posts back. Yes, I am already thinking about what I want to build next. Right now I am leaning toward building a Bufflehead sailing canoe designed by Hugh Horton, although I may leave off the top deck to save weight and increase versatility and replace it with a removable cover.
Bernard
For inside i usually put in the fiberglass plus 1 coat, this leaves some texture inside, so the finish isn't too slippery, it also saves some weight.
Brian
Brian
Same as Alan, wet out the glass and nothing more. Any more resin will only making the footing more slippery and the carrying more drudgery.
Oh, and I always keep my 1/2 layers of cloth under the full layer.
Oh, and I always keep my 1/2 layers of cloth under the full layer.
Same as Alan, wet out the glass and nothing more. Any more resin will only making the footing more slippery and the carrying more drudgery.
Oh, and I always keep my 1/2 layers of cloth under the full layer.
OK !
I can see we're going to have to Square off here ! Ha !
I will agree you don't gain much by putting more than a wet out coat on the inside. Yes, you are adding weight. BUT thicker coatings are more water proof, easier to clean.
More slippery? I don't agree.
Now for the extra layer... The Extra layer under the main layer, raises the main layer enough, that you thin it when sanding. That just isn't good !!!
It's also visible. I've tried it ! Can you see that vertical shadow, about a foot back from the stem ? That's were I ran short of 5 oz Kevlar. I thought I could hide it under the 5 oz Carbon fiber, and a layer of 6 oz E-glass. It doesn't work !!!
As a builder we all have choices to make, and the extra layer will go on top, everytime for me !
At least with the extra layer on top, you can feather the edge making that seam disappear, when you varnish. !
OK ! I'm off my Soap Box !

")
Jim
Thanks for the advice everyone. I did not make a lot of progress last weekend - I only had one day to work on it and it was spent filling and sanding the inside before fiber glassing. Hopefully I will be able to fiberglass the inside this coming weekend. What is the consensus on fill coats on the inside of the hull?
wingnut - the rope stands I must give credit for to Northwest Canoe. They have plans on their website and everything!
Jim Dodd - I did double layer the bottom up to about the 4" waterline, with the partial layer on top (when the boat was upside down) of the full layer. I also have 3 progressively wider strips on the stems, as well as overlap from the sides.
Jim Dodd - you also asked about how I like the RAKA UV inhibited epoxy. I thought that it was very easy to work with, but on the stems where I have quite a few layers built up it seemed to retain some blue color. I am hoping that over time this disappears as the epoxy more fully cures. I can't really tell if it is getting any better now now since sanding the outside.
Jim Dodd - you had also noticed my extra pile of strips several posts back. Yes, I am already thinking about what I want to build next. Right now I am leaning toward building a Bufflehead sailing canoe designed by Hugh Horton, although I may leave off the top deck to save weight and increase versatility and replace it with a removable cover.
Bernard
Thanks for the replies !
And very nice looking hull ! Bet you're anxious to get it in the water !
- Joined
- Oct 15, 2015
- Messages
- 33
- Reaction score
- 12
Finally getting back to my canoe project after almost two years without much progress. I've been working on the bouyancy tanks and am just about ready to glue them in. I've noticed canoe manufactures include some means for pressure to be released from the tanks. Does anyone here have a method of doing this that they prefer?
Attachments

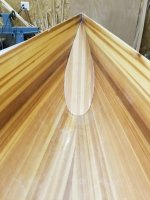
Finally getting back to my canoe project after almost two years without much progress. I've been working on the bouyancy tanks and am just about ready to glue them in. I've noticed canoe manufactures include some means for pressure to be released from the tanks. Does anyone here have a method of doing this that they prefer?
For the most part us home builders don't worry about this on our cedar strip or composite boats. I'm not aware of any that have blown up or imploded yet.
Alan
If you look up historical max/min atmospheric pressures, you'll find a range of about 25 in Hg to 32 in Hg. Assuming you enclosed your chambers at a time of record high barometric pressure (unlikely) and you then brought your boat to a 10,000 ft elevation lake during a hurricane (very unlikely), you might see a pressure differential of around 5 PSI. That delta P over your chamber surface area (guessing at 100 in^2) could result in a 500 lb load!! Given that most epoxy resins have about 5,000 PSI tensile strength, you still would be fine....
But I doubt you'll ever see those kinds of pressure differences.
Some guys like to install small inspection ports or deck plates. That gives you a way to inspect and dry out the chambers, and also can provide a dry, secure spot for your wallet and phone.
BTW, those chambers look great!
But I doubt you'll ever see those kinds of pressure differences.
Some guys like to install small inspection ports or deck plates. That gives you a way to inspect and dry out the chambers, and also can provide a dry, secure spot for your wallet and phone.
BTW, those chambers look great!
Similar threads
- Replies
- 0
- Views
- 232
- Replies
- 2
- Views
- 742
- Replies
- 42
- Views
- 4K
- Replies
- 170
- Views
- 15K