• Happy Marine Mammal Rescue Day! 🐳🐬🦭🦦

Half plan question

Joined
Apr 21, 2015
Messages
815
Reaction score
402
Location
Livingston, Montana
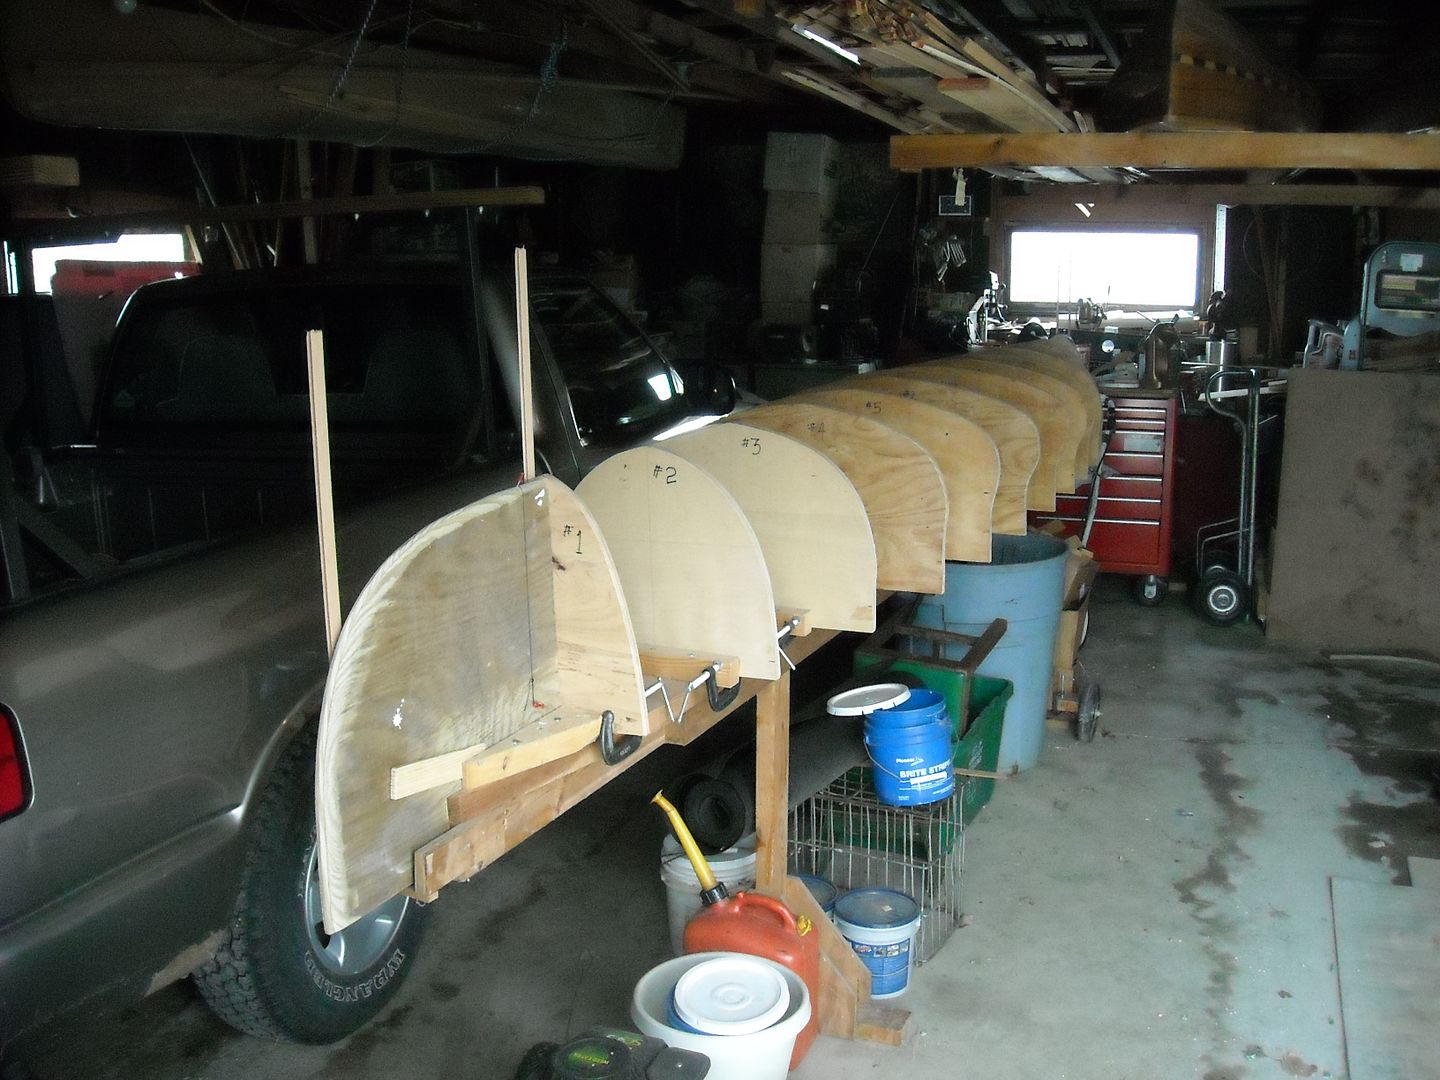
I've decided to build another canoe, probably not this winter since I have another canoe project in the works, but I'd like to get forms made, strips cut and maybe thwarts and seats made so I can start building the canoe next fall.

I'm going to build a replica of the Chestnut Pal. I chose this particular boat because I want to see if it's possible for me to own only one canoe for solo and tandem. Probably not, but I thought I'd give it a shot. In my mind I want a canoe that has the looks of a wood canvas, except of course, it will be cedar strip. I plan to paint the outside a nice red, ash gunwales with scuppers that look like rib ends, Chestnut style decks and thwarts, brass stem band only for show, and maybe even a chestnut sticker on the deck. I'm not sure about the seat details yet, but I'll try to keep them somewhat authentic looking.

To those of you with more canoe building experience than I, what do you do with plans like this?

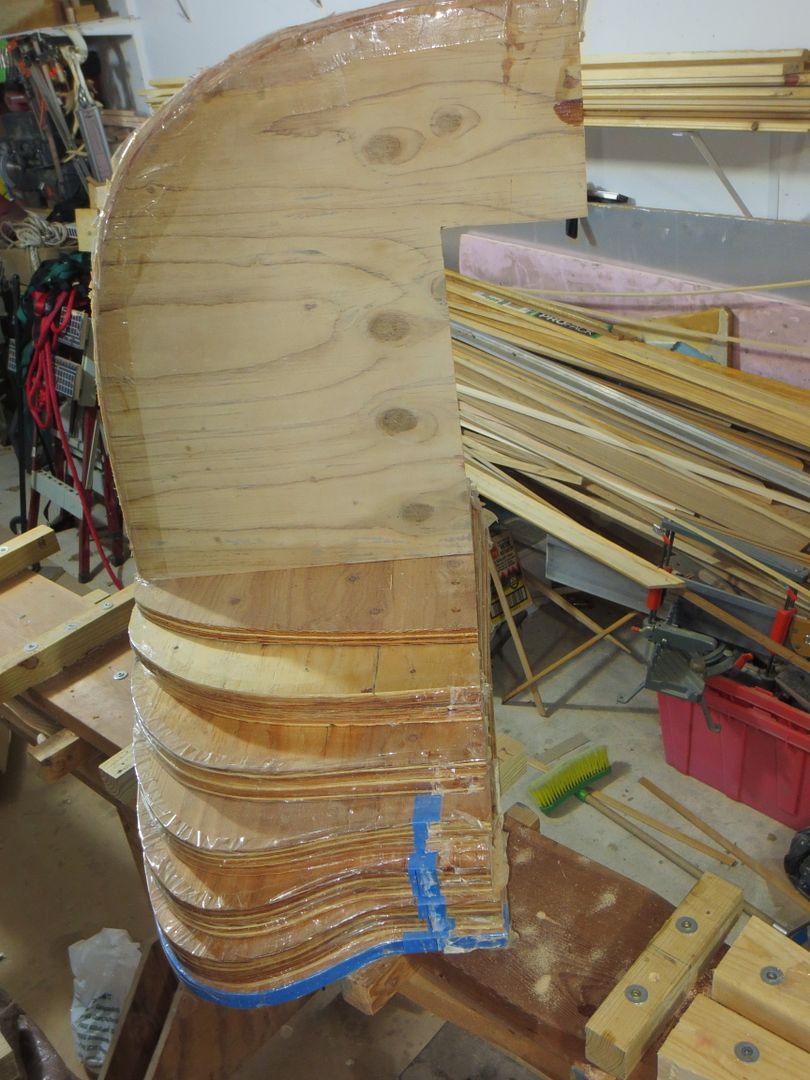
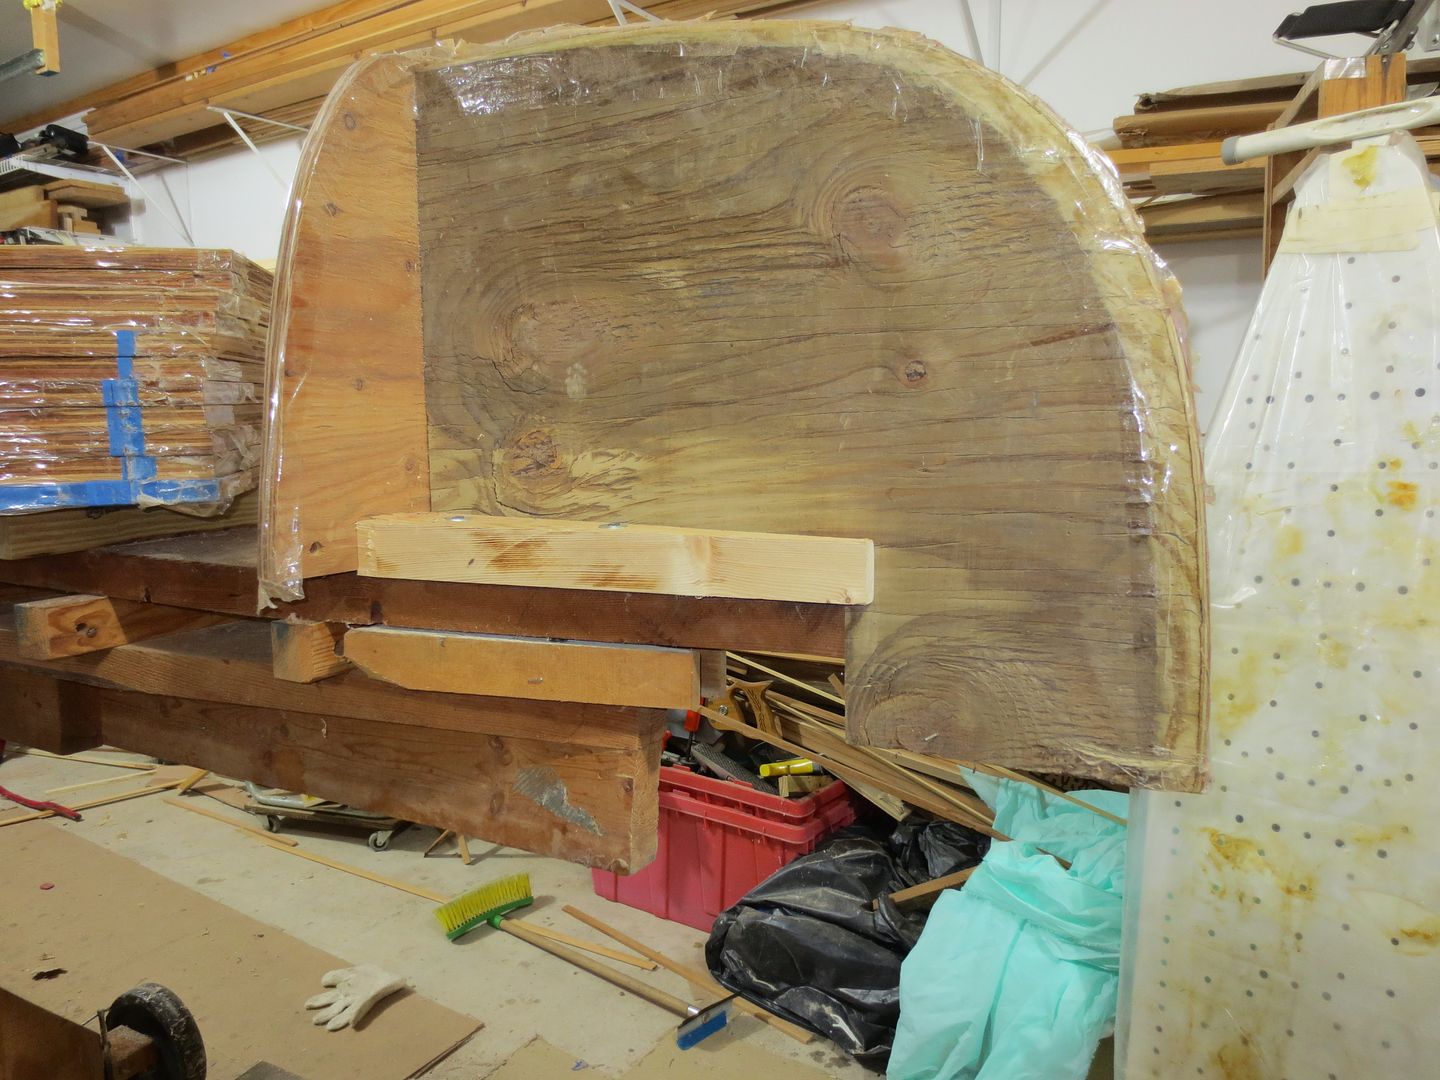
My first inclination is to make posterboard cutouts of each half station and just trace and flip onto the plywood to trace the other side. Any insights? I like how the plans for a symmetrical canoe fit on one page.

Mark

palplans.JPG
 
I take the sheet and make a copy or two. Then I glue two of the sheets on Masonite. Then I cut out the template with a bandsaw starting at the largest form and working my way in. I use the other sheet to make the template for the ends. The Masonite is really nice because you can easily sand it exactly to the line and if you have a template router but you can use it as a pattern to cleanup the full thickness forms.
 
I take points off the lines and use them to create a digital version in a CAD program. From there, I print each profile full size, and use a glue stick to adhere the paper print to plywood. Then it's off to the band saw.
Keep in mind that I come from the R&D and advanced manufacturing world...

Having the full set of plans in CAD is very convenient, and makes for an easy move to a 3D rendering. But still a not so easy transfer to DELFTSHIP!!
 
I use carbon paper, and transfer the station lines onto poster board. I do the stem forms on a separate poster board. Works great.

​ Looking at your plans. Your strongback needs to be a specific length, by the cutout in the stem forms. It will have tapered ends.

​ Wish I had a pic to post ! It is quite doable !
​ It's the same method I learned from the Minnesota Canoe builders, when I started.

I believe the base line of your forms should be the same as the shearline of your narrowest form.

You might contact Alex on this. I wish I had a pic to post.

​Jim
 
Here's a pic of one of my strongbacks and forms set up.
It's an old one, if you study it , it might help you.
​ The strongback is a T-top, or I beam.
DSCN0070_zpshn8fqz2d.jpg

Please forgive the messy garage !

Jim
 
Plans from the Minnesota Canoe Asc. used to show a strongback construction, on their plans. And the baseline on the forms.
 
Hi Jim, I guess I don't exactly understand what you're saying about the strongback and forms. It looks to me like these plans have the typical mushroom shape, only half the mushroom, which would work fine with my existing strongback. I would just have to draw a horizontal line to define the baseline on the plan for all the forms. Could you explain a little more, sorry. Mark
 
I think Jim is talking about the minimum height of the forms, depending on if the sheer line interfered with the strongback and the height of the stems.
If the #1 form (closest to the stem) sheer line is at the top of the strongback, then the stem form would end up partially below the top of the strongback.
If that's the case, then you also have to be sure that the strongback between #1 form and stem form does not get in the way of the strips.

Of course, taller forms avoids all of that, but the taller they are, the weaker they become. And the more material required for a set of forms.

Exactly ! Thanks stripperguy !

Here's a few pics I took today.
IMG_1309_zpsq7hcwzsa.jpg

IMG_1310_zpsswcblv7j.jpg

IMG_1307_zpsxuakvlh7.jpg

IMG_1313_zps9yiky6ko.jpg


Tomorrow is shop clean up ! I PROMISE !:eek:

​I hope this helps. This method saves a lot of plywood, and it's how I learned. Take note that it looks like a double layered strongbak. It is ! Top strongback is a foot longer.
​ Sorry for the confusion Dogbrain !

Jim
 
Back
Top