G
Guest
Guest
More utility thwart blather
More utility thwart blather
Kim, all of those utility thwarts are permanently attached across the cockpit using the same methodology. I will try to be more descriptive. Wayyy more descriptive (I’m procrastinating unpacking and repacking gear).
I first figure out exactly where I want the utility thwart positioned, essentially far enough away that the sail doesn’t interfere with my paddle stoke range but close enough that I can lean forward a bit to step and unstep the sail or fetch things from atop the thwart. For me at 5’ 11” that is about 22” away from the front edge of the Monarch seat.
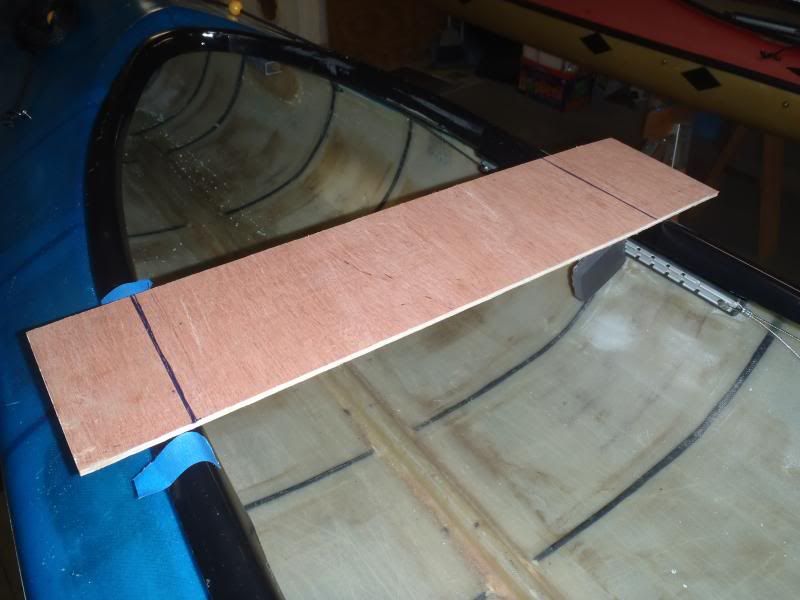
Once I’ve determined the desired position I cut a piece of dimensional hardwood /__\ so that it fits precisely between the )__( inside edges of the coming. I half-round the four long edges of that board with a router, but leave the butt ends square.
I don’t worry about trying to shape the butt ends slightly concave to match the curvature of the slightly convex coming edges. That kid of exactitude of fit is beyond my skills, and I have an easier work-around (later).
It helps to make a template from a piece of scrap wood first, and once that piece is shaped to fit precisely use it to cut the actual utility thwart from a pricier piece of wood.
I want the thwart held securely in place before I lay any fiberglass tape or etc, so for the first firm adhesion I cut a piece of kevlar felt the size of the butt ends, saturate the felt with epoxy and just slide the thwart in place so the felt/epoxy is mushed against the coming.
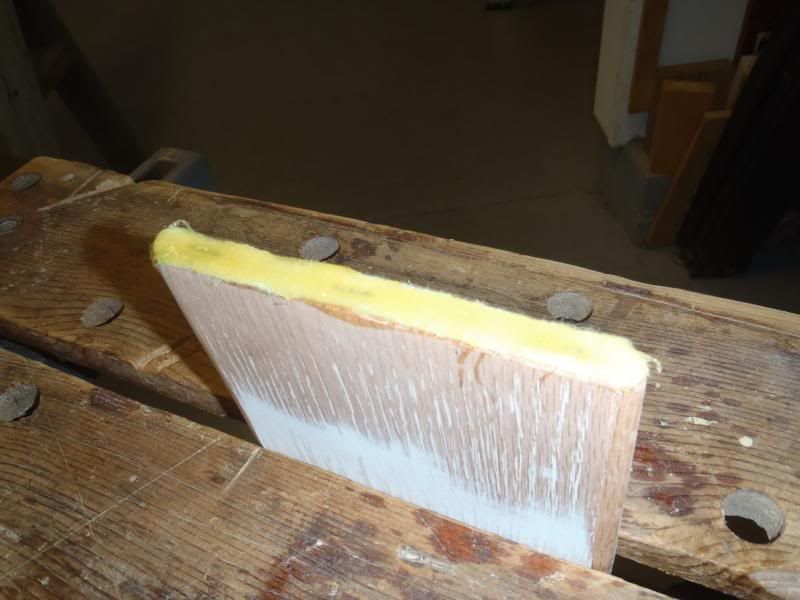
I level out a temporary platform (usually a Xerox box, some pieces of 2x4 and a couple of slender wedges) in the boat so that the utility thwart, when resting atop the platform, is at the desired height with the butt edges fitted snuggly between the insides of cockpit coming.
That piece of felt fills the void between the convex coming edge and the flat butt-end of the thwart, and once it sets up the thwart is already uber-sturdy and I can lay some glass tape across the transition.
(Note: I mask or painters tape the perimeter of the area where the glass will be epoxied to catch any drips or dribbles. Edit Note #2, staple those pieces of felt to the butt ends of the thwart before saturating with epoxy so they don't slide out of place when wedging the thwart against the sides of the coming).
The next day I fill any voids along the top edge with a bead of epoxy and lay some short pieces of fiberglass cloth or tape (and peel ply) so that they span the edges of the utility thwart up onto the coming.

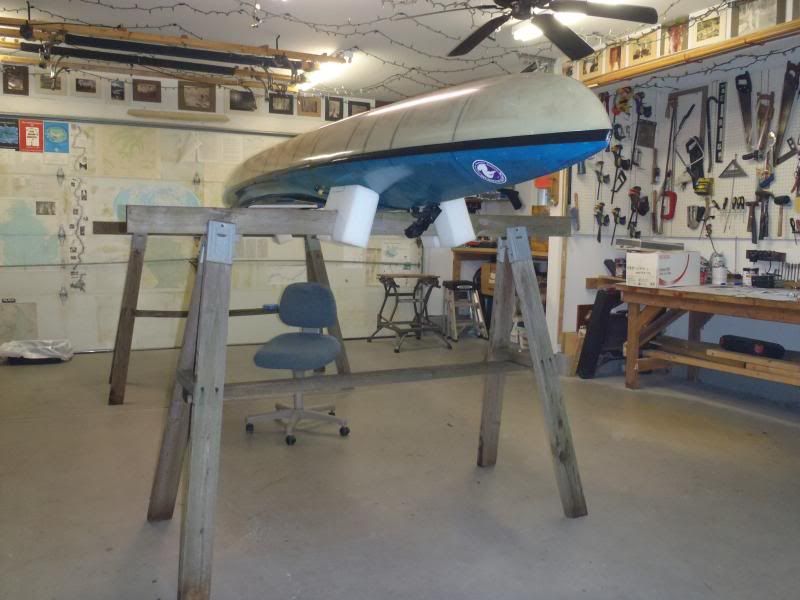
The next day (this is already a three day process) I turn the boat upside down (extra tall saw horses are ideal for working inside a decked hull) and do the same thing on the bottom of the utility thwart.
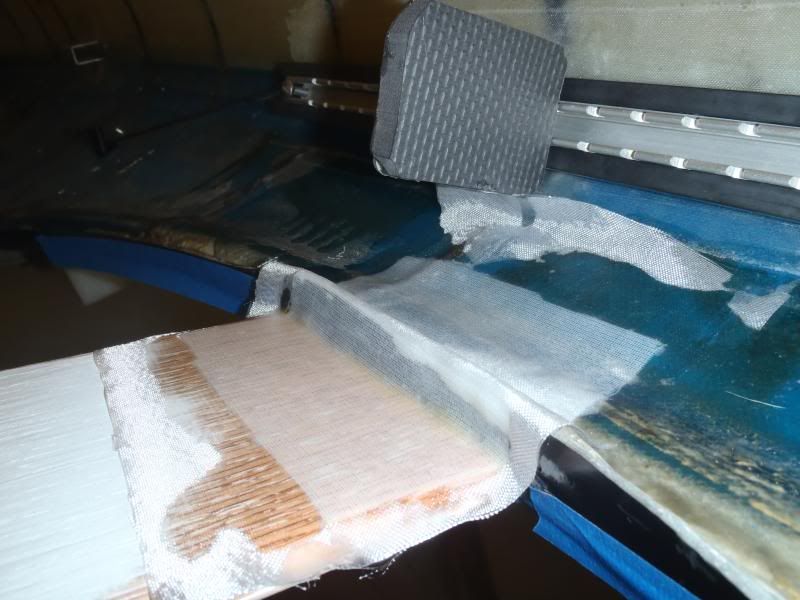
The loose material is the peel ply, you can see the size and length of the glass cloth underneath.
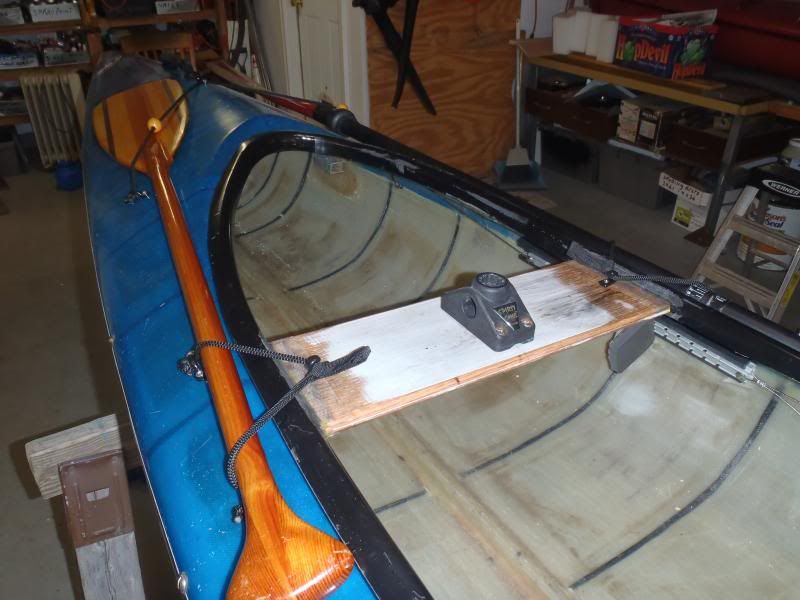
Once that cloth and epoxy has set up I arrange the thwart accessories in place, mark the holes and drill: Spirit Sail mount and deck hooks/pad eyes for paddle keeps:
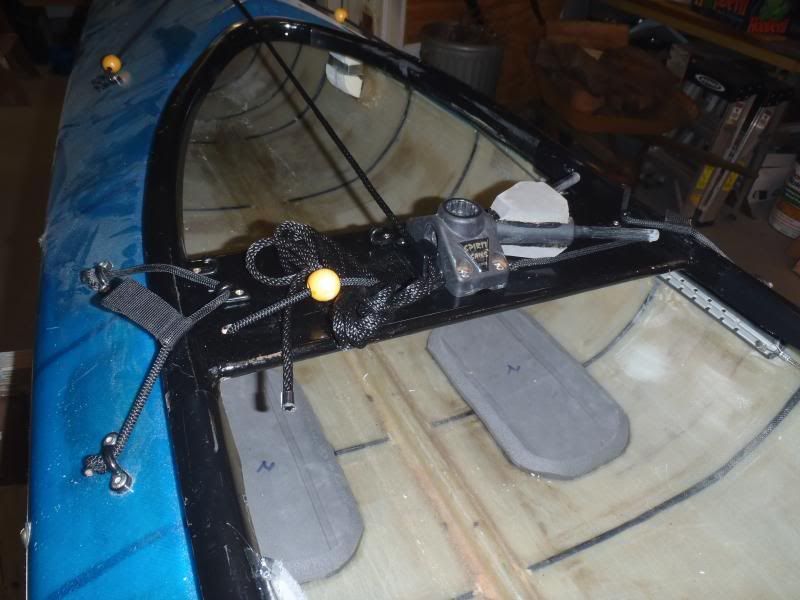
Deck hooks for compass, open cleat for bow line, lateral bungee for holding misc items atop the thwart.

Once all of the holes have been drilled (I bevel the edges of the lateral bungee runs with a burr bit) everything comes back off.
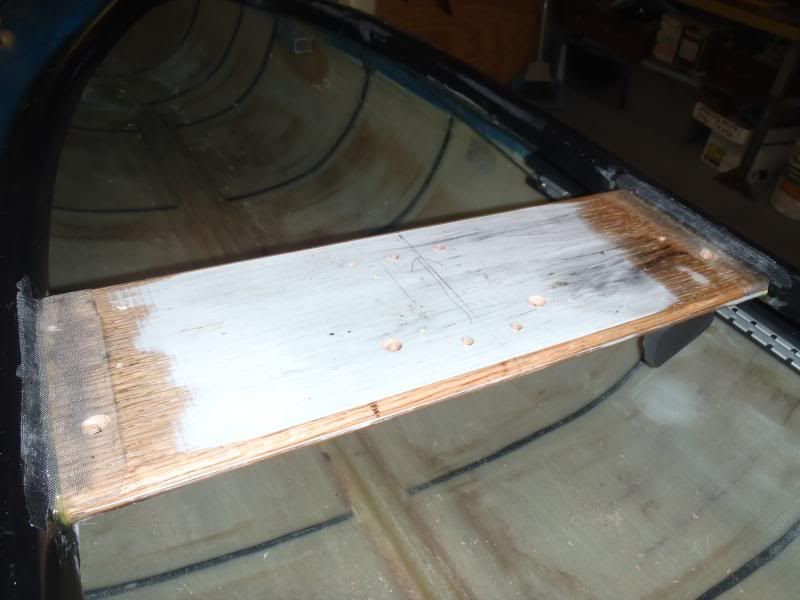
Wait a week (or more – it is a long process) for the epoxy to cure, then sand and paint the utility thwart.

And put everything back on.
That is a 5 ½” wide thwart; the deck compass isn’t on yet (although the J-hooks are there), and it’s already getting crowded.
Well thankee, I’ll take that as a compliment to my work.
Actually, on some of the utility thwarts I epoxied a piece of dynel cord between the edge of the thwart and coming, so the transition was more ( than right angle L. It’s not needed for strength, but it looks nice.
A far simpler way, at least to start, is to cut the same /__\ utility thwart so that the length slightly spans the outside edge of the cockpit coming, mount the hardware you desire on the thwart and use the type of clamps that come on “universal yokes” to hold it in place across the cockpit.
http://www.essexindustries.org/aluminum-clamps/
I have a couple of clamp on utility thwarts sized for different open and decked boats, but now use them to mostly to determine the ideal location for a permanently mounted thwart.
I know I want that accessorized thwart available on every trip, and having to remember to bring that piece with the clunky clamps and brackets sticking out just beyond the cockpit edge, and having to screw it on and off is a waste of time.
If you start with a clamp-on thwart, and discover that it is something you want every trip, you can mark the ideal position angles on the underside of the thwart, cut it down to size and epoxy it into place.
More utility thwart blather
Thanks Mike.. I am still wrestling with how to attach it to the coaming.. Surely its not held in place by bungees?
My nakkid coaming looks like the one with the red thwart. Did you do some metal work to make the utility thwart?? Attaching it is my head scratching question.
Kim, all of those utility thwarts are permanently attached across the cockpit using the same methodology. I will try to be more descriptive. Wayyy more descriptive (I’m procrastinating unpacking and repacking gear).
I first figure out exactly where I want the utility thwart positioned, essentially far enough away that the sail doesn’t interfere with my paddle stoke range but close enough that I can lean forward a bit to step and unstep the sail or fetch things from atop the thwart. For me at 5’ 11” that is about 22” away from the front edge of the Monarch seat.
Once I’ve determined the desired position I cut a piece of dimensional hardwood /__\ so that it fits precisely between the )__( inside edges of the coming. I half-round the four long edges of that board with a router, but leave the butt ends square.
I don’t worry about trying to shape the butt ends slightly concave to match the curvature of the slightly convex coming edges. That kid of exactitude of fit is beyond my skills, and I have an easier work-around (later).
It helps to make a template from a piece of scrap wood first, and once that piece is shaped to fit precisely use it to cut the actual utility thwart from a pricier piece of wood.

I want the thwart held securely in place before I lay any fiberglass tape or etc, so for the first firm adhesion I cut a piece of kevlar felt the size of the butt ends, saturate the felt with epoxy and just slide the thwart in place so the felt/epoxy is mushed against the coming.

I level out a temporary platform (usually a Xerox box, some pieces of 2x4 and a couple of slender wedges) in the boat so that the utility thwart, when resting atop the platform, is at the desired height with the butt edges fitted snuggly between the insides of cockpit coming.
That piece of felt fills the void between the convex coming edge and the flat butt-end of the thwart, and once it sets up the thwart is already uber-sturdy and I can lay some glass tape across the transition.
(Note: I mask or painters tape the perimeter of the area where the glass will be epoxied to catch any drips or dribbles. Edit Note #2, staple those pieces of felt to the butt ends of the thwart before saturating with epoxy so they don't slide out of place when wedging the thwart against the sides of the coming).
The next day I fill any voids along the top edge with a bead of epoxy and lay some short pieces of fiberglass cloth or tape (and peel ply) so that they span the edges of the utility thwart up onto the coming.

The next day (this is already a three day process) I turn the boat upside down (extra tall saw horses are ideal for working inside a decked hull) and do the same thing on the bottom of the utility thwart.


The loose material is the peel ply, you can see the size and length of the glass cloth underneath.
Once that cloth and epoxy has set up I arrange the thwart accessories in place, mark the holes and drill: Spirit Sail mount and deck hooks/pad eyes for paddle keeps:

Deck hooks for compass, open cleat for bow line, lateral bungee for holding misc items atop the thwart.

Once all of the holes have been drilled (I bevel the edges of the lateral bungee runs with a burr bit) everything comes back off.

Wait a week (or more – it is a long process) for the epoxy to cure, then sand and paint the utility thwart.

And put everything back on.

That is a 5 ½” wide thwart; the deck compass isn’t on yet (although the J-hooks are there), and it’s already getting crowded.
The thwart and coaming look one piece to me in the pictures.
Well thankee, I’ll take that as a compliment to my work.
Actually, on some of the utility thwarts I epoxied a piece of dynel cord between the edge of the thwart and coming, so the transition was more ( than right angle L. It’s not needed for strength, but it looks nice.
A far simpler way, at least to start, is to cut the same /__\ utility thwart so that the length slightly spans the outside edge of the cockpit coming, mount the hardware you desire on the thwart and use the type of clamps that come on “universal yokes” to hold it in place across the cockpit.
http://www.essexindustries.org/aluminum-clamps/
I have a couple of clamp on utility thwarts sized for different open and decked boats, but now use them to mostly to determine the ideal location for a permanently mounted thwart.
I know I want that accessorized thwart available on every trip, and having to remember to bring that piece with the clunky clamps and brackets sticking out just beyond the cockpit edge, and having to screw it on and off is a waste of time.
If you start with a clamp-on thwart, and discover that it is something you want every trip, you can mark the ideal position angles on the underside of the thwart, cut it down to size and epoxy it into place.
Last edited: