• Those threads you like to read—someone has to start them. How about YOU! 🧵

First build, sanding issues...

Joined
Jul 1, 2022
Messages
8
Reaction score
7
Hi all,
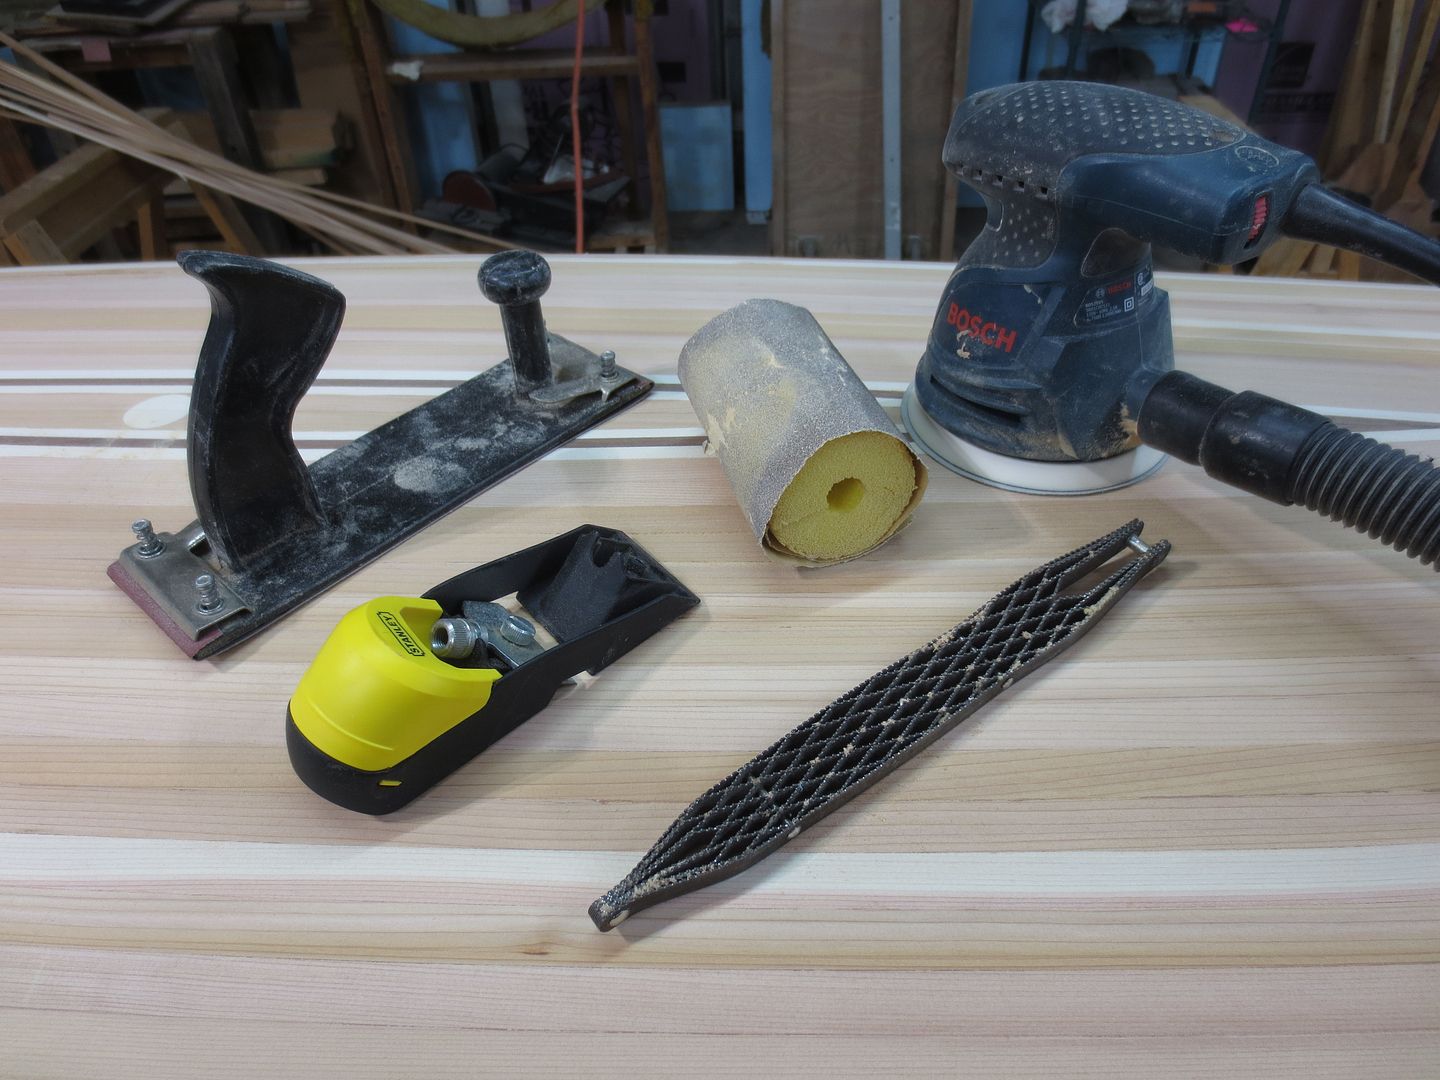
First build and currently at the rough sanding phase. Unfortunately, I was overzealous on the staple hole cleanup. The sanding marks are invisible under normal light but are pretty pronounced with task lighting. My question is this, am I overthinking it or will these marks be accentuated by the epoxy?
Jeff

1748638158346.png1748638177331.png
 
Hi Jeff. Unfortunately the sanding marks will probably be visible under close inspection. If you wet the area and see them, then that's what you'll see when epoxied. If I were you, I would only focus on trying to minimize the scratches on the sides of the canoe and ignore the ones on the bottom since the bottom will eventually get scratched to some extent anyway. One issue I do see, and probably more important, is that you have left the external stems proud of the hull. Those are meant to be flush with the rest of the hull, not acting as a keel on both ends. Your canoe will handle better without them.

Mark
Mark,
Thanks for the response. When wet and under normal lighting conditions, no problem. I was concerned that the gloss of the epoxy might show them off.
RE: Stems, I ordered some brass stem bands which haven't arrived. I was waiting for them to do the final shaping on the stems.
Jeff
 
Jeff,
1st build, huh? Looks like you must have some previous experience, the hull looks very nice.
What did you use for your final sanding? If random orbit, you can usually get by with 80 grit... as long as you don't have excessive cross grain sanding marks you'll be fine.
BTW, your work area looks a little too organized.
Welcome to the forum.
 
A Random orbital sander will leave Swirl marks.
They are hard to see, but once epoxy is applied, they are there laughing at you.

I start with a plane, and a rasp where needed. A ROS comes next. A Fairing board, and finish with the pool noodle.
My best method is to wrap a short section of Pool noodle with sand paper. Sand with the grain. I use a course sand paper for this. No need to sand with anything finer than 80 grit.
Dust off the hull, making sure there is no dust specks, between the hull and the cloth, and go for it !

Hull looks great.

I'll do a whole hull, with two wraps of paper, on the noodle.

In the past I've been so mad at myself for being in a hurry, only to see the Swirls !

Not any more !


15a9e4f9-efbc-487d-8c83-f675c0ee6109.jpg
 
Jeff,
1st build, huh? Looks like you must have some previous experience, the hull looks very nice.
What did you use for your final sanding? If random orbit, you can usually get by with 80 grit... as long as you don't have excessive cross grain sanding marks you'll be fine.
BTW, your work area looks a little too organized.
Welcome to the forum.
Yup, first one. I'm rough sanding (random orbital) with 80 in preparation for a final sanding with 120. Also using a manual long board.
 
A Random orbital sander will leave Swirl marks.
They are hard to see, but once epoxy is applied, they are there laughing at you.

I start with a plane, and a rasp where needed. A ROS comes next. A Fairing board, and finish with the pool noodle.
My best method is to wrap a short section of Pool noodle with sand paper. Sand with the grain. I use a course sand paper for this. No need to sand with anything finer than 80 grit.
Dust off the hull, making sure there is no dust specks, between the hull and the cloth, and go for it !

Hull looks great.

I'll do a whole hull, with two wraps of paper, on the noodle.

In the past I've been so mad at myself for being in a hurry, only to see the Swirls !

Not any more !


15a9e4f9-efbc-487d-8c83-f675c0ee6109.jpg
The random orbital is what got me in the first place. First build so I decided to go with staples to lessen the complexity. But...I buried the crown on more strips than I realized. In an effort to hide that sin, I created (sanding) some low spots on the staple lines. You would think I could level it out with the long board but now I'm afraid I'm creating a bigger problem. May just have to chalk it up to lesson learned.
 
But...I buried the crown on more strips than I realized. In an effort to hide that sin, I created (sanding) some low spots on the staple lines.

It's usually easier to fill low spots with thickened epoxy rather than trying to sand the rest of the hull down to match.

Unless you're a real perfectionist don't look too close. It will be fine.

Alan
 
Go again with the long board.
If you are worried, that you have, too thin of a hull ?
Add an extra layer of cloth in the football area. 4 oz cloth, will add plenty of strength.
Note. Add cloth after your wet out coat has cured past tacky.
I do this with all my hulls.

Remember the wood is just a form for the glass.

Jim
 
It's usually easier to fill low spots with thickened epoxy rather than trying to sand the rest of the hull down to match.

Unless you're a real perfectionist don't look too close. It will be fine.

Alan
I hear ya, trying not to let perfection be the enemy of good.
 
Go again with the long board.
If you are worried, that you have, too thin of a hull ?
Add an extra layer of cloth in the football area. 4 oz cloth, will add plenty of strength.
Note. Add cloth after your wet out coat has cured past tacky.
I do this with all my hulls.

Remember the wood is just a form for the glass.

Jim
This seems like the way to go. I'll report back. In the event that I sand a window into the bottom of this thing I will not report back. :p
 
Sure looks better than my first... Very nice! I'm in the "don't sweat the sanding scratches" camp because you'll scratch the heck out of it when using it and I guarantee everybody will rave about how nice it looks and no one will mention the scratches (even the real ones that you put in from dragging it over rocks)

As for removing the staple marks: easiest thing there is don't bury the staples. On your next build, tape a cut-off strip to the bottom of the stapler. This will leave the staple proud and prevent you from actually making contact with the strip except for the staple holes themselves (which I don't bother filling)

DSCN1862.JPG

Not the best picture I guess and I can't take credit for the idea. IIRC, someone on here (possibly Jim Dodd) mentioned it once. Really works nice and makes the staples a lot easier to get out.
 
Sure looks better than my first... Very nice! I'm in the "don't sweat the sanding scratches" camp because you'll scratch the heck out of it when using it and I guarantee everybody will rave about how nice it looks and no one will mention the scratches (even the real ones that you put in from dragging it over rocks)

As for removing the staple marks: easiest thing there is don't bury the staples. On your next build, tape a cut-off strip to the bottom of the stapler. This will leave the staple proud and prevent you from actually making contact with the strip except for the staple holes themselves (which I don't bother filling)

View attachment 146910

Not the best picture I guess and I can't take credit for the idea. IIRC, someone on here (possibly Jim Dodd) mentioned it once. Really works nice and makes the staples a lot easier to get out.


One of the best tips I learned early on.
Not only does it eliminate the dreadful staple dents, that are so ugly, removing staples is a breeze.
Sanding time is much reduced. That's the big one !

7473f07f-b23e-4e15-a51a-e8f6e764b056.jpg
 
Back
Top