- Joined
- Jul 6, 2021
- Messages
- 643
- Reaction score
- 1,184
I had been looking for a used bucket seat pan or two. Doug wanted one to replace the simple foam pad in his Rob Roy (mid-90’s $1200 MSRP decked canoe in glass, with a ten cent foam seat). And I wanted one to keep as shop stock for the next decked canoe conversion.
The manufacturers have needed every one they had on hand, and in any case a new seat pan can run upwards of $70. Nope.
Asking at BMO I was led to the (now well organized, nicely done Sarah) trapdoor basement. I was honored; they don’t let just anyone down there. Watch the headroom and stair treads - BMO is located in a historic train station dating from the 1880’s or ‘90’s. People were shorter back then, and had smaller feet.
https://www.bluemountainoutfitters.net/about.html
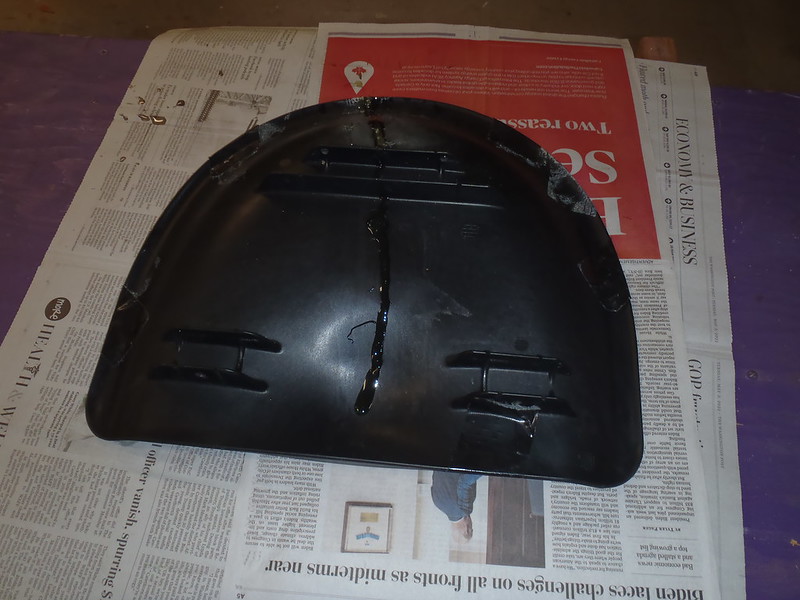
In the seat pile Sarah found two vintage plastic seat pans. One standard looking plastic pan had a fine crack, which I filled on the underside with G/flex.
 P5100001 by Mike McCrea, on Flickr
In “repairing” that single crack the previous owner had gone Gorilla tape crazy on top, and yet somehow missed taping over some of the crack. Pretty work, as my old mentor used to say sarcastically.
 P5100004 by Mike McCrea, on Flickr
Once the G/flex on the backside has set up I’ll peel all the tape off and G/flex the crack atop of the seat pan if necessary.
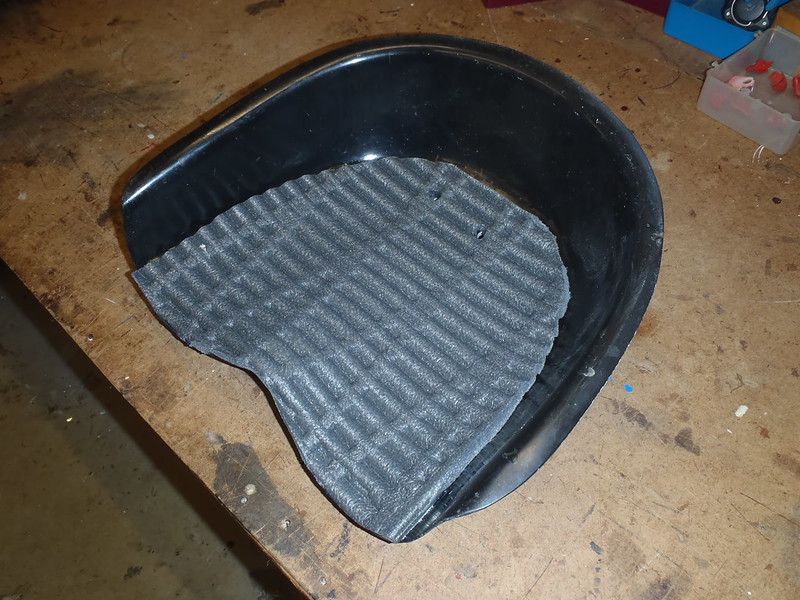
The other used seat pan is a peculiarity. Glass, not plastic, and much deeper than any seat pan I have ever before seen. Oops, wrong photo, like this
 P5100006 by Mike McCrea, on Flickr
5” deep at the back, 3 ½” deep at the front sides, by 14 ¼” wide hip width. The MRC IQ seats had a similar high-rise back, and for me those proved to be the most comfortable pan seat around, the only seat I can use without a back band.
 PA160009 by Mike McCrea, on Flickr
The bottom of that deep seat pan is equally peculiar, with 1” ID slider tubes glass in place. (Forgot to take a photo)
I wonder from which weird vintage hull that seat was salvaged? I wonder if my fat arse will fit comfortably?
Testing. . . .testing. . . .Eh, that’s a nope, my endomorph hips are too wide; even naked and lubed up I briefly had a seat stuck to my derriere. But it might be just fine for a skinny ectomorph.
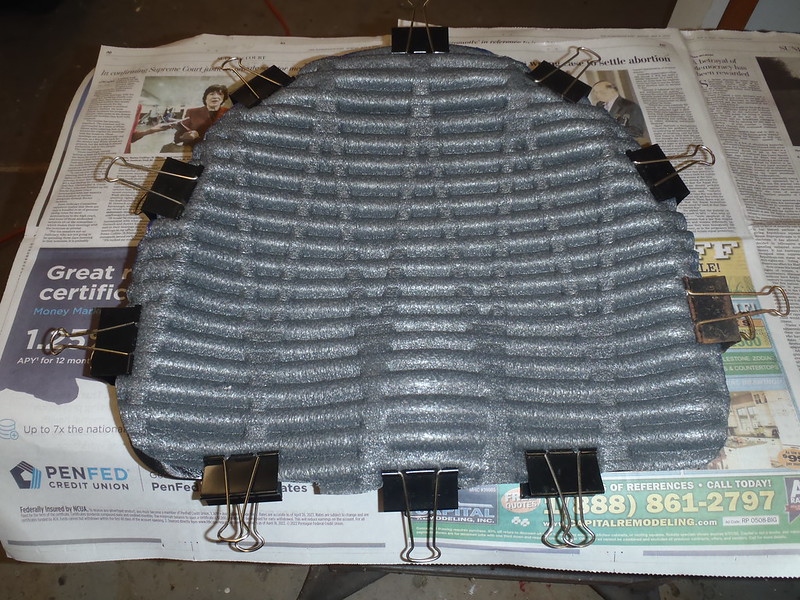
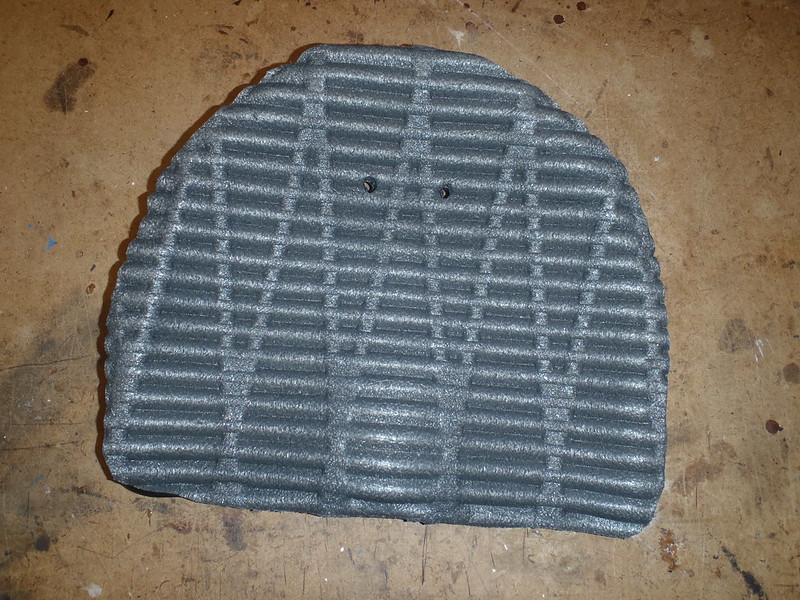
Both will get low-point drain holes drilled, and some Ridgerest padding contact cemented in place, later melting through the Ridgerest covered drain holes from the back side with a hot nail head. RidgeRest on only the bottom of the pan for the ectomorph seat, not the sides, so I don’t make it any Twiggy-hipped narrower.
Will they work? The shallower one certainly will, and the weirdo one might for the right skinny arsed paddler wanting some back support.
The manufacturers have needed every one they had on hand, and in any case a new seat pan can run upwards of $70. Nope.
Asking at BMO I was led to the (now well organized, nicely done Sarah) trapdoor basement. I was honored; they don’t let just anyone down there. Watch the headroom and stair treads - BMO is located in a historic train station dating from the 1880’s or ‘90’s. People were shorter back then, and had smaller feet.
https://www.bluemountainoutfitters.net/about.html
In the seat pile Sarah found two vintage plastic seat pans. One standard looking plastic pan had a fine crack, which I filled on the underside with G/flex.
P5100001 by Mike McCrea, on FlickrIn “repairing” that single crack the previous owner had gone Gorilla tape crazy on top, and yet somehow missed taping over some of the crack. Pretty work, as my old mentor used to say sarcastically.
P5100004 by Mike McCrea, on FlickrOnce the G/flex on the backside has set up I’ll peel all the tape off and G/flex the crack atop of the seat pan if necessary.
The other used seat pan is a peculiarity. Glass, not plastic, and much deeper than any seat pan I have ever before seen. Oops, wrong photo, like this
P5100006 by Mike McCrea, on Flickr5” deep at the back, 3 ½” deep at the front sides, by 14 ¼” wide hip width. The MRC IQ seats had a similar high-rise back, and for me those proved to be the most comfortable pan seat around, the only seat I can use without a back band.
PA160009 by Mike McCrea, on FlickrThe bottom of that deep seat pan is equally peculiar, with 1” ID slider tubes glass in place. (Forgot to take a photo)
I wonder from which weird vintage hull that seat was salvaged? I wonder if my fat arse will fit comfortably?
Testing. . . .testing. . . .Eh, that’s a nope, my endomorph hips are too wide; even naked and lubed up I briefly had a seat stuck to my derriere. But it might be just fine for a skinny ectomorph.
Both will get low-point drain holes drilled, and some Ridgerest padding contact cemented in place, later melting through the Ridgerest covered drain holes from the back side with a hot nail head. RidgeRest on only the bottom of the pan for the ectomorph seat, not the sides, so I don’t make it any Twiggy-hipped narrower.
Will they work? The shallower one certainly will, and the weirdo one might for the right skinny arsed paddler wanting some back support.
Last edited: