I started these a couple years ago, when MDB and I were squatting at our daughter's house. Very challenging to work at their house, so I postponed efforts until we finished building our new house, right next door.
Nothing fancy, pine shafts, 12 degree bend, cedar blades, phenolic tips. I built two sets of similar paddles, 35 and 25 years ago, those have survived nicely through rough service.
And that's where they sat, patiently waiting (I think, you can never be sure with inanimate objects) until MDB and I finished our new house and I had more free time.
So the house is 98% done, we moved in last February, pecked away at loose threads since then. Also sold many of our rental properties since cutting and gluing those blanks, so my free time expanded exponentially.
Here's what went on in the last week or so...
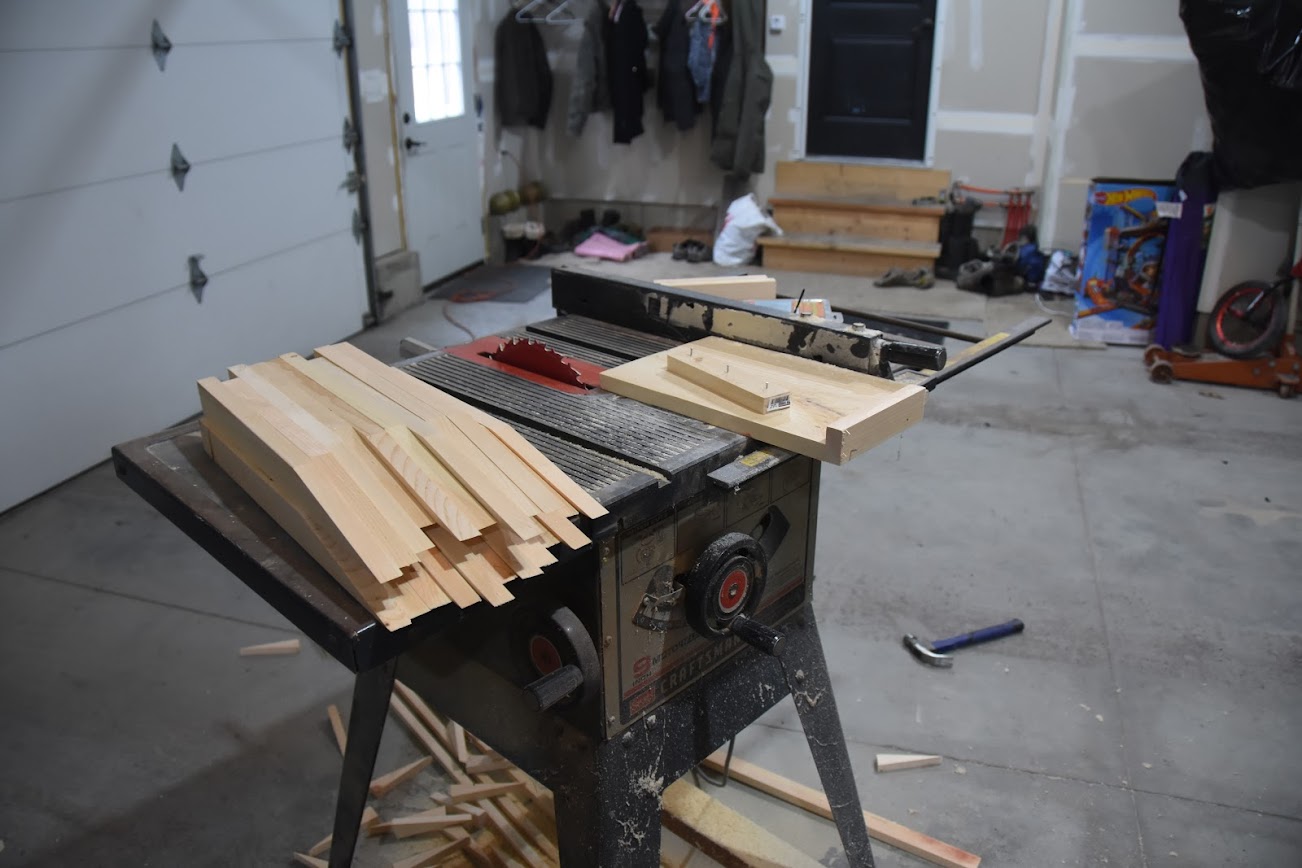
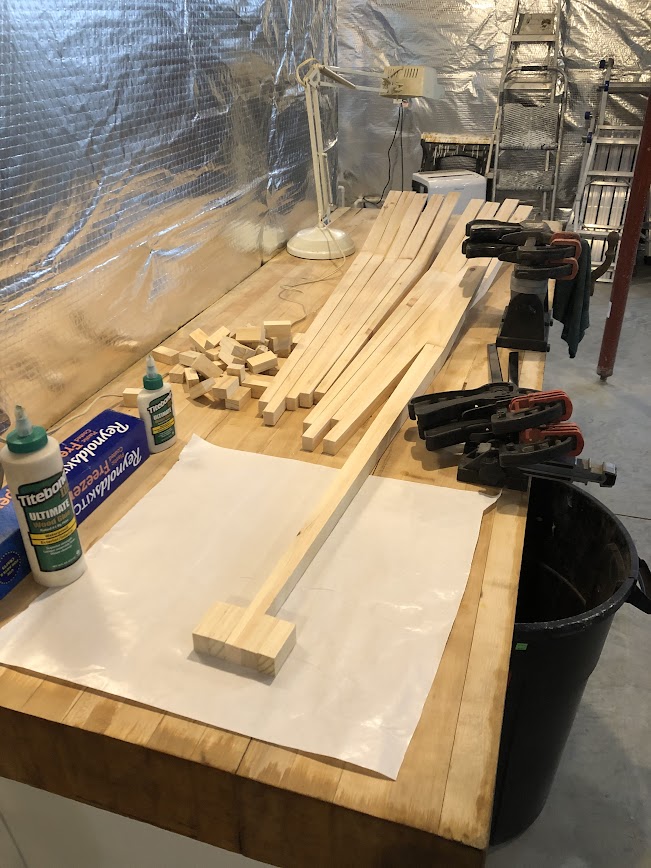
Shaft blanks, after waiting for me, some shaft tapers cut.

Shaft blanks after cutting all the shaft tapers.
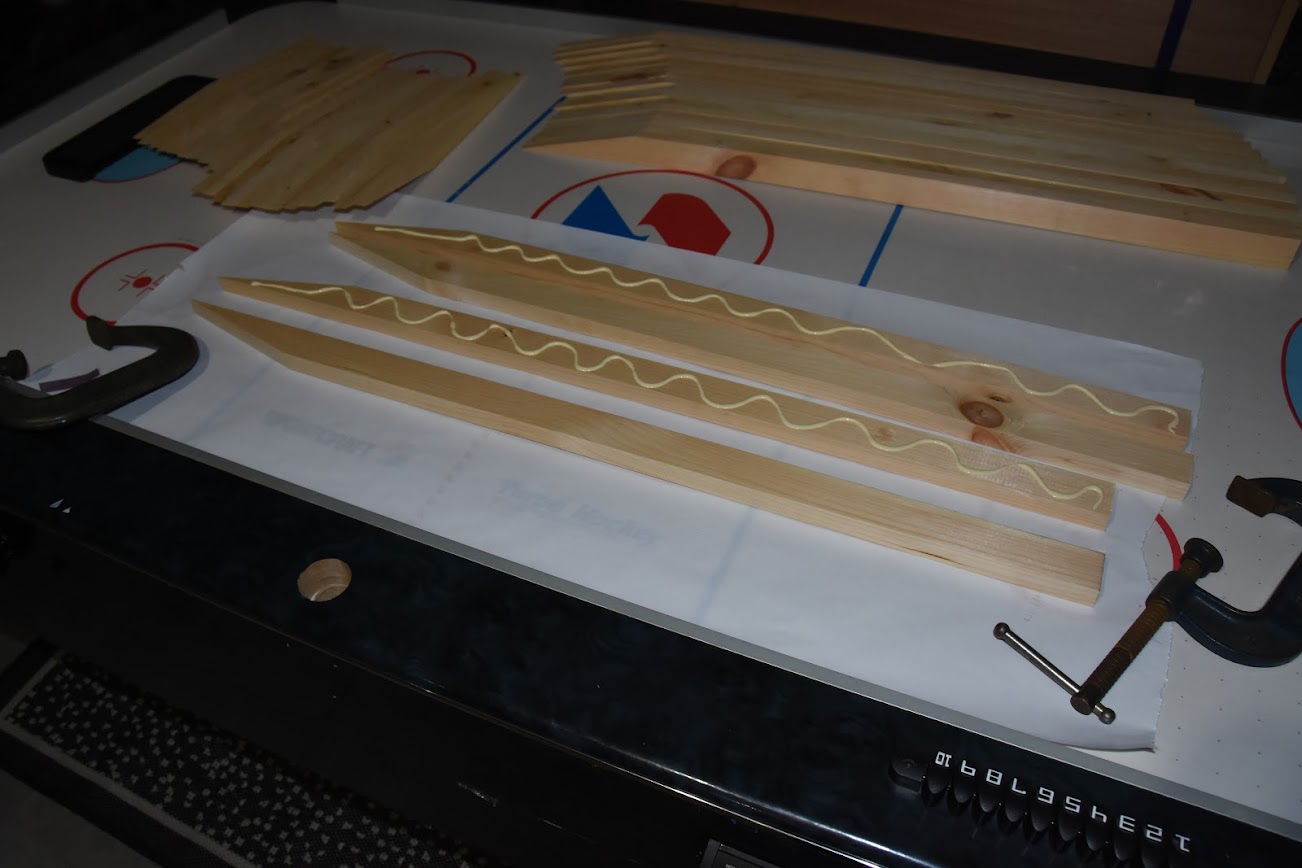
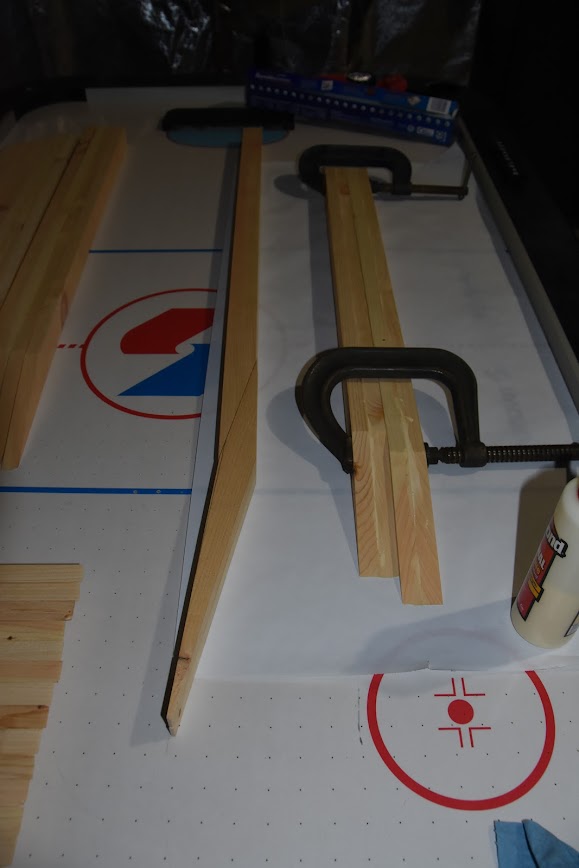
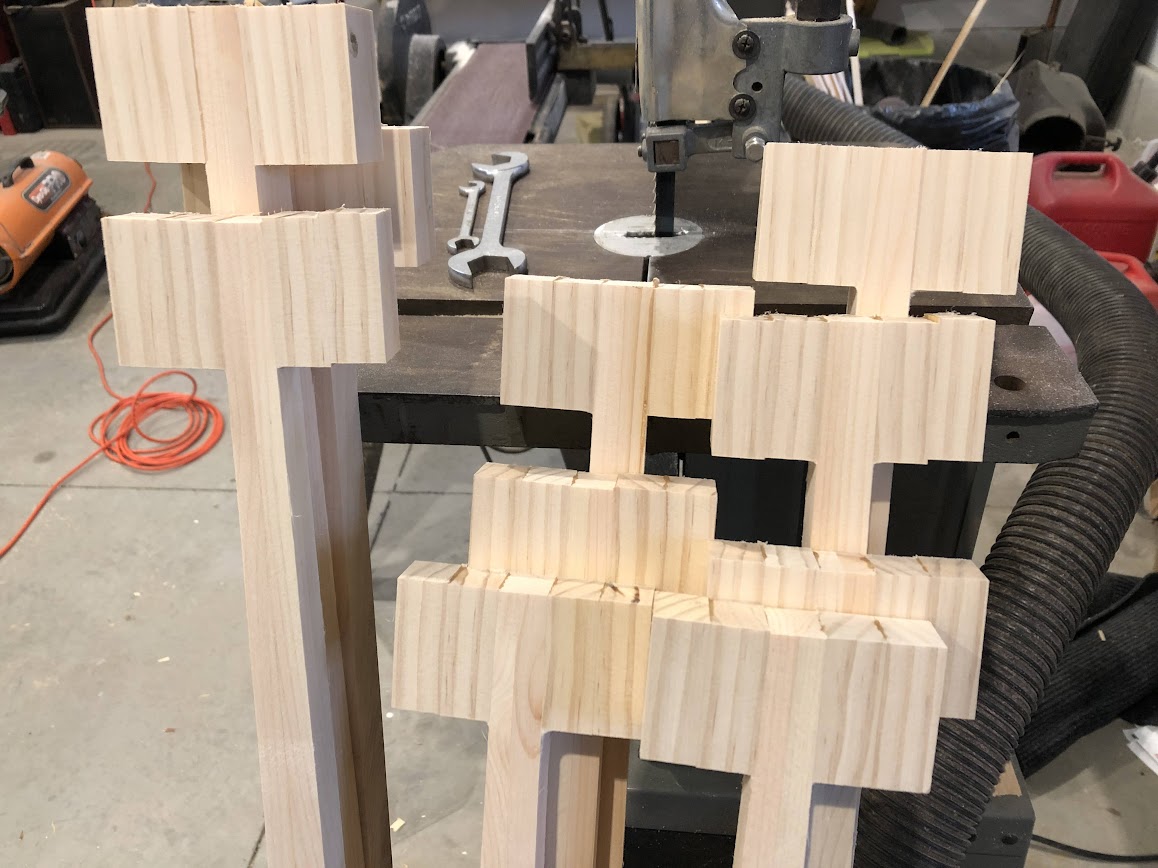
Shaft blanks in the process of adding grips.
Grips after sanding smooth to match shafts.
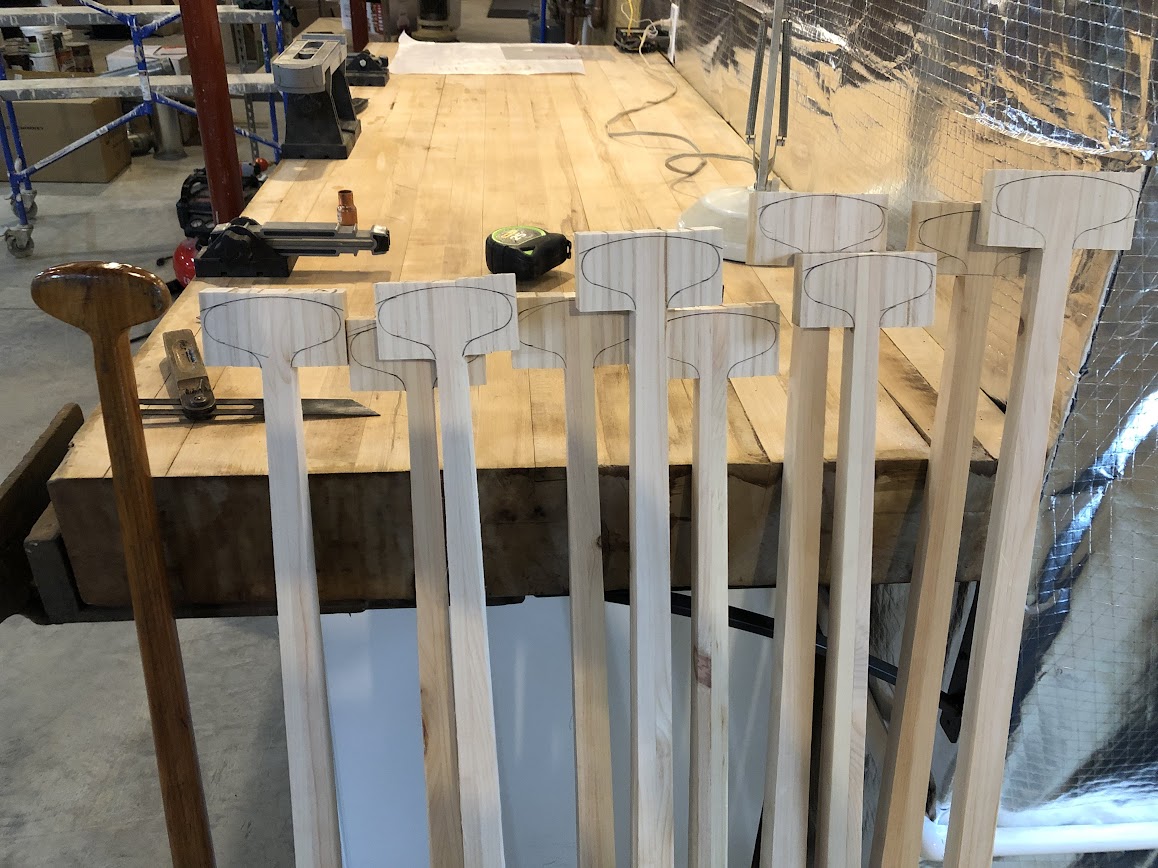
Layout of grips
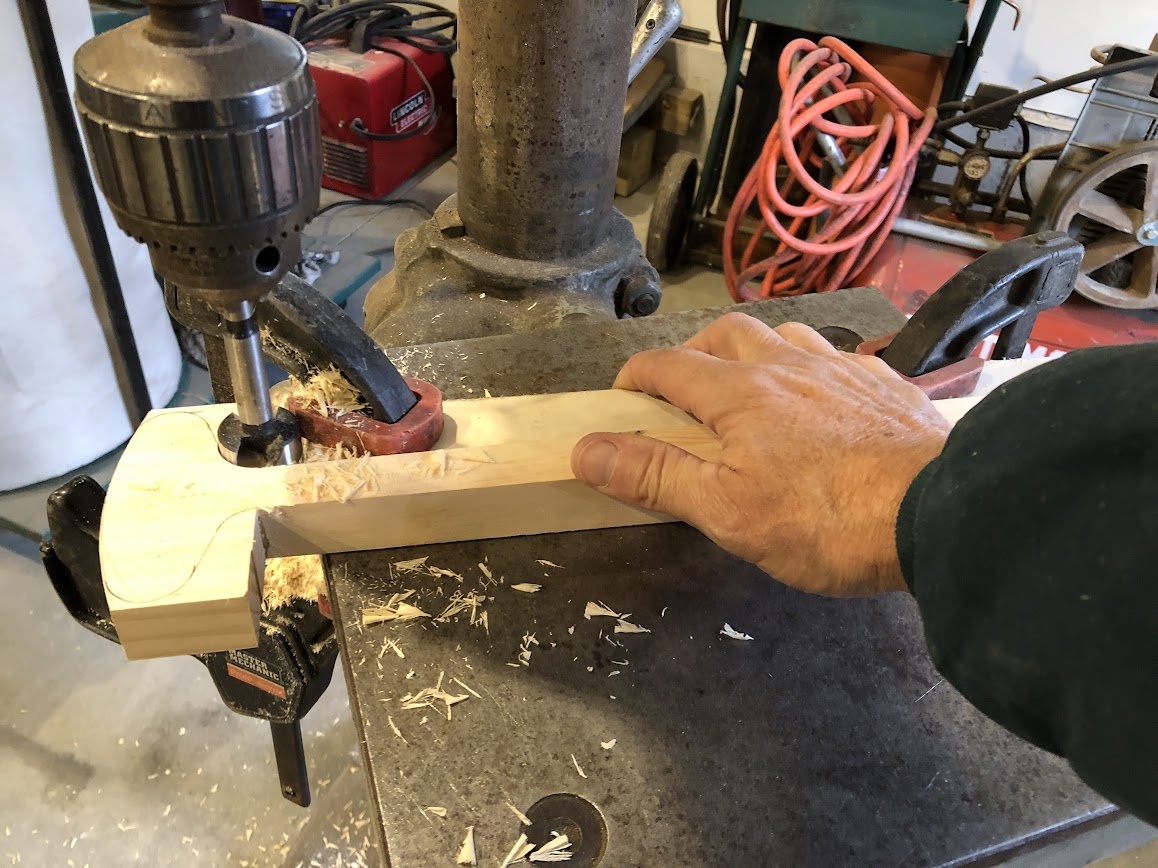
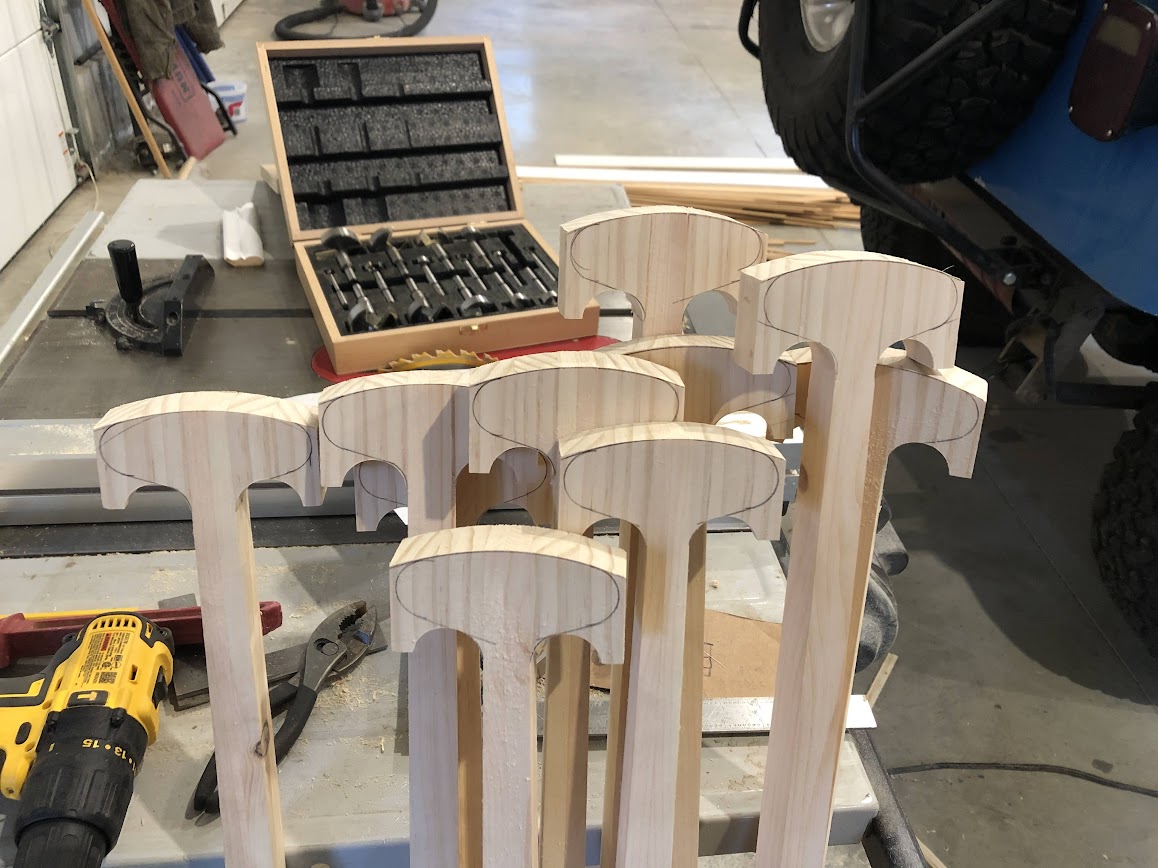
7/8" Forstner bit used to cut grip/shaft radius. Look carefully, I used a guide rail to repeatably and reliably ensure that the radius would be tangent to the shaft.
Ready to band saw the grip profiles
Grip profiles all cut to shape.
Time to cut all the round overs on the shafts and grips. This is much easier (read possible) before the blades are glued in place.
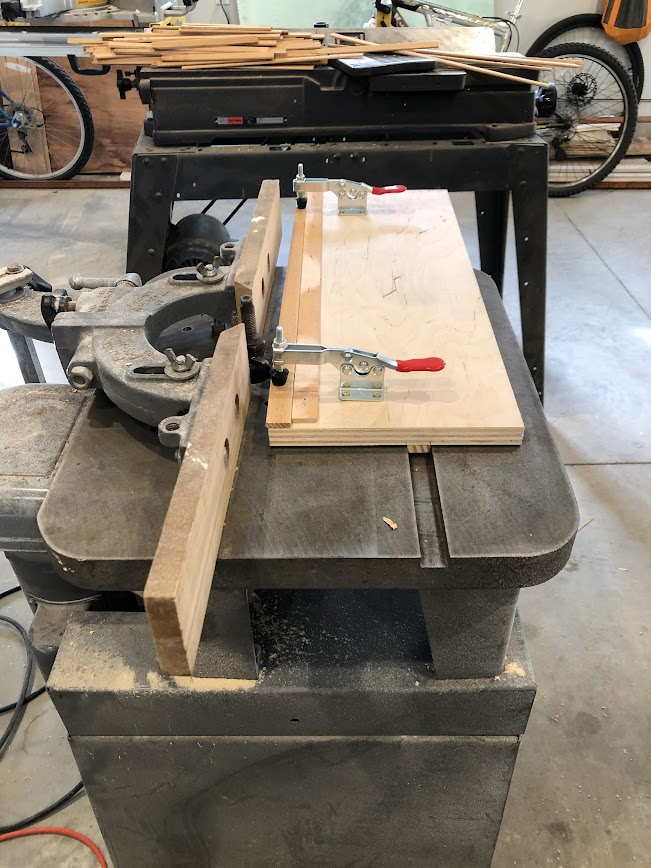
Unfortunately, I do not have a collet adapter for my shaper, so I had to use my router. Even more unfortunate, I somehow lost the router table...for the last three years, we have had our stuff stored and scattered in two counties, four houses, and our 48 ft box trailer. We're slowly consolidating our worldly possessions. So far, this router table is the only thing that I haven't found. So I fashioned a substitute, quick and dirty, from some leftover 3/4" hardwood ply (pantry shelving).

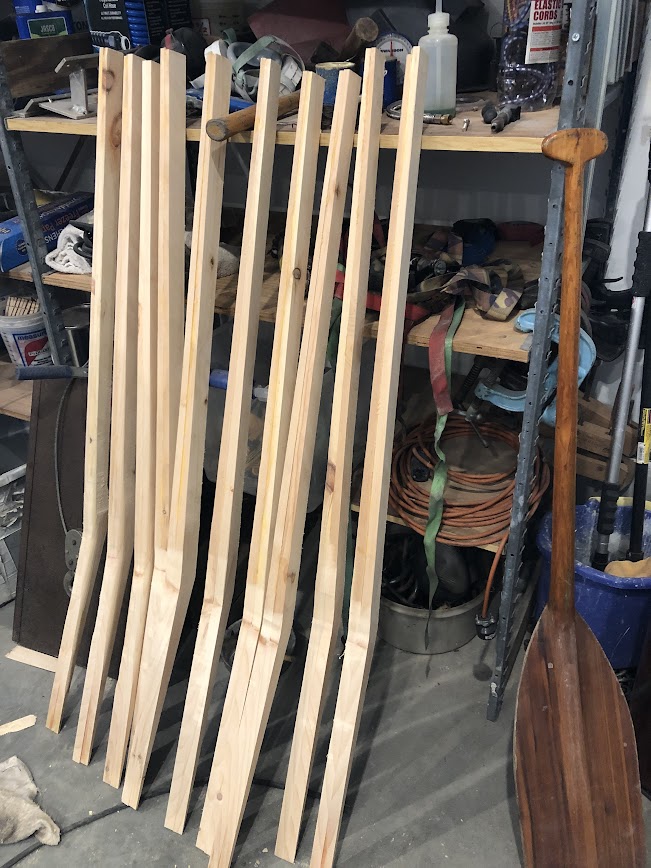
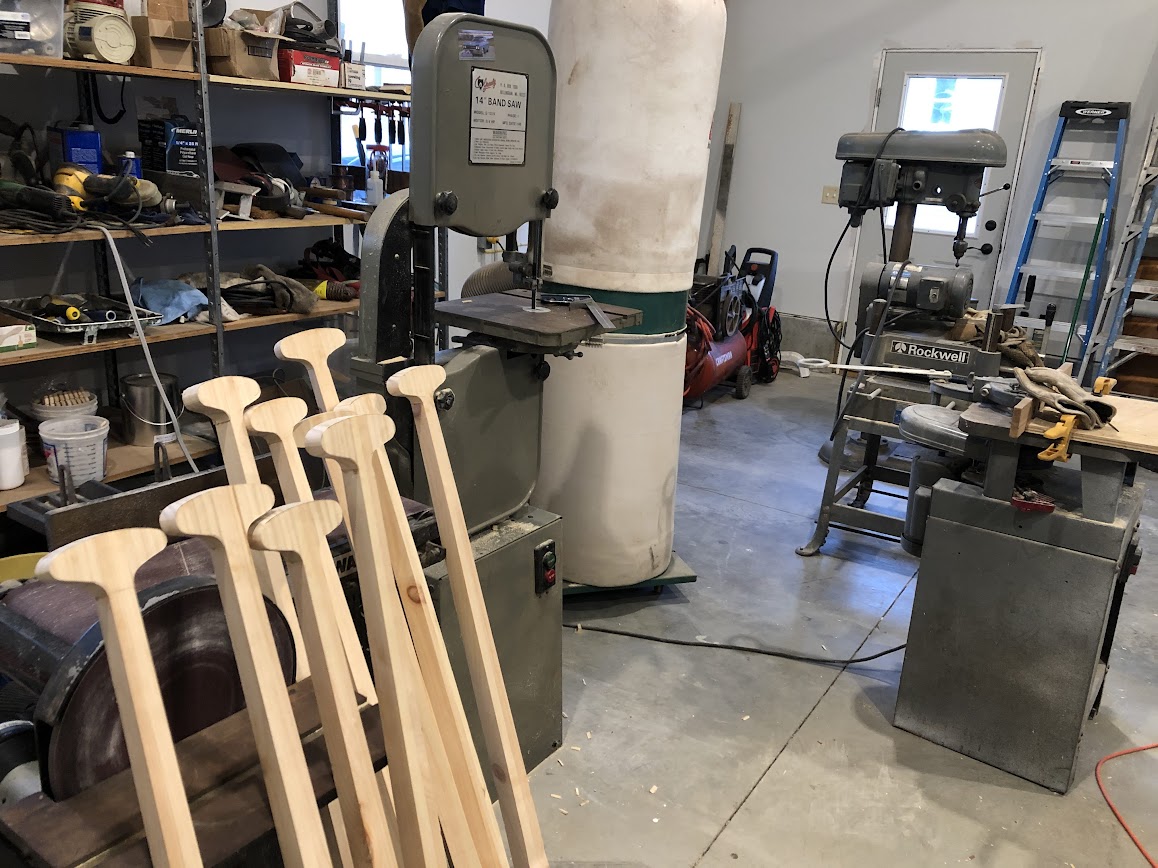
Lastly, for now at least, here's all 10 future paddles ready for blades.

The handful of knots have been mostly cut away, those that remain are either in low stress areas, or will be wrapped with 4 oz cloth and epoxy resin.
Cedar strips will be tapered, to provide an understated sunburst pattern. Once the blade strips are glued on, I'll epoxy on the phenolic tips, then sand and glass, followed by more sanding and finally, varnish.
Oh, paddle OAL's are 48", 50" and 52".
Nothing fancy, pine shafts, 12 degree bend, cedar blades, phenolic tips. I built two sets of similar paddles, 35 and 25 years ago, those have survived nicely through rough service.
And that's where they sat, patiently waiting (I think, you can never be sure with inanimate objects) until MDB and I finished our new house and I had more free time.
So the house is 98% done, we moved in last February, pecked away at loose threads since then. Also sold many of our rental properties since cutting and gluing those blanks, so my free time expanded exponentially.
Here's what went on in the last week or so...
Shaft blanks, after waiting for me, some shaft tapers cut.
Shaft blanks after cutting all the shaft tapers.
Shaft blanks in the process of adding grips.
Grips after sanding smooth to match shafts.
Layout of grips
7/8" Forstner bit used to cut grip/shaft radius. Look carefully, I used a guide rail to repeatably and reliably ensure that the radius would be tangent to the shaft.
Ready to band saw the grip profiles
Grip profiles all cut to shape.
Time to cut all the round overs on the shafts and grips. This is much easier (read possible) before the blades are glued in place.
Unfortunately, I do not have a collet adapter for my shaper, so I had to use my router. Even more unfortunate, I somehow lost the router table...for the last three years, we have had our stuff stored and scattered in two counties, four houses, and our 48 ft box trailer. We're slowly consolidating our worldly possessions. So far, this router table is the only thing that I haven't found. So I fashioned a substitute, quick and dirty, from some leftover 3/4" hardwood ply (pantry shelving).
Lastly, for now at least, here's all 10 future paddles ready for blades.
The handful of knots have been mostly cut away, those that remain are either in low stress areas, or will be wrapped with 4 oz cloth and epoxy resin.
Cedar strips will be tapered, to provide an understated sunburst pattern. Once the blade strips are glued on, I'll epoxy on the phenolic tips, then sand and glass, followed by more sanding and finally, varnish.
Oh, paddle OAL's are 48", 50" and 52".
Last edited:


")

