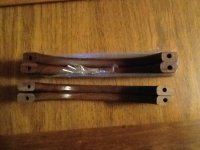
That OEM handle orientation is the norm. I’d varnish (I actually mean urethane, but typing/reading “varnish” sounds better) the butt ends another coat or two even if you don’t need to trim them to length. A coat or three if you do need to cut them to size.
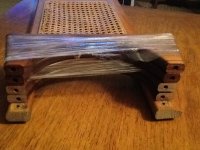
The thwarts, if sound, are quick and easy to sand down and varnish. It looks better to my eye if the thwart color matches the carry handles (or vice versa), so if the new carry handles are stained or different wood you can stain the newly sanded thwarts to match.
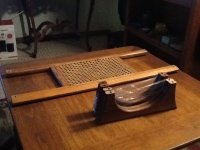
Re-webbing the existing seat is also an easy job. I’d cut the lengths of webbing with a metal putty knife heated over a propane torch to seal the cut ends and prevent fraying, and measure the webbing to leaving an extra inch fold over at each end (ie + 2 inches), so the melt/cut end is folded “inside” the webbing. Exposed melt-cut webbing ends can be a bit leg raspy under the seat.
I have simply been using stainless steel staples tapped down with a hammer. Staple one side to the webbing to the bottom of the seat frame, tap down and pull taut, staple the other side and tap down. Another trip to the hardware store.
There are lots of threads and instructionals on filling the old spline gap and re-webbing seats here and elsewhere.
The handiest tool ever for removing and reinstalling canoe seat machine screws is this thing:
https://www.craftsman.com/products/craftsman-3-8-x-7-16-in-wrench-ratcheting-box
The box ends fit the nuts on the canoe usual 3/16 or ¼ inch machine screws and are easy to use working upside down, backwards and blind underneath an inwale. If you opt to install deeper drops you will be taking the seat out and reinstalling at least twice. Thrice if you custom cut a bit more off the new seat drops after some test paddling at initial depth.
BTW, the hull in that photo of the HIN looks suspiciously shiny. Did you already do the marine wax and buffing wheel?


 Still have my eye out for a nice fuzzy pair though....