For Rippy, photos without description
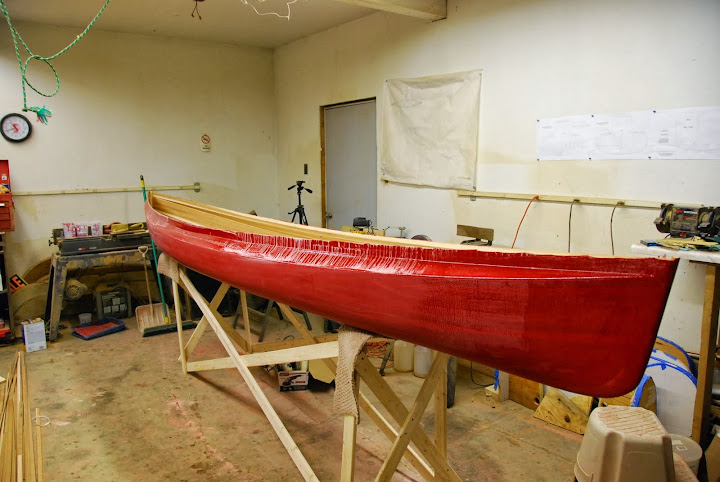
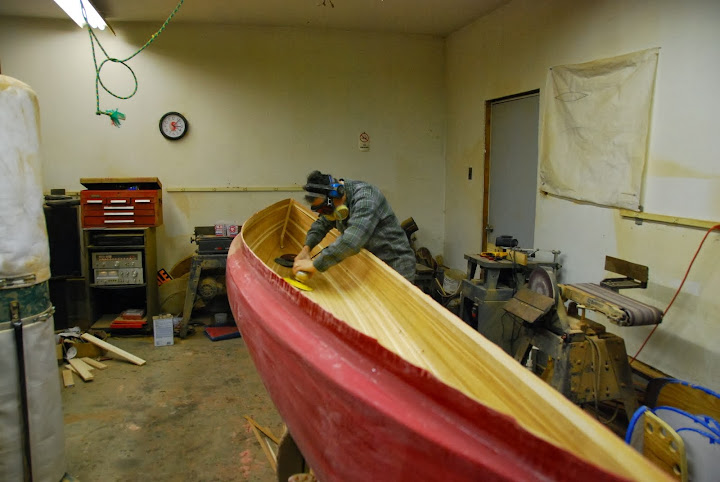
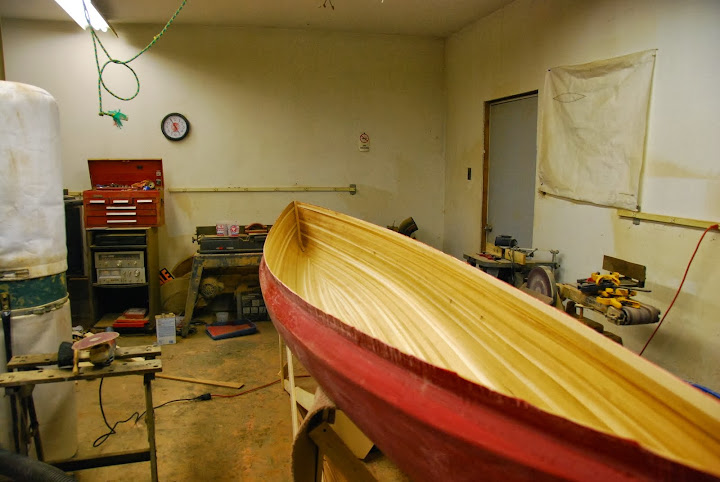
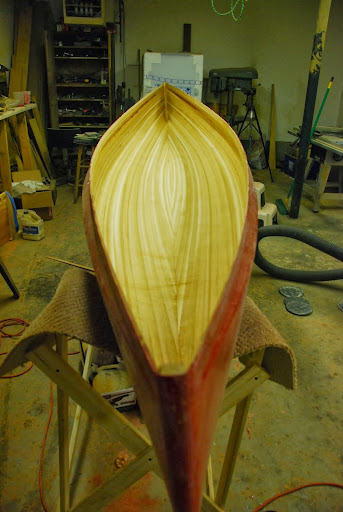
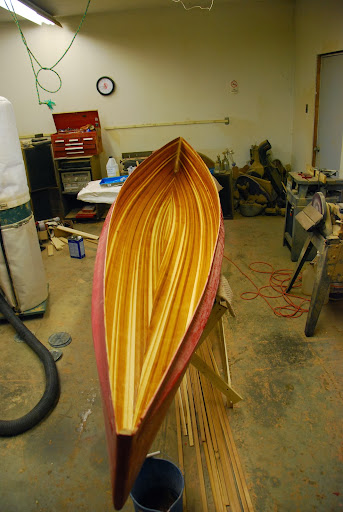
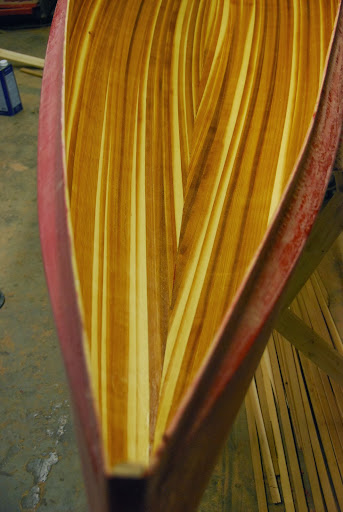
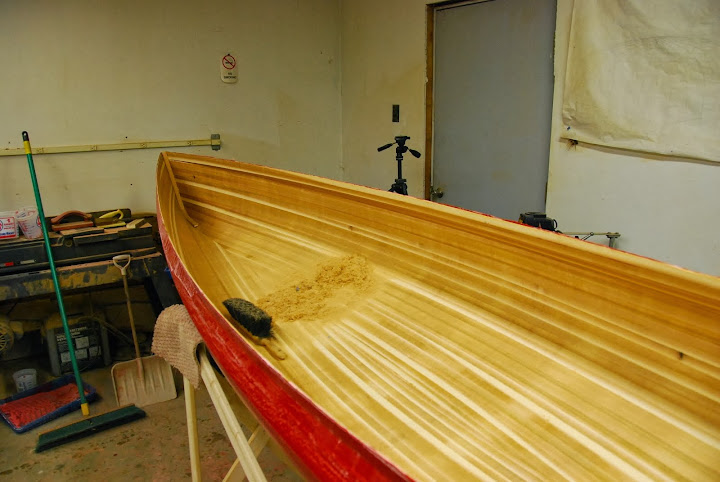
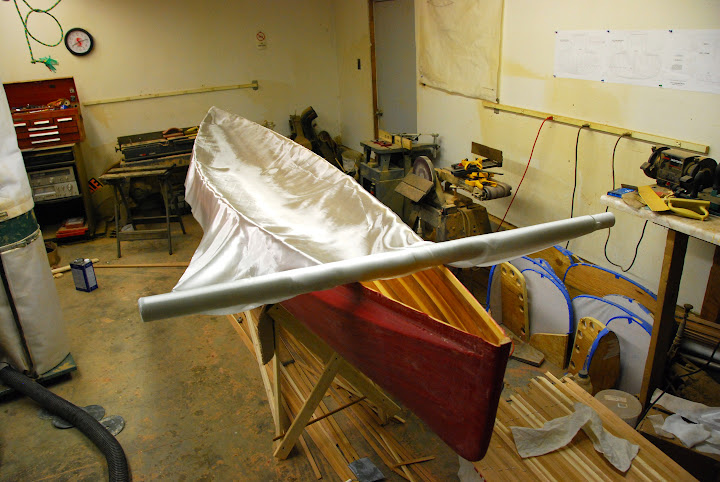
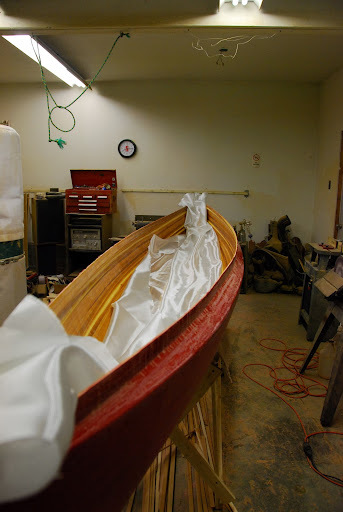
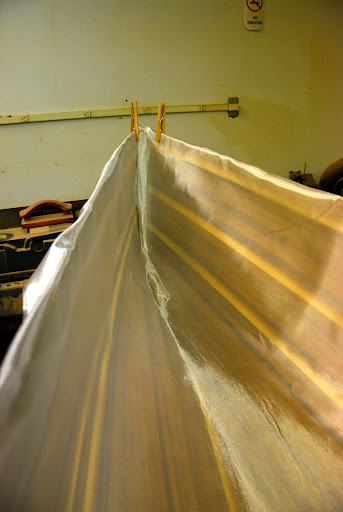
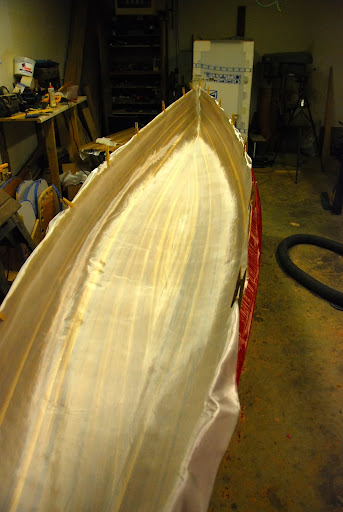
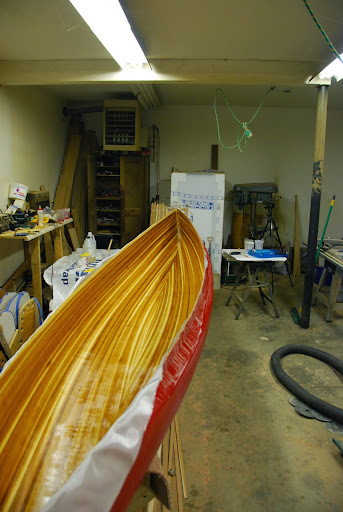
Geeze Louise, have I worn out the WOW word yet?! Do those wood strips visually POP , or what!? Here's a question SG. Regarding laying the glass interior and potential sagging. Do you lay the canoe on one side, and do one side at a time? This is all new to me, so I'm sorry if this is another dumb question from me.
Anyway, thanks for sharing this.
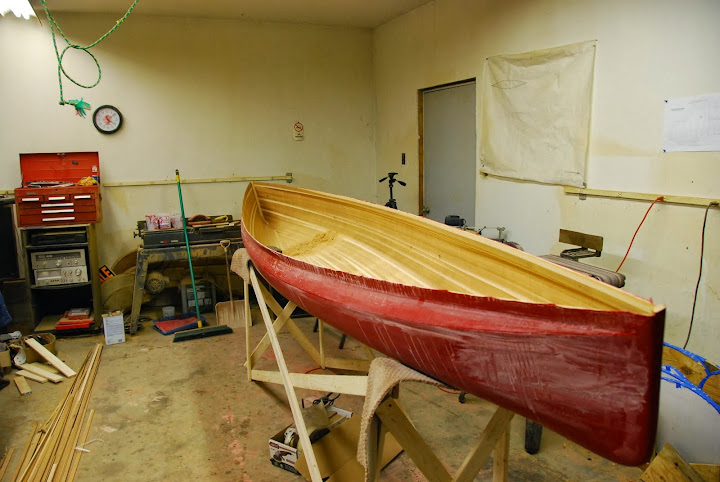
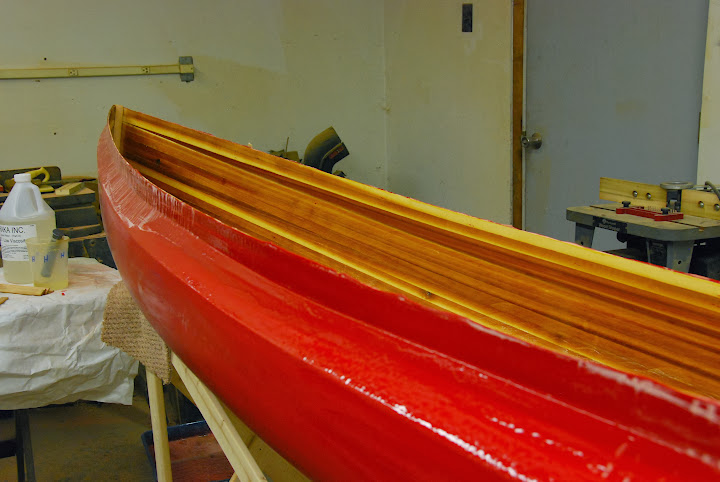
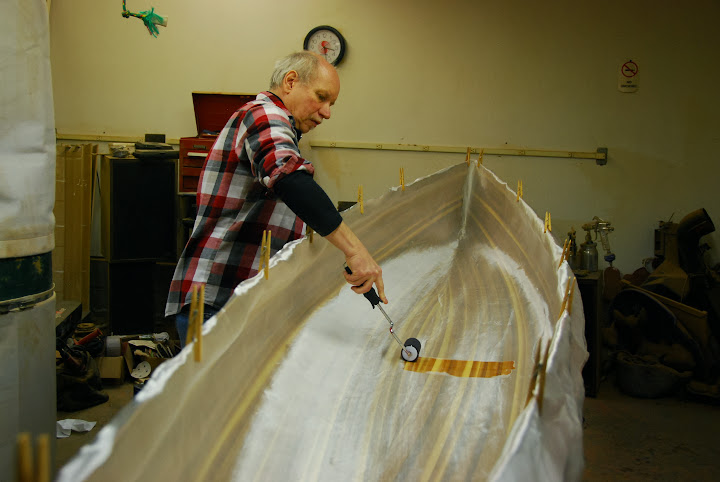
Thanks for your explanation Stripperguy. When you describe the process, it makes perfect sense. Does inside glassing add water resistance + added structural integrity? It sure sounds tricky. I'm nervous just thinking about it.
Many years ago I dreamed of building a boat; kinda a family project. Well, it never happened. In more recent years, my son has shown interest, and so I gave him a couple books I'd treasured. We'll see what happens next. I sure know who to call on for advice, thanks SG.
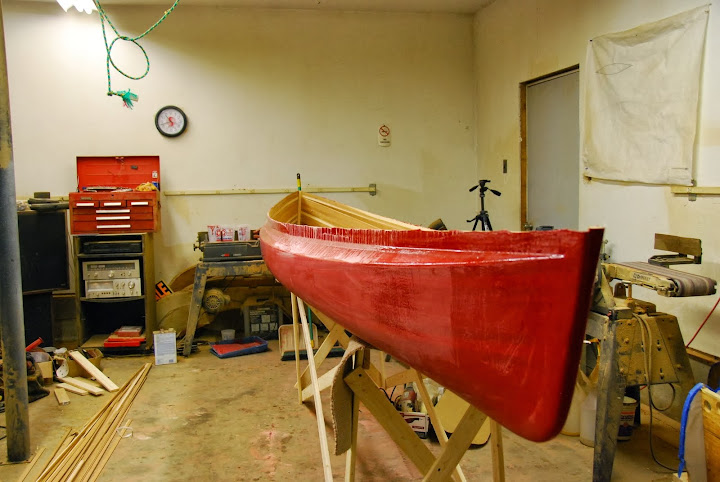
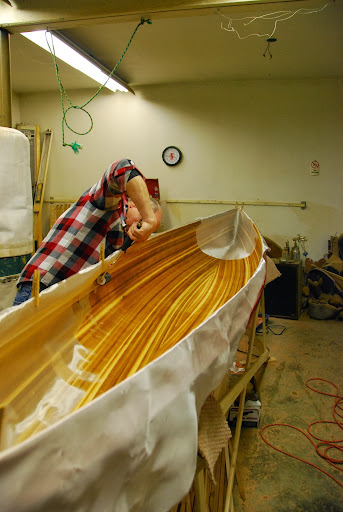
Man that looks good SG. Cudos, well done, (trying not to wear out 'wow')
Jason

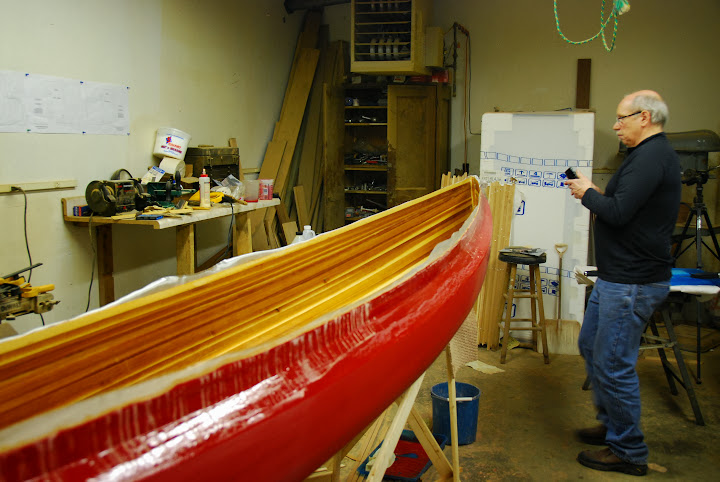
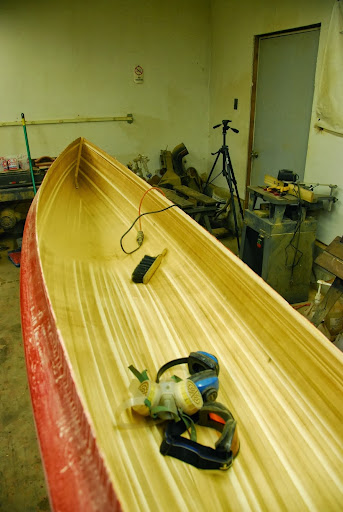
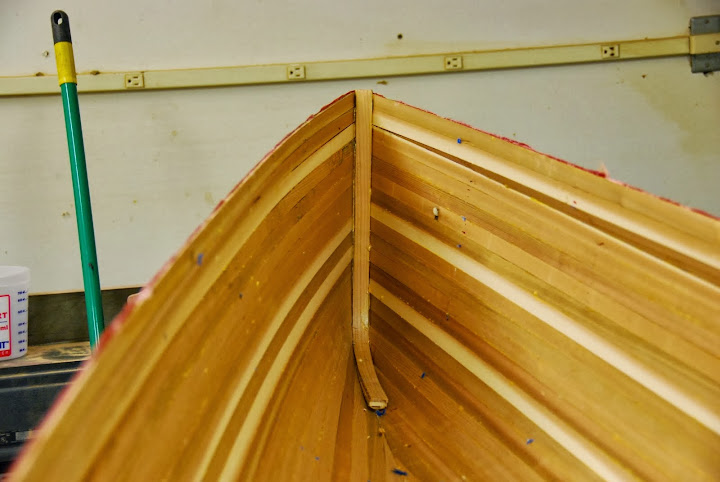
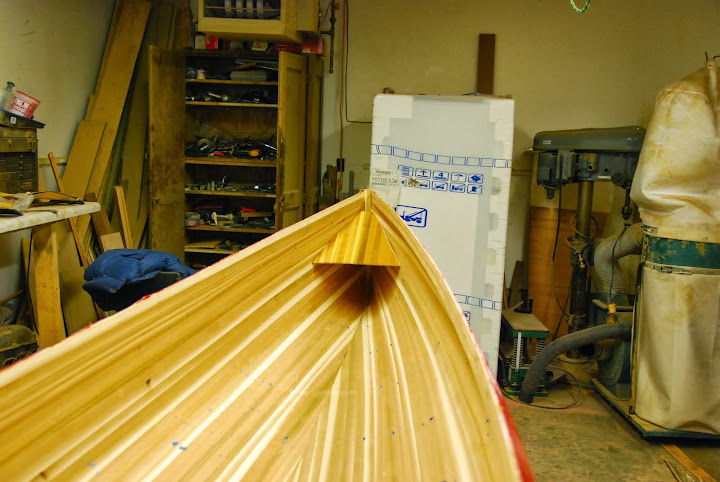
I'm interested to see what the weight will be tomorrow. Are you still planning to take that extra strip off? Will you do it before or after you put the gunwales on?
 The extra strip at the sheer will come off before I do anything with the gunnels, or are they gunwales, or maybe gunwhales?