-
Happy Birthday, Babe Ruth (1895-1948)! ⚾🏠🏃♂️
You are using an out of date browser. It may not display this or other websites correctly.
You should upgrade or use an alternative browser.
You should upgrade or use an alternative browser.
Stambaugh Sailing Skiff Build in Virginia Mountains
- Thread starter UCanoe_2
- Start date
Here is an article from WoodenBoat showing how a joggle stick works. The author's technique and precision are much better than mine.
https://skills.woodenboat.com/articles/the-joggle-stick/
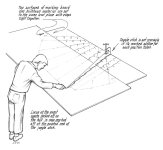
https://skills.woodenboat.com/articles/the-joggle-stick/

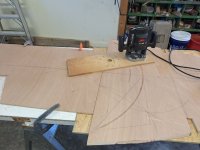
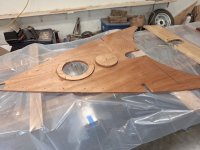
I used the joggle stick and marking board to lay out the curves on the sides of the deck. I have become smart enough to make a mockup from cheap underlayment, before cutting expensive marine plywood.
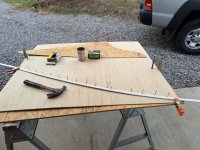
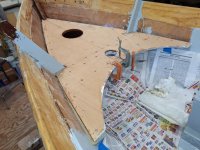
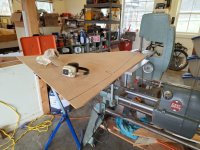
Then I cut out the deck mockup. I used a circular saw with a brand new sharp plywood blade to cut the curves -- a circular saw does not always have to cut straight. The sabre saw in the photo was used only to make notches for the stem and #1 frame.
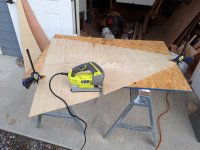

Then I cut out the deck mockup. I used a circular saw with a brand new sharp plywood blade to cut the curves -- a circular saw does not always have to cut straight. The sabre saw in the photo was used only to make notches for the stem and #1 frame.

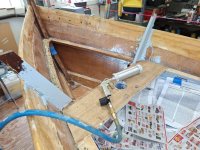
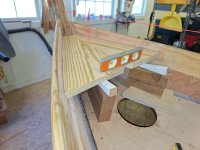
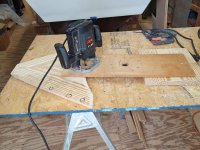
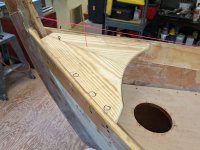
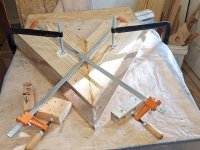
Now it's time to make the breasthook, a major structural member that holds the bow of the boat together. After much trial and error with mockups, I decided to follow Greg Rossel's instructions from his book, Building Small Boats. I made a simple jig and glued up a breasthook blank made from 5/4 yellow pine stair tread.

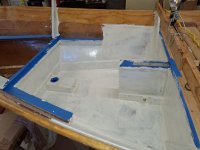
Remember those model airplane kit instructions that said, "Paint all parts before assembly?" At last, a primer coat on the boat interior.....
I also primed the undersides of the breasthook, deck, mast partner, and miscellaneous small parts. After two finish coats of paint, they will be ready to install.

I also primed the undersides of the breasthook, deck, mast partner, and miscellaneous small parts. After two finish coats of paint, they will be ready to install.
Mast Partner Mark I was cut from an ash board made from a tree on our property that was killed by the Emerald Ash Borer. The tree was crooked and had a lot of bound up stresses. When I cut a hole for the mast, the board twisted badly. The 2 thwart pieces were made from the same tree, but did not have the serious twist.
Mast Partner Mark II installed, made from a straight grained piece of Philippine Mahogany.
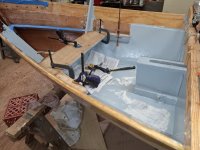
Finish coat of paint partly on interior of boat. The sole will receive non-skid paint, but I will wait until the after part of the sole is glassed. Gluing with PL Premium now; much less muss and fuss than epoxy.
Mast Partner Mark II installed, made from a straight grained piece of Philippine Mahogany.

Finish coat of paint partly on interior of boat. The sole will receive non-skid paint, but I will wait until the after part of the sole is glassed. Gluing with PL Premium now; much less muss and fuss than epoxy.
Last edited by a moderator:
Today at long last I installed the little forward deck, which is a major structural component. Dispensing PL Premium with a manual caulking gun is not kind to my arthritic hands. So I applied the adhesive with a pneumatic caulking gun. IIRC it cost $75 from Home Depot a couple years ago. I had to turn the air pressure way down to feed the goop at a controllable rate.
