• Happy National Audubon Day! 🐣🐦🦅🕊️

Quick(?) SOF build

Sleeves? Yeah...I did the thwarts from carbon fiber over foam. I tested briefly at work with a single layer of CF, and quickly realized that 2 layers were needed.
Later, Charlie informed me that 2 layers is the industry standard. I mat have posted some data...somewhere in that Kite build thread...or maybe not. (I need to go back and see).
And I did the CF over foam gunnels, single layer. Again, I quickly realized that a single layer would not be strong enough. I added a single layer of 10 oz glass to the sections of gunnel that would rest on my roof racks. Many roof top trips later, the gunnels still look just as they did when I finished adding the glass.

So what's with the Divinycell? Building a sailboat? I have seen some articles about stripping with foam!!! 5 sheets could be more than just some experimental work...
 
Last edited:
So what's with the Divinycell? Building a sailboat? I have seen some articles about stripping with foam!!! % sheets could be more than just some experimental work...

I think you misunderstood me, and re-reading my post I see why. I have sheets of XPS, not Divinycell, laying around. Just want to start playing around with CF to do some thwarts, maybe try the CF gunwales, and other little projects. XPS will hopefully be good enough for starters.

Got my Kevlar roving put on tonight, not a real fun job. Very tedious. It's certainly not perfect but it will do. The pattern got off and I didn't have the will power to stop, undo things, and get it figured out. So it is is what it is and what it is is good enough for this boat. I was surprised how much it stiffened up the frame.

No pics tonight, bed instead. This boat wears me out.

Alan
 
Sorry, still don't have any pics downloaded. I've worked on it until 1am the last two days so haven't had time.

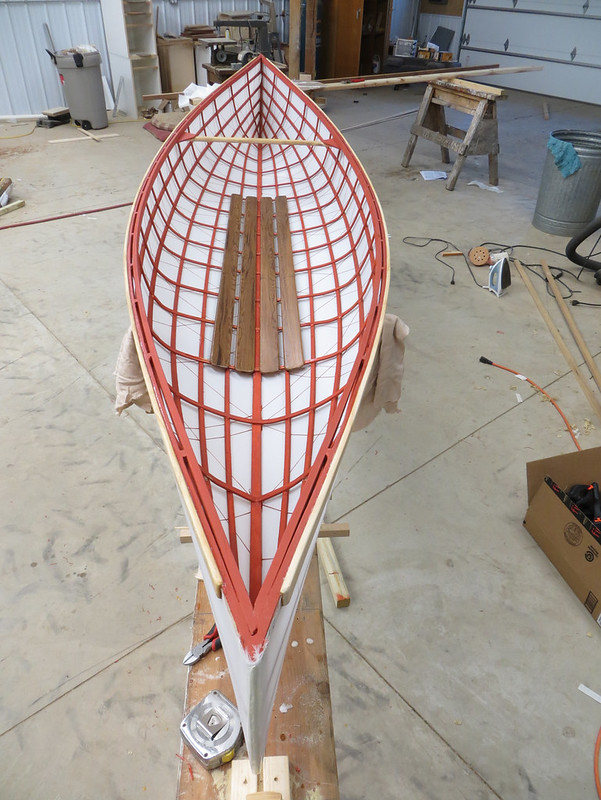
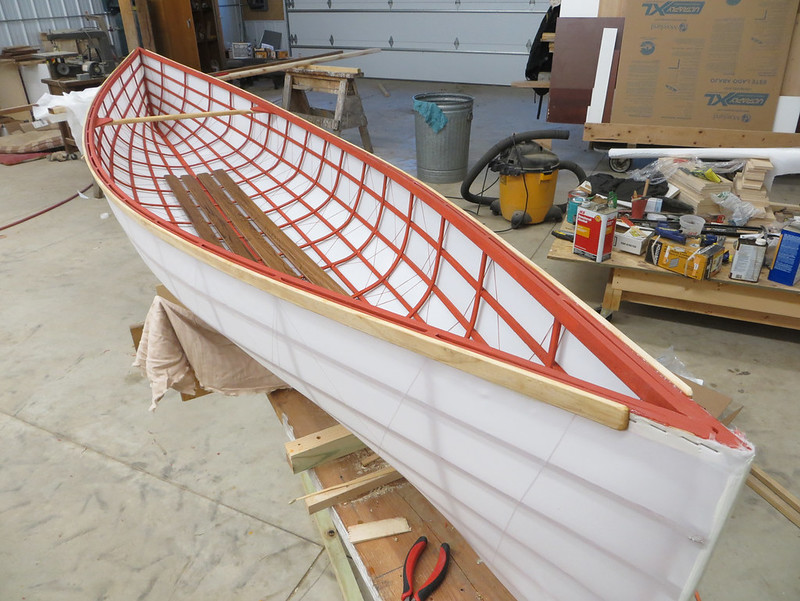
It looks like it will be ready to go on Saturday, though not without some hiccups. Last night I got the skin put on and shrunk. I decided to staple it (staples along gunwales will be covered by rub strips) rather than using the heat activated tape they supply, which is a good thing since I ran out of tape last night as I was finishing up the double layer on one stem, which meant I still had one stem to go! The stems were stapled as well on the leading edge and I needed a way to cover those staples on the remaining stem. Of course, not thinking ahead, I had rounded and beveled the stems earlier not realizing at the time how much more difficult that would make installing a cutwater/stem band so that option was off the table if I wanted it done by Saturday. So I mixed up some thickened epoxy, put white coloring in it to make it opaque and somewhat match the skin color, and smeared it along the stem. This morning I sanded it smoothish and it looks acceptable and should be plenty tough.

Snuck off work quick this morning to run home and put on the first coat of sealant. Using water based Minwax so hopefully I can put on another coat during lunch and maybe 3rd mid afternoon. Then by this evening it should be dry enough to flip over. Then I can trim the dacron and kevlar cord (can't wait to be done with the danged Kevlar!), coat the floor boards and thwart, and start fitting the rub strips along the outwale. Then it can just sit and dry for about 36 hours before hitting the water.

Not going to worry about a keel at this point. That can always be added later.

Alan
 
Finally, a night to take it easy and catch up on sleep, maybe get some pictures uploaded. Pretty well wrapped it up Thursday evening so tonight about all there was to do was cut and install the rub rails. So why am I just coming in from the shop at 1:00am again?

Evan is in town so he can so he can go to the paddle tomorrow/today so I picked him up from my dad's, took him to supper, and then to the shop for his first look at the canoe since it was nothing but a frame and to have him lend a hand.

He was pretty excited about the boat and even more excited about all the tools. So after using the block plane, running some boards through the planer, playing with the dust collector, and using the chop and table saws we'd managed to get the rub rails cut out but not yet rabbeted. That was about enough help for the evening and he was about ready for bed so I dropped him off and somehow managed to spend another 3 or so hours finishing the job.

But tomorrow we paddle and it will be good. Evan can show off in front a crowd and then I have all winter to put off doing the final touches.

Alan
 
Some pics before it hits the water later today:

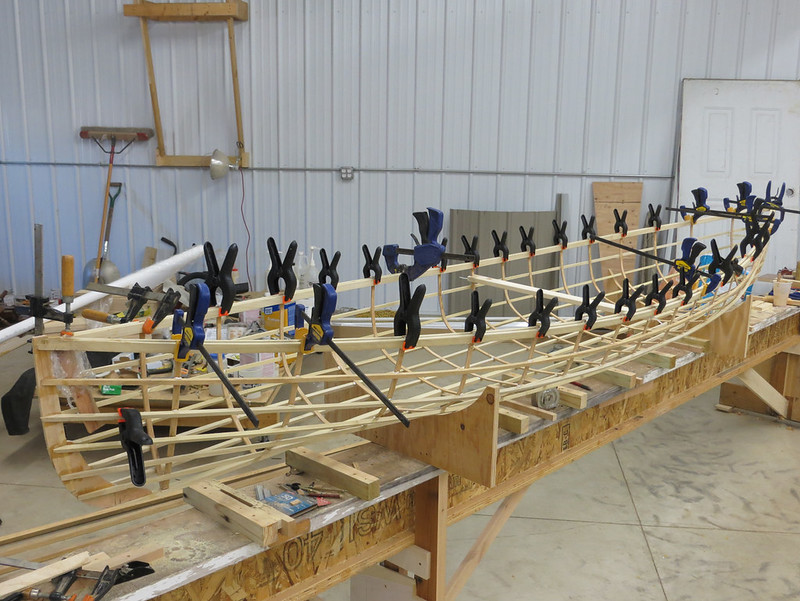
Clamping the inwales:


20141004_001 by Alan Gage, on Flickr

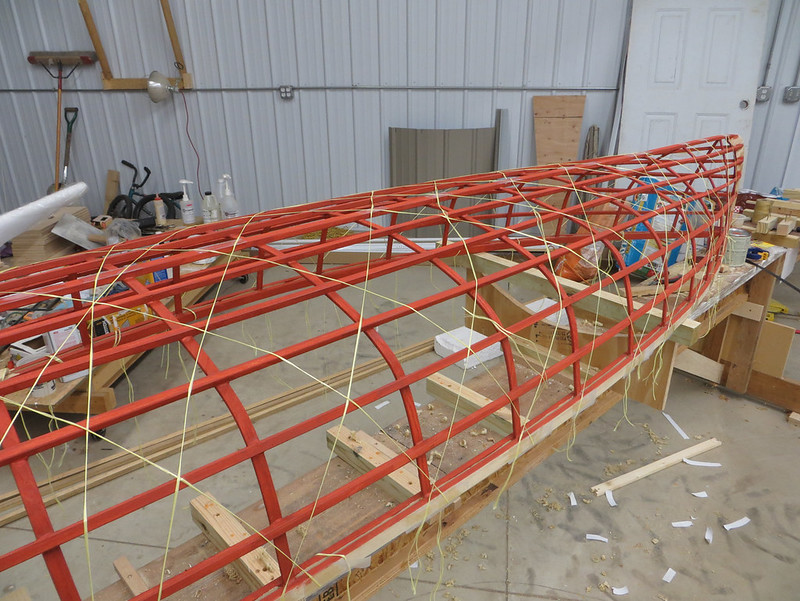
Kevlar roving installed:


20141007_004 by Alan Gage, on Flickr

I did not like working with the kevlar. It was a tedious process that required retightening twice (heating the heat activated adhesive with an iron to soften while pulling on the tail) before all was said and one. The kevlar tails hanging loose snagged on everything and turned into snarled up messes. I was very happy to cut them off after skinning. It seemed to do the trick however and really stiffened the frame.

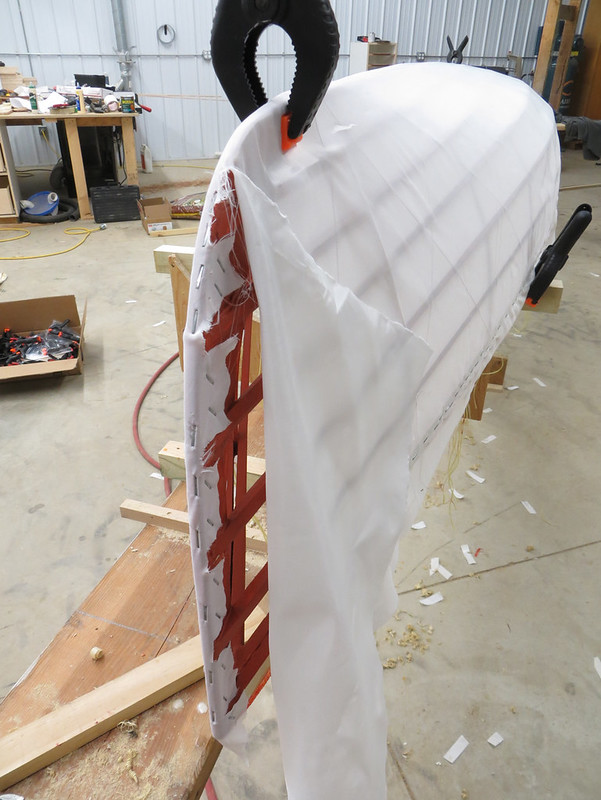
This is the only picture I took of the skinning process. I stapled instead of using the heat tape like the instructions say. The skinning actually went pretty smooth but it still took a long time by the time I got it shrunk and finished of the stem details. The stem wraparound is one place I did use the heat tape, which seemed to work ok but was tedious (there's that word again!). I ran out of tape after only doing one stem though. The other just got gooped with white tinted epoxy and sanded once dry. That worked pretty well and was a lot less tedious.


20141008_001 by Alan Gage, on Flickr

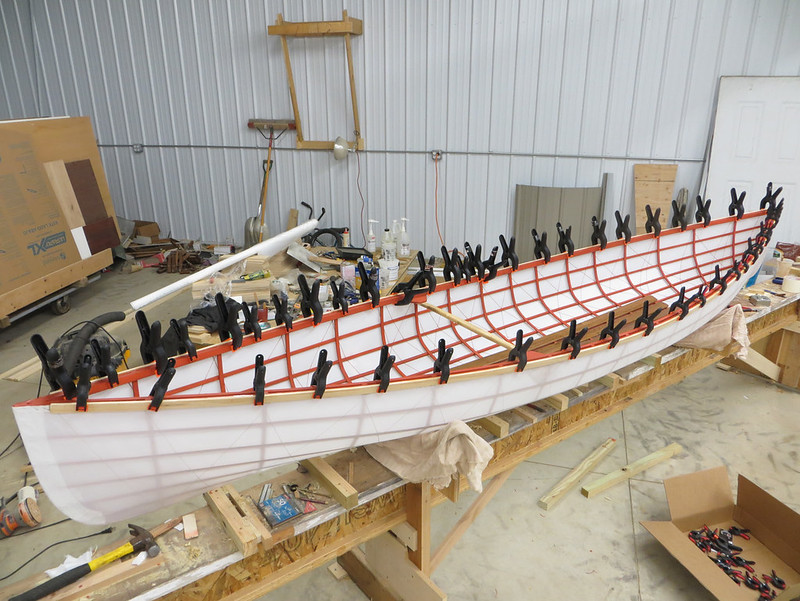
Clamping the rub rails last night. You can see I've learned from my stripper gunwale lessons and I've bought more clamps. No running out this time!


20141010_001 by Alan Gage, on Flickr

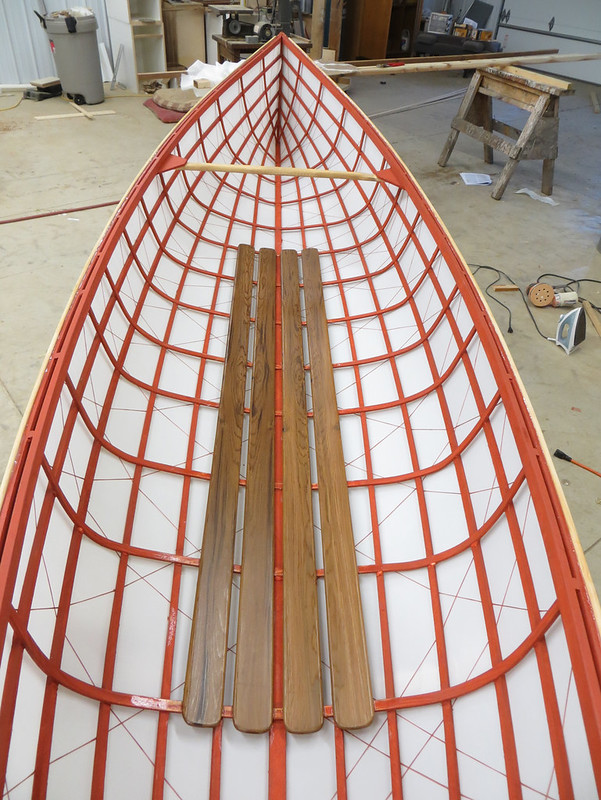
Cedar floor boards:


20141011_001 by Alan Gage, on Flickr

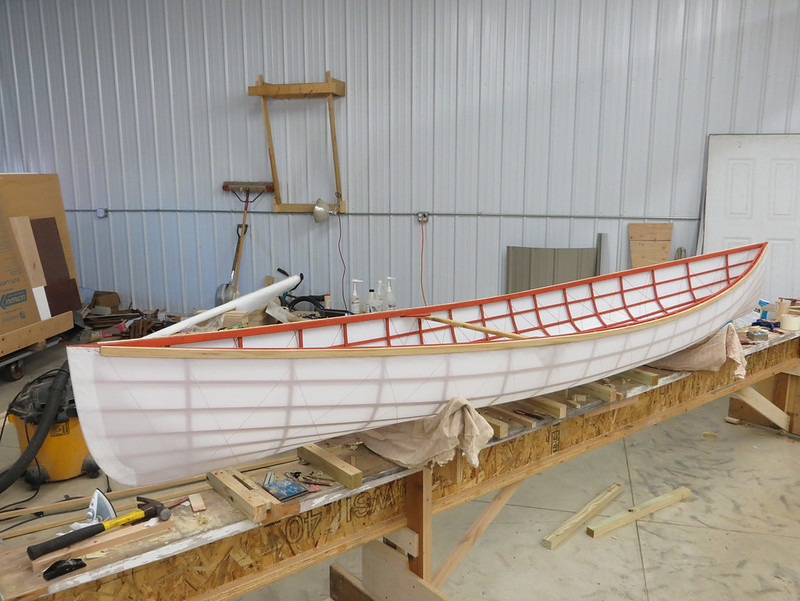
Pine rub rails. Poplar frame. Ash ribs. You can see the epoxied stem in this pic.


20141011_002 by Alan Gage, on Flickr


20141011_003 by Alan Gage, on Flickr


20141011_004 by Alan Gage, on Flickr

Alan
 
Great looking canoe! Nice job. I like the contrasting colors - something about the geometric look really appeals to me.

That was a really nice thing for you to do for Evan. He's a lucky young man.
 
Nice job! I like the color on the frame. The Aleuts of the Aleutian Islands off Alaska always stained their kayak frames with red ochre, the color of dried blood. Supposition is that it allowed a spirit into the kayak. They also carved a groove down the full length of each gunwale called the spirit line to let the spirit flow through the whole kayak. I built an Aleutian baidarka a while back, and while I do not believe in the spirit business, I dyed the frame and carved the spirit line just in case. No sense taking any chances, you know.
Hope Evan has fun paddling the new canoe.
Regards,
Dave
 
The red was surely the right choice, it really "pops" next to the white, white dacron!!
Did you weigh it? I'm sure it will be light enough for Evan...will this be his boat that he gets to keep?
 
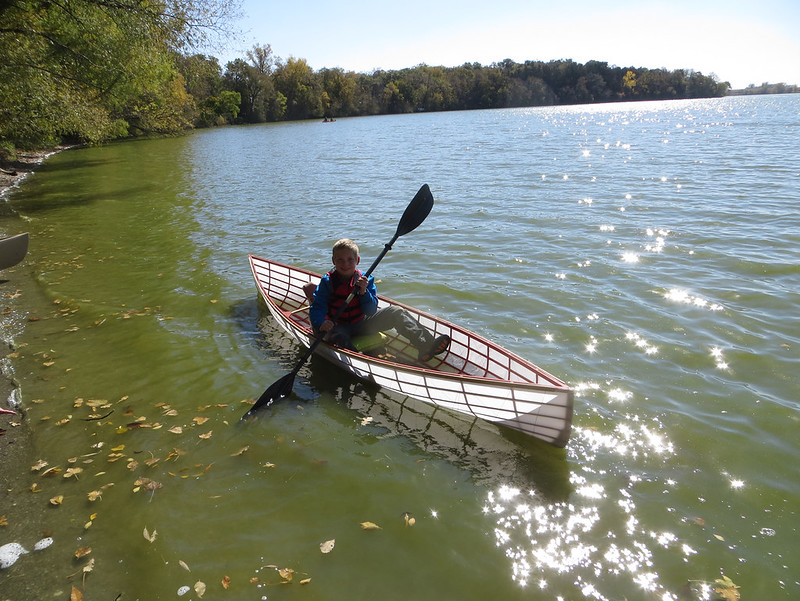
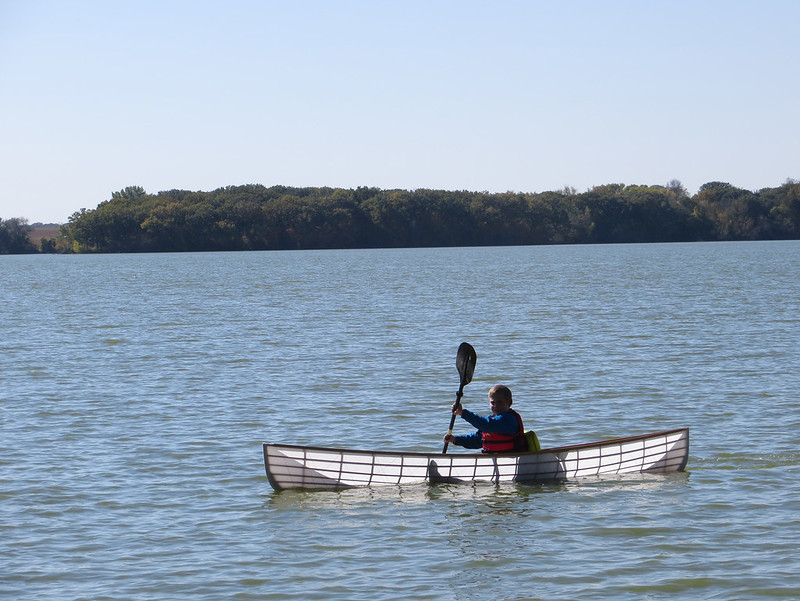
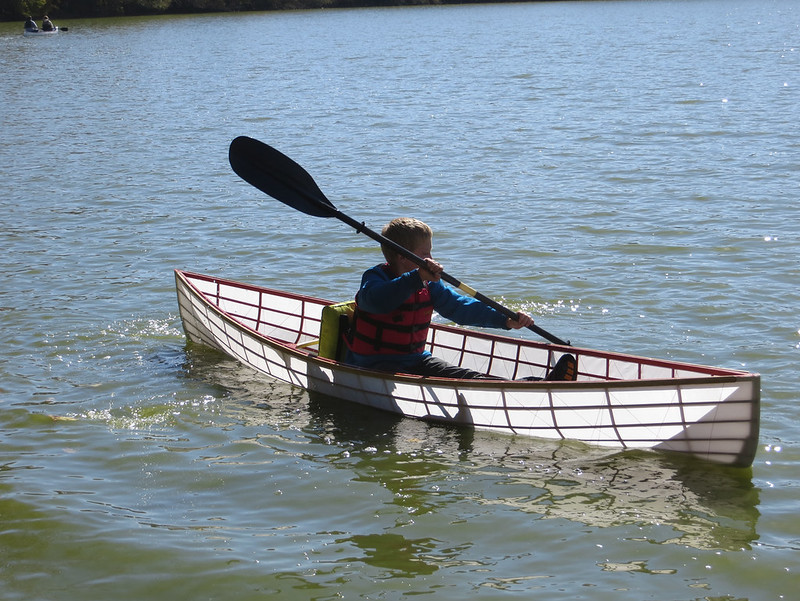
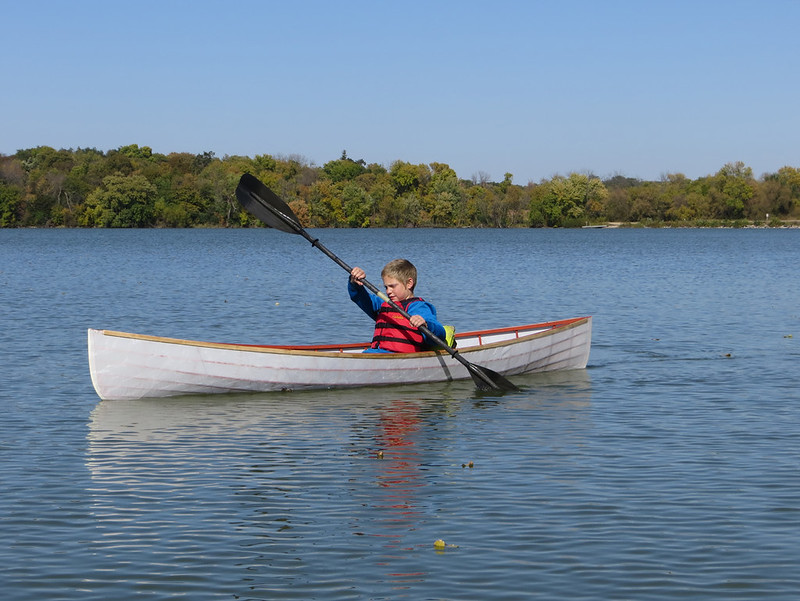
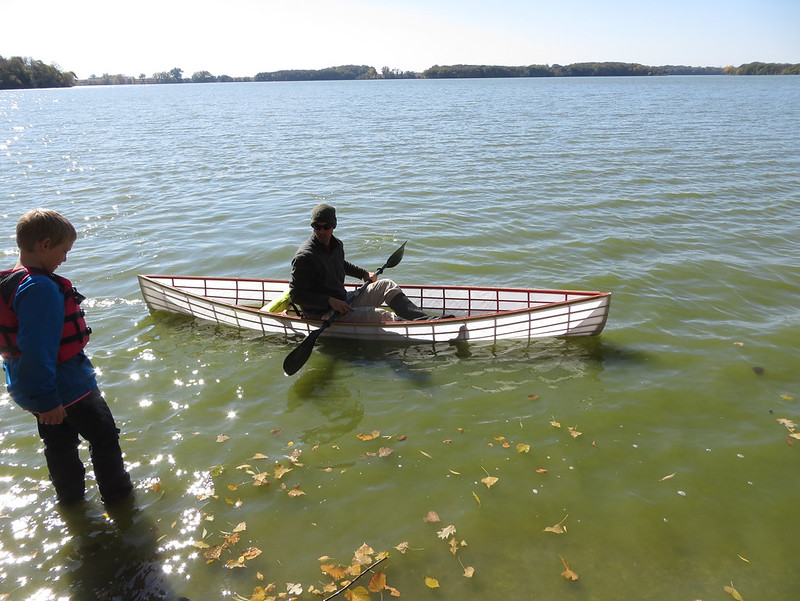
Evan nearly dumped the boat by leaning too far right off the bat right next to shore. Saved it by planting his hand but still ended up with water in the boat and wet pants (from the lake water). He was a little nervous after that but I took it for a quick spin and managed to stay upright and we convinced him that he should give it another go. After that things went fine, he settled right in. The boat worked great and he was pretty proud of it. He carried it from the roof of the car to the shore all by himself. Unfortunately he's also pretty excited about using a double bladed paddle. Perhaps I'll have to sell the nice carbon one and buy him a 3 lb. aluminum/plastic replacement and see if that gets him back to single blading again. It was nice for him to be able to go straight ahead with good speed though.


20141011_002 (1) by Alan Gage, on Flickr


20141011_007 by Alan Gage, on Flickr


20141011_009 by Alan Gage, on Flickr


20141011_018 by Alan Gage, on Flickr

Having to sit on the floor wasn't as bad as I thought it would be since the sides are so low. I had a tendency to whack the gunwales with the paddle though. I only paddled it a hundred yards or so but it felt fine. Next time I'll try kneeling with a single blade.


20141011_004 (1) by Alan Gage, on Flickr

And finally here's a link to a video of the boat and Evan in action:

https://www.flickr.com/photos/7935459@N05/15322750290/in/set-72157648312856135

The boat is Evans but it will live at my house for the foreseeable future. He's not close enough to any water to carry from his house and I don't know that his parents would take him somewhere to use it. This way when he comes to visit grandma and grandpa for the weekend (quite often) the boat will be in town. I have a couple nice gravel pits in the public land behind my house that are a 5-10 minute walk. Next summer I'd like for us each to carry our own boats down there for a paddle. We can just walk from my back yard. I think he'd think that was pretty neat. I sure know I would have as a kid.

Alan
 
The red was surely the right choice, it really "pops" next to the white, white dacron!!
Did you weigh it?

I used water based polyurethane because I didn't want that yellow/brown tint that oil based gives the cloth. Plus it was nice to be able to put on another coat every couple hours. It really kept the white look to the dacron, doesn't even look like it's been finished.

Final weight was 12.1 pounds.

Alan
 
Very nice! Thanks for sharing. I am still on the fence about building a snowshoe my self!

I say go for it!
Looking back it really wasn't that bad of a build, I just don't think it quite fit my style of building and the very short time frame to get it done made it a job rather than fun (I was up to 1am most nights trying to finish it in the last week). I think if it was going to be a winter project and you only had a 1-2 hours at a time (or even less) to work on the boat it would be perfect. I would get frustrated because I wanted to spend all day on the boat but once you steam the ribs and clamp them in place you're done until the next day when they've dried. The next day you glue them in place and you're done until the next day when the glue is set. But it would be the perfect for working on in short spurts. There really aren't any big time consuming steps that have to be done at once (like fiberglassing a stripper) so you could break everything down into smaller work sessions and still feel like you were getting something done.

A friend called and wanted to go for a paddle last weekend. I decided to take the snowshoe along. As per usual the dog came too and we did just fine. Not really my style of boat or paddling but it was just a leisurely paddle and I had fun in the boat. I single bladed it, which was a bit awkward (you'll want a short paddle under 50"), but it worked fine. I tried the double blade for about 3 strokes but after getting a lap full of water picked the single back up. Fun little boat, looks fantastic, and the weight sure is nice.

Alan
 
Back
Top