G
Guest
Guest
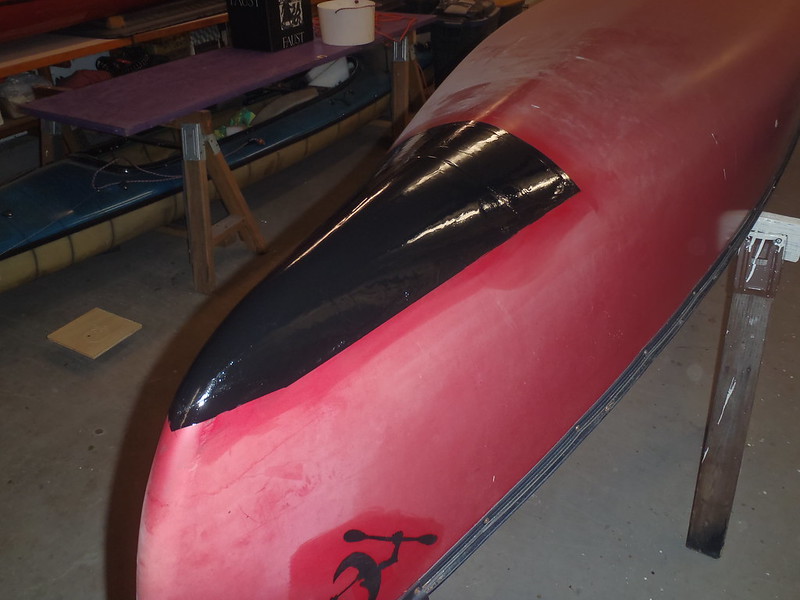
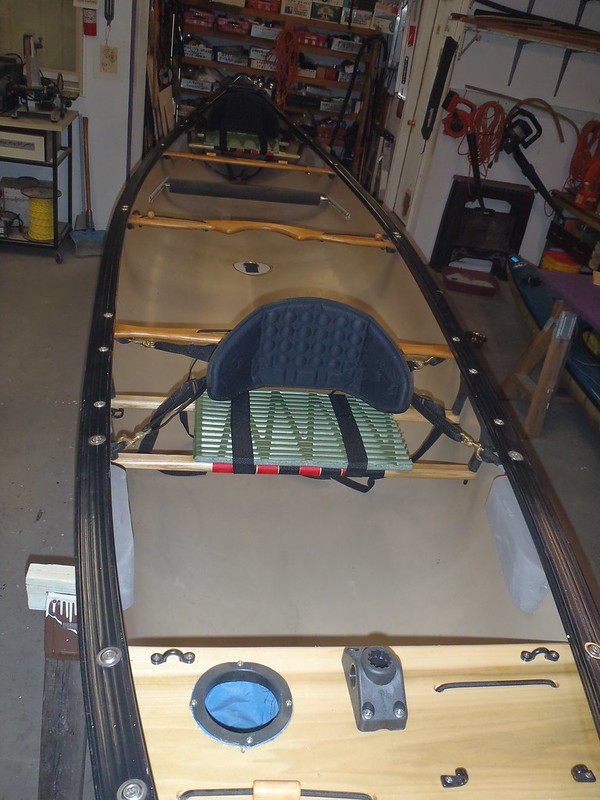
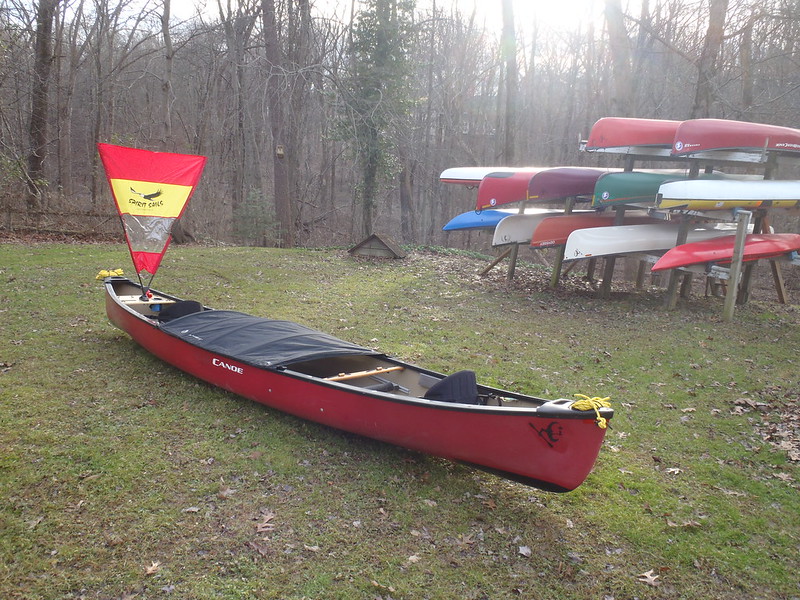
I like the bow utility/sail thwart in the Revelation, but now that it is installed I’d much rather give the boat, with a sail, to an in-law couple that does some tripping, rather than sell it on Craigslist. That being the case I feel I should outfit and refurbish it with the full bag of tricks.
Staring with refurbishing the old cane seats with new varnish and webbing. The never refinished 14 year old seat frames are badly in need of attention.
MRC used plastic truss hangers. Not the prettiest things, but zero end rot, and zero need to sand and refinish. I’m OK with that for a low maintenance canoe with vinyl gunwales.
Although I am certain that each molded plastic drop is identical I marked them bow and stern, left and right. With DIY’ed wood trusses I have found that very useful on re-fit, and old habits die hard.
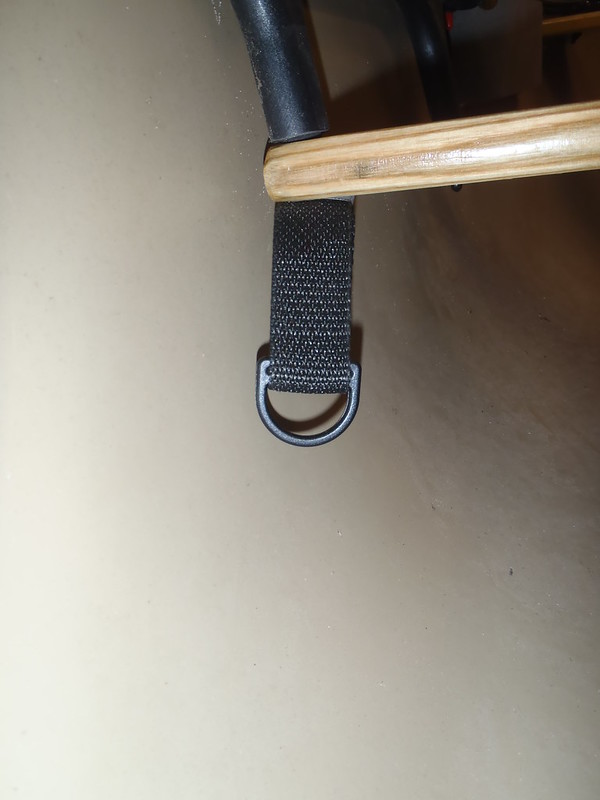
A few demerits on MRC’s seat hardware; the machine screws are 6” long, which is a half inch longer than needed for the drops. They were installed with a lock washer and a Nylock snugged all the way up, with the ½ inch of shank end exposed. The only ones that had thread protectors were the ones on which I had previously taken off the nut to installed webbing loops and flat washers (rear machine screws on both seats).
I will be more attentive to all of those anal finishing touches when I re-install the seats.
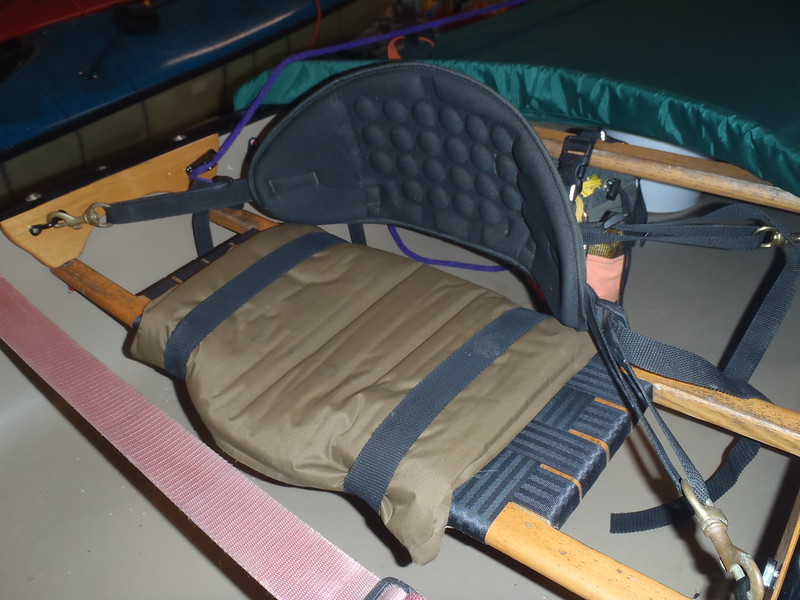
One close inspection, with the seats removed from the Revelation and laid on the bench under the LED’s, one seat had a couple crisscross pieces of webbing that were broken through. The seats had still held my fat arse in test sits, but when I poked my finger at that little crack I felt like Warden Norton discovering Andy Dufresne’s tunnel.
https://www.youtube.com/watch?v=SlKZujGZi0I
I did not go all the way through to my shoulder, but I think I could have. So yeah, catastrophic cane seat failure was pending, and at least on 14 year old cane a tiny split may mean worse is not far off.
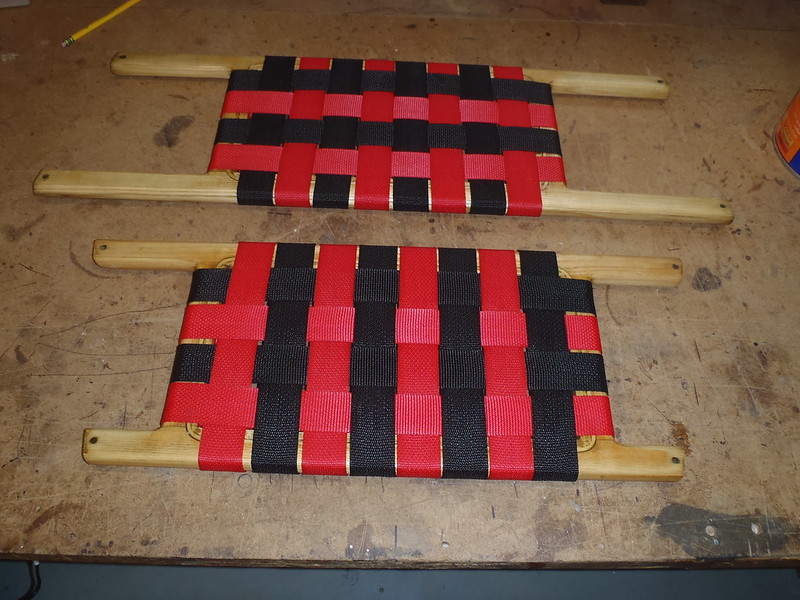
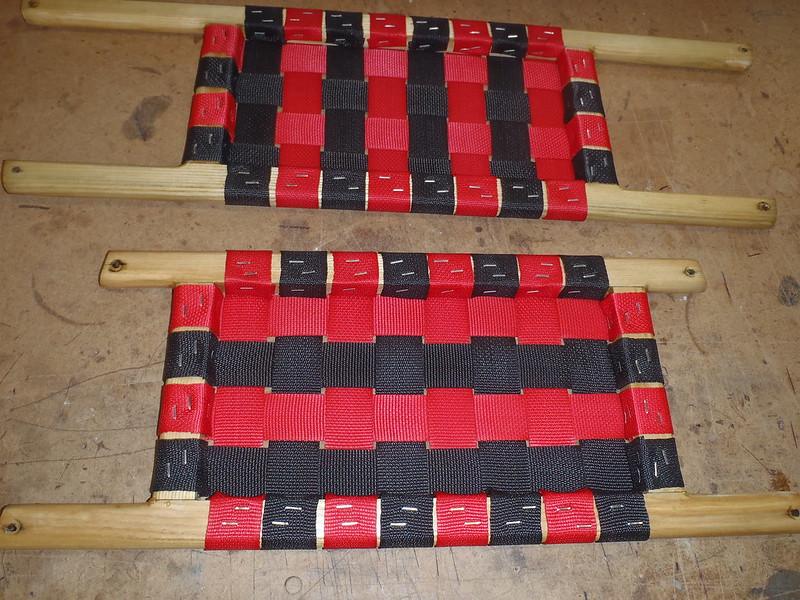
Speaking of which, I have never had the webbing part of a canoe seat fail. Cane yes, seat dowel joints yes, even seat hangers (other people’s, the flimsy drill dowel type with some age on them) yes. The webbing itself, never, and some canoe seats I webbed 20+ year ago are still in action. Even if one webbing strap did somehow fail the remaining 10 crisscross straps should keep your arse securely off the bottom of the canoe.
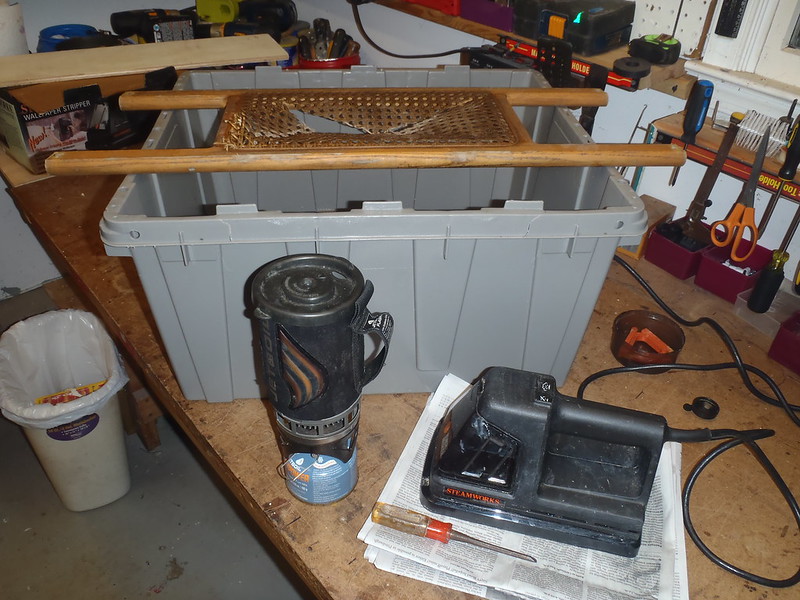
With the seats out I proceeded to a new experiment; spline removal. I usually just leave the spline in place and flip the seat over for webbing, but what the hell, survey says “boiling water”
Hmmm, the JetBoil stove would also be a good way to use up the (several) Iso-Butane canisters with mere minutes of fuel left in each; I’m never carrying those on a trip and they are permanently orphaned on a gear room shelf.
Then, a brain storm. Thinking I could skip the messy boiling water step, I tried using a wall paper steamer first. That was actually a brain fart. Even left laid steaming atop the seat frame for 5 minutes it was little help with spline removal.
 PC251456 by Mike McCrea, on Flickr
On to some rolling bubble Jetboil water poured over the spline groove. I kept the seat horizontal on the drainage bin and gave it several good boiling water soaks. I was not thrilled with that spline removal action either, even after repeated dousings and soakings with boiling water.
OK, Plan C; boiling water followed by a longer chuffing of steamer. A little better, but still a PITA, even using a narrow spline-groove width chisel to dig underneath.
 PC251457 by Mike McCrea, on Flickr
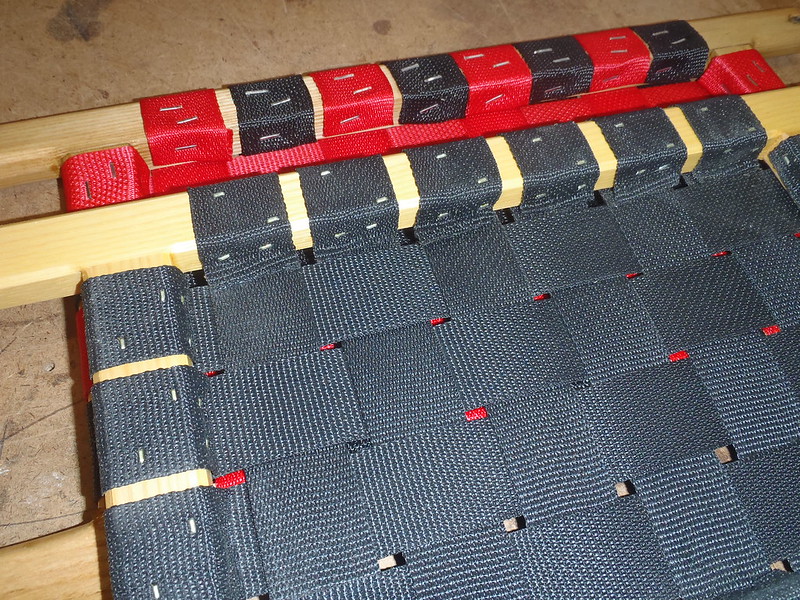
I was not enamored of either attempt, even combining the boiling water & steam techniques. The spline removal seems unnecessary nonsense unless I wanted to replace the old cane with new cane. I plan to reuse these seats, but web them flipped upside down to hide the spline groove.
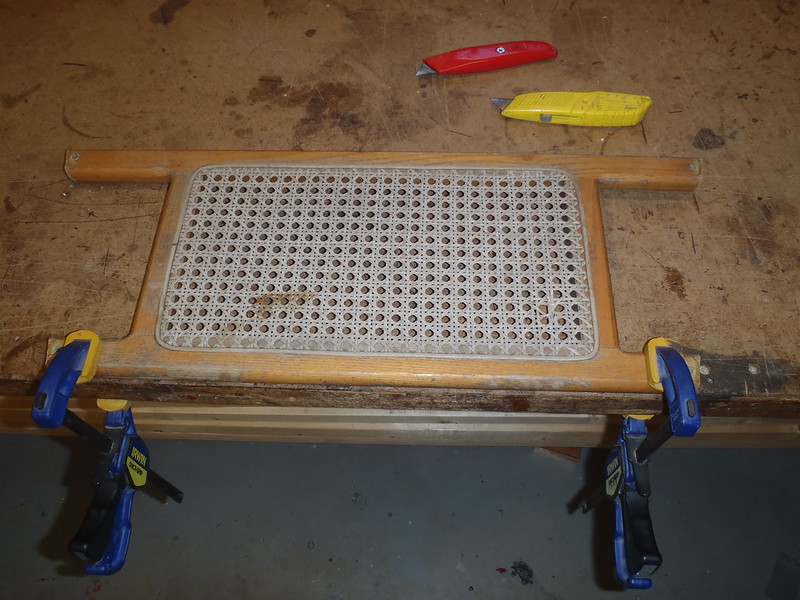
OK, Plan D; back to my usual lazyman technique. Just slice the cane at the inner edge of spline goove with a razor knife and pull it out, leaving the spline still neatly intact in the groove.
 PC261461 by Mike McCrea, on Flickr
Removing the cane with a razor knife and leaving the spline in place took all of 60 seconds per seat. It was harder to cleanly cut out the wet cane on the seat I had doused with boiling water and steam, and I couldn’t progress any further on that seat ‘til it dried out. Lesson learned.
 PC261463 by Mike McCrea, on Flickr
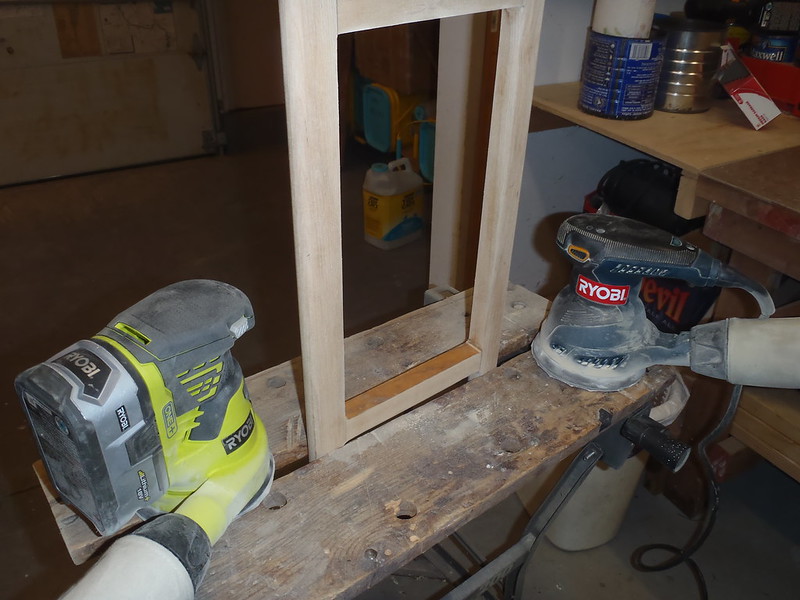
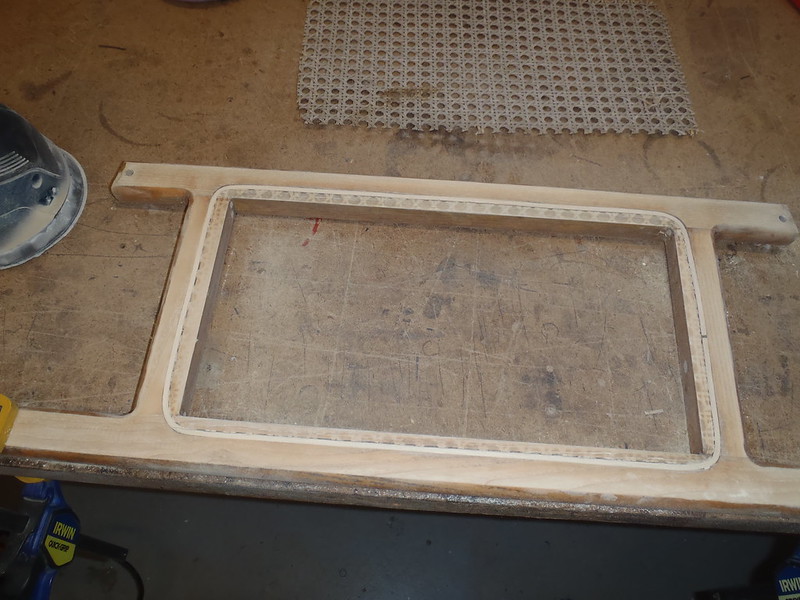
I think the spline removal is only necessary, or even advisable, if you want to re-cane, or cannot flip the seat over to use webbing (contour seat, etc). A couple minutes with the RO sanders (100 in one, 220 in the other) and the flat tops and bottoms of the seat frames are well sanded.
It took only another couple or three minutes on each seat using two 1” belt sanders (one with 100, one with 220 grit) and most of the rounded sides were sanded bare wood smooth. Including the “rails” and (looking to refresh my memory of Conk terminology) “struts”.
I could get to everything except the inner edge of the rectangle with the little belt sanders, and the RO and pad sanders fit inside that rectangle.
 PC261471 by Mike McCrea, on Flickr
Upside down I don’t care that the spine is epoxied in the groove, I wanted to fill that groove void using some epoxy over (?) filler cord anyway, and the existing spline is already well OEM wedge driven and glued in place.
 PC261466 by Mike McCrea, on Flickr
Of course the butt ends of the seat frame got sanded smooth for multiple costs of spar urethane. On that close sanding inspection I discovered some odd construction props to Mad River Canoe; not only are all of the machine screw holes precisely and evenly spaced in from the ends of the rails, and the ends of the rails perfectly cut for the sheerline angles, but the butt ends are also angle tapered vertically to match the \ / sides of the hull, most noticeably on the bow seat.
Well, shiiiit, those end cuts on the seat rails are not going to work well installed upside down. The bow seat at least needs to go back in right side up, maybe both seats; I will have to check the stern seat before I web one side or the other.
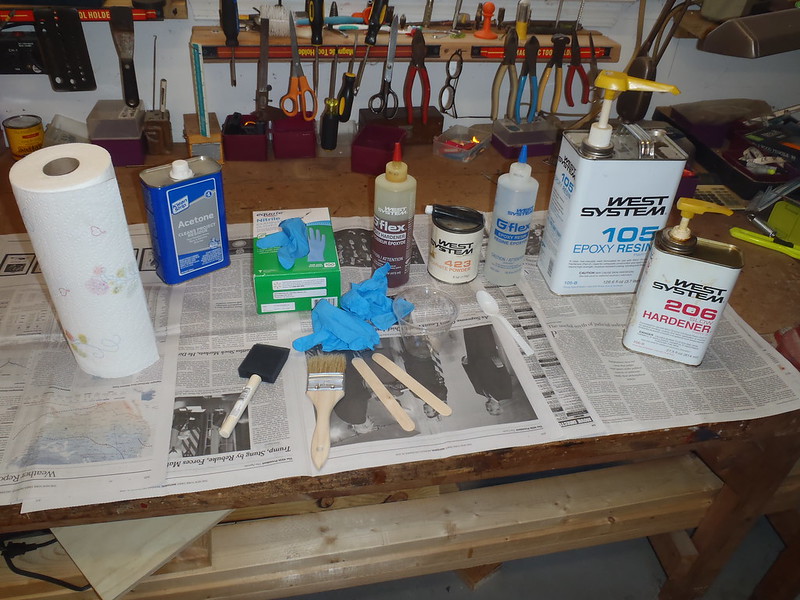
Sanded as smooth it was almost time to walk away for the day. Since at least one seat needs to go back in right-side up I really wanted to seal the existing spline with a little bead of G/flex to prevent any water weep rot in the spline & groove.
 PC261473 by Mike McCrea, on Flickr
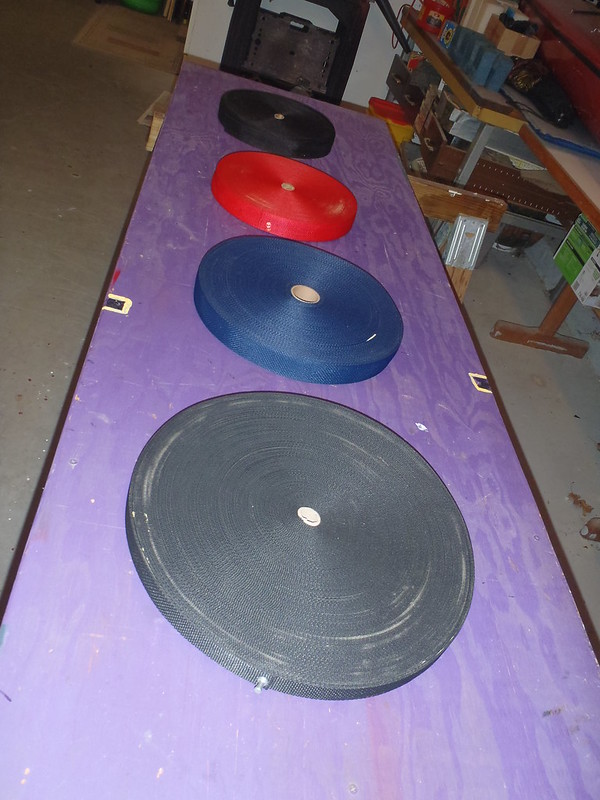
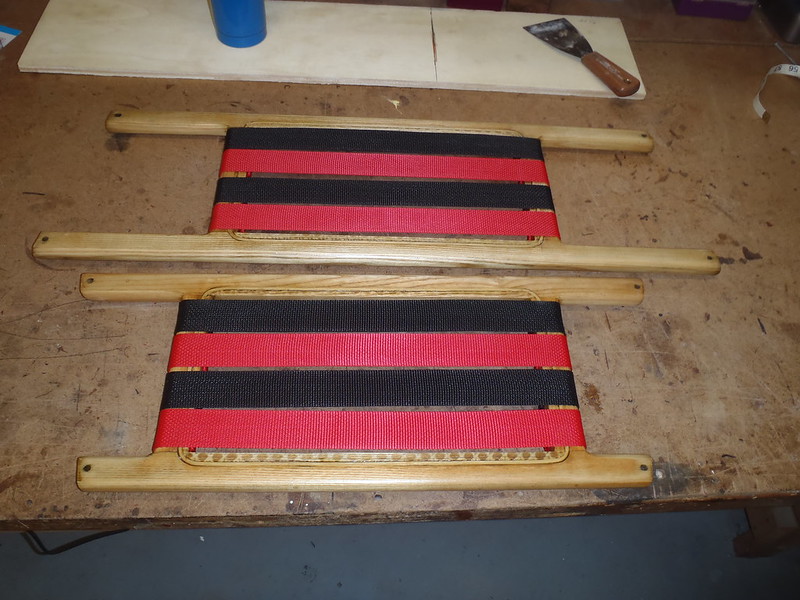
Some wait time coming for epoxy curing (G/flex is slow) before a couple coats of spar urethane, then some webbing cut and stapled.
Staring with refurbishing the old cane seats with new varnish and webbing. The never refinished 14 year old seat frames are badly in need of attention.
MRC used plastic truss hangers. Not the prettiest things, but zero end rot, and zero need to sand and refinish. I’m OK with that for a low maintenance canoe with vinyl gunwales.
Although I am certain that each molded plastic drop is identical I marked them bow and stern, left and right. With DIY’ed wood trusses I have found that very useful on re-fit, and old habits die hard.
A few demerits on MRC’s seat hardware; the machine screws are 6” long, which is a half inch longer than needed for the drops. They were installed with a lock washer and a Nylock snugged all the way up, with the ½ inch of shank end exposed. The only ones that had thread protectors were the ones on which I had previously taken off the nut to installed webbing loops and flat washers (rear machine screws on both seats).
I will be more attentive to all of those anal finishing touches when I re-install the seats.
One close inspection, with the seats removed from the Revelation and laid on the bench under the LED’s, one seat had a couple crisscross pieces of webbing that were broken through. The seats had still held my fat arse in test sits, but when I poked my finger at that little crack I felt like Warden Norton discovering Andy Dufresne’s tunnel.
https://www.youtube.com/watch?v=SlKZujGZi0I
I did not go all the way through to my shoulder, but I think I could have. So yeah, catastrophic cane seat failure was pending, and at least on 14 year old cane a tiny split may mean worse is not far off.
Speaking of which, I have never had the webbing part of a canoe seat fail. Cane yes, seat dowel joints yes, even seat hangers (other people’s, the flimsy drill dowel type with some age on them) yes. The webbing itself, never, and some canoe seats I webbed 20+ year ago are still in action. Even if one webbing strap did somehow fail the remaining 10 crisscross straps should keep your arse securely off the bottom of the canoe.
With the seats out I proceeded to a new experiment; spline removal. I usually just leave the spline in place and flip the seat over for webbing, but what the hell, survey says “boiling water”
Hmmm, the JetBoil stove would also be a good way to use up the (several) Iso-Butane canisters with mere minutes of fuel left in each; I’m never carrying those on a trip and they are permanently orphaned on a gear room shelf.
Then, a brain storm. Thinking I could skip the messy boiling water step, I tried using a wall paper steamer first. That was actually a brain fart. Even left laid steaming atop the seat frame for 5 minutes it was little help with spline removal.
PC251456 by Mike McCrea, on FlickrOn to some rolling bubble Jetboil water poured over the spline groove. I kept the seat horizontal on the drainage bin and gave it several good boiling water soaks. I was not thrilled with that spline removal action either, even after repeated dousings and soakings with boiling water.
OK, Plan C; boiling water followed by a longer chuffing of steamer. A little better, but still a PITA, even using a narrow spline-groove width chisel to dig underneath.
PC251457 by Mike McCrea, on FlickrI was not enamored of either attempt, even combining the boiling water & steam techniques. The spline removal seems unnecessary nonsense unless I wanted to replace the old cane with new cane. I plan to reuse these seats, but web them flipped upside down to hide the spline groove.
OK, Plan D; back to my usual lazyman technique. Just slice the cane at the inner edge of spline goove with a razor knife and pull it out, leaving the spline still neatly intact in the groove.
PC261461 by Mike McCrea, on FlickrRemoving the cane with a razor knife and leaving the spline in place took all of 60 seconds per seat. It was harder to cleanly cut out the wet cane on the seat I had doused with boiling water and steam, and I couldn’t progress any further on that seat ‘til it dried out. Lesson learned.
PC261463 by Mike McCrea, on FlickrI think the spline removal is only necessary, or even advisable, if you want to re-cane, or cannot flip the seat over to use webbing (contour seat, etc). A couple minutes with the RO sanders (100 in one, 220 in the other) and the flat tops and bottoms of the seat frames are well sanded.
It took only another couple or three minutes on each seat using two 1” belt sanders (one with 100, one with 220 grit) and most of the rounded sides were sanded bare wood smooth. Including the “rails” and (looking to refresh my memory of Conk terminology) “struts”.
I could get to everything except the inner edge of the rectangle with the little belt sanders, and the RO and pad sanders fit inside that rectangle.
PC261471 by Mike McCrea, on FlickrUpside down I don’t care that the spine is epoxied in the groove, I wanted to fill that groove void using some epoxy over (?) filler cord anyway, and the existing spline is already well OEM wedge driven and glued in place.
PC261466 by Mike McCrea, on FlickrOf course the butt ends of the seat frame got sanded smooth for multiple costs of spar urethane. On that close sanding inspection I discovered some odd construction props to Mad River Canoe; not only are all of the machine screw holes precisely and evenly spaced in from the ends of the rails, and the ends of the rails perfectly cut for the sheerline angles, but the butt ends are also angle tapered vertically to match the \ / sides of the hull, most noticeably on the bow seat.
Well, shiiiit, those end cuts on the seat rails are not going to work well installed upside down. The bow seat at least needs to go back in right side up, maybe both seats; I will have to check the stern seat before I web one side or the other.
Sanded as smooth it was almost time to walk away for the day. Since at least one seat needs to go back in right-side up I really wanted to seal the existing spline with a little bead of G/flex to prevent any water weep rot in the spline & groove.
PC261473 by Mike McCrea, on FlickrSome wait time coming for epoxy curing (G/flex is slow) before a couple coats of spar urethane, then some webbing cut and stapled.