• Happy Weed Appreciation Day! 🌱🌿🌻

First time build - Freedom 17

Joined
Apr 19, 2017
Messages
21
Reaction score
10
Location
Twin Cities, MN
Hello!
I've learned as much, if not more, online as I have from my Canoecraft book and video. So first off, thank you to everyone out there who's willing to share their knowledge with us newbies.

I have begun the build of my first canoe, a Freedom 17. I found a posting on Craigslist for custom-milled Western Red Cedar, which came from decommissioned utility poles. The guy figured the lumber is 80-100 years old, which I thought was pretty cool, so I ordered five 21ft planks at 1x6. The trim work will be ash and maple from my parents property that my brother and I milled a few years ago, with some details in walnut that belonged to my late father - most of my woodworking projects use lumber that has some personal meaning to me.

So far, I have:
- Traced and cut out the forms
- Bent the stems
- Built the strongback
- Planed the planks
- Milled the strips with my Skilsaw - which worked perfectly!
- Routed the beads and coves

I'm getting ready to set up my stations and inner stems and will hopefully begin planking this weekend! There were more knots in the cedar than I initially realized so I plan on doing a lot of butt joints, I'll probably leave the smaller knots for character. I'm still trying to decide what to do for a feature strip, leaning towards a 1/3, 1/3, 1/3 = walnut, cedar, walnut strip. I've also been thinking about a chevron or trapezoid pattern in cedar for subtlety...we'll see.

The huge amount of work has become very apparent as I don't really have anything to show yet and have already lost track of how many hours have gone into it, but I'm thoroughly enjoying every minute. My plan is to work through the winter (in my heated garage) and have a completed canoe for my annual BWCA trip next the summer. I'll keep this post updated throughout the project!

Adam
 
Last edited:
You are going to love the boat and the build is a lot of fun ... I completed my Freedom last year ... in case you are interested I have included a link.

If you are planning on portaging the boat, now is the time to start thinking about how you add weight to the boat ... walnut is pretty heavy, you can get just as dark selecting a darker piece of red cedar, or maybe consider a much lighter wood like basswood or white cedar for contrast.

Just a thought.

Brian
 
Adam,
Welcome to the addiction!! I was in the same position that you're in now...40 years ago!

Betcha can't build just one! (very dated paraphrase of an old potato chip commercial, sorry)

You've certainly come to the right place, lots of talented guys here. Some of the accent work is amazing, accent strips, rosettes, inlays, yeah, really nice.
And I'll join in with Cruiser, now is the time to be weight conscious, especially if you'll be carrying any distances. Because I keep getting weaker every year, I am forced to build lighter and lighter boats. Strictly personal preference is cedar for the hull, mahogany for all of the trim, but those woods are a good combination of low weight, easy to work with and look great too.

I like your attachment to stock that has meaning, I have tools made by long gone friends, and I'm always comforted by their use.
So let's see some photos, even if it's just your forms, we all like to see them.
 
Hello!
I’ve learned as much, if not more, online as I have from my Canoecraft book and video. So first off, thank you to everyone out there who’s willing to share their knowledge with us newbies.

I have begun the build of my first canoe, a Freedom 17. I found a posting on Craigslist for custom-milled Western Red Cedar, which came from decommissioned utility poles. The guy figured the lumber is 80-100 years old, which I thought was pretty cool, so I ordered five 21ft planks at 1”x6”. The trim work will be ash and maple from my parents property that my brother and I milled a few years ago, with some details in walnut that belonged to my late father…most of my woodworking projects use lumber that has some personal meaning to me.

So far, I have:
- Traced and cut out the forms
- Bent the stems
- Built the strongback
- Planed the planks
- Milled the strips with my Skilsaw - which worked perfectly!
- Routed the beads and coves

I’m getting ready to set up my stations and inner stems and will hopefully begin planking this weekend! There were more knots in the cedar than I initially realized so I plan on doing a lot of butt joints, I’ll probably leave the smaller knots for character. I’m still trying to decide what to do for a feature strip, leaning towards a 1/3, 1/3, 1/3 = walnut, cedar, walnut strip. I’ve also been thinking about a chevron or trapezoid pattern in cedar for subtlety…we’ll see.

The huge amount of work has become very apparent as I don’t really have anything to show yet and have already lost track of how many hours have gone into it, but I’m thoroughly enjoying every minute. My plan is to work through the winter (in my heated garage) and have a completed canoe for my annual BWCA trip next the summer. I’ll keep this post updated throughout the project!

Adam

Sounds darn near Perfect to me Adam !
I'd love to stop by, Heck Alan gets up to the Twin Cities ! Send him a PM, and see if he'd like to stop by !

When you get close to glassing, If the weather is permissable, I might find myself coming up ! Wife has a girl friend in Rosemount. Might get at least two birds with one stone !
Bead and coving your strips helps a lot when doing any decorative strips !
It's fun to match strips, but a pattern on the side, about 4" down from the shear, will catch a lot of eye !
Aspen is a great accent wood, if you want light color. Pine, and Cedar fade, but Aspen will stay white a long time !

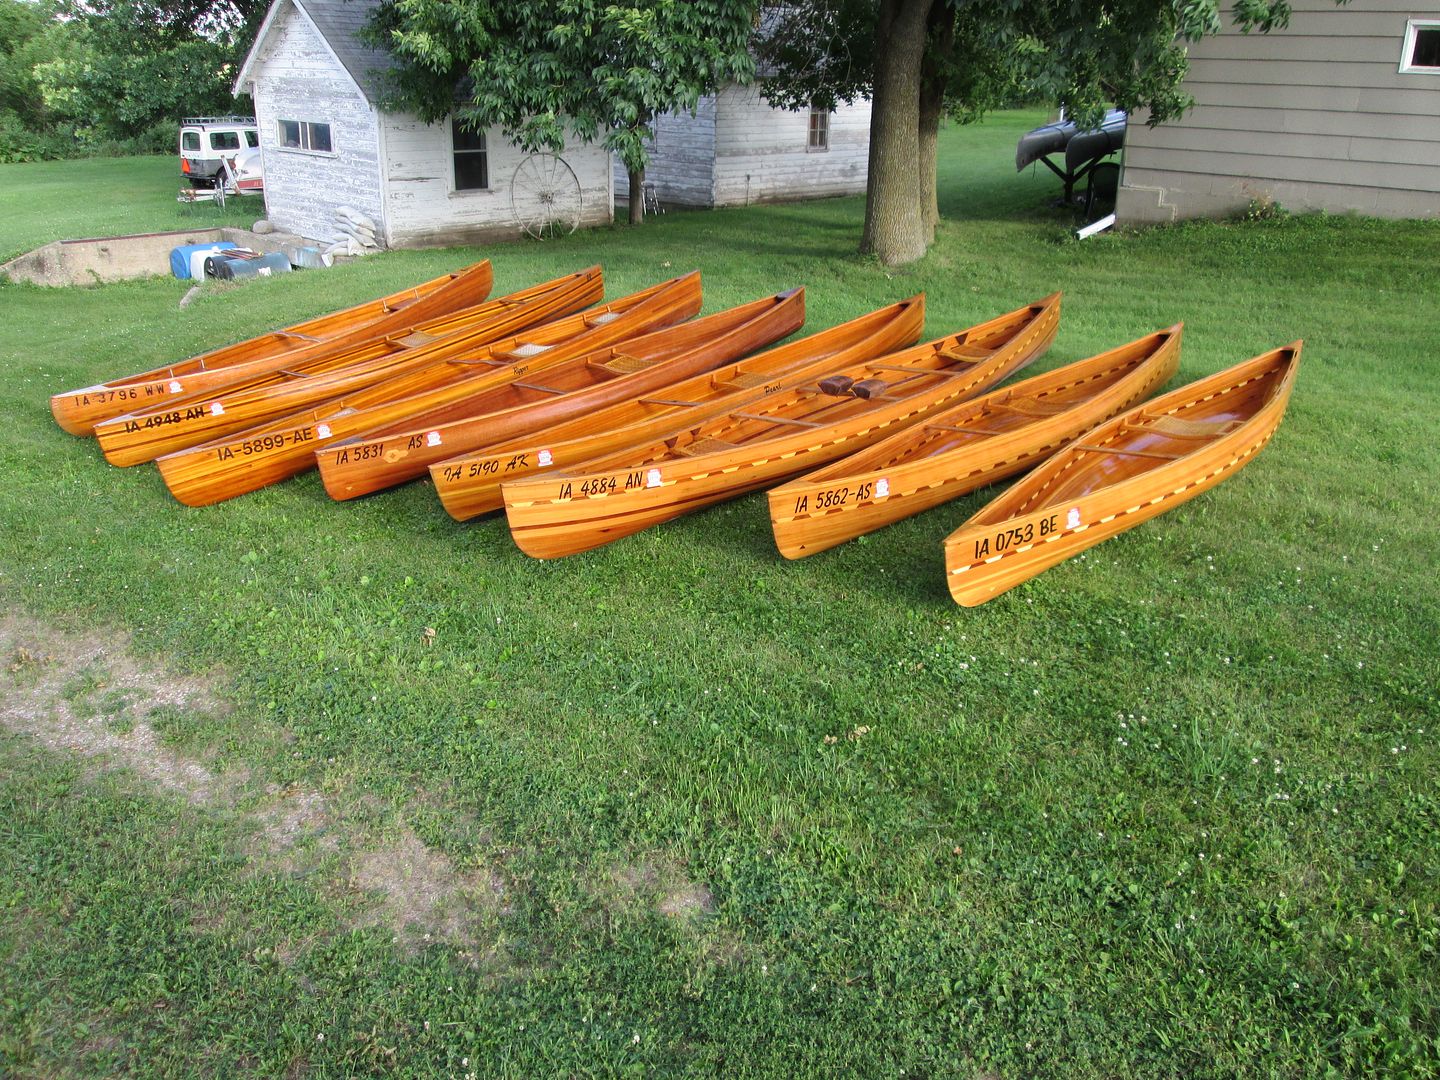
Be careful ! Or you'll wind up building a whole fleet !
IMG_0284_zpsvvt39gbd.jpg


Last canoe on the right used Aspen. You can tell the difference even far away !

Jim
 
Last edited:
View attachment 3K5sLW6woqvRIG3VlmSBoZ5YYUyBb0wjrKTvQjoD56yctDDGlJIN5RubJXqtVXVs46qCuoh8Hcgdog_sBLlTNAVrvd8s_J2fNoTZ
Bringing home the 21ft long cedar boards, milled from a utility pole.


View attachment 1ZG0mYDoq3LLPBbuVW0YJGshokxix9YqimhpaCZPWUDE_FKneNdaGL0SuuNoRw6z8kIBiRPKYodlja6VcGXvDYL35lbHQclzUcXG
Ash slab milled by my brother and I two years ago to be used on the stems and gunwales. We use a chainsaw mill, it's a lot of fun!


View attachment A0teY21vSYyMRmOO9fiVSt2quj1Q9Z6c7PXnNNr0avWUPQ_Sn-1Fn-a4ltvVKNdnvPRSgic7y-hDy3VqpMEFebVUbijlaNT_nubd
Getting ready to trace the forms.


View attachment O1ec9PdJWHCbbIM03n7BRaxVjQ9EIdw0Y3AXMHwwjkjy1z5YdlnltTRYyNtP4HVS81kZNIR8sRoRfuigFA6Y7N9jpKcpXvI7YXLz
Making progress on the forms.


View attachment nsnHJqImPMILLZoh4HKQ4HaMjLWCjmBEP-WudmLOygrEMLpnOMFVObFmpeblN8KyFbWtnos3-u3E6XPuMcyCEsEGaZBrTcN_mjQ6
Steam bending the stems.


View attachment 4kCCk4Jm6-xLTWffoZQgTegPS0x9tqNGaYwpQYKG8cOd4RNmVRO2SNx16pOIGBkSHY-v8a0R1CATUwgMOGrve47uMgCShTrERFWa
Completed strongback.

View attachment UajXGOlZXRT9zooMCNX7DHZWwqMT-6lfmAH_zV-2oSm05RwKKq6Duk9HUgL-wmu_NgrpONzhGZJD0L8iV_WJlTMJQaJ5TtNhB38N
Planing the planks (what a mess!)

View attachment sP42Ic_bHieVNR7lBdPVoola2yzlMz82aYLR3XdS9ynC5s-GVWtMOe7IJRWVdR-BJdYn10LOi-1Ykz8V5sdWHWmPq5q-mQVTY2Gm
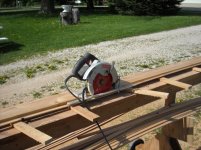
Ripping the strips with my Skilsaw on the strongback. 124 total strips was probably overkill.

View attachment iLOJH6tNgJklGygV0TSWkT8sJ5yK1b8HhWcjw7bhg4jxpvZde8g_W2VbS3tHahTmM9Lch_tUYVRxyO4CKYCIECM_4Rl5K7yloynL
Beads and coves finally complete!

View attachment Ir1WXaZ024j06UJmrG_H_QcYvOx1PfRijvjvhU9C_GOcT6KUXdqmgj9chDcrfMN6Ru3dO3fwW-mIyPVLyPri-M9aH0U1GBhJWXeE
Getting an idea of what the strips will look like together.
 
Above are some progress pictures spanning July up through last night.
I'm close to stripping the boat now and really looking forward to the project this winter! Thanks for the encouragement and feedback, everyone..stop by any time!
 
Adam !

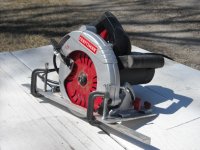
Not to be critical ! But your strips will come out better, with your fence clamped on the other side of the blade ! That way your saw base will have a flat surface to ride on . Here is a pic.

24d130fa-ef35-4a97-a402-cf39cd7d304c_zpsxqjlj4x2.jpg

28ccb1ce-0b40-4649-b3ed-89e5c40b0834_zpsasp4x7se.jpg
 
Ahh, that makes sense! Thanks for the suggestion, Jim (I'll keep that in my back pocket for the next one)
 
Welcome to the club!

Glad to see you will be sharing your build here! Good luck in your venture.
 
Great progress!

All these build threads are making me antsy to set the stations for my next build!
 
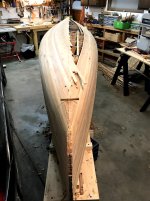
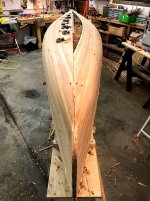
I haven't posted in a while, but progress has been made...It's starting to look like a canoe!
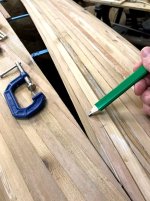
I decided to use two 3/8ths strips of ash for my feature. I think it will be a nice compliment to the ash outer stems and gunwales.


Looks Great Adam !

It appears to be a stapleless build. Could you post a pic of your strip clamping system ?

Jim
 
You bet, Jim.
I use cleats and wedges plus masking tape, like this:

View attachment ksOiQWqwVbtjRFdl_7rhgDtRa8Pjt15g2dkLbvVAOqjGQzRZrb_Wlk51v9_D17IXdB4JTT22lUcRPDnJNl8Tq5mudKzmzqQLOjgxView attachment eGQHB9pDZteb86XVrbpu9XucNARXc2Nz45uw8nTUlf4Jbs5XILoDuFbrukB1u0WwKDut3c1UYQXD4SYEH2lDR4T5FFtKHZmwa5ID

I've been only adding one or two strips per night; it's not speedy, but very enjoyable. Other than being slow, this system has worked pretty well so far. I've only had to use about a dozen or so wood screws to keep the strips down. We'll see how that changes as the curves get more and more compound.
 
Sometimes you have to get creative with clamps !!! Great use of scraps ! One day I may try Stapleless !

System looks good ! And doing a few strips at a time, insures they stay where you clamp them, while the glue hardens !

Thanks for the pics !

Jim
 
I haven't posted in a while, but have been slowly making progress...about 1-2 strips per day (when it's not too cold for the glue). As of today I have 7 left, whiskey plank this weekend!

I decided to not worry about patterning the color and just embrace the randomness. The boards all came from the same tree, so I figured it won't look too bad anyway (however, the variety in color and grain pattern is amazing!).

When I got to the the point where the strips meet each other, I matched the bow strips along the centerline but the stern strips were herringbone matched, oops. After 4 or 5 I realized why the stern strips weren't lining up and made a cheater strip to get things back in line. It's about 2.5ft long tapered, retaining the cove and planing/sanding a new bead. It was a pretty easy fix and should be barely noticeable.

I picked up my 6oz glass and MAS epoxy system last week at Northwest Canoe over in St. Paul. Dennis is a great guy and was very helpful, giving me a bunch of tips. I'd highly recommend stopping by their shop if you're in the area. http://northwestcanoe.com/


Before cutting centerline:
IMG_0564.jpeg

After cutting centerline:
IMG_0590.jpeg

Cheater strip:
IMG_0607.jpeg
 
Hi Adam

Nice glue joints ! It will save a lot of scraping and sanding !

Curious Why your stern strips didn't line up ? Difference in strip width ?

Dennis is a great Craftsman ! Glad he didn't talk you out of bead and cove ! Ha ! For some reason those Minnesota builders don't like it ! Nice to get supplies Locally !!

Keep at it ! Maybe we can meet up in April at Mid West Mtn's Spring event ?

Jim
 
Thanks Jim!
I'm not exactly sure how the strips got misaligned, but my theory is the first pair after the stems (5/8" ash accent strips) were aligned center at the bow and aligned herringbone at the stern. I'll never know for sure since the ends have already been chiseled out for the stems...no big deal.

I should be able to make it to the Midwest Mountaineering Expo, it would be fun to meet up!
 
I'd probably do a few things differently now that I have some experience, but I'm happy with the progress of my boat so far. My next steps are finishing the interior sanding over the next few evenings and glassing on Sunday. Here are a few pictures of my progress over the past 2 weeks.

Gluing on the stems:
View attachment D-iR5ygduzn2hpK1wlLVKwmIjM7Lm6KwwpHMv-WAD1QUxCCXkmKHOrXGFFmsFnPmqL75ssh_US_q8mSwKqHkvbfavGYsQxMxTT5c

Filling the voids. I used walnut colored wood filler which worked perfectly:
View attachment -0VOUXaRCLNg8GuO0nWFccc25tyDu5Hm2p8B7EGSNFyWPlJQWKRI5euRQQYxQGGD-BIZwBg1zTTTWtFPFR0Isrt4JaC5-uU5ey23

Sanded and ready for glassing:
View attachment 6-o_tUTuwB1XF19jrI01UVj-pFpibxvkeWhKr7ocqVY3ihO9k_bN-sL30b9cVu5ER560eUv7OFRzN5dCyjpTUyedQ4bosX7ne_6v

First coat complete. This was a bit stressful at first, but not as difficult as I thought it would be:
View attachment 7GRpcaEW9v262RzGHo-F50yQQrxp4QZ_EnyipjRisDM9iR1bT5USGgqNL672rffZee6sIxeSGD-3FqGLrHQDoCpno8GxP9kWry3c

Exterior glassing complete, I ended up doing 4 coats:
View attachment s1K44mVZoLyRhJxNkXskE9QQc5eqxmT_cVvQejsR9m3l2aTFHfUYNPgvuNFJsMSgV0P8dA9Qs878zYuMp1hru9E5xHZUhCjLnCN8

Off the forms. "Keel-side down" for the first time!
View attachment r9Ofh6_zRBA6heAPD26EkkW8lazDVt4ntukYr5QyLatS4zEoyp5ZmKQWYbsqgJhAI-RBevfcCQKVBehiO_TO7QN67Nv3IF0oY8HR
 
Last edited:
Back
Top