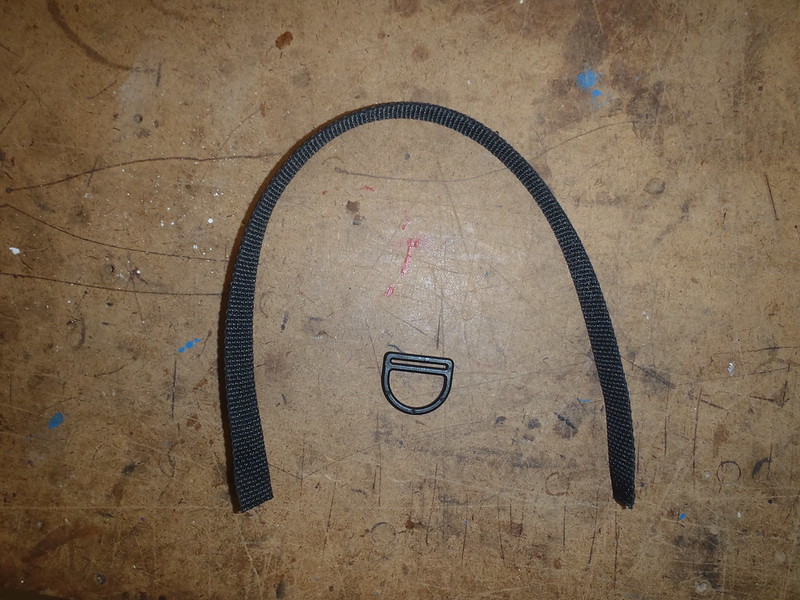
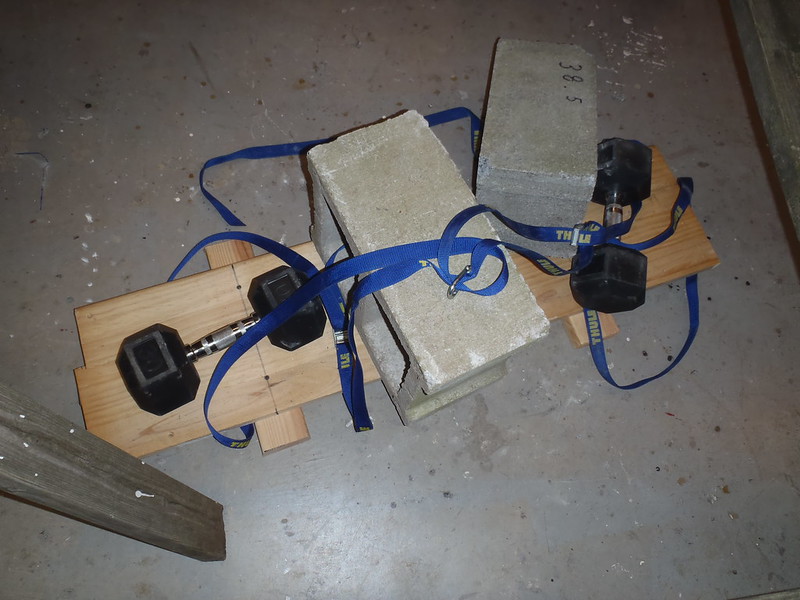
I needed to do some prep work before the next phase of testing, starting with making a fresh supply of webbing loops. I’ll need a few more, and like to have a small supply on hand. Once the putty knife and nail are hot it only take a minute to seal cut the webbing to length, tape the ends together and melt a perfectly sized 3/16” pop rivet hole (point end of a 20 penny nail).
P4060002 by
Mike McCrea, on Flickr
Those are 6” long pieces of webbing, so 3” long folded over. Pop riveted to the underside of a vinyl gunwale those leave 2 inches of webbing loop exposed for easy tie down/lace through, and they can be turned sideways 90 degrees to vanish under the inwale.
The most important part of making the sealed holes in webbing is finding the just-right sized nail (or nail head) to use. It’s worth trying a couple different nails to find a head that melts a perfect/tight 3/16” hole through the doubled over webbing; no sense having a bigger, sloppier hole that might more easily pull out through the rivet head or washer. I made a couple of webbing loops to accommodate 1/8” pop rivets as well (pointy end of a finishing nail)
Thicker, heavy duty poly webbing is trickier to melt a sealed hole; the nail/head needs to be really hot, so hot the hole tends to melt a little larger than the head, and leaves a bead of gooey melt perimeter. If you are quick about it you can melt the hole and stick a fender washer and rivet through while the goo melt is still hot, and mush things down flat.
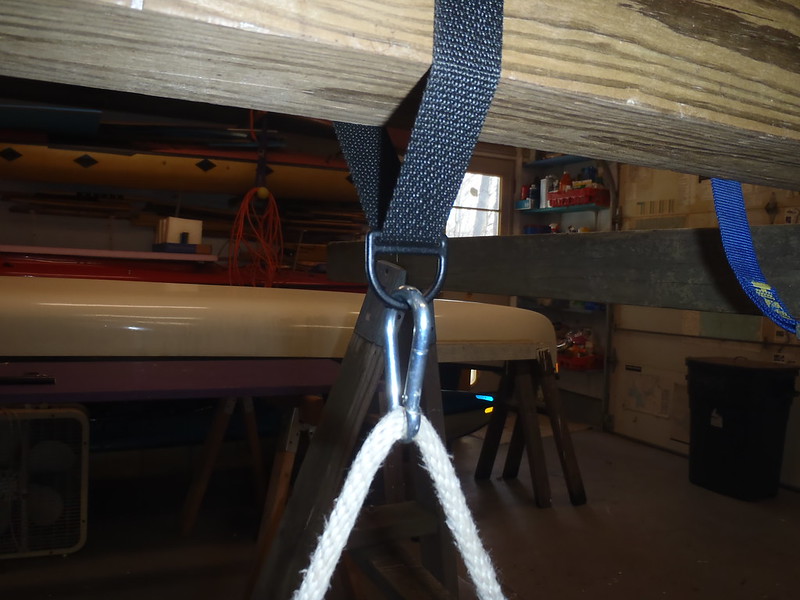
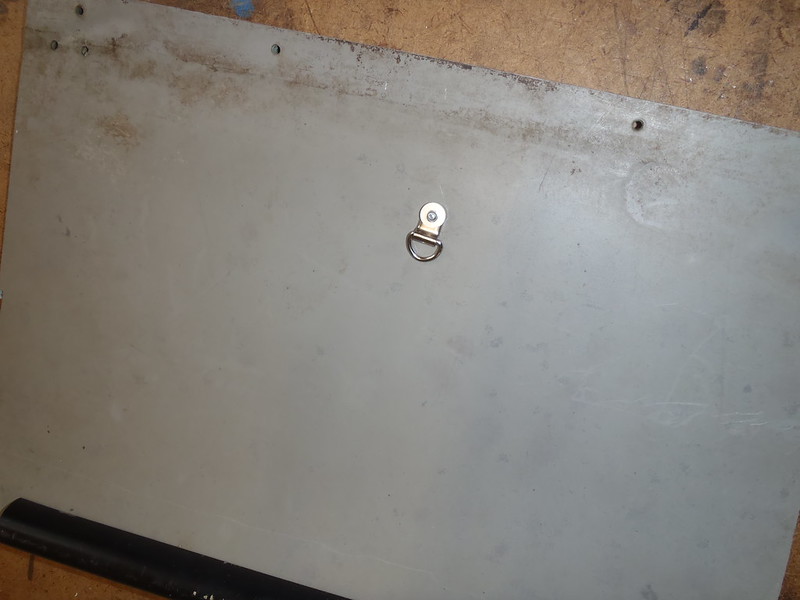
Before I can test attachments on/under the piece of aluminum gunwale I needed to pop rivet a sheet of Royalex in the gunwale channel. The RX should look familiar to Doug, and the aluminum gunwale regrettably familiar to Chip.
Yes Chip, this is a piece of the aluminum gunwale we used to re-rail the RX Mad River Fantasy. “We”, that is aluminum gunwale with a channel sized for a composite canoe. We forced it onto a Royalex hull.
Not recommended; it took three of us, several wide blade putty knives to slide along betwixt the gunwale channel and hull and considerable pounding on the top of the gunwale with a rubber mallet. Many colorful words were spoken, but we only dented the aluminum gunwale in one especially recalcitrant area towards the sheerline rise and curve.
I used the thinnest piece of scrap RX I had, widened the length of the gunwale channel, and it was still a struggle. I would like to try installing the new anti-crimp two-piece aluminum gunwales someday. As soon as I find a cheap Blackgold Bell Rob Roy with rotted gunwales. That’s the plan.
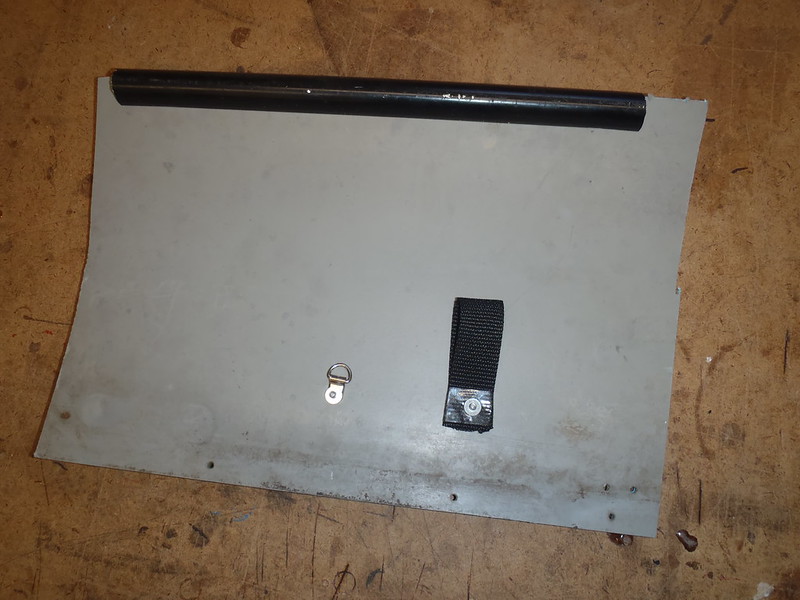
I slid the under-gunwale D-ring tab below the inwale edge, and pop riveted a webbing loop on as well. And pop riveted a mini D-ring and webbing loop atop the inwale edge as well; the mini D-rings use a 1/8” pop rivet, the others are the usual 3/16”.
P4060004 by
Mike McCrea, on Flickr
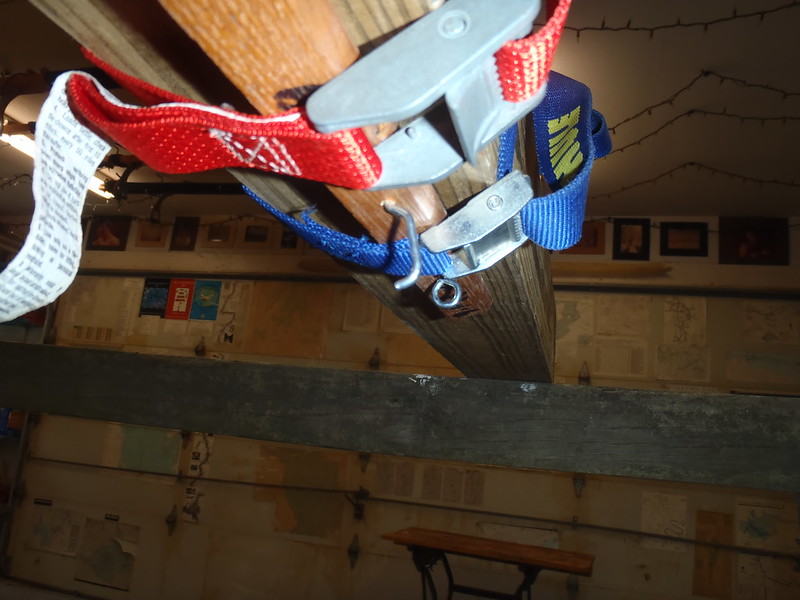
The brass spray cover stud a couple inches down from the edge is backed up with a SS mini D-ring. Those mini-D’s are good quality stainless steel; I bought some similar SS attachments from Wenonah that rusted to hell in a year or two, without any salt water exposure.
These “stainless steel” (my-arse!) things.
P2170545 by
Mike McCrea, on Flickr
I liked the 1” webbing pass through concept, but that is some ugly, rusty (not) stainless steel. I cut all of those fugly rusty pieces out, leaving the plastic tab intact, and ran a length of high strength Dyneema Zingit cord through the plastic tabs
The SS mini D-rings have fared far better, even with some salt water exposure.
P4060007 by
Mike McCrea, on Flickr
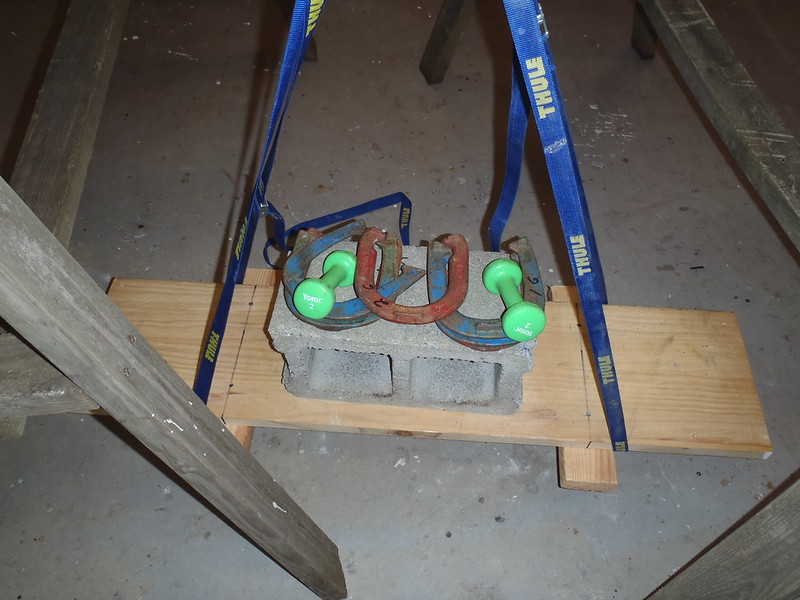
Before I test weight those pieces I need to back up another stud with a webbing loop & small washer.
P4070008 by
Mike McCrea, on Flickr
Time to “prep” some wood gunwale attachments. I am not a fan of things screwed into wood gunwales, for a variety of reasons, starting with the ugliness of metal or plastic doohickeys on attractive wood gunwales.
But I’ve seen it done, even folks using eye screws for float bag lacing in wood railed canoes. Despite hating the crude look of eye screws in wood gunwale, this is a test, this is only a test; I got eye screws and lots of seasoned wood gunwale scrap.
I hear Glenn and others softly chanting in the background “
slotted wood gunwales”. I guarantee you I lack the skills and pre-planning measurement to located thwarts and seat drops necessary to make slotted rails.
If need be I would drill lacing holes through the hull every 6 inches and run a length of cord in-out-in-out along the bow and stern sidewalls below the gunwales, so I have cord inside the hull every 6 inches near the sheerline to tie onto. Not a fan of through-hull float bag lacing left in place; I don’t use float bags often enough, and that permanent through-hull lacing is awkward with gear or even on empty boat day trips.
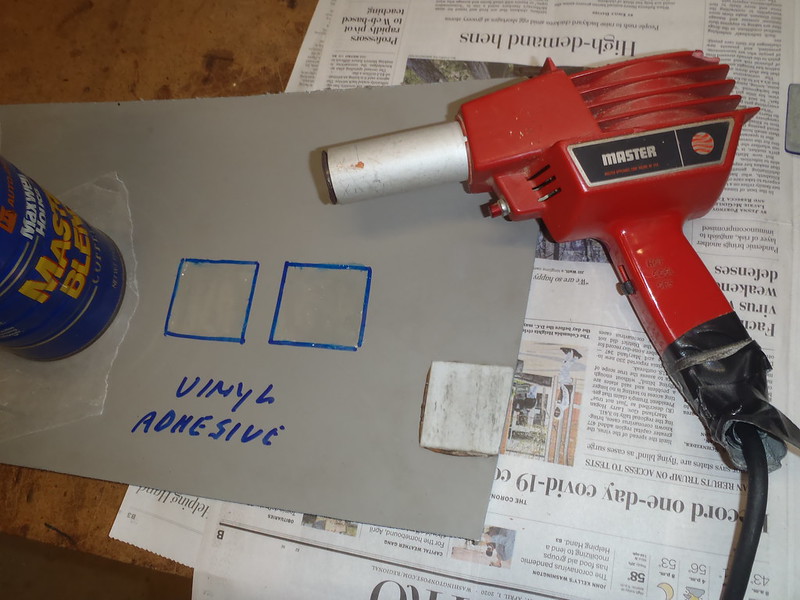
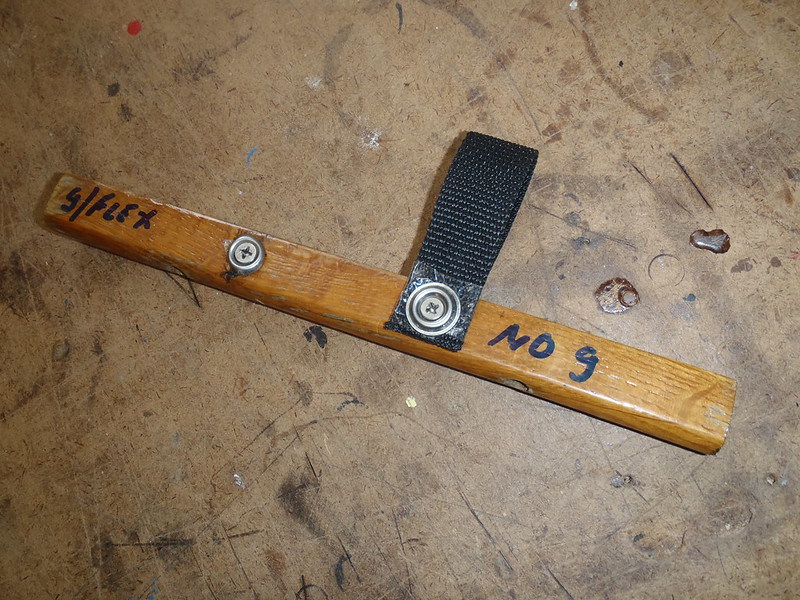
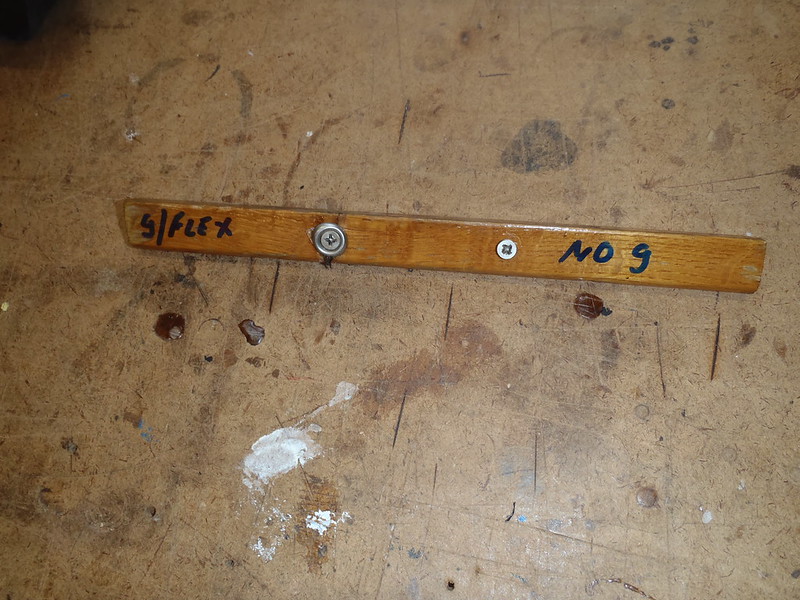
The prep work needed on the ash gunwale pieces is simply that I plan to screw in two-each sample attachments, with and without G/flex in the screw hole. Those leftover pieces of ash gunwale have been stored inside for 20 years and should be 100% dry. No idea if the epoxy will make a difference, but I needed to mix up some G/flex for the D-ring pads.
P4070009 by
Mike McCrea, on Flickr
While the G/flex was out I used it to epoxy one of the hard plastic pad D-rings to a sheet of Royalex, and adhered the other one using Vynabond. I was loath to open that NIB tube of Vynabond, but once again, I want to know. Let the Vynabond set up for a few minutes, hit it with a heat gun, laid the pad in place and weighted it. EDIT to be clear: thin coat of Vynabond on both surfaces, allow solvents to flash off, hit both surfaces with a heat gun, press together. Putting Vynabond on just one surface won't do crap.
P4070011 by
Mike McCrea, on Flickr
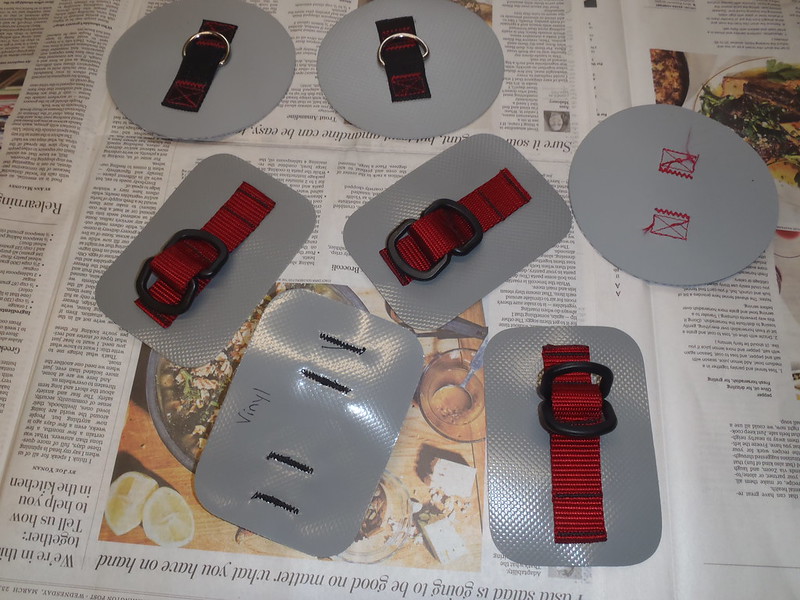
With both hard pads adhered down I covered them with pieces of wax paper and added some weights to help hold them down flat. In vinyl pad D-rings I use sandbags and some intermittent hard roller action.
Time walk away time from that sheet of RX. For how long I do not know. At least a couple days to allow the Vynabond and G/flex to fully cure? Longer? I’m in no rush.
I would dearly like to have tried this with vinyl pad D-rings. I’m curious about the hold of the stitching through the webbing and vinyl pad, but I’m not wasting any of those at $8 a pop.
P4070012 by
Mike McCrea, on Flickr
Since I had the Vynabond out another experiment seemed in order. I took a piece of intact RX and laid a small puddle of Vynabond on it, lightly scarred through the vinyl skin in another area and puddled some Vynabond there as well, both covered with wax paper to help trap some solvents. Might have to try that “Solvents ate my canoe” with a scrap of minicel and puddle of Contact Cement as well.
P4070014 by
Mike McCrea, on Flickr
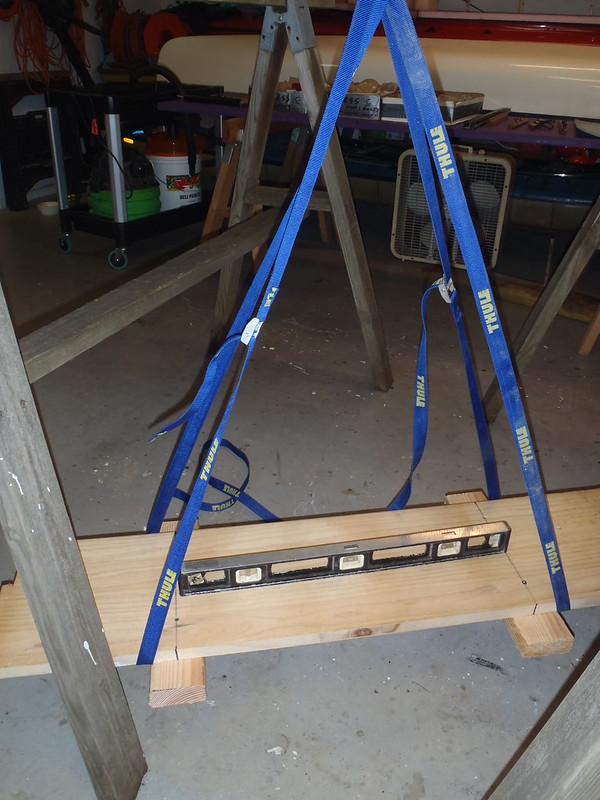
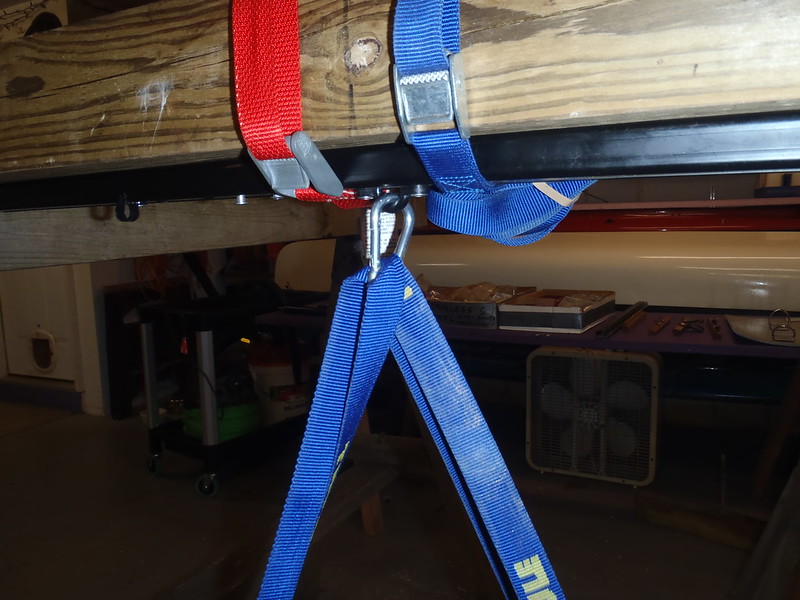
And finally, the DIY D-ring, overkill constructed. Over long length of thick webbing with a 1” metal D-ring in the center, laid on a coat of epoxy (already getting age dark West 105/205 Fast hardener) on the Royalex, laid the webbing webbing on that coat, top coated that with epoxy, covered the webbing with longer pieces of 2” E-glass tape, wetted out that out , covered with peel ply and hard roller compressed a few times.
I know that when the peel ply comes off that will be one of the sloppiest DIY webbing D-rings I have ever laid. The webbing is far longer than need be, 6” has proven plenty, I made way too much epoxy and I didn’t tape out a perimeter to provide nice straight epoxy lines. Aesthetics don’t matter in this test, but I have the same “How long to wait question” (105 & Fast hardener, not G/flex)
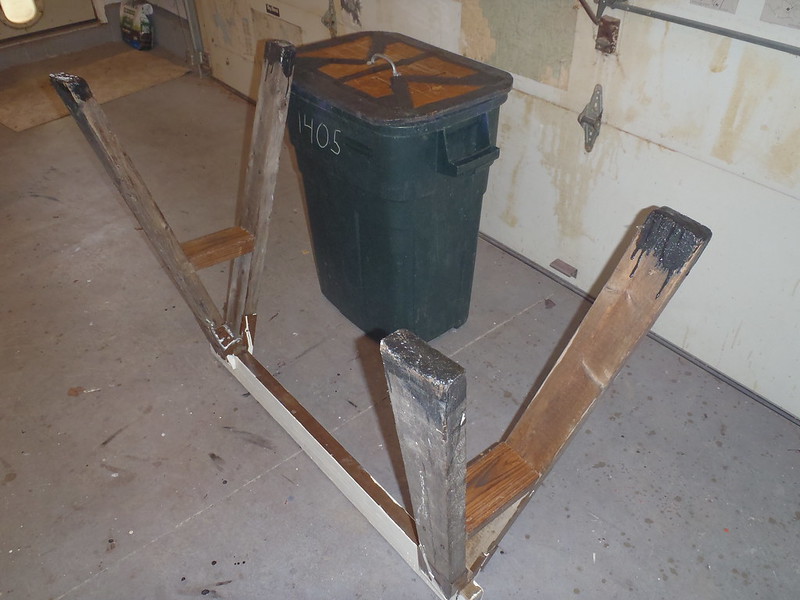
Yeah, I still had leftover epoxy, once again painted on the ends of the impervious-to-nature sawhorse legs.
P4070017 by
Mike McCrea, on Flickr
There has to be 10 coats of leftover epoxy or epoxy paint on those sawhorse feet. Alien archeologists will dig them up in 10,000 years and wonder WTF.
BTW, a lesson learned. That set of sawhorse had a 30 years of white house paint spilled on the crossbar. I had some white EZ-poxy paint left in a pan and on the roller. That stuff is too expensive to waste, might as well roll it out on the sawhorse crossbar.
Uh, no, bad idea. I rolled that epoxy paint onto the entire crossbar, including the top. Every dang time I set a boat on those sawhorses it left white marks on the hull.
Really hard to get off white marks. After a half dozen hulls with white hash marks I took a belt sander to the top and removed that stuff.
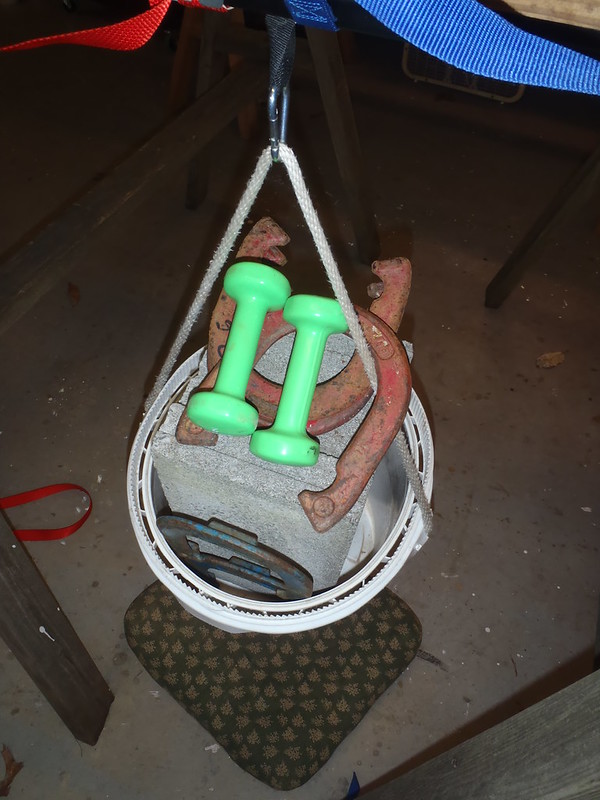
 P4030002 by Mike McCrea, on Flickr
 P4030003 by Mike McCrea, on Flickr
 P4030006 by Mike McCrea, on Flickr
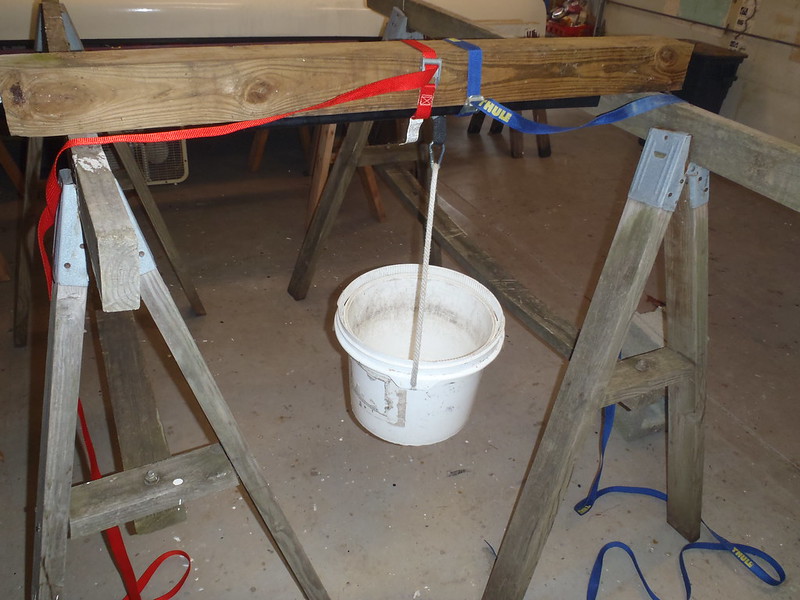 P4030009 by Mike McCrea, on Flickr
 P4030008 by Mike McCrea, on Flickr