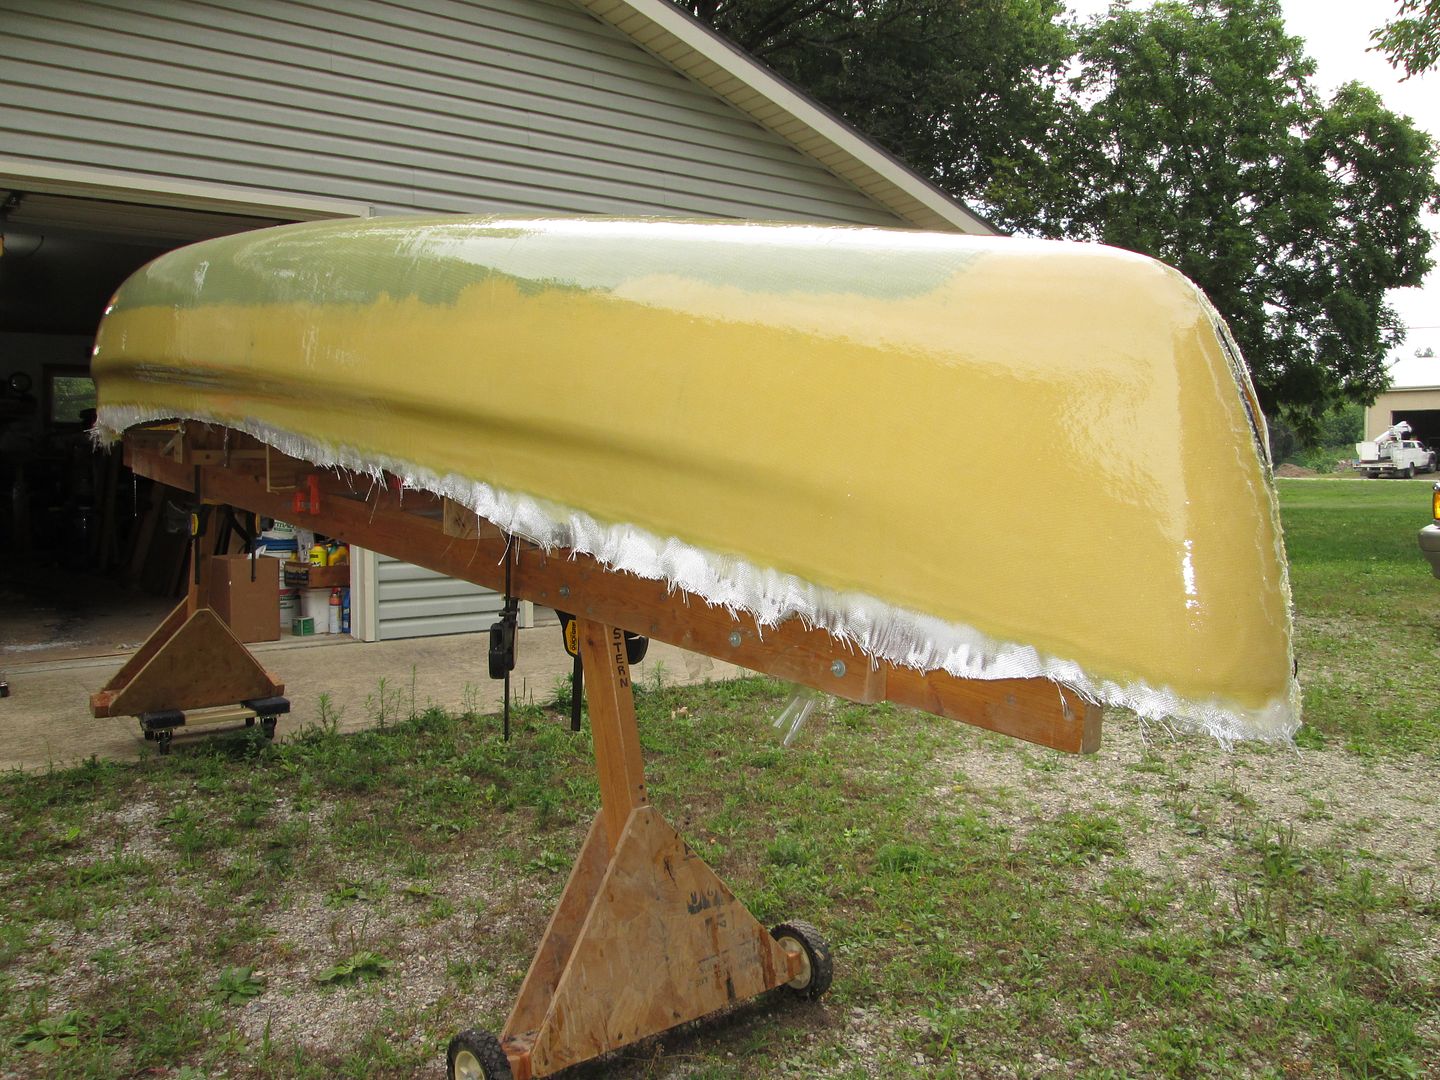
OK . At this point the Kevlar copy is off the stripper mold.
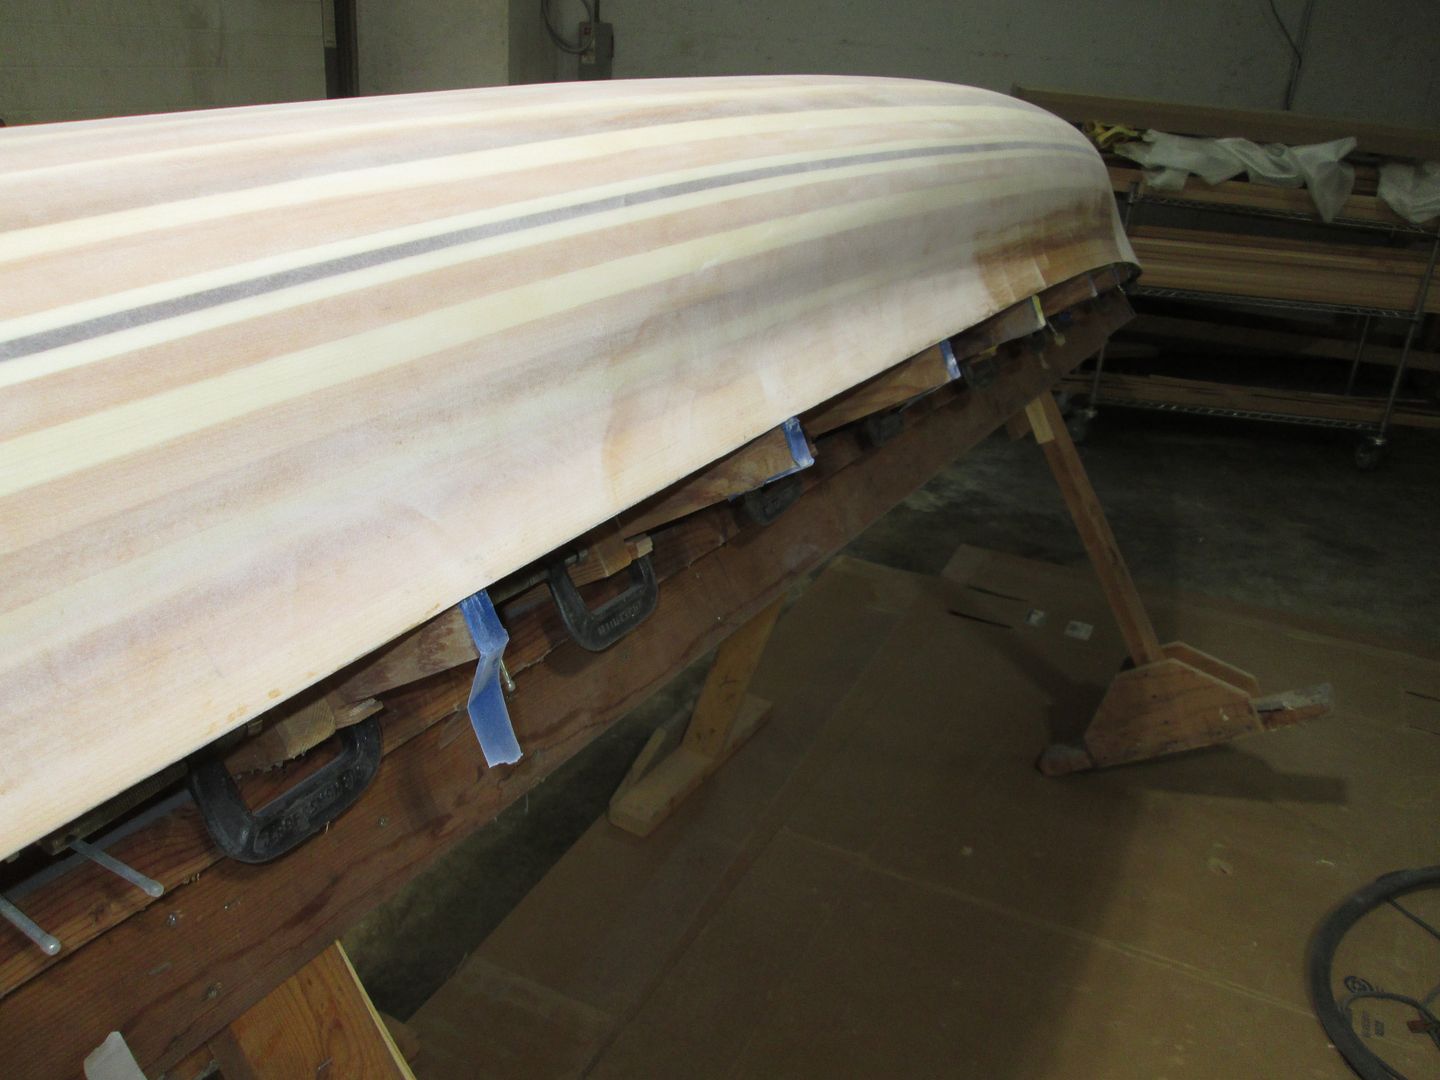
Next up is to sand the glassed stripper, before removing from the forms.
I love how easy it is to sand, the Tumblehomed area when I tilt the strongback !
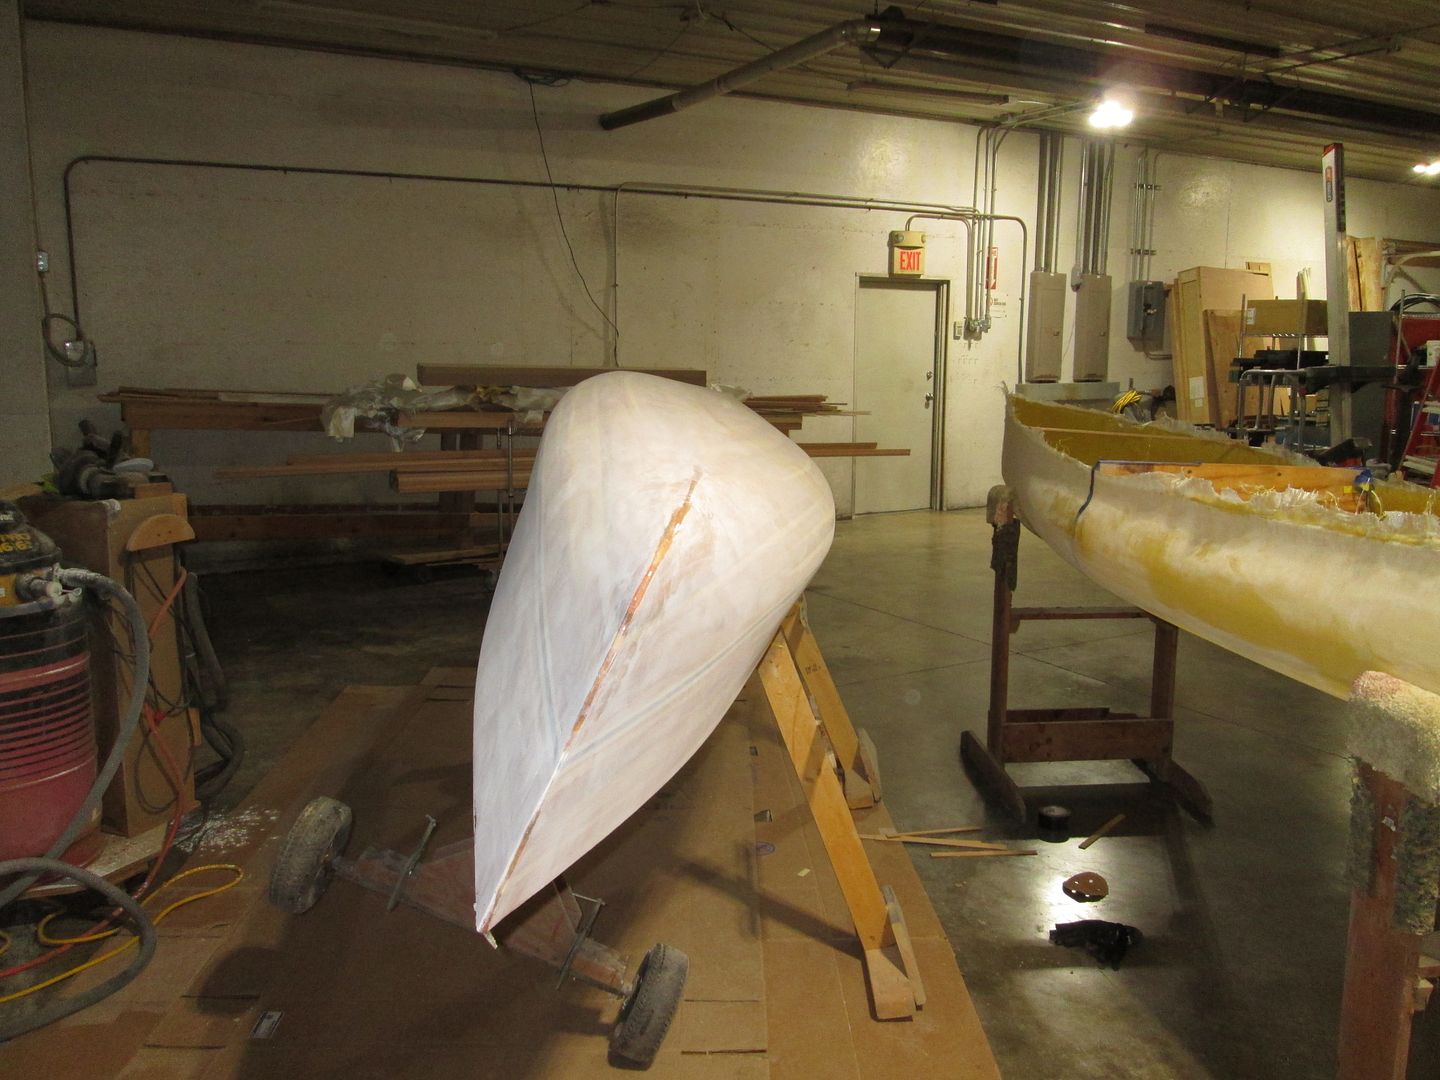
Fresh off the forms. Take note how little glue I have to deal with ! One of the big benefits of Bead and Cove. Being minmal with the strip glue is also a big benefit ! I spent very little time scraping, and sanding.
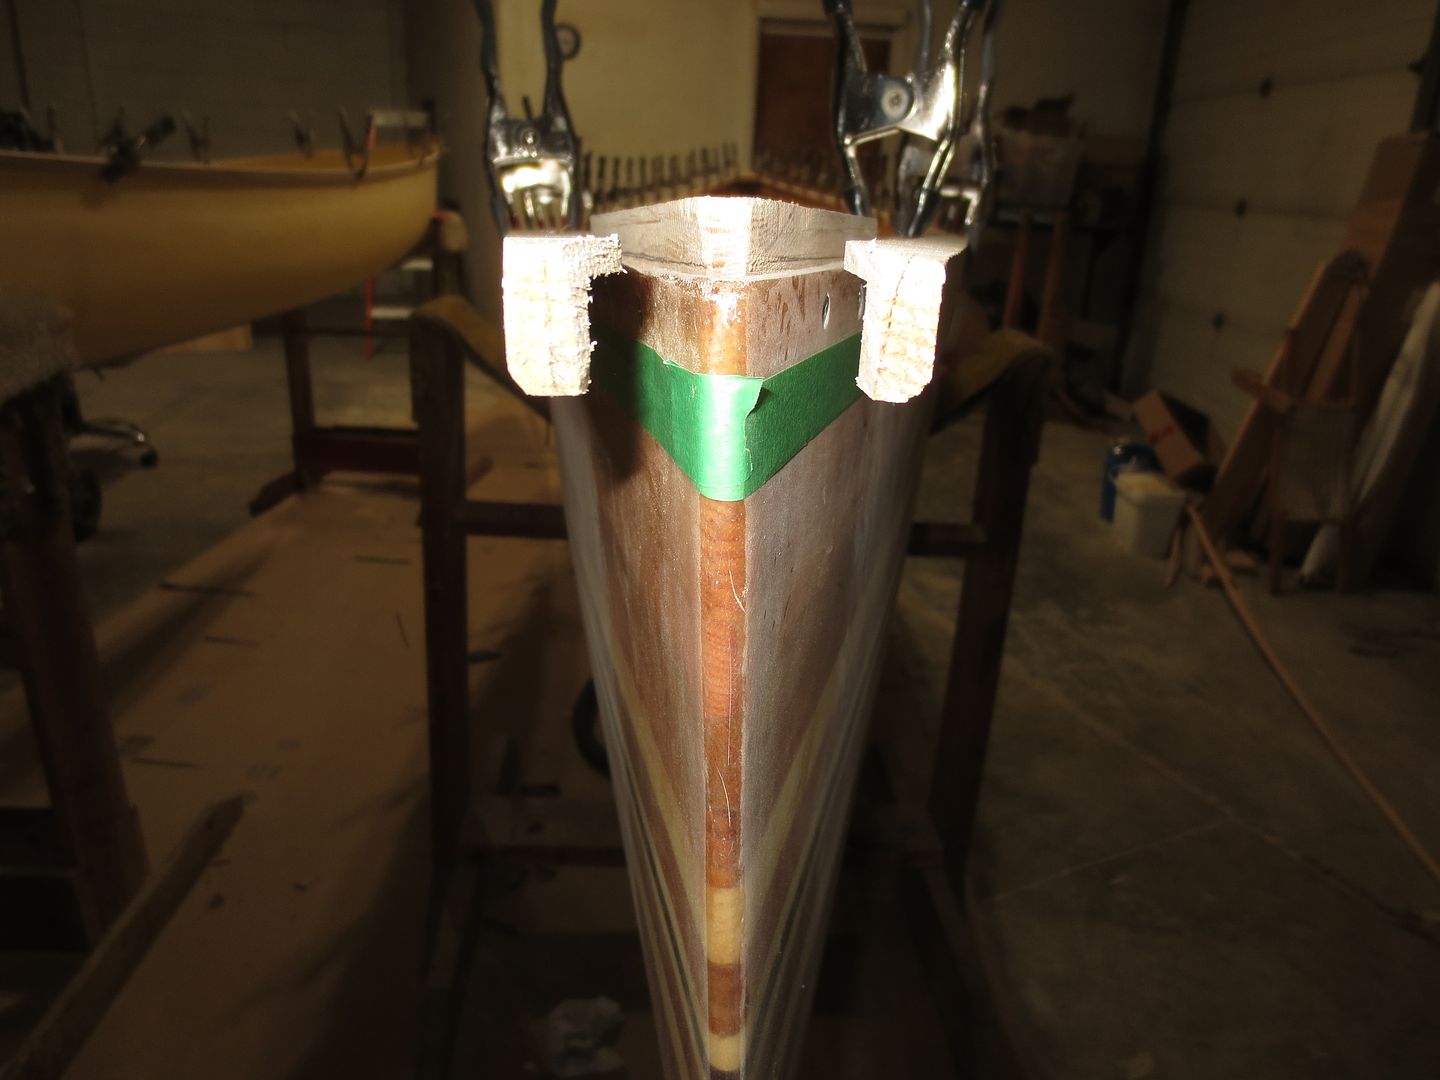
I will set the stem forms, with the adjacent form still attached, into the Kevlar hull. This will insure the stems on the Kevlar, get glued perfectly vertical.
Next I set the forms back up on the strongback, minus the stem forms.
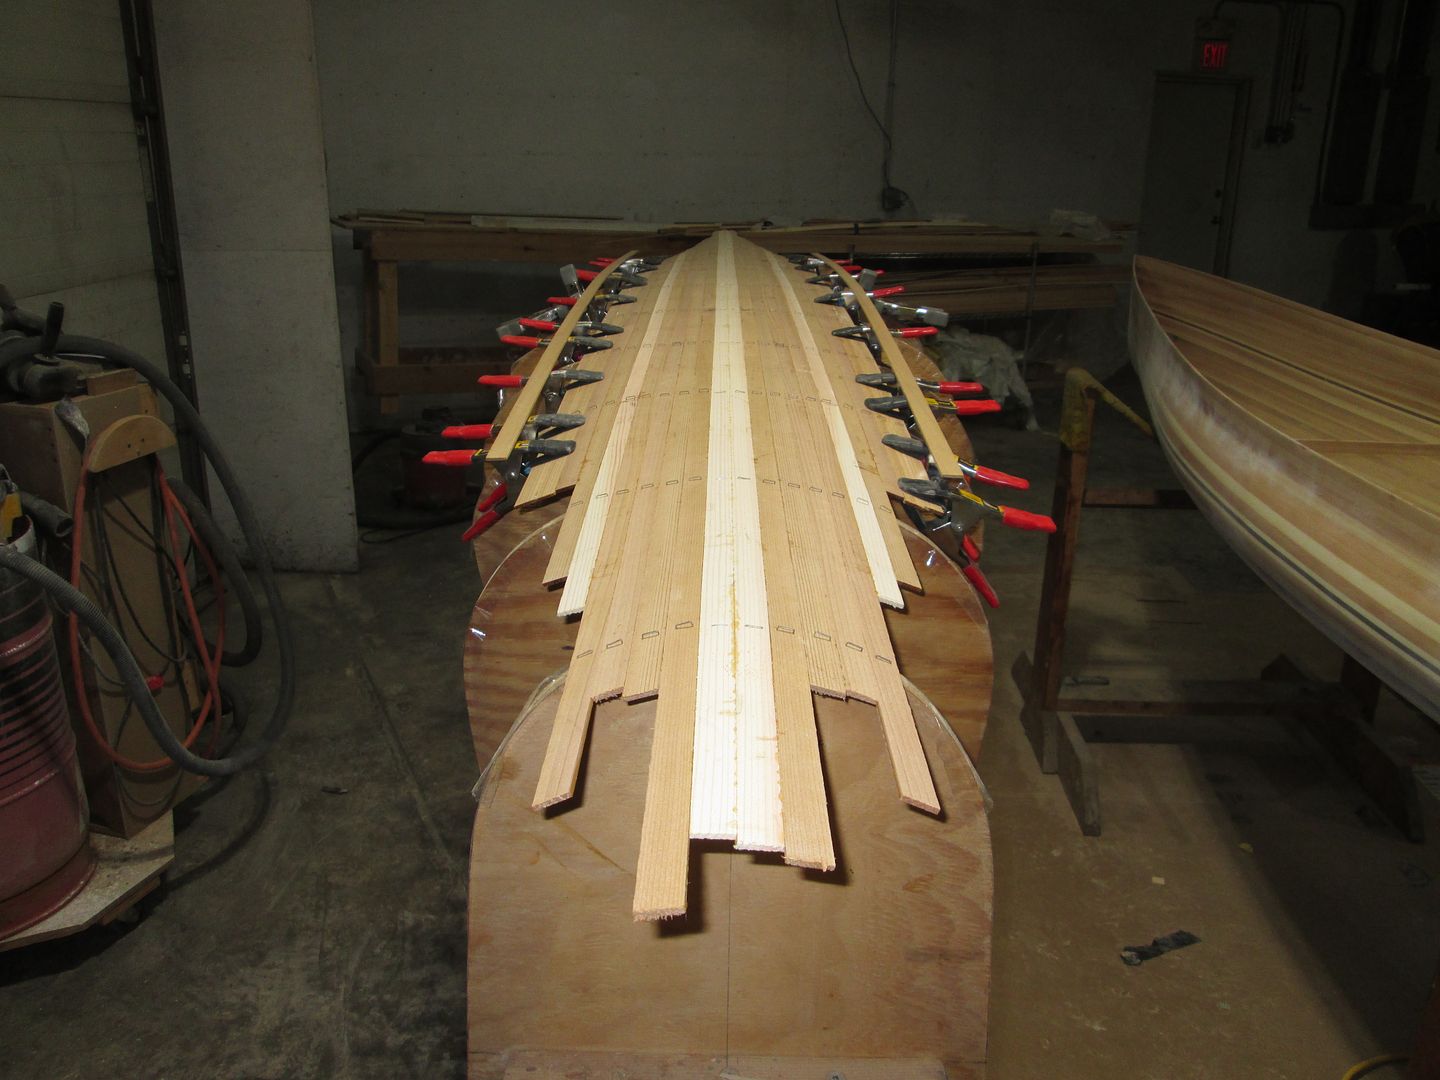
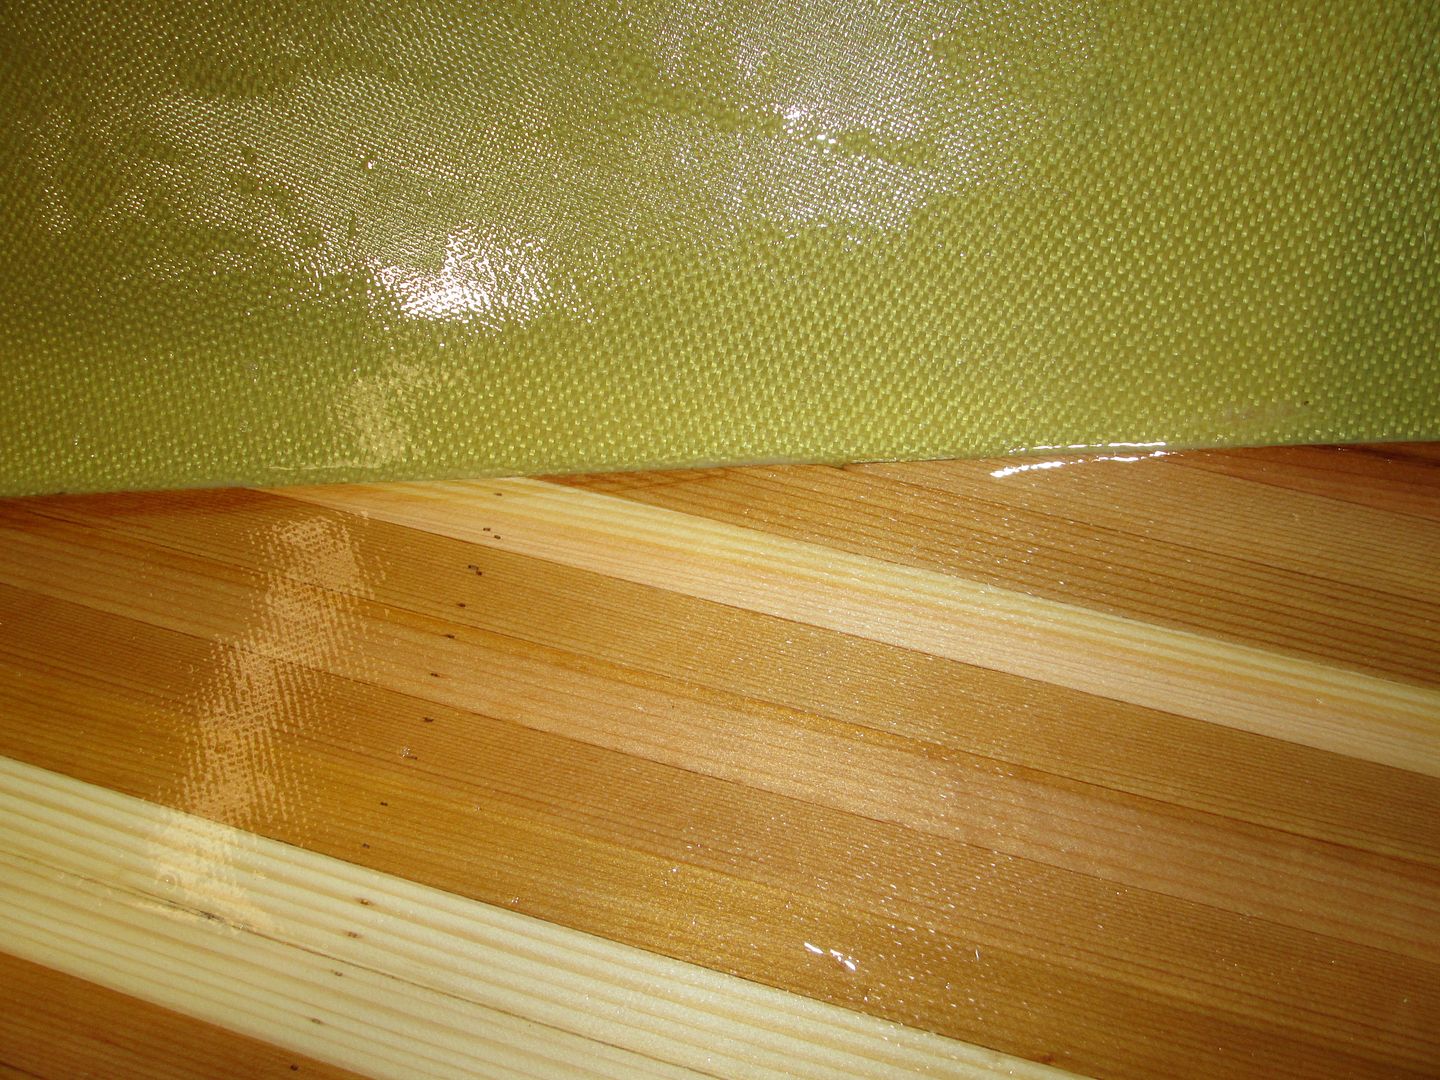
Instead of foam, like a lot of other composites, I'll make a 1/8" thick WRC insert.
This adds plenty of stiffness, and I like the look a lot better. It also costs a lot less than Structural foam.
I just edge the 1/8" thick strips. No need to spent time fitting such thin strips.
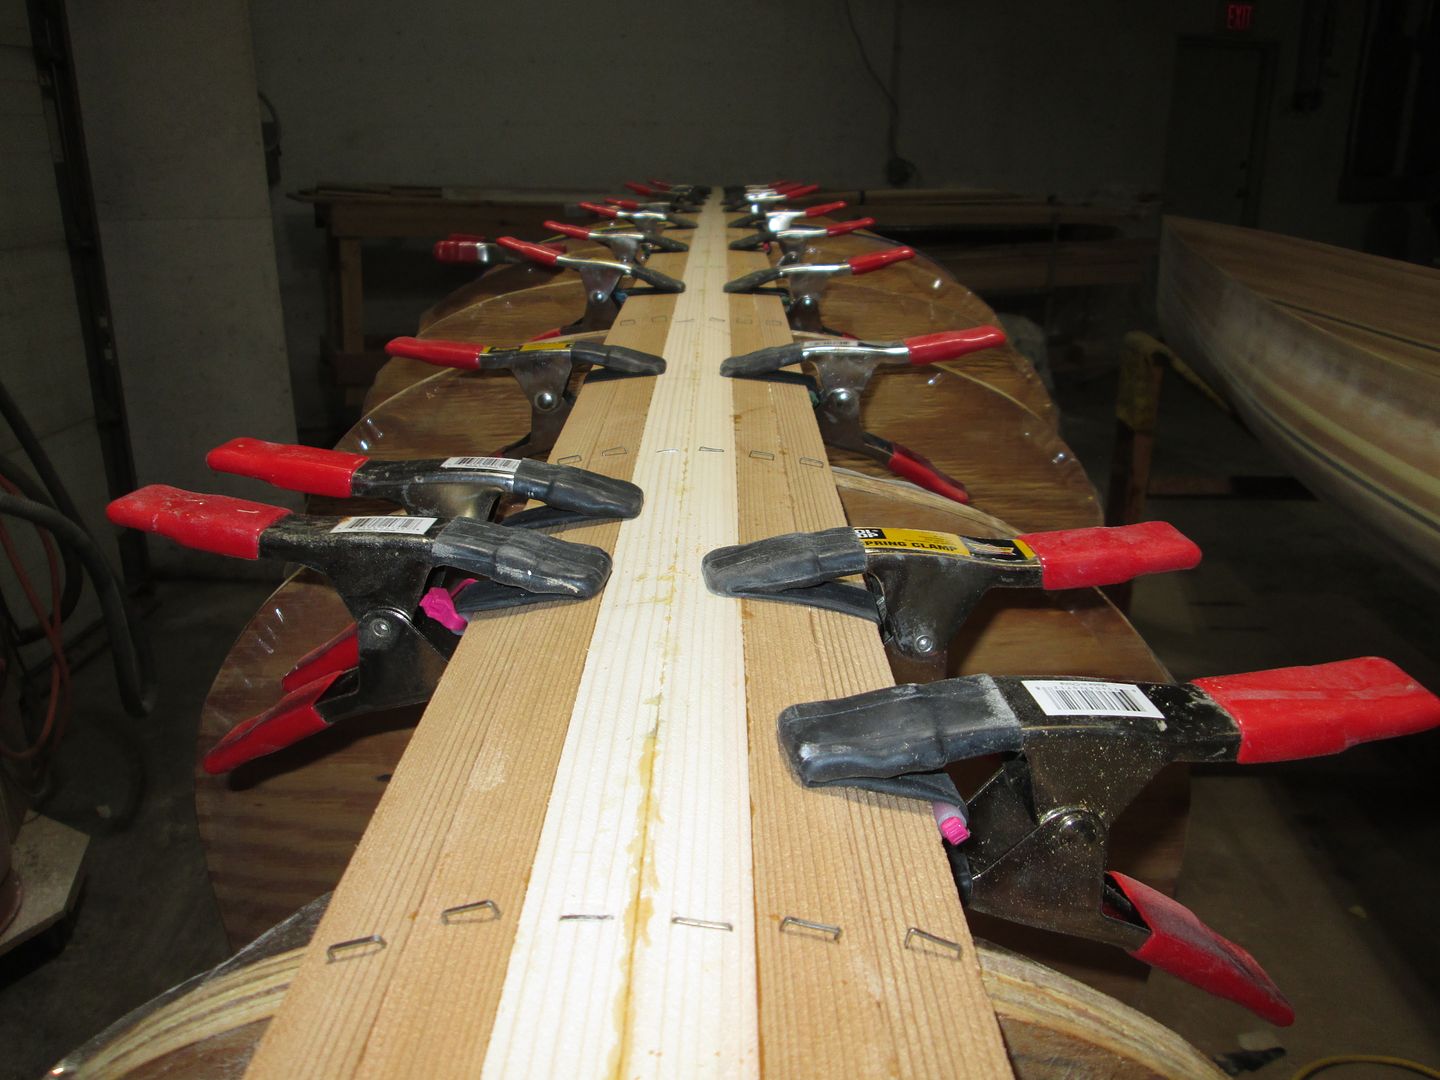
I staple the strips to the forms. Two reasons. It's quick, and when I install, epoxy will seep through, telling me I have a tight fit between the insert, and Kevlar hull.
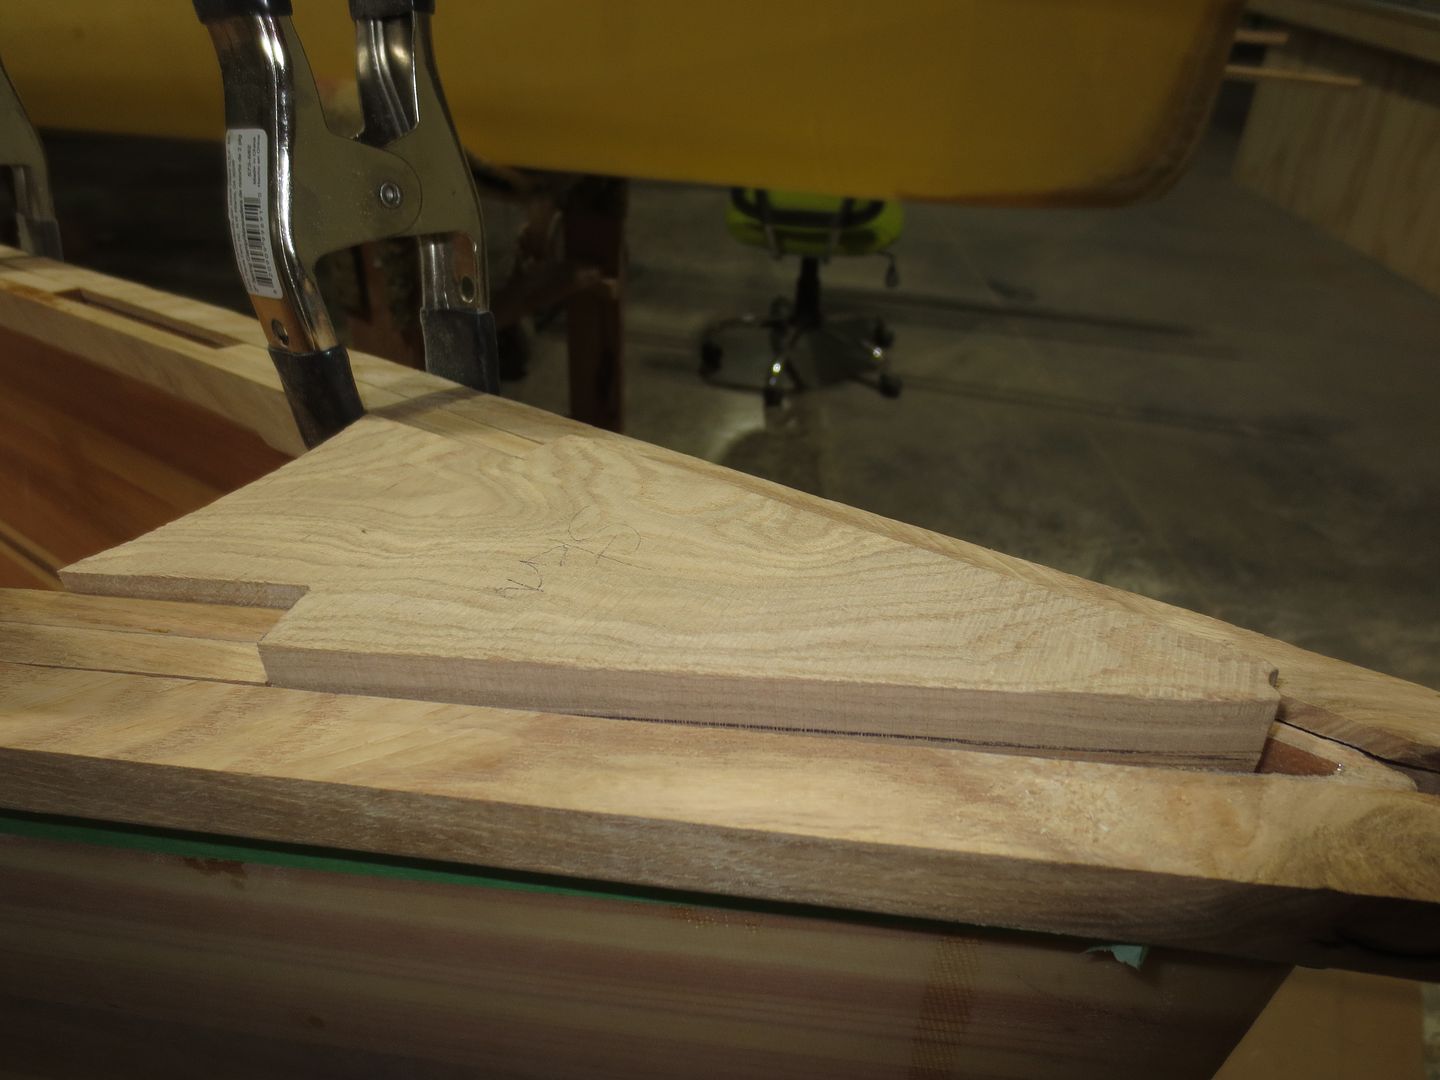
Those "Jimmy clamps " are so quick and handy !
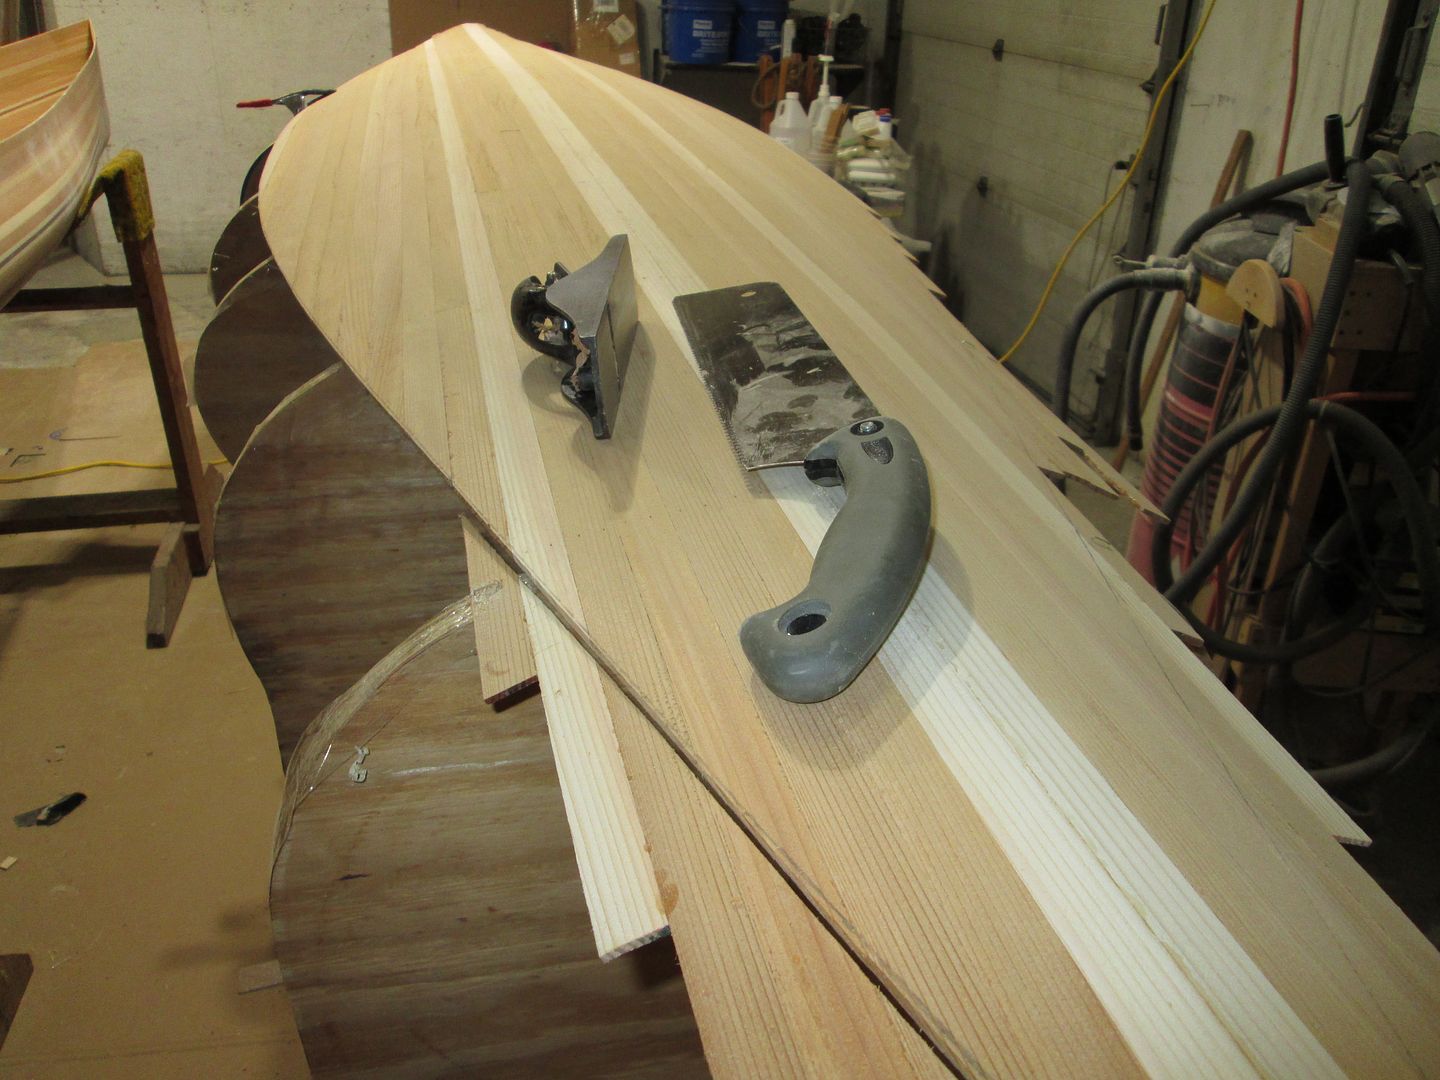
After I'm done stripping up the insert, I clamp on a Batten, so I can mark where to trim the insert.
The Jap saw is a great tool. It works perfectly, for trimming. A simple plane makes quick work o fairing the edge.
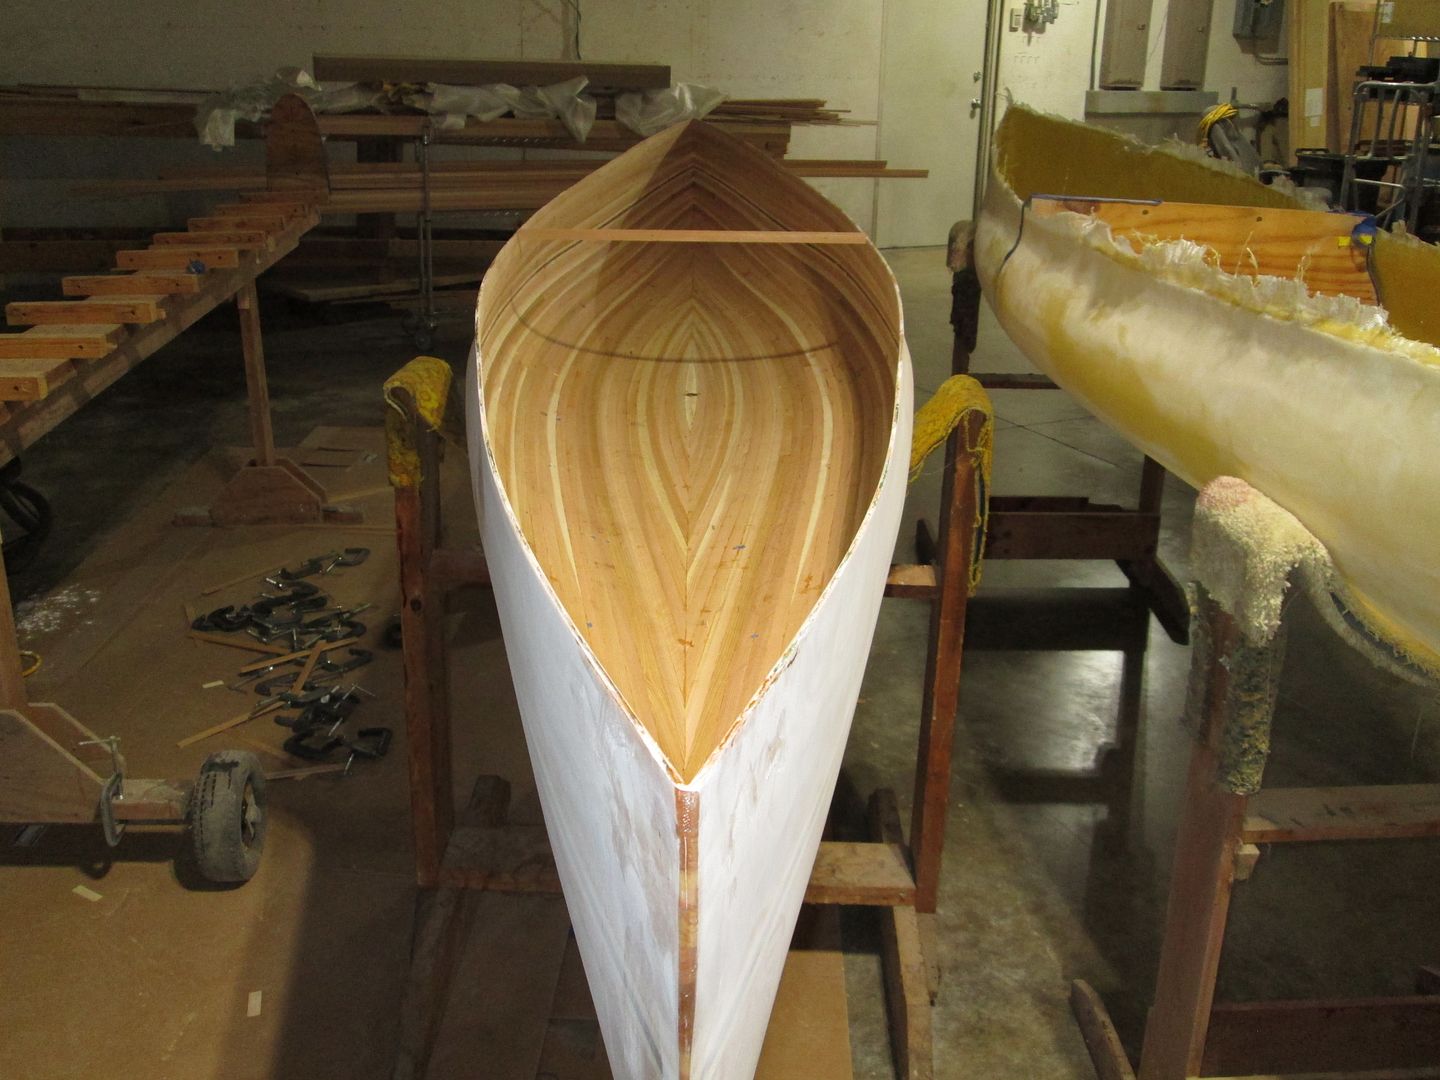
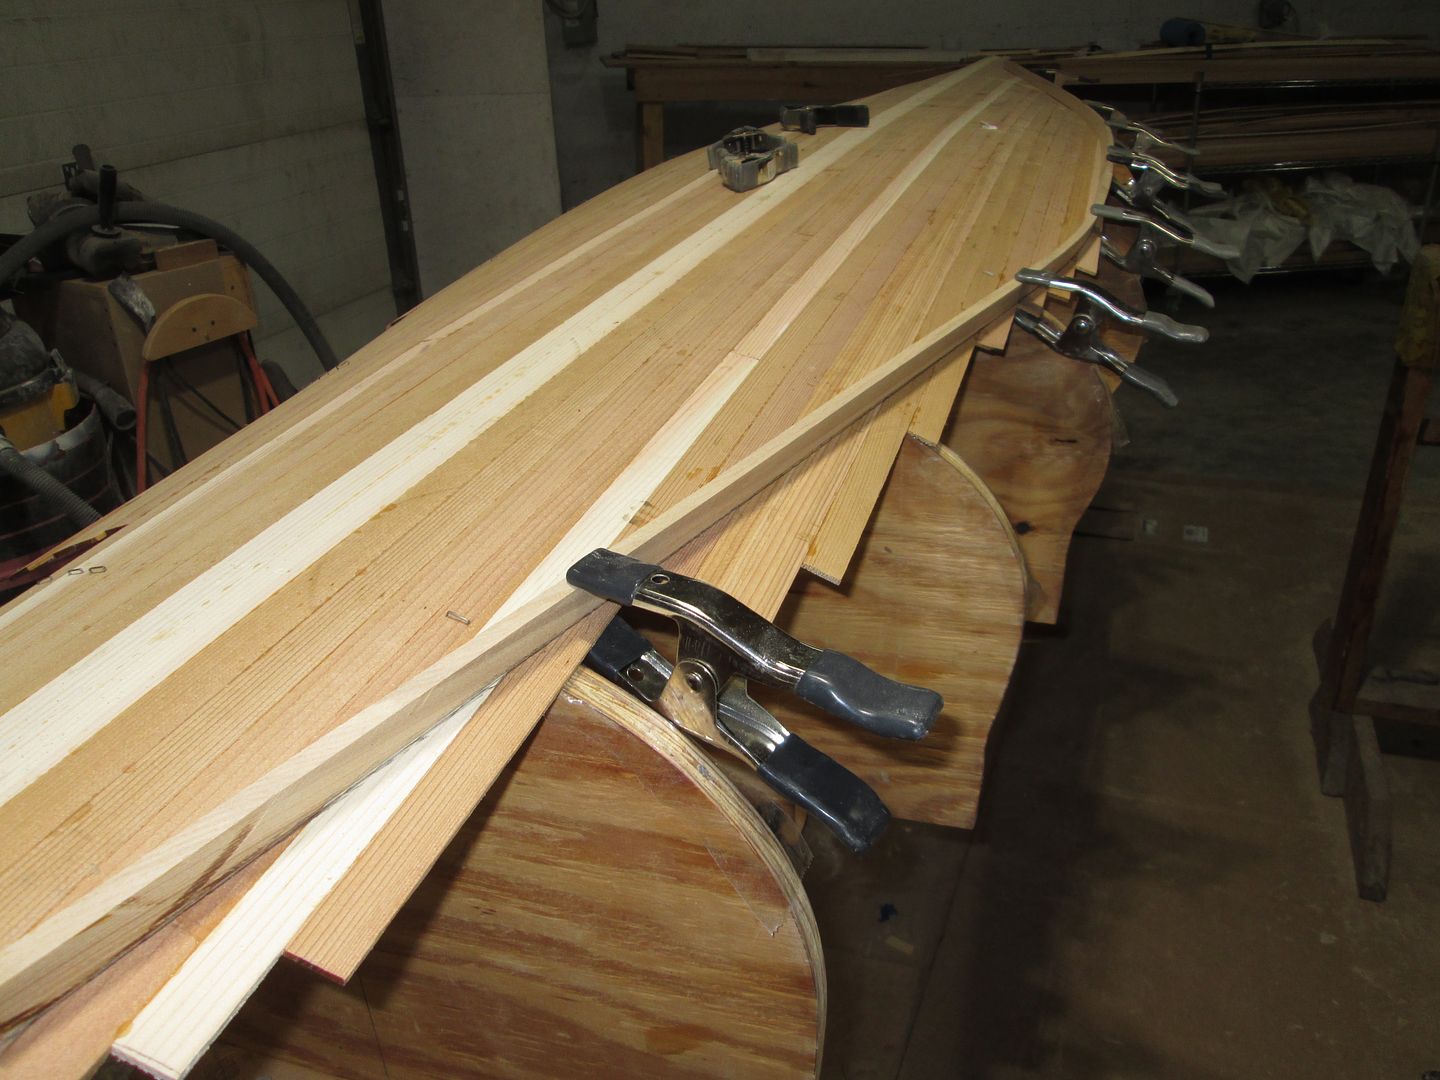
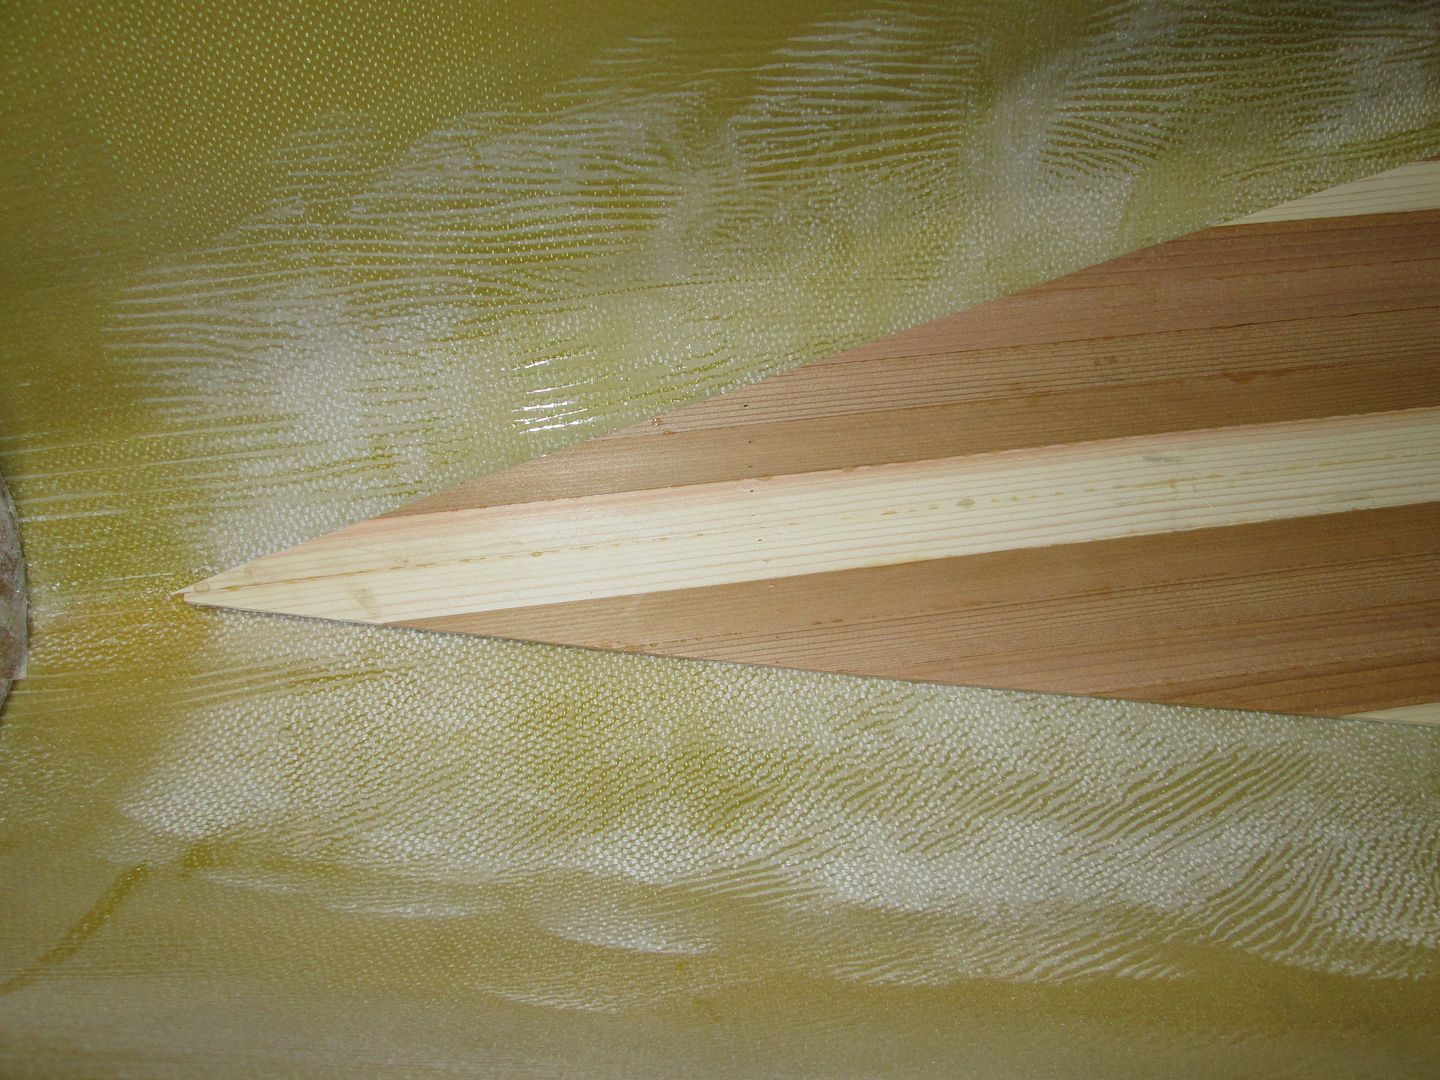
Here the insert is cut, and sanded, waiting to be Mated with the Kevlar hull. Just a note, the middle strips are Aspen. Aspen will stay white, long after the light Cedar turns redish.
Next I address, the wrinkles left by the plastic film. Again ! Partal would have made this step a lot easier !
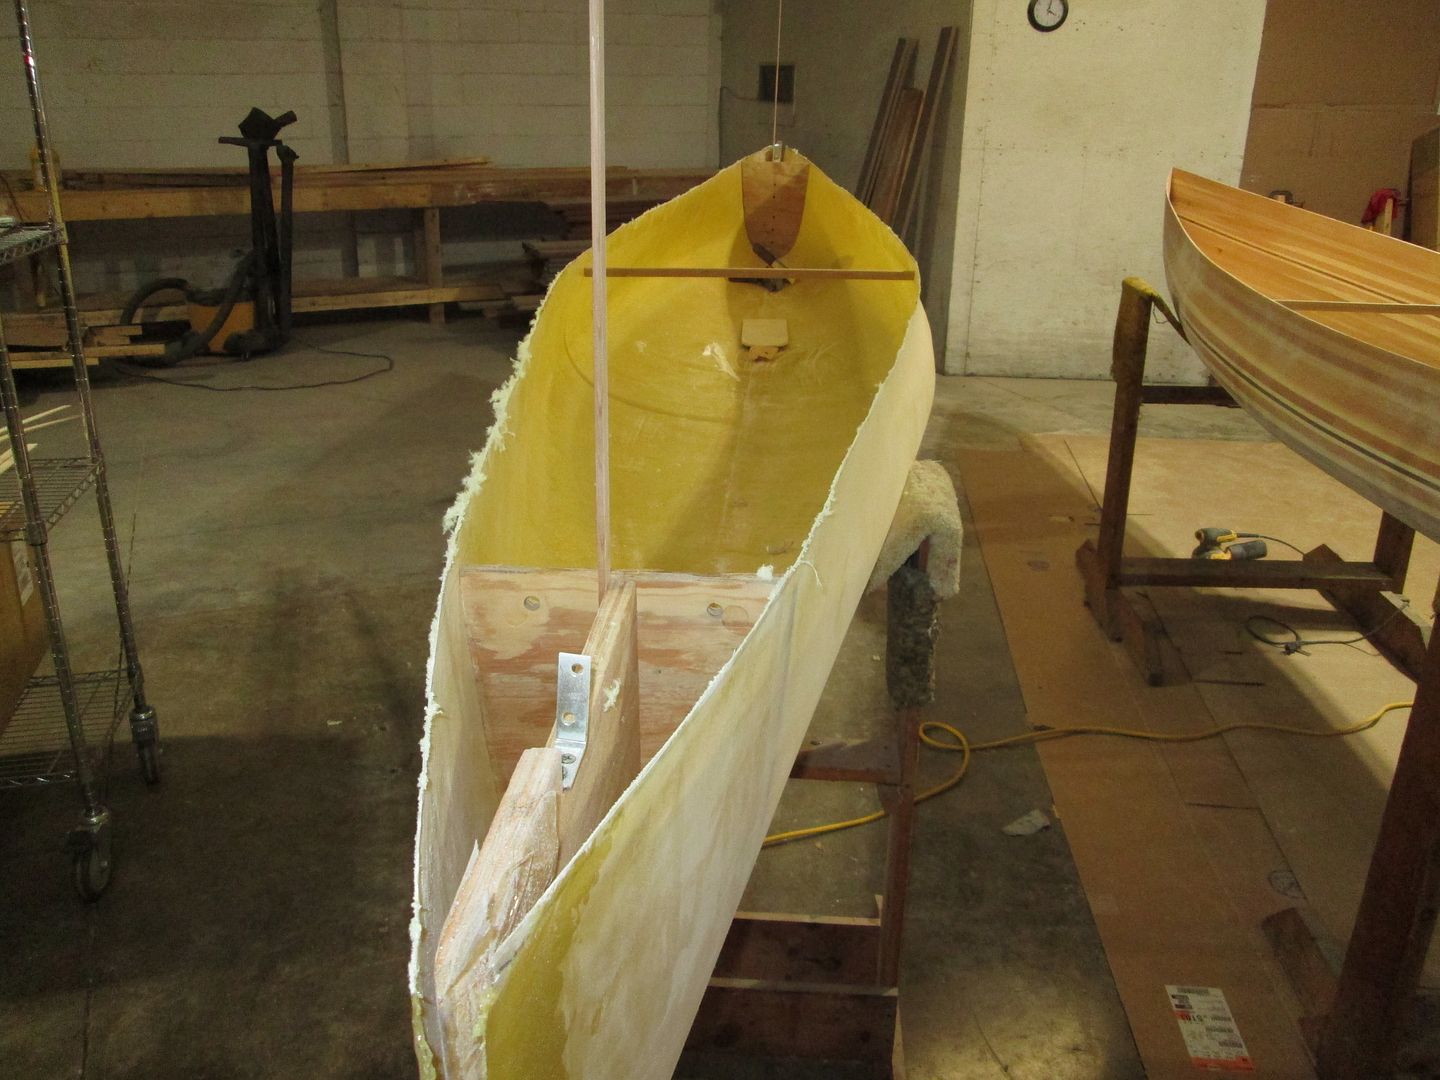
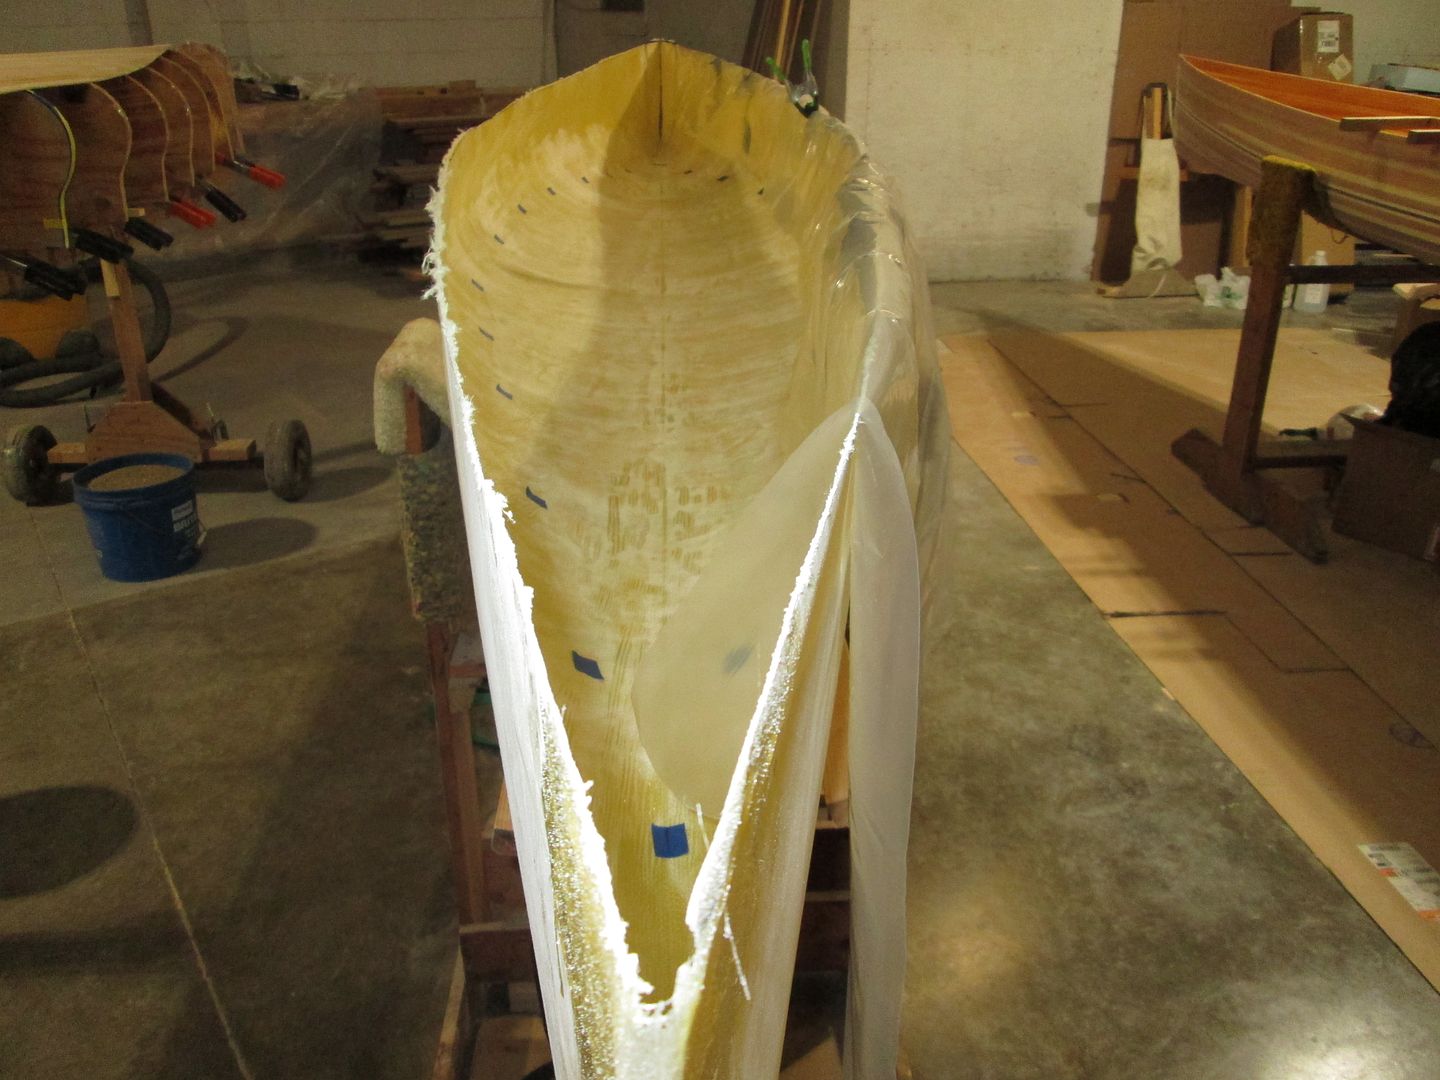
I have the stems glued true at this point. Beings I built the insert on the forms, it has the curves and shape of the Kevlar interior. This aids in fitting everything together. I place Blue tape spots to show me where the insert needs to be !
With the interior of the Kevlar, sanded, and marked for the inserts. It's time lay out plastic that will go on top of the insert, while gluing it in.
Here I have things lined up. With the insert, and the interior of the Kevlar sanded. the plastic sheeting and straps are in place.
Next comes the Epoxy. I'm sorry, I don't have photos, of the application, but when I'm working alone ? My glues are full of epoxy.
Next, I mixed two 12 oz batches of resin, with Cabosil added to thicken the epoxy. The mix was way thinner than Peanut butter.
I spread it with a toothed plastic troll, in the Kevlar hull, up to the blue tape marks.
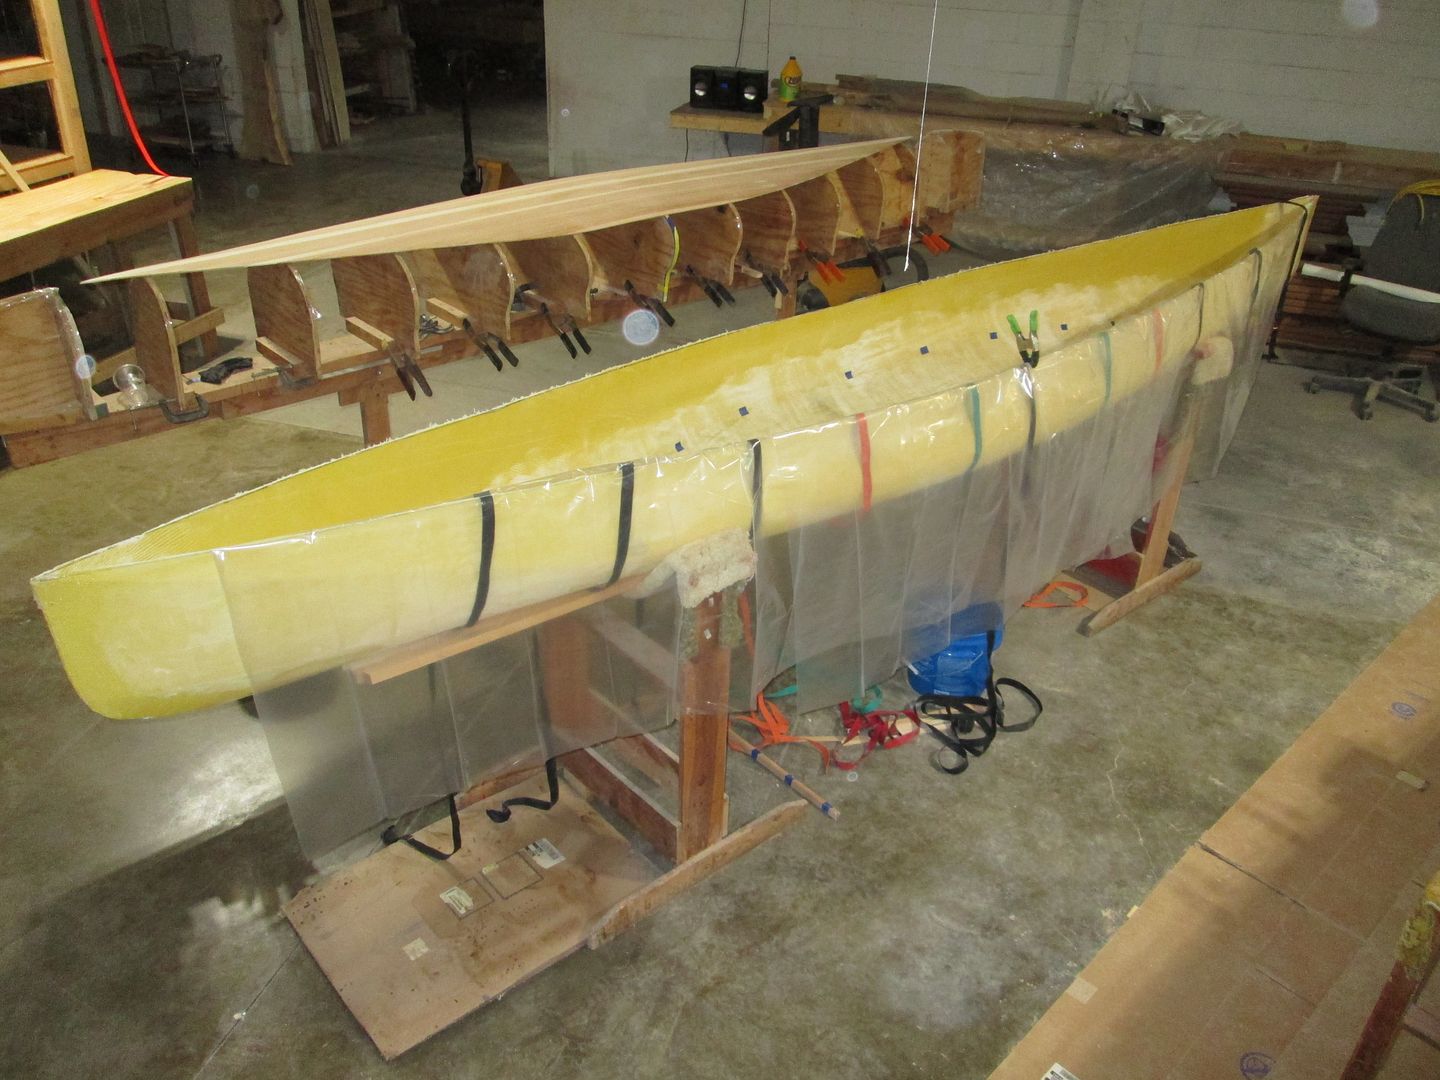
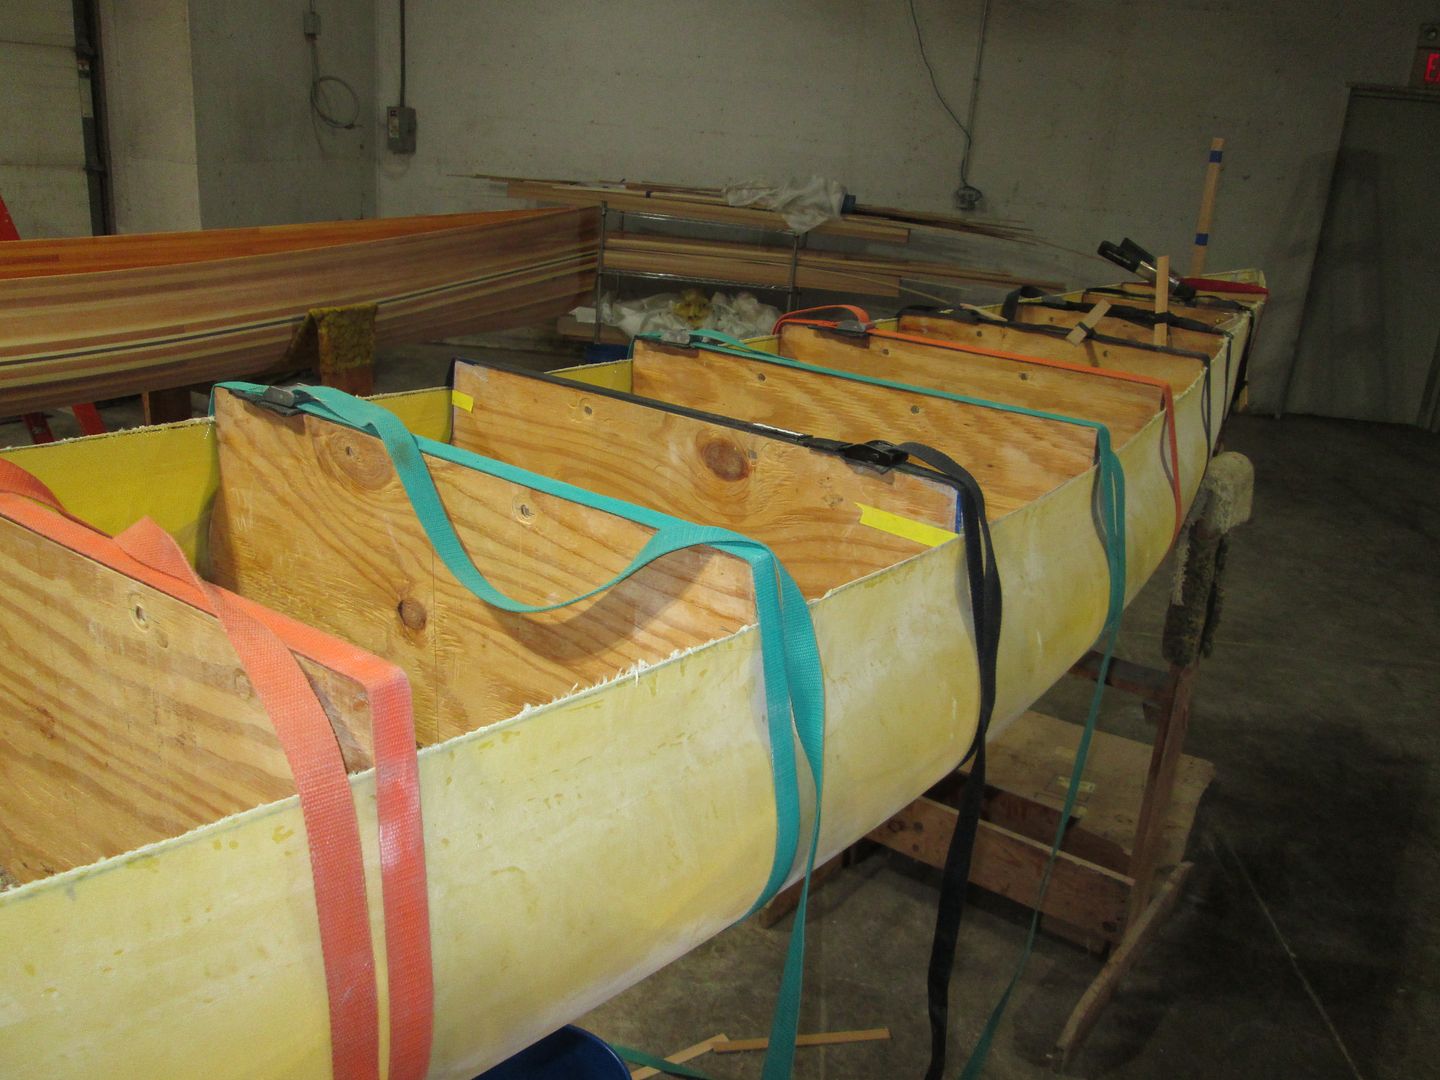
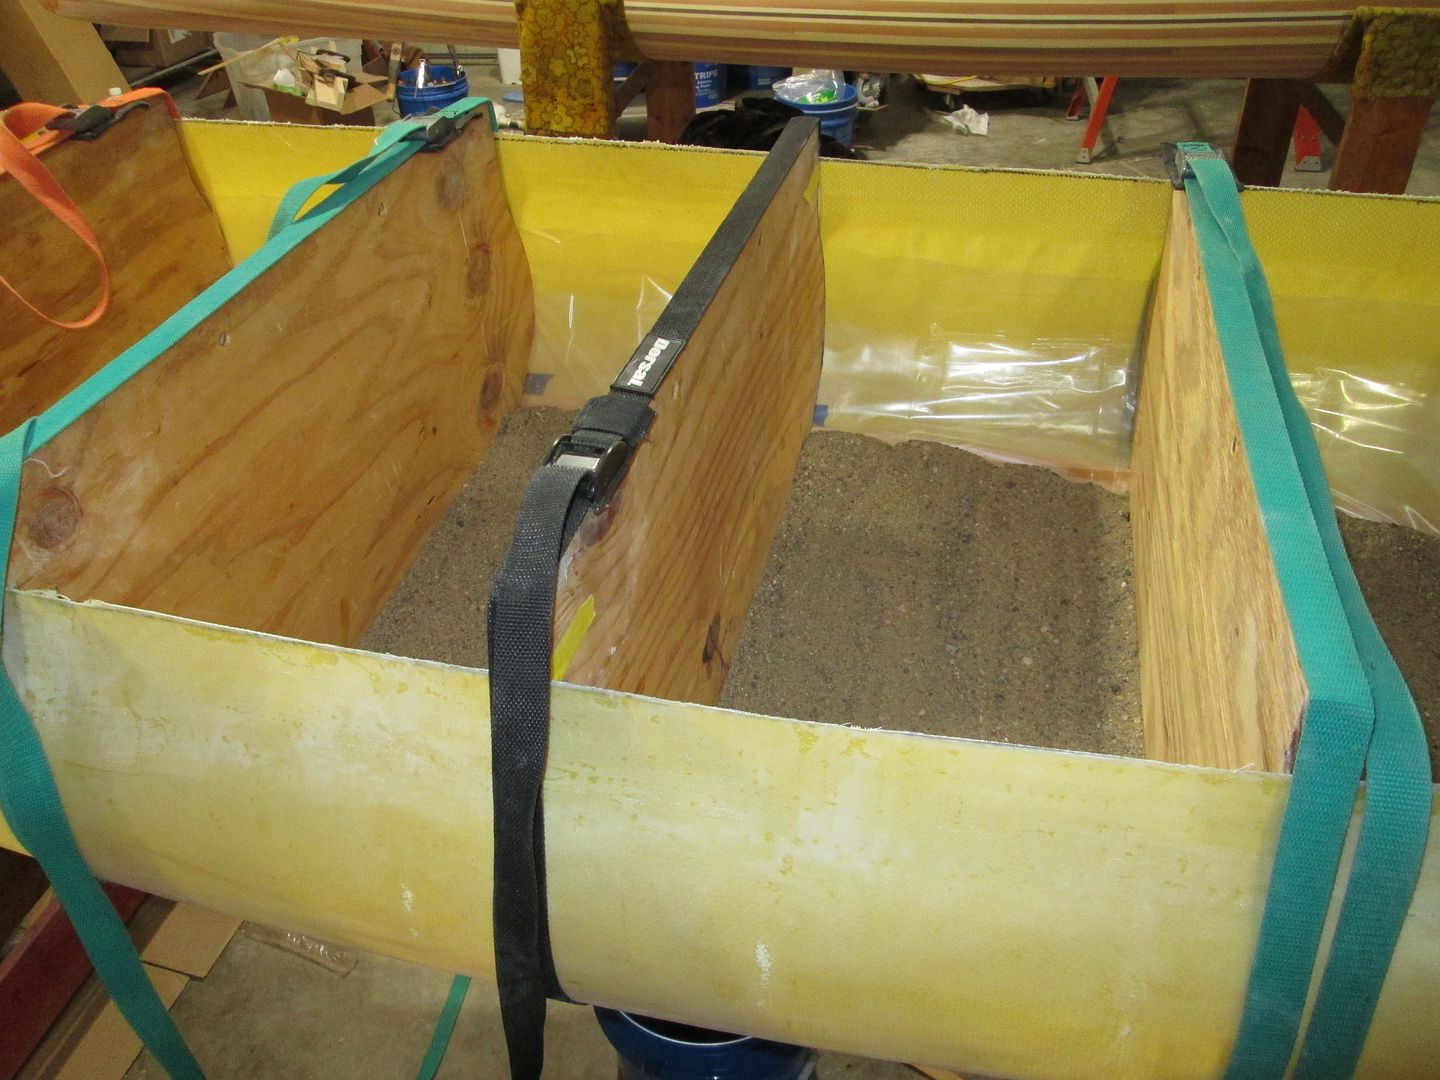
The insert is added. Making sure it is centered. The plastic is placed over the insert, and the forms are strapped in place. Lastly about 150# of sand is added to insure the insert is pressed tight to the Kevlar.
A Very important Note ! Don't forget to place some bracing between the hull and saddles, to support the hull ! I made that mistake only once !
Forms and sand.
The sand is my version of a " Poor Boy Vacuum bagging system."
A vacuum bag would be far better !
The plastic worked great ! After a couple of days, no hurry at this point, I unstrapped the forms, and scooped out the sand.
Next it was time to sand the insert, and feather the edges, so I could cover, with a cloth layer. I think I used 6 oz E-glass for this, because It was handy.
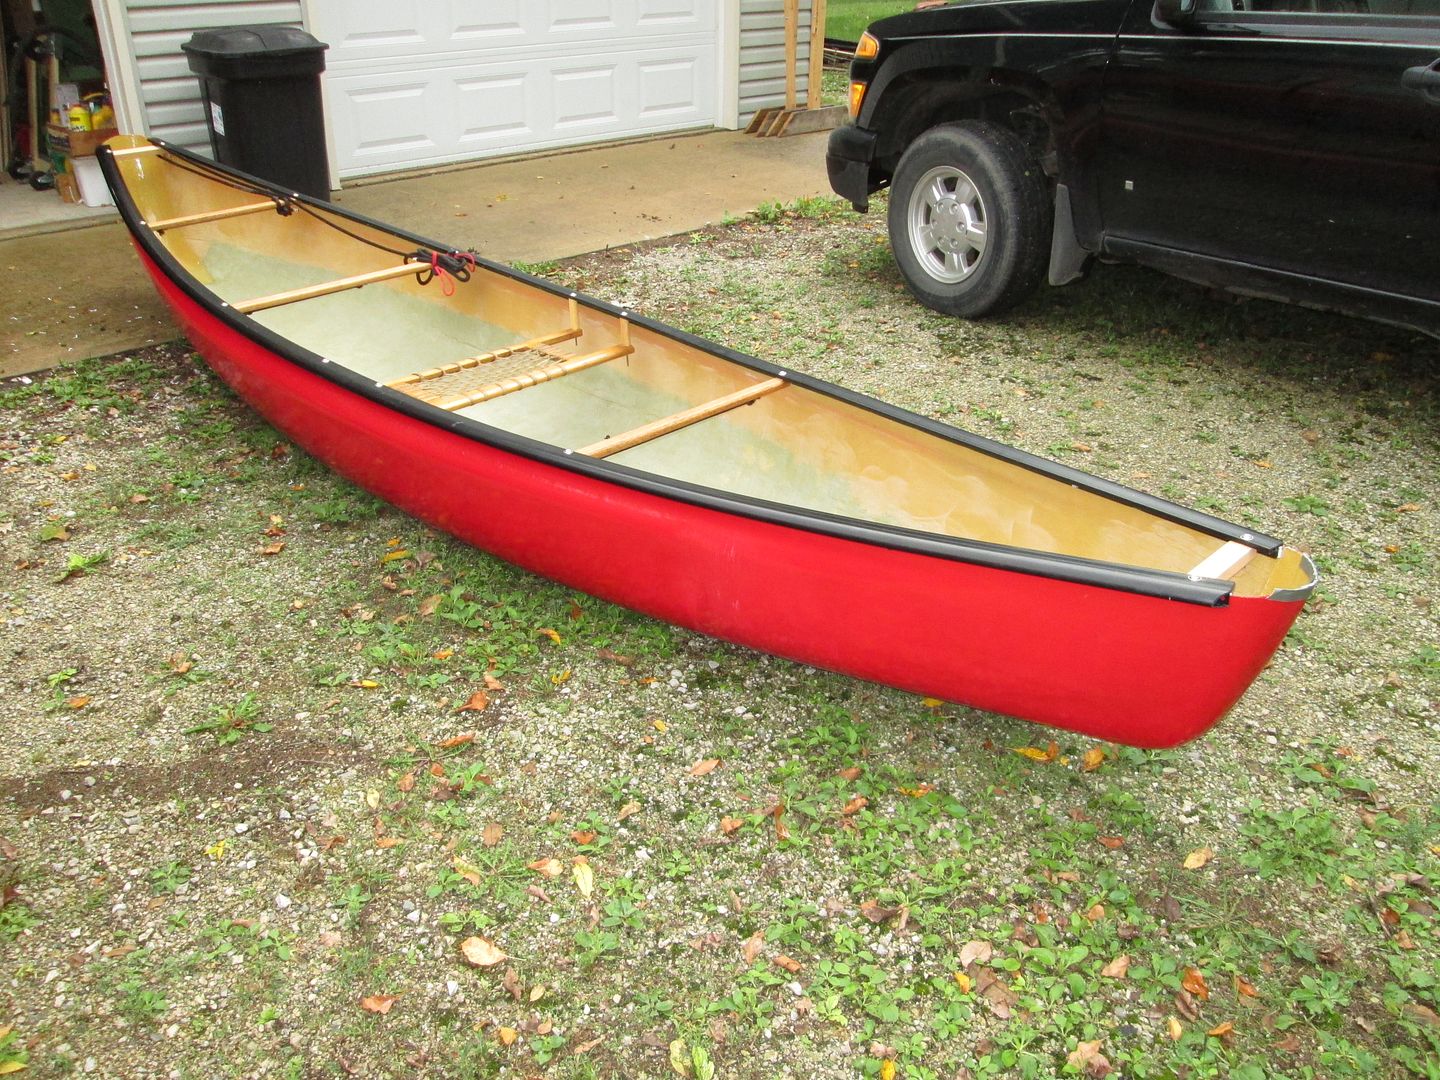
The insert was glassed, about 4" up the side of the hull, on each side. At this point, I will turn my attention back to the stripper. Flotation chambers, will be the next order for the Kevlar, and an additional layer up the side in the area of where the seat will be placed.
Next episode will be finishing the interior of the stripper.
Thanks !
Jim
 .
.