• Happy Weed Appreciation Day! 🌱🌿🌻

Stambaugh Sailing Skiff Build in Virginia Mountains

Joined
Sep 6, 2021
Messages
190
Reaction score
159
Location
Mount Solon, VA
The title of this forum says it includes "other small boats if using wood, composite or other techniques applicable to canoes."

So, here is my thread on the WoodenBoat forum about building a 15 foot sailing skiff designed by naval architect Karl Stambaugh: http://forum.woodenboat.com/showthr...ugh-Sailing-Skiff-Build-in-Virginia-Mountains

The boat is a 15 foot flat bottomed skiff for sailing and (sometimes) rowing. It is a Chesapeake Bay crabbing skiff modified for contemporary recreational use. I'm using lots of techniques transferable to canoe building, including: lofting, scarfing, and working with epoxy. I will put duplicate posts on this site from time to time, but since there are already 10 pages and two years' work on the WB forum, I won't go back to the beginning.

Hope you guys enjoy it!
 
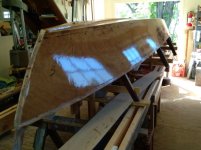
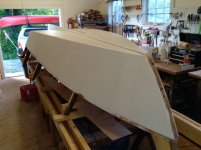
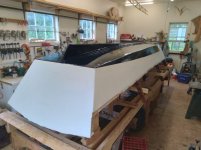
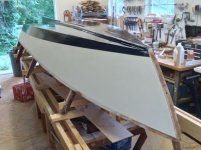
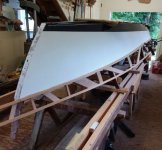
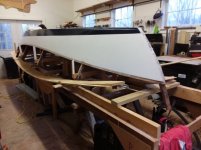
Glass on the bottom and sides. Next steps are applying glass tape on the corners, fairing and smoothing everything, and lots more sanding.

resized topsides glass_02.jpg
 
Too cool, Mr U.
I also built a sailboat, I dragged my feet for nearly 4 years, I think it took about 400 hours. Mostly because I spent too much time concerned about stuff that ended up as no concern at all...

 
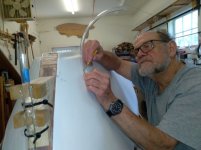
I have not updated in a while. To lay out the waterline, I made a water level using clear vinyl tubing.....

resized using water level.jpg

....then connected the dots using a piece of vinyl molding as a batten.

resized pam and batten.jpg

Warning! Do not use "permanent" double sided carpet tape to attach temporary battens to your hull! The stuff really is permanent. I had to do some scraping and then retouching of paint.

With the waterline painted, the boat looks like this:

resized waterline_02.jpg

Today, off to the lumber yard for sheer strake planks. (I really should have waited to paint until after installing sheer strakes.)

I made a lattice pattern for the sheer strakes (Mark I version shown).

sheer strake pattern_resized.jpg
 
A different and intriguing boat build, UC2.

To lay out the waterline, I made a water level using clear vinyl tubing.....

Could you explain how this water level tube procedure works and why marking a waterline is important or useful.
 
Hey U,
I had to look up what a sheer strake is...
My sailboat build was a dinghy, a term which I suppose applies to nearly any live ballsated small sailboat.
What makes your boat a skiff?
And how will the sails be rigged?
BTW, it does look very nice.
 
A different and intriguing boat build, UC2.


Could you explain how this water level tube procedure works and why marking a waterline is important or useful.

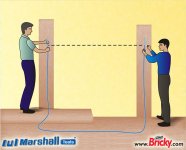
A water level is really simple, Glenn. It's just a hose with one end fixed; in my first photo that's the tube with the blue tape. The water at the other end of the hose will always be at the same height as the water in the fixed end. Water levels are simple, inexpensive, and accurate. They do not depend on a line of sight (laser or string), and so will work around corners and other obstacles.

10M_Water_Level_Demo.jpg

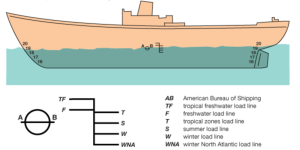
Any boat has a depth at which the designer intended it to float with a typical load, and this is what the waterline marks. If the load is increased, the boat goes deeper into the water. (A heavily loaded canoe hits more rocks than an empty canoe.) Overloading the boat decreases freeboard and allows waves to come inside; in an extreme case overloading the boat makes it sink. An excessive load also makes the boat more difficult to maneuver.

waterline.png

The most accurate way to mark the actual waterline would be to put the boat in the water with an average load, then to jump in with my pencil. I couldn't wait until launching, which is still well into the future.

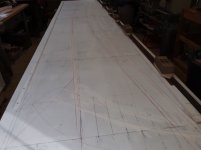
Instead, I measured the location of the waterline from the full size drawing (lofting) that was scaled up from the designer's plans. Lofting is a confusing process that results in confusing drawings, so let's not digress.

resized final lofting.jpg

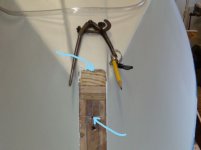
Then I set a compass to measure from the bottom of the keel to the waterline, along the centerline of the stem. I arbitrarily added one inch, because on a small boat it looks funny if the marked waterline doesn't show above the water. The “WL+1” point on the stem was the datum for the water level.

resized compass and stem.jpg
 
Stripperguy, this is a small unballasted boat, and so could be classified as a dinghy as well.

"Skiff" is a designation applied to various boats, but traditionally a skiff is a flat-bottomed rowboat. Webster's says:

"Middle English skif, from Middle French or Old Italian; Middle French esquif, from Old Italian schifo, of Germanic origin; akin to Old English scip ship"

A flat-bottomed boat is relatively easy to build. It has the advantage of shallow draft for working in skinny water. Generally flat bottomed boats do not handle rough conditions as well as round bottoms, so these boats are intended for use in protected waters. A flat bottomed boat has high initial stability but less ultimate stability, like a Grumman canoe. The sides of most skiffs flare outward to provide increased resistance to capsizing as the boat leans over.

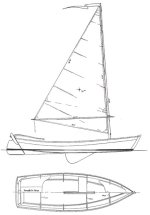
This design is a traditional Chesapeake Bay crabbing skiff, modified for contemporary recreational use. Crabs live in shallow water and are most easily caught from a shoal draft boat. No Chesapeake waterman would row when the wind could do the work, so in pre-motorboat days these vessels were always equipped with one or more sails.

The rig is a Chesapeake "leg o' mutton" sail. It's a triangular sail that looks a lot like a contemporary fore-and-aft sail, but there are important differences. Note that there is not a conventional head-bonking boom, but instead a sprit part way up the mast. The piece of sail below the sprit applies tension and prevents the bottom of the sail from lifting as the wind increases. No additional rigging ("boom vang") is needed to prevent the upper part of the sail from spilling wind.

The sprit is fitted with a line called a "snotter." This piece of rigging must have been named by middle school boys. It has the same function as the outhaul on a conventional sail, enabling the sail to be flattened as the wind increases.

The leg o' mutton is a tall sail, which increases the ability to sail to windward. The tradeoff for this advantage is a long mast which cannot be stowed inside the boat.

sailingskiff_15.jpg
 
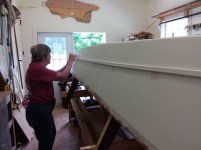
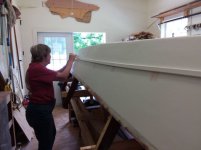
Gosh, I haven't updated in a long time. I used the water level to lay out a series of marks along the side of the boat. Then, with Herself assisting, we used a piece of vinyl molding as a batten to connect the dots and draw the continuous waterline. The batten was attached to the boat temporarily using double sided carpet tape.

resized pam and batten.jpg

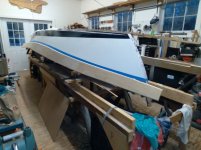
I then applied painter's tape along the pencil line. Here's the result after painting everything below the waterline blue:

resized waterline_01.jpg
 
The next step is installing a wide plank, called a "sheer strake," at the top of each side. This plank is not a simple straight board. I made a lattice pattern using two long wooden battens with multiple pieces of scrap as cross members.

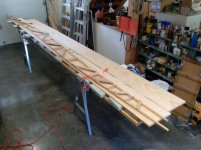
resized pattern check stbd_resized.jpg

I used the lattice pattern to lay out the shape of the sheer strake on a 16 ft. 1 x 12 plank (lumber prices caused sticker shock).

resized sheer strake layout.jpg

I roughed out the sheer strakes with a circular saw. Then I used a router with a laminate trimming bit to cut them to exactly match the lattice pattern. I used a roundover bit in the router to knock down the sharp edges. Then it was time to fit the sheer strakes to the boat.

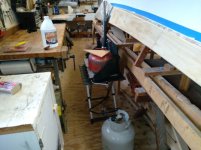
To make the straight planks conform to the curved side of the boat, I used steam. I enclosed the strakes with plastic sleeves, then generated steam using an old gas can and a Coleman stove. The rule of thumb is to steam one hour for each inch of lumber thickness; I allowed a little extra time.

A gas can on a Coleman stove? What could possibly go wrong?

resized steaming stbd strake_01.jpg

Lots and lots of trial fitting is required:

resized trial fit.jpg
 
Here you can see the curve in the sheer strake after two episodes of steaming:

resized unconventional.jpg


Extra persuasion with a ratchet strap and a pipe clamp was still required to bring the plank into position:

resized ratchet strap and pipe clam.jpg


You can never have too many clamps. Harbor Freight was the source for 10 deep reach C-clamps. Then I made 24 traditional lapstrake planking clamps. They are U-shaped pieces of scrap 3/4" plywood, held in place with small wooden wedges. I still need to make 6 more.

resized port and more clamps.jpg
 
UCanoe_2, this is a different but interesting boat build. Folks are definitely following it, even if not commenting much, because you have over 1,000 views.
 
Too cool!!
So are you gonna use this boat to go crabbing?
Or is it a recreational thing? Or maybe it’s both?
What will it weigh when finished?
And will you buy sails? See them yourself? Have them custom made?
 
Last edited:
Seeker, one of the few shortcomings of the wonderful place where I live is the lack of salt water. So there are no crabs here, and I have to go to Chesapeake Bay to find them, a 3-4 hour drive. Mostly I will sail on small local lakes, 50-100 acres. There is a big lake (2500 acres) in the National Forest about a 2 hour drive from here, which is suitable for camp cruising.

The designer estimates a weight of 170 lbs. I guesstimate I will come out around 200. The boat is too heavy to cartop, so I bought a trailer. I earned money for the trailer by serving as a medical research subject.

Following the KISS principle, there is only one sail. It was custom made by the late Stuart Hopkins of Dabbler Sails, who passed away about a year ago.

Before Stuart could make a sail, I had to make a mast. I glued up a blank from Douglas Fir 1x4s, planed it to an octagon shape, and then made it round.

resized mast and power plane.jpg

Stuart needed to know the bending characteristics of the mast before he calculated the sail shape. He told me to suspend a weight of 1/2 lb per square foot of sail area from the middle of the mast, and then measure the deflection. It's hard to see in this photo, but the bucket of bricks is not touching the ground.

resized mast with bucket.jpg

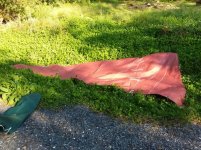
Here is the completed sail. The short pieces of rope on the body of the sail are reef points for reducing sail area in a high wind.

resized sail on clover.jpg
 
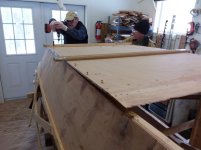
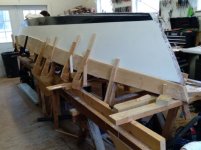
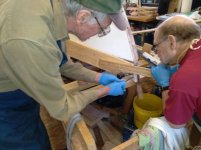
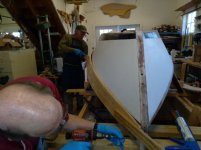
Big progress today!! Raz helped me with the final installation of the sheer strakes. They are now wrestled, glued, and screwed in place.

Two old guys deep in thought.

resized final_04.jpg

Wife likes to photograph my bald head. The West System Six 10 was difficult to squeeze out of the caulking gun. Partly this was because the ambient temperature in the shop was in the high 60s, and not conducive to flow of thick epoxy. For part of the job I removed the mixing nozzle, squirted epoxy onto cardboard, and mixed manually.

resized final_05.jpg

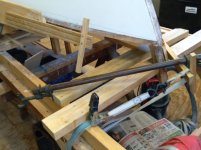
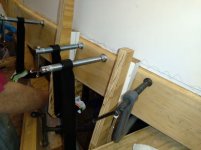
Closeup of the clamping setup, proving once again that you can never have too many clamps. I used 14 storebought clamps and 30 homemade ones in this operation. The total clamp census for the shop is now well over 100.

The homemade lapstrake clamps, made from 3/4" plywood, work better with wedges cut from 1-3/16" or 1-1/2" stock. The thicker wedges make alignment much less critical.

Not visible in photo: the legs of the homemade clamps inside the boat are covered with packing tape, to prevent gluing clamps permanently to the boat.

resized final_08.jpg

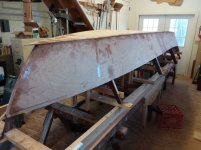
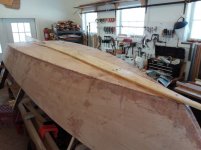
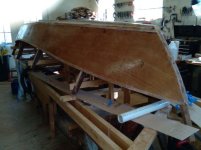
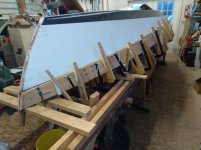
Admiring my work, starboard side. There are errors that will have to be filled with epoxy, but the main part of big this step is done!

resized final_11.jpg
 

Similar threads

G
Replies
8
Views
1K
Guest
G
Back
Top