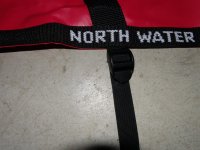
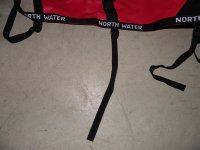
The web ladder attachment system on the North Water covers are not that difficult to put on if you are not afraid to drill a bunch of holes in your canoe. You drill the holes and rivet the straps on using the waterproof rivets.
Has Northwater changed their installation system? I thought the Northwater installation system was to drill the holes, pull through the cord loops attached to a vinyl anchor pad through the hole and glue the anchor pads to the inside of the hull.
I don’t mind drilling holes in a canoe, it is one of the first things I do for other outfitting purposes. And I usually install a couple or four D-ring pads, but all those vinyl patches on the inside just looked otherwise useless to me. If they had a D-ring on the inner surface for tie down purposes they would at least appear more multi-functional.
I am quite certain I don't have the finger strength for snaps. The ladder/strap looked nifty until someone mentioned the straps catching on things. I could really see that happening in the swamps and southern rivers and creeks.
I need something custom made..oh! Cooke's.
")
About the potential for attachment entanglement, it depends on what and where and how you might paddle with the covers on.
I likewise paddle some funky tight southern stuff, sometimes slowly threading my way through strainers and sweepers. Or, if that seems unwise worse, drag portaging around occlusions on swamp rivers. The sticks, stumps and cypress knees would play hell with Northwater’s attachment system. I got desperately hung up via a stick caught on my PFD sneaking a swamp strainer; at least I could quickly shed the PFD.
The snaps do require some thumb strength, but if a Cooke cover isn’t installed when drum tight the snaps are much easier to align just right and press into place. Pressing a snap into place when the male & female halves are aligned /| is a nightmare; you are trying to stretch nylon using just your thumb, it can be done, but it sucks trying. Just wet the cover out and the snaps will align ||.
In hot/low humidity conditions I dip the entire stuff bag in the river to fill it with water and set it aside while I am packing the canoe. By the time the boat is loaded the cover is soggy slack enough to go on easily, and if my gear load sticks slightly above the gunwales the damp nylon covers will stretch enough to accommodate that additional height even when the nylon shrinks taut.
Note of caution: I wouldn’t leave anything pokey sharp sticking up above the gunwale line, when dried in hot, low humidity the covers will become so drumskin tight that you could read heads or tails on a coin under those covers. Likewise it sometimes it helps to wet the covers down before removing them. Gee, got a bailer and some water source nearby?
Go with the zippered oval if you want to run whitewater.
The covers do pool on wet days or in constant rapids. However, all you need to do is heel the boat to dump the most of the water.
I do not run much whitewater, less while tripping, and one of my criteria was easy in/easy out and easy access to gear, both day gear while underway and when unloading.
I either dump puddled water off the cover by heeling the canoe slightly, or simply lifting the edge of the cover. Having a paddle shaft restraining strap in the center of the cover available to grab helps in that regard, and if you retrain a bent shaft paddle __/ with that center strap it induces some natural cover lift, especially if some of the paddle is resting on a thwart below.
I have one CCS covered canoe with a flexible wand (thin shock corded glass tent pole sections) that runs from the front deck plate back to the front thwart (utility thwart). When that wand is plugged into the receivers at either end it is flexed upwards several inches, which holds a wet sagging nylon cover up at over the gunwales drainage angle. When the cover goes drumskin taut in hot dry weather that flexible wand slides over sideways as the cover dries and will lay ) along the sheerline flat and flush,
Works like a charm. And I rarely use it; with a gear load the little nylon sag puddle on a coated nylon cover is inconsequential and easily disposed of.
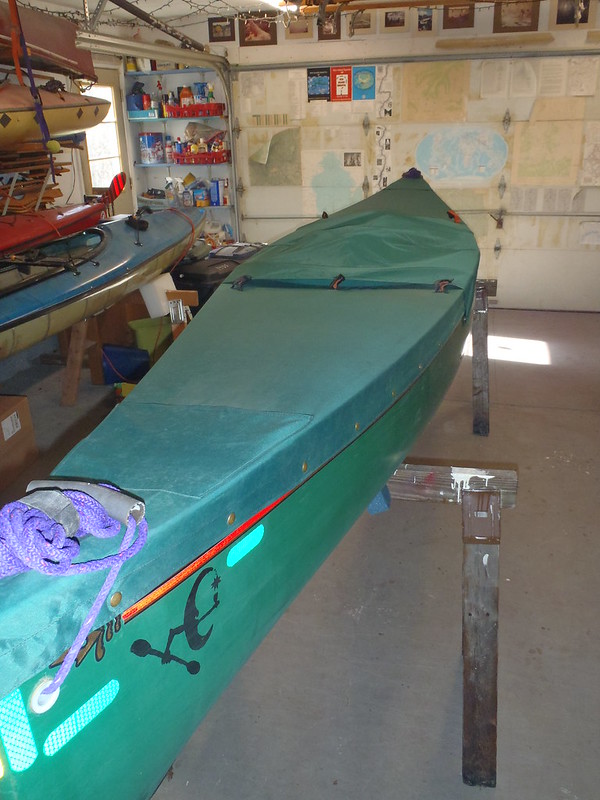
Dan put the “Custom” in Cooke Custom Sewing for me, making partial bow and stern solo canoe covers with a “cockpit” area left open in the middle. I can access gear behind the seat or in front of my feet while underway, and when unloading I only need to unfasten a couple or three sets of snaps fore and aft to pull out dry bags from underneath.
 P2160541
 by
Mike McCrea, on Flickr
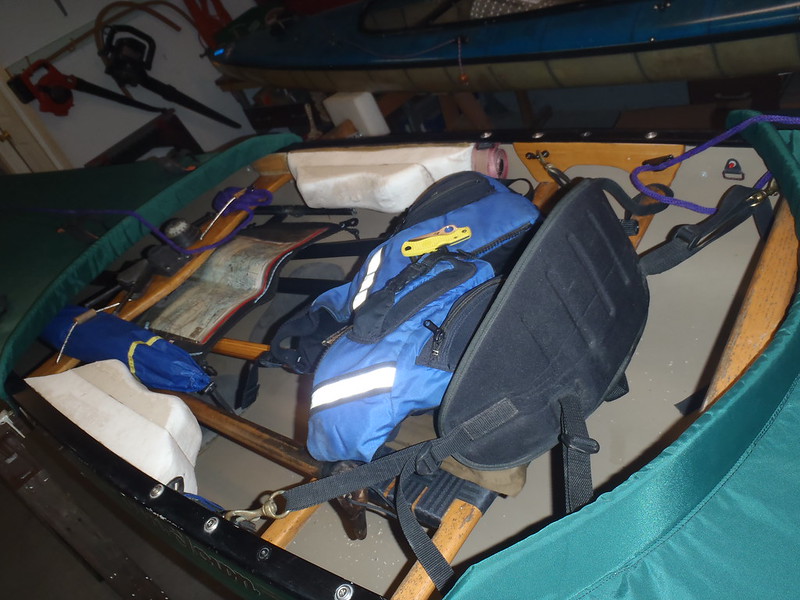
That photo shows the paddling gear I leave inside the canoe in camp, PFD, three paddles, push pole, sail, map, etc. In order that I could leave the gear dry and protected on rainy nights Dan made simple flat cockpit covers. The raised drainage baffles on the spray decks keeps water from running underneath into the canoe, and it is only 4 snaps per side to put the storage cover on in the evening and take it off next morning.
 P2160542
 by
Mike McCrea, on Flickr
 P2160544
 by
Mike McCrea, on Flickr
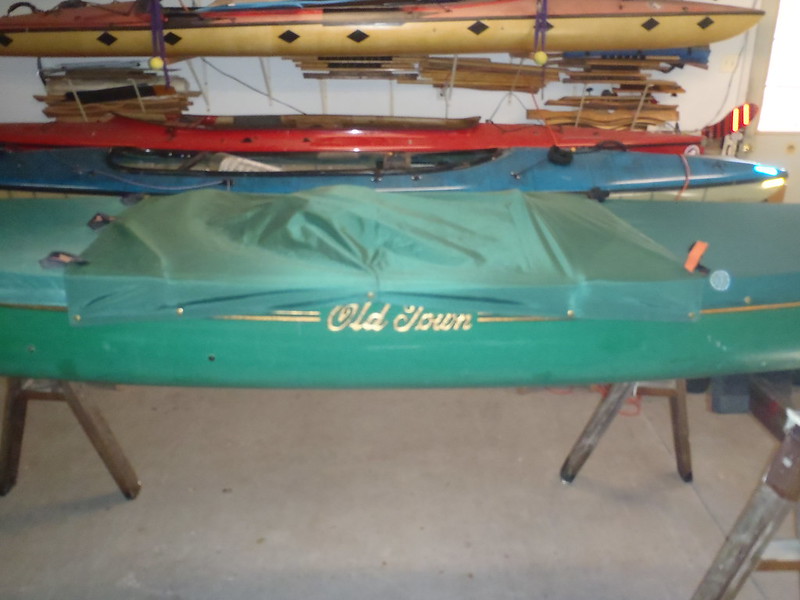
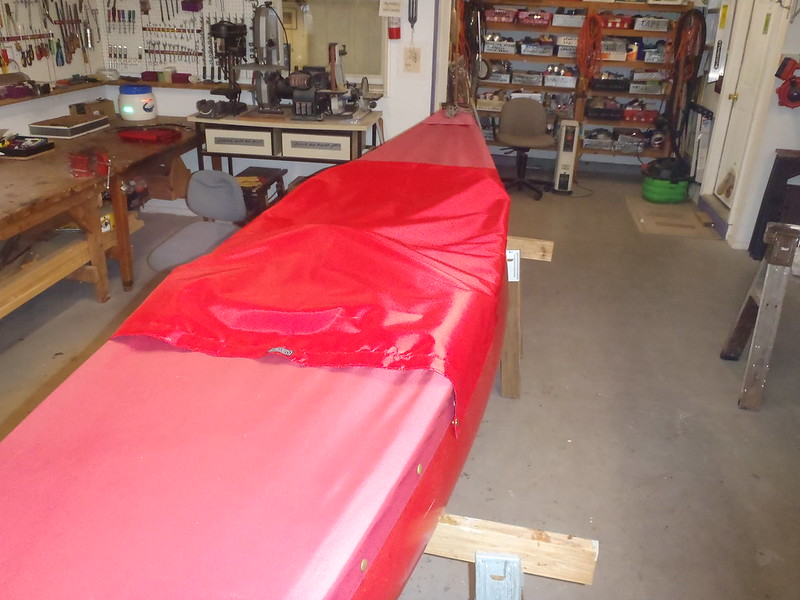
That “cockpit” cover is such an in-camp convenience that Dan made custom storage covers for our other boats with partials, including a decked canoe with no cockpit rim to bungee a rand around.
 P3090604
 by
Mike McCrea, on Flickr
Partial covers would not be my choice for running whitewater or taking on big lake waves. I ran one sizable set of haystacks with the partial covers in place; when the bow submarined the wave washed across the spray deck and hit me in the torso. Even then the bow partial shed some or maybe most of the water, the boat stayed upright and I didn’t have to bail that much when I pulled over. (That was a New Years Day trip in Pennsylvania, so I could have done without the lap full of water)
There are so many option choices in spray cover design choices it can be hard to figure out what will work best. Even for a solo boat it is worth looking at the CCS tandem cover design options, if only for possible design ideas:
http://www.cookecustomsewing.com/tandemcover.htm
I opted for a custom CCS design based on a number of personal preferences:
I noticed how often photographs of full covers show the seating and leg portion rolled open, and realized for the type of waters I most often paddle I didn’t need the entire boat covered.
Some places I trip have awkward access and egress from the canoe. Maybe I just don’t like being restricted, with a tinge of cover entrapment concern. The cleaner entryway was important to me.
I wanted the cover attachments to be unsnaggable in tight quarters or when dragging through the swamp or over a beaver dam.
I wanted to be easily access gear while underway, most often a day bag behind the seat, but also a small bag or box under the seat or in front of my feet.
I absolutely positively wanted to maintain access to the utility/sail thwart.
Given those criteria Cooke Custom Sewing partial covers were my best solution.
There were some things I didn’t realize I wanted at first, and after using the covers on a few trips sent them back to Dan for some additional outfitting. I wanted paddle pockets on both bow and stern, two paddle retraining strap on the stern portion and three on the bow section. I sometimes travel with a double blade, a single blade, a short push pole/hiking staff and a furled sail; I have a use for two paddle pockets and multiple retraining straps (and the middle strap is nice for pull drainage).
I will add one more peculiar plug for Cooke Covers; once you have a modified rivet tool ($20 from CCS) the outfitting world is your snap rivet oyster. I have made a
lot of DIY stuff with snap rivets since installing my first CCS cover and acquiring a snap rivet head all my own. In fact I need to buy more snap rivets, I have some ideas in mind.
I am, obviously, a huge fan of spray covers when tripping, and even when day just paddling off-season or off-weather and wind.