• Happy Tear the Tags Off the Mattress Day! 🛏️✂️🏷️🚔🚨👮

Canoe Cradles

Joined
Jan 15, 2016
Messages
177
Reaction score
0
Like any successful tool, canoe cradles have to work. There are a great variety of designs of this tool surely because people interpret the mission differently. Here are some elements of that mission I think are important:

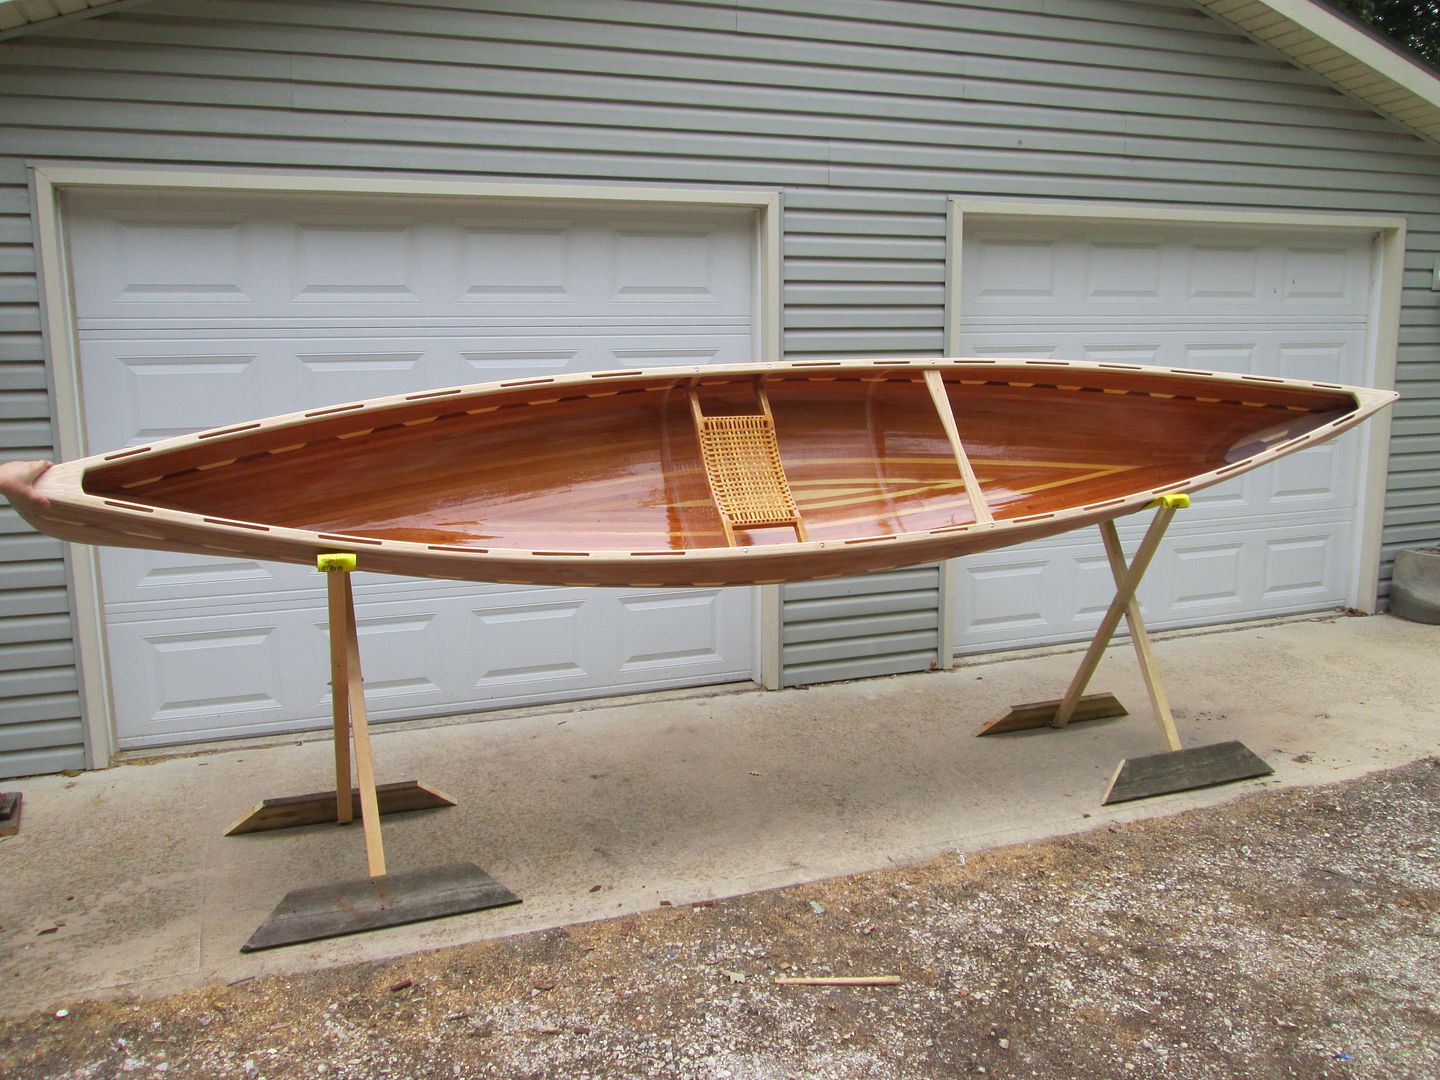
- The cradle has to be strong enough to allow me to crawl in and out of the canoe to test seating positions, seats, foot rests, kneeling pads, etc.
- It needs to be somewhat adjustable in height-- an up-and-down range of a foot would be good.
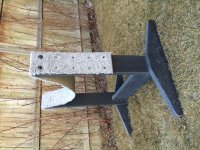
- The frame needs to be off the ground a quarter inch or so to keep the wood frame out of water on the shop floor (wet-sanding, washing etc).
- The cradle strap needs to be strong, flexible, not scratchy, and preferably synthetic to preclude mould formation (6"X60" adjustable carpet).
- The width of the uprights needs to be appropriate to enable the cradles to firmly contain the hull for gunwale installation.
- You should be able to find the materials at the local hardware/lumber store.

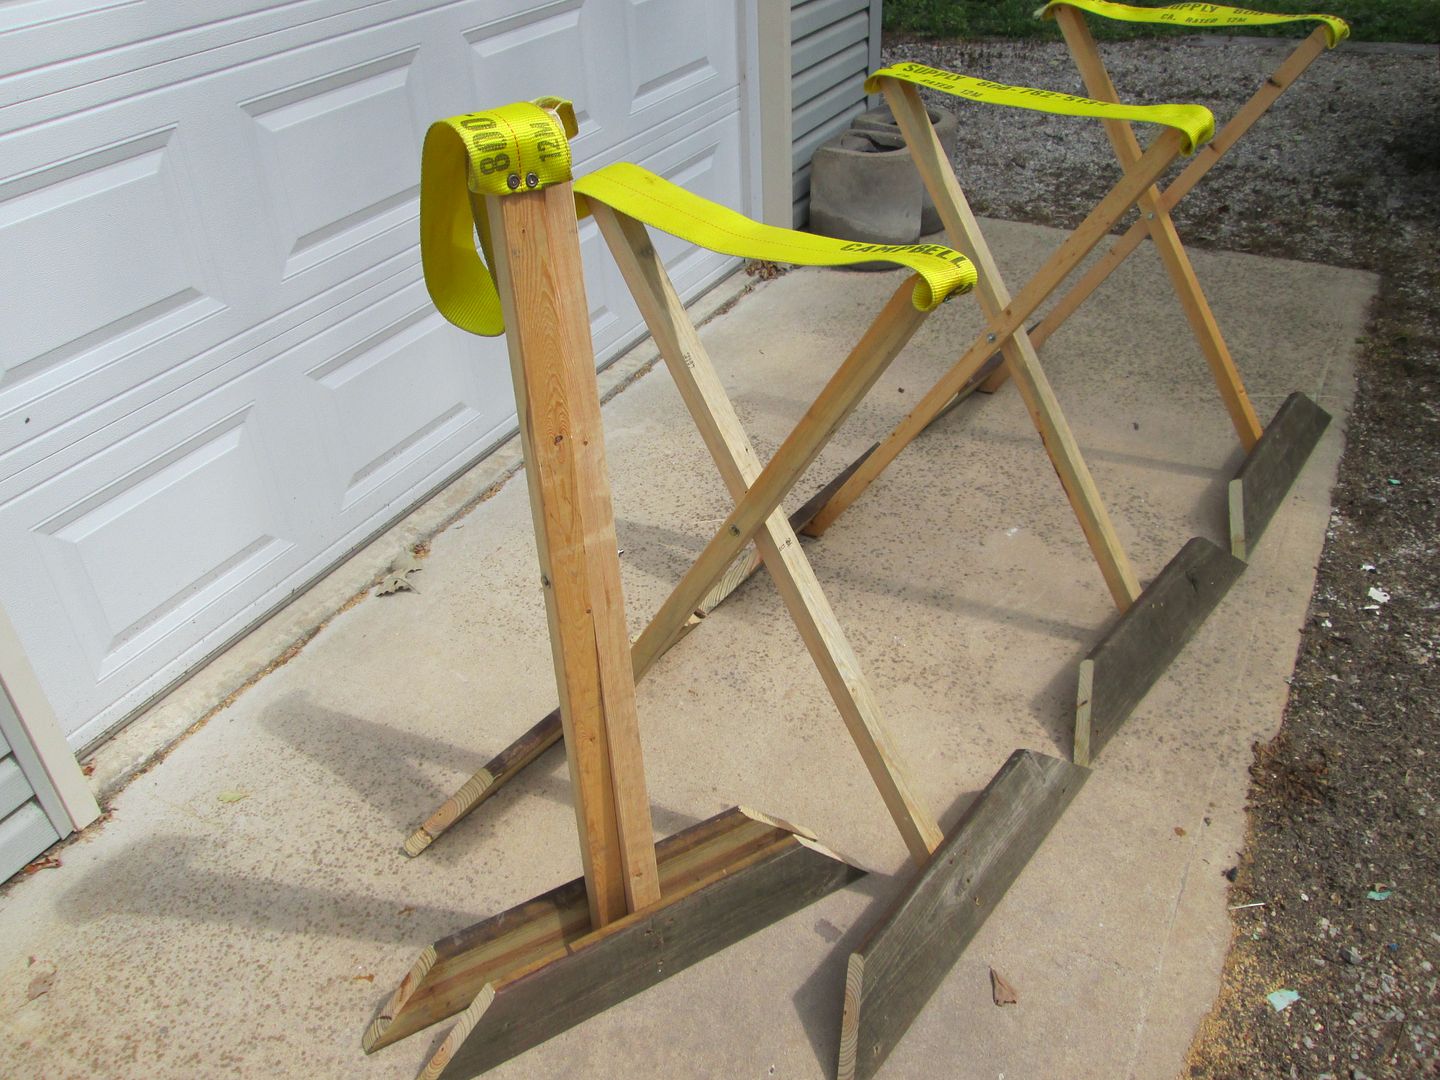
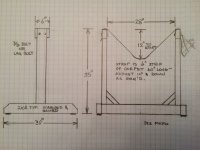
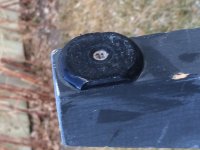
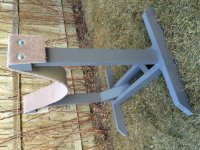
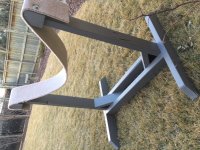
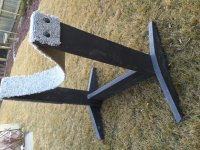
I made two types of similar dimension: one made of 2X6's with a 2X8 spanning board, and another made of all 2X4's. The 2X6 frame has joist hangers where the 2X8 span joins the upright 2X6's. Typically, all are glued and screwed. The feet are 1/4" X 2" plastic furniture feet, with a screw-- 4 per cradle.

Here are a few photos, and a drawing. I'm sure there are better, more interesting, and surely more clever designs than these; please post something on your canoe cradle.
 

Attachments

  • IMG_3730.JPG
    IMG_3730.JPG
    403.9 KB · Views: 22
  • IMG_3719.JPG
    IMG_3719.JPG
    1 MB · Views: 21
  • IMG_3725.JPG
    IMG_3725.JPG
    394.1 KB · Views: 16
  • IMG_3723.JPG
    IMG_3723.JPG
    1.1 MB · Views: 21
  • IMG_3724.JPG
    IMG_3724.JPG
    1 MB · Views: 14
  • IMG_3721.JPG
    IMG_3721.JPG
    1.1 MB · Views: 19
Last edited:
I have similar designs for my cradles, although one pair is higher than the other for different working heights.

I would never think of getting in a canoe with it suspended only in two spots, putting that much pressure just in those areas. To each their own though.

Karin
 
If I need to alter the height of the canoe I move the straps to a different set of holes.

The straps are 6" wide, so each end supports about a square foot. At 220 lbs total, that's about .75 lbs/sq inch on the ends-- imagine the local loads put on a hull when it is strapped down to a vehicle with a 1" strap or a rope. Boats get deformed on vehicles all the time.

I understand your concern about abusing the canoe, and it is paramount in my mind too; but I assure you that putting 200 lbs in a finished canoe that's well-supported on its keel has little or no meaning. What horrifies me is to see an intrepid paddler beach a loaded boat up onto the stem and then waddle up between the packs to disembark.
 
Last edited:
Nothing fancy or earth shattering here. When I pull a stripper off the form to flip it right side up I cut out a couple pieces of plywood to fit the hull (using forms as a template) while I work on the inside. These are screwed to the strongback. Sometimes I lay an old towel in there for padding and sometimes I don't. The hull still needs the final sanding so any marks will be removed then. That does a nice job of holding it still while I'm sanding the inside, fiberglass, and doing gunwales. I also allows me to tip the canoe on its side pretty well for working on the sides of the boat or up close under the gunwales.

When I want the canoe upside down I either screw a piece of 2x4 over the top of those inverted plywood forms mentioned in the last paragraph (that's a pretty high platform) or else set it upside down on some sturdy sawhorses covered with old towels. Then I usually put a clamp up tight against the hull at the 4 corners to keep it from sliding around.

I've got sling stands similar to what you posted but am just using 1.5" nylon webbing. Wide carpet would be nicer and someday I'll get some for that purpose. One pair is nicer and made from Alder and I use that one to hold my raffles canoes when they're on display somewhere. On that one I arched the bottom legs to make feet. On the more utilitarian version I just screwed on 4 pieces of 3/4" plywood for the feet.

I like the idea of having multiple holes in the carpet to adjust the working height.

Alan
 
Stands for working on boats

I use the keep it simple solution, sawhorses. I just add a brace between the legs on each side to make them more rigid. I do have sawhorses in varying heights from 30 inches tall to oversized one 40 and 50 inches tall. More on those later.

When I need to sit in the boat for a test fit I lay a bed-sized piece of 4 inch thick foam on the shop floor and set the boat atop that.

In the most frequent position, working with hulls in the upright, I use four chunks of angled ethafoam that fit snuggly on the sawhorse crossbar.


Those are easy to put on, take off or adjust along the crossbar to accommodate different hull shapes. Those angled chine wedges work well enough to stabilize the boat for 90% of what I do, but if I need the hull held immovably I will run a cam strap over the boat and around the crossbars. That ain’t moving.

When working on an upside down hull I sometimes add gunwale stops to the sawhorse crossbar. Again, to prevent any possible movement. I have inadvertently vibrated a hull off the sawhorses by combining an RO sander with a lack of attention. More than once.

Four Quik-Grip clamps on the crossbar snugged against the outwales only takes a couple of seconds, less time than it takes to try to catch a falling canoe with one hand while holding an RO sander in the other.

Sometimes the easiest hull working position is with the boat held at a 90 on its side. I screw in four padded L-brackets, two on each crossbar trapping the sideways hull () between them.


The extra tall sawhorses in the back of that photo are my solution to the most awkward boatwork proposition, working inside a decked boat. For working on the underside of a deck, or even working on the interior chines, where I don’t want to spend hours bent over like a tormented hunchback looking at my work upside down.

Extra tall sawhorses; kneeling on the floor under a boat inverted on standard sized horses is uncomfortable, and going back and forth between crouching under the hull and crawling out retrieving tools and materials is tiring and time consuming. It hurts my back just thinking about it.

I just put the hull upside down on those tall horses and roll in and out of position between the bench and boat on a wheeled chair.


There’s a scene in the movie Witness in which the Amish grandfather propels between the head of the table and the stove on his wheeled chair. I laughed when I first saw that but see the wisdom now.

Those extra tall horses are also extra wide. They serve double duty as my overflow canoe racks; I can fit two boats on the top crossbar and one on the lower bar.
 
Seems every builder has a little different take on stands ! I'm no exception. I
I like mine simple, but my real work stands are on the same order as Peach.

I make several of these stands for display, as well as light work. Cheap and easy !

IMG_0442_zps30a4b068.jpg


IMG_0463_zps717b3028.jpg
Jim
 
Last edited:
Sometimes the easiest hull working position is with the boat held at a 90 on its side. I screw in four padded L-brackets, two on each crossbar trapping the sideways hull () between them.


Ohh, I like that.

Alan
 
Ohh, I like that.

It works with open canoes too. Just move the horses far enough apart that the vertical arm of the L-bracket reaches above the top gunwale.

A lot of that for me is simply the ease and advantage of directly facing your work. I really dislike working inside a hull hunched over and looking at my work upside down.

When doing a rebuild on a decked boat the hull is often in daily rotation, right side up, upside down, resting on the left chine, then resting on the right.

Having a more or less horizontal surface for glass and resin work is advantageous, and with the hull held on its side I can work on the inside of one chine and the outside of the other at the same time, then flip the hull 180 and repeat on the other sides.
 
Back
Top