Alan,
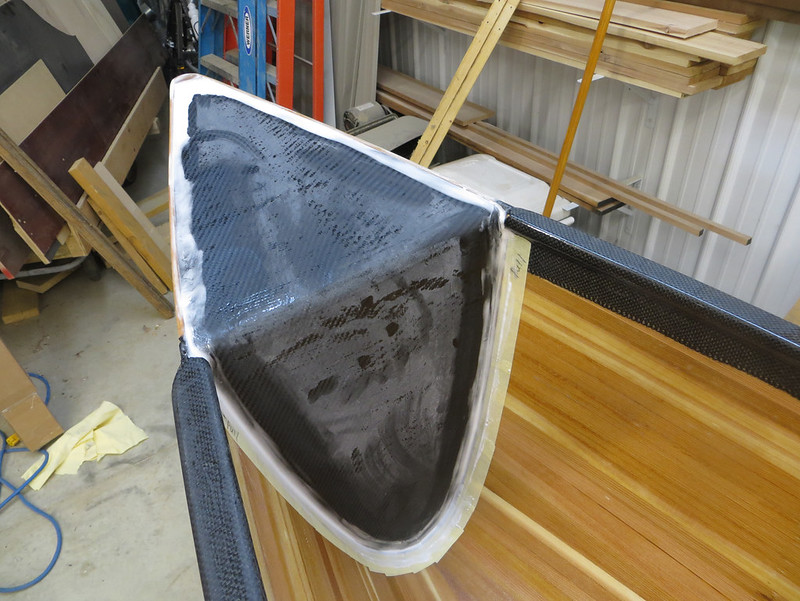
What now for the deck/hull joint beyond the gunnels?
I almost took the same route you did with my Kite build, but I couldn't decide how to handle that transition area.
Good question. Been wondering that myself for the past month and haven't come to a firm conclusion yet. One option is to not do anything special there. But the tanks and outside of the hull will be the same color so that might look a little bland. Another option, and the one I'm leaning towards, is to wrap carbon over the joint which would extend the look of the gunwales. This would hinge on having a nice, clean, line. That could either be accomplished with the tape method Holmes described in another thread or just letting the carbon run a little wild and using tape to mask it off when painting. A third option, along the same lines, would be to use black paint instead of carbon along the edge. Easier and cheaper with a similar look minus the carbon weave.
If you built this same hull again, including the white opaque outside, would you do anything different with the decks/bulkheads/gunnels?
I plan to build another Kite, but with smaller teardrop bulkheads and no decks, strictly a weight consideration.
But I'm always searching for ways to improve my builds by "borrowing" techniques from innovative builders...
I don't think I'll really know until I get it finished and use it a while but so far I'm pretty happy with everything. Extending the outwales all the way to the bow may have simplified things and wouldn't have been a lot of extra work. The short extension to the stems could have been a separate piece since the carbon wrap covers all the joints anyway.
I still think it would be nice to find a viable way to build composite gunwales off the boat. Separate inwales/outwales seems like it might be the best option but would take more material. Soller composites has heat shrink tubing for composite sleeving that would probably be an easier and possibly more effective alternative to vacuum bagging gunwales off the hull.
If this boat would see the standard duty most of my hulls see, which is relatively short trips, lots of miles, but little/no whitewater, I probably would have skipped float tanks altogether and just put in small carbon decks. I also would have further explored using foam rather than cedar for core material in the gunnels.
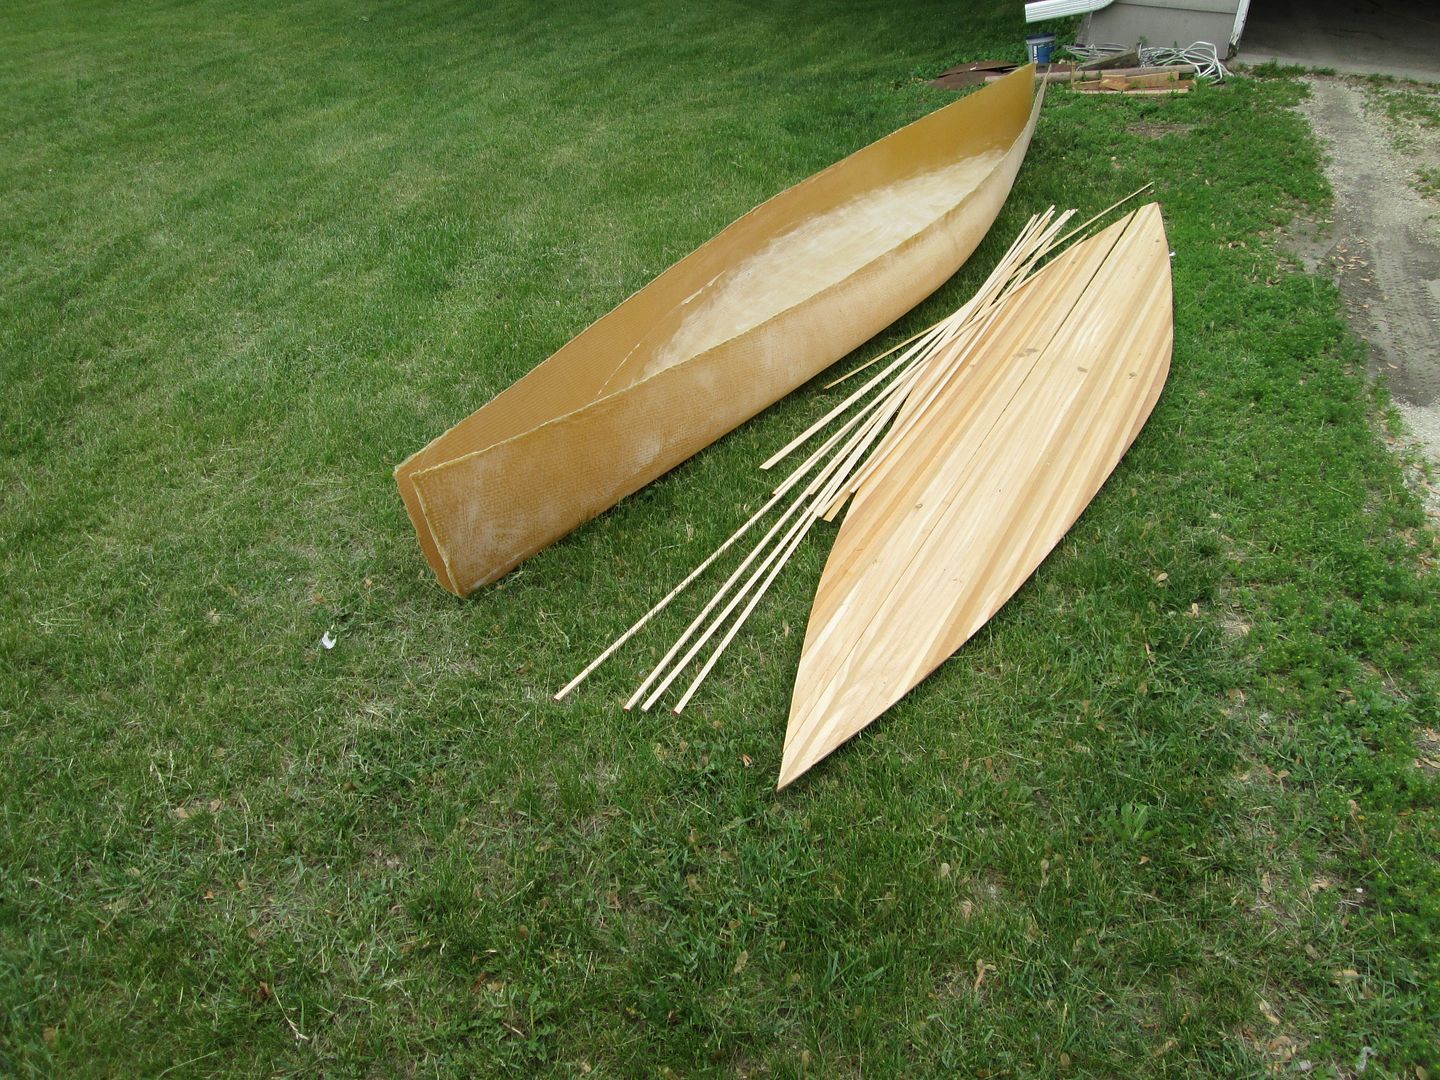
If going for a good compromise between strength and weight (but ignoring $$$) I've also considered building with ~1/8" strips (maybe 3/16" strips below the water line and 1/8" above?) and wrapping the outside of the hull with pure carbon or carbon/innegra weave with a protective layer of S-glass under the water line and using kevlar on the inside of the hull. I just noticed the other day a carbon/innegra weave is now available from Soller composites, the only place I've seen it available in small quantities. The carbon/innegra weave is less $$$ than pure carbon.
I'd really like to use a stripper as a plug, build an honest to goodness two piece mold, and build a purely composite hull. But for a one (or even two or three) off that's just a ridiculous amount of time and money (just for the mold!). Maybe I'll try molding a composite hull directly off a stripper one of these days since Jim is showing us how to do it.
Alan


")
")


