• Happy National Blueberry Pie Day! 🫐🥧

Pearl the Kevlar Plug

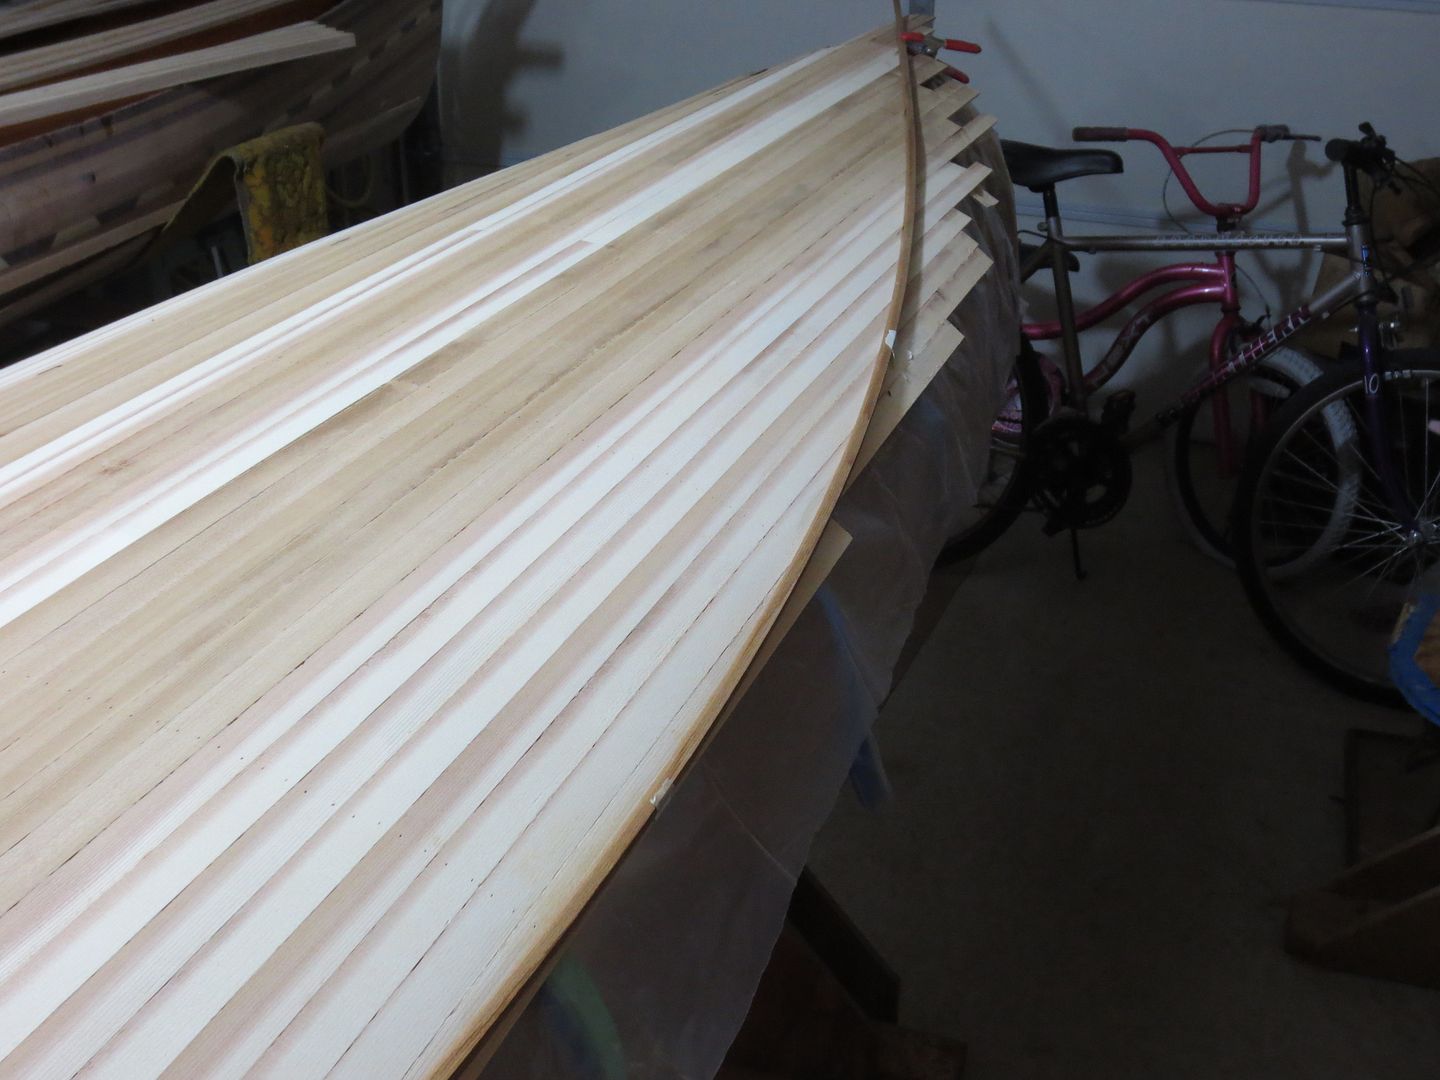
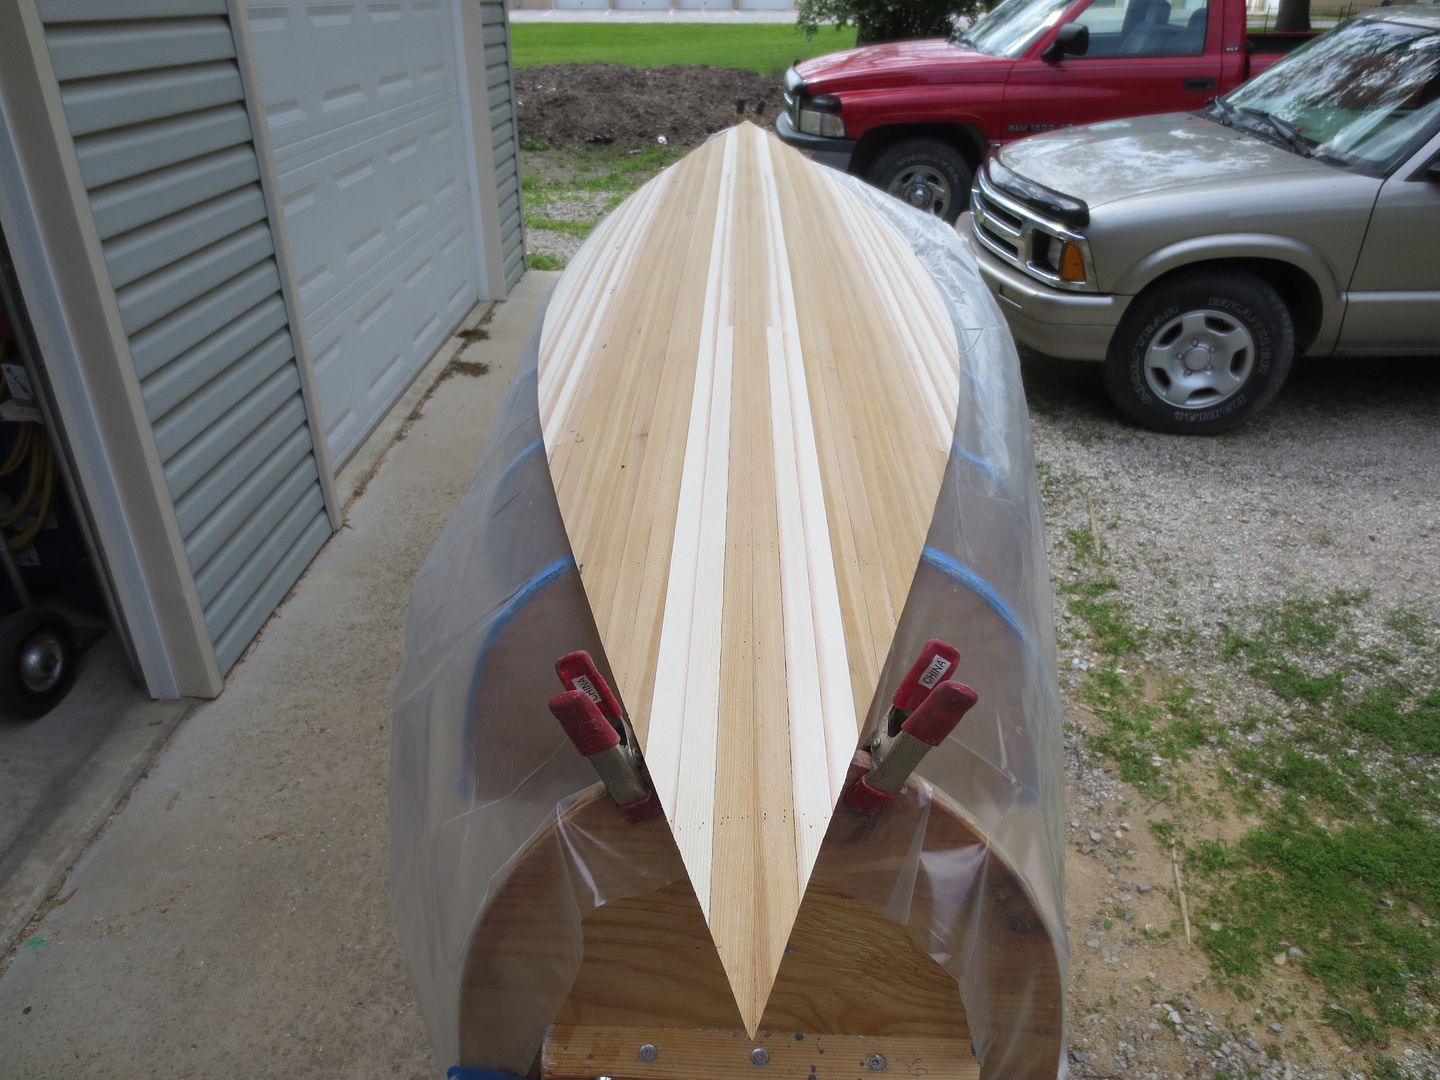
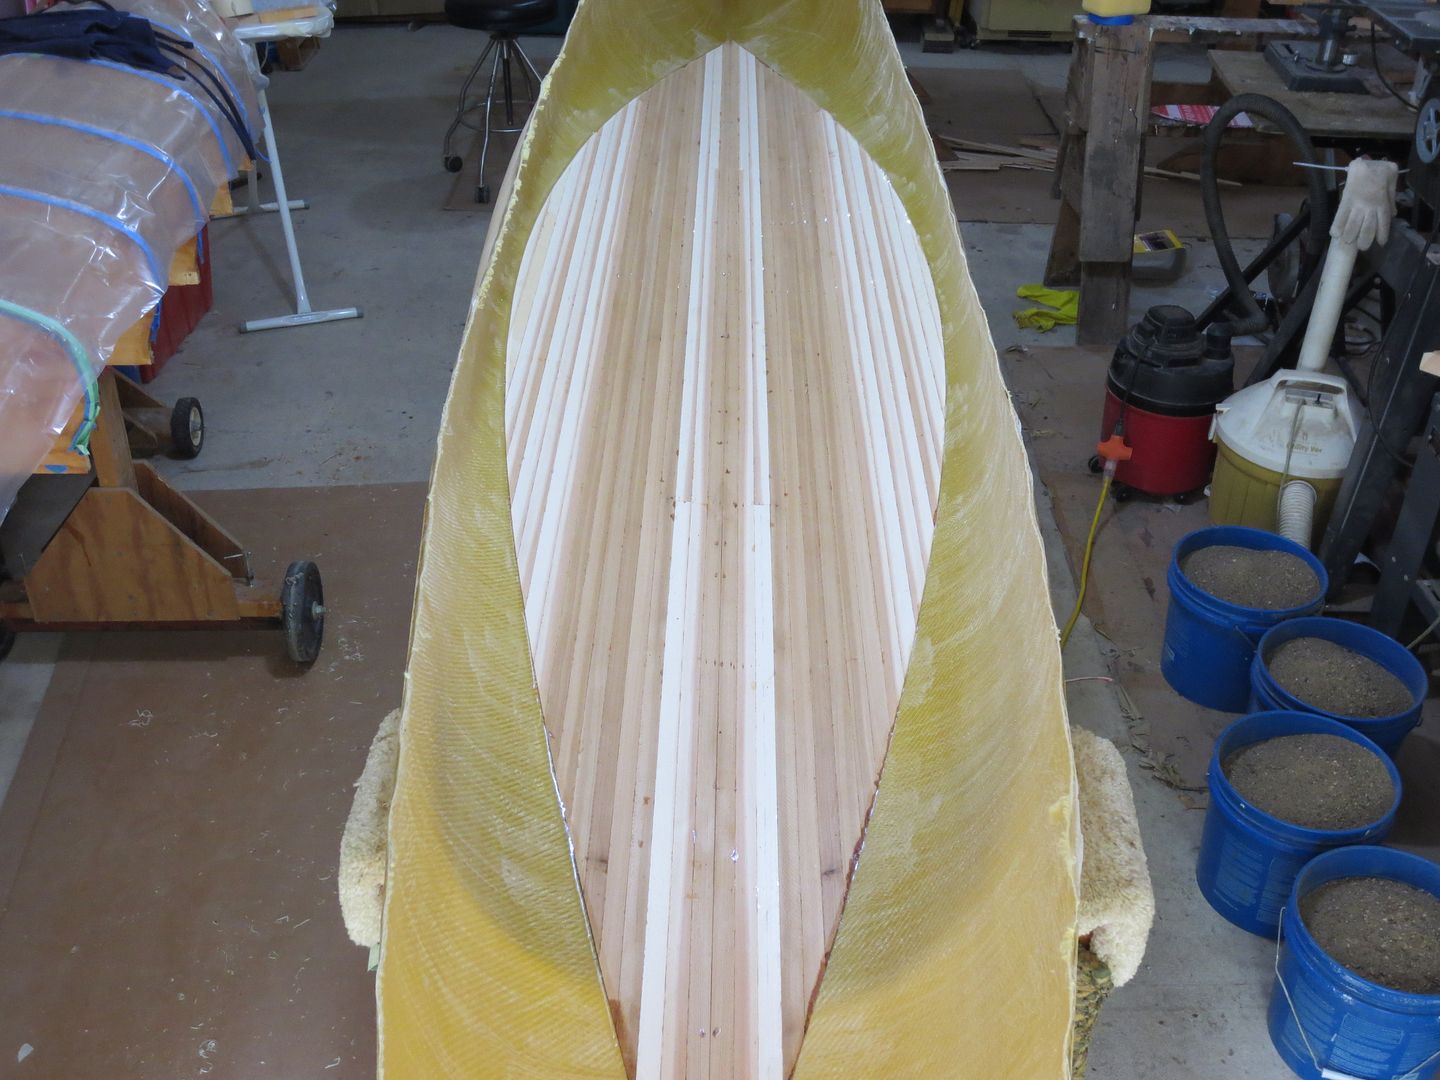
Pulled the forms out of Pearl, and flipped her over. Bead and Cove is GREAT ! 10 minutes of scraping, and now to sand, Love anything that saves sanding time, and B&C does that !

Bought out the old spring scale.
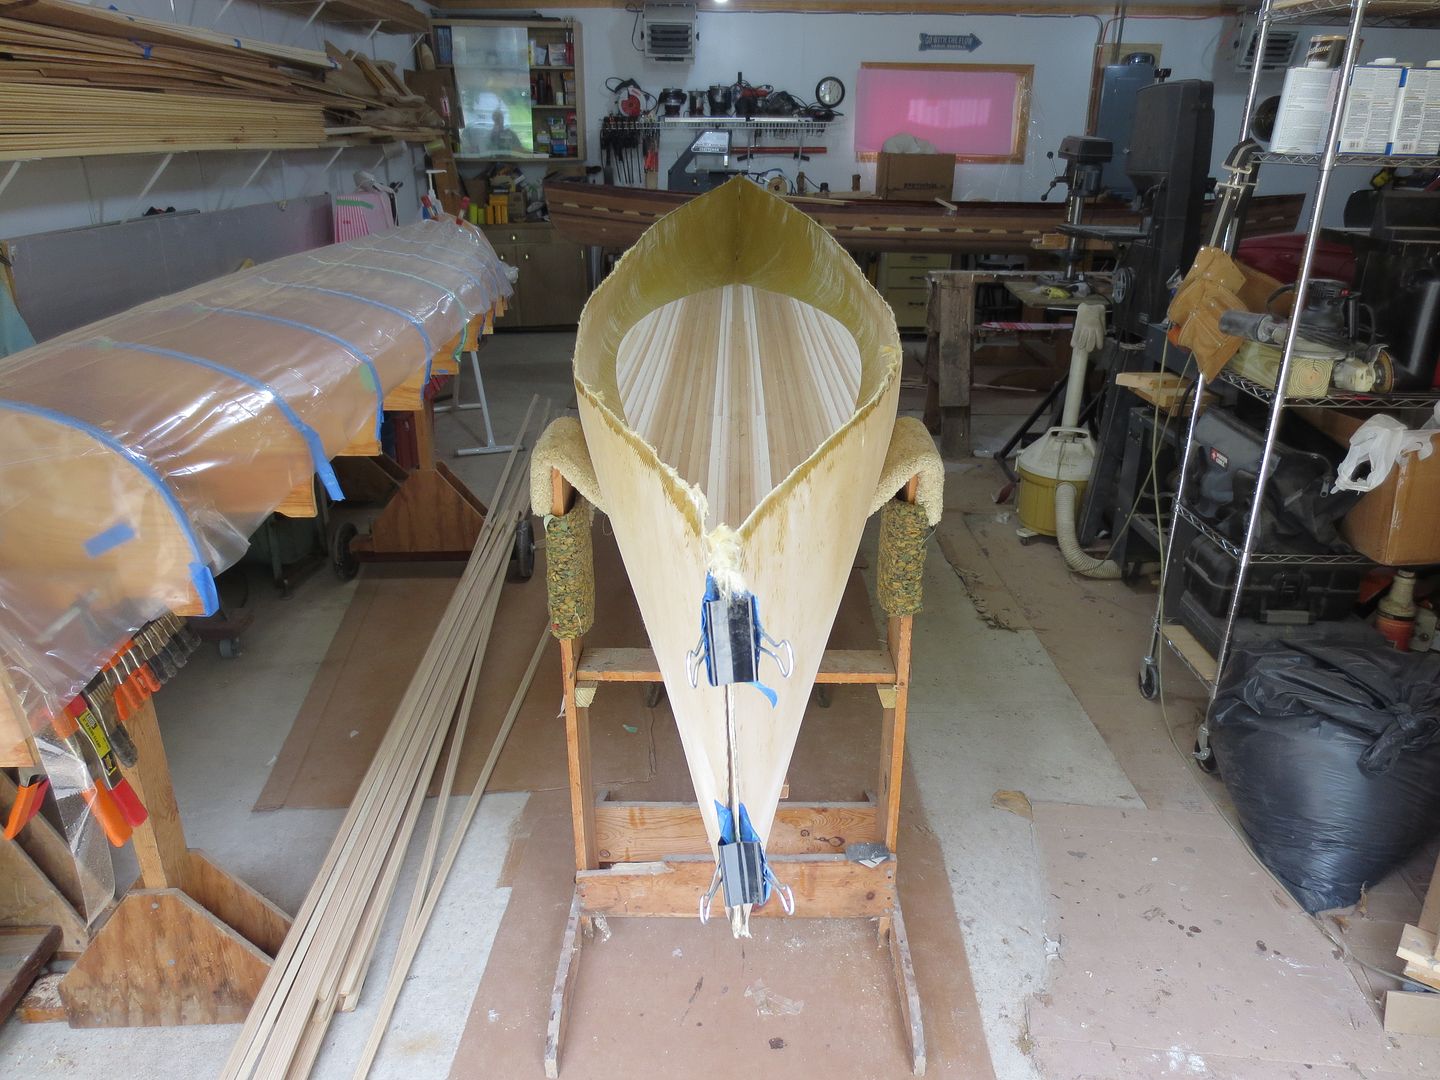
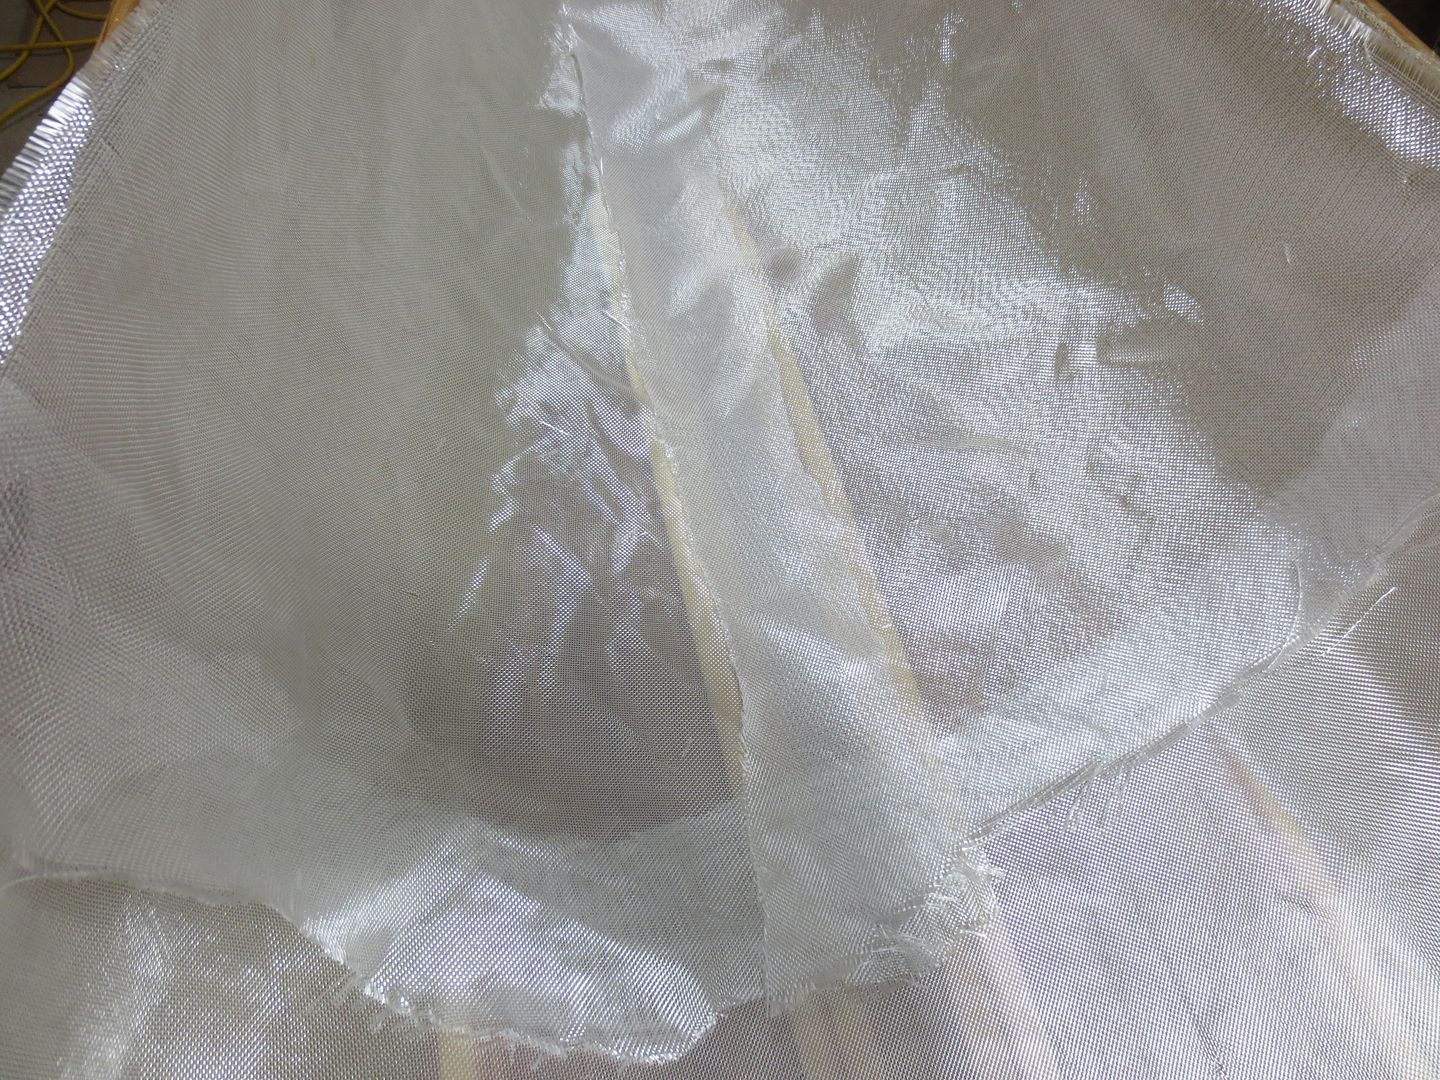
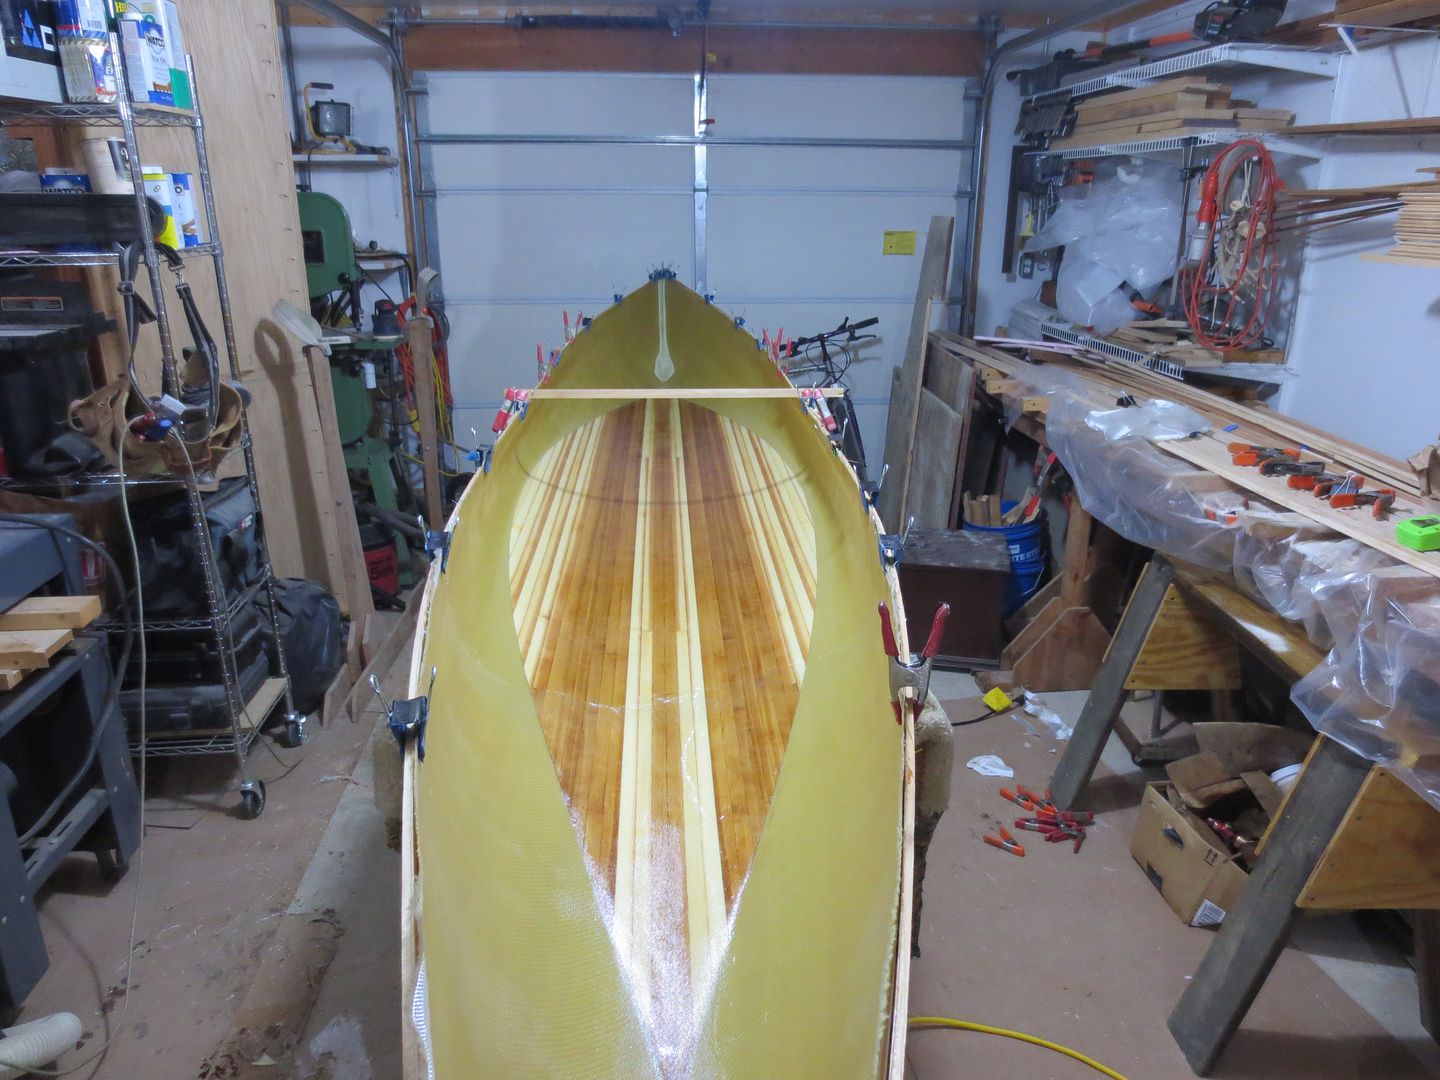
The Kevlar, weights 15# and Pearl at 30#.
The Kevlar will get an insert, and more glass, but that is quite a weight difference !

Jim
 
Guessing the Kevlar at a little over 30# +-, and Pearl 45# +-.
I'm hoping anyway !
Wood trim on both.

Jim
 
Cool, Do you think that the Kevlar will be more durable than the woodstrip?
 
You know, the wrinkle finish on the inside will help to add traction for you and it is the inside so shouldn't really matter much.
 
You know, the wrinkle finish on the inside will help to add traction for you and it is the inside so shouldn't really matter much.

I've scraped those wrinkles down. They will be covered with more cloth. I'm hoping I've scraped them enough !

As for durability, I'm guessing the Kevlar will be more durable. At least I'm expecting it to be !


Jim
 
Last edited:
Time to update my Kevlar copy of Pearl.
I finished glassing Pearl, so cut the gunnels on the strongback.
Once that was done, I set up the forms to make an insert for the bottom of the Kevlar.
Cut 1/8" strips for the insert and glued them.
Tomorrow, I'll pull staples and clean up the insert. Plan is to put a layer of glass on the bottom side of the insert. This SHOULD make it stiff enough to handle and shape before gluing it to the inside of the Kevlar Pearl.
Here's some pics.
IMG_0598_zps6ttj7bhr.jpg
IMG_0599_zps3febjyw1.jpg
IMG_0621_zpss4gb8oru.jpg
 
Very interested to see how this goes. Are you going to trim the edges by eye or do you have a plan for measuring?

Alan
 
Very interested to see how this goes. Are you going to trim the edges by eye or do you have a plan for measuring?

Alan

Hi Alan

I settled on using a fairing batten. It's a 1/4"X1/4" sixteen foot strip of cedar.

Forgot my camera today, but will post a pic tomorrow.

Debating on whether to glass the insert, trim and glue into the Kevlar. Or just trim the insert, without the glass, then glue into Kevlar hull?

Any ideas ?
 
It sure would be nice to skip the hassle of glassing it. But it sure would suck if it all fell apart before you got in place. Glad it's not my decision. ;)

Alan
 
Slept on it, and decided to just trim the insert, no glass
.
I did, and it worked out fine.
It's laying in the Kevlar now. I feathered the edge so when I lay glass on top it will blend in nice.
Plan is to mask around the outline. Pull it out lay in some resin with filler. Next comes the insert, some plastic, and sand to hold it down.

This is how I added foam to my first Kevlar, and it worked. I know this is a poor boy method. But I still don't have a vacuum bag system.
Should I wait until I get one ?
Here's a few pics.
IMG_0633_zps1wfo6lxx.jpg
IMG_0643_zpss8dk4cht.jpg
IMG_0649_zpsi8cud1oc.jpg


Jim
 
I know this is a poor boy method. But I still don't have a vacuum bag system.
Should I wait until I get one ?

Nah... maybe worth it if you are doing a lot of duplicates, or want to get into resin infusion. Otherwise, the learning curve, especially with a bag big enough to do a canoe, will tend to make things just that much harder... At least, that's what I would expect.

Luke, Who has not used a vacuum bagger in his life. ;)
 
Well the insert for my Kevlar is installed. I started by mixing epoxy and rolling a very thin layer on the underside of the insert. Then I mixed epoxy with cab-o-sil, and a little ground fiberglass. Spread this on the inside of the hull within a taped boarder.
Laid in the insert, covered it with plastic, and poured in about three 5 gal pails of sand to weigh the insert down while the resin set up. The Sand was heavy and tested my bracing, but it worked fine.
The insert was made from 1/8" cedar. I beveled the edge before installing.

It worked fine, and will use this method again.
Here's a few pics.
IMG_0664_zpskhk51x5z.jpg
There's light at the end of the canoe !
IMG_0659_zpslniyzdag.jpg


Jim
 
Last edited:
That looks like great work, Jim. Can't wait to see it in person. I'm hoping to have my boat in the water not this weekend but the one after. Can I bring down for a test paddle and show and tell session with your boats?

Alan
 
Thanks Guys !
Looking forward to getting on the water with you Alan !
I'm sure the river levels will accommodate us !

Jim
 
I know I've been slacking lately, but life has kept me out of the shop.
Finished glassing the inside of the Kevlar Pearl.
Covered the insert with 6 oz S-glass, and the entire inside with 6 oz E-glass scraps.
Also filled the ends with E-glass, and Polyester fleece impregnated with epoxy.
The fleece handles much like Kevlar felt, but sandible. Just starting to play with it as a Kevlar substitute.
Here's a few pics.
IMG_0695_zpserb4wc6o.jpg
IMG_0707_zpszchozq1y.jpg
IMG_0710_zps07qhctll.jpg


Jim
 
Last edited:
Looking pretty sharp, Jim. Are you happy with how the stems came out? Let me know when Lizard Creek is runnable and I'll check out the progress in person.

Alan
 
Here's one more pic of the inside stem, covered with the 100% Polyester fleece.(Sweat Shirt stuff)
IMG_0711_zpsig2i8gsv.jpg
.

Jim
 
Looking good Jim. I'm starting to wish I had a real thin layer of glass or even veil for my innermost layer on the guideboat. I was sanding the interior to prep for varnish and ribs a while back and I ended up fuzzing the kevlar. Looks like I'll have to put down a skim coat of epoxy before I varnish.

It looks like the glass will smooth out the wrinkles you had from the release plastic.

Did you use the battens and binder clips to hold the glass cloth in place or is that to hold the shell in the right shape before the gunwales are attached?
 
Back
Top