Haha. Jim! That's great! Making your own lamination rollers. Thats some real ingenuity. If you get any voids I'll cruise up north and help you relaminate, as long as it isn't on a weekday. But we'll be putting epoxy down before the fabric.
-
Happy National Blueberry Pie Day! 🫐🥧
You are using an out of date browser. It may not display this or other websites correctly.
You should upgrade or use an alternative browser.
You should upgrade or use an alternative browser.
Pearl the Kevlar Plug
- Thread starter Jim Dodd
- Start date
Thanks Muskrat for the offer of help !
The roller was hard, It was one I used to glass Pearl, and so was saturated with cured epoxy !
I'm headed down to warm up the shop and resin before mixing. Hate mixing cold resin !
Jim
The roller was hard, It was one I used to glass Pearl, and so was saturated with cured epoxy !
I'm headed down to warm up the shop and resin before mixing. Hate mixing cold resin !
Jim
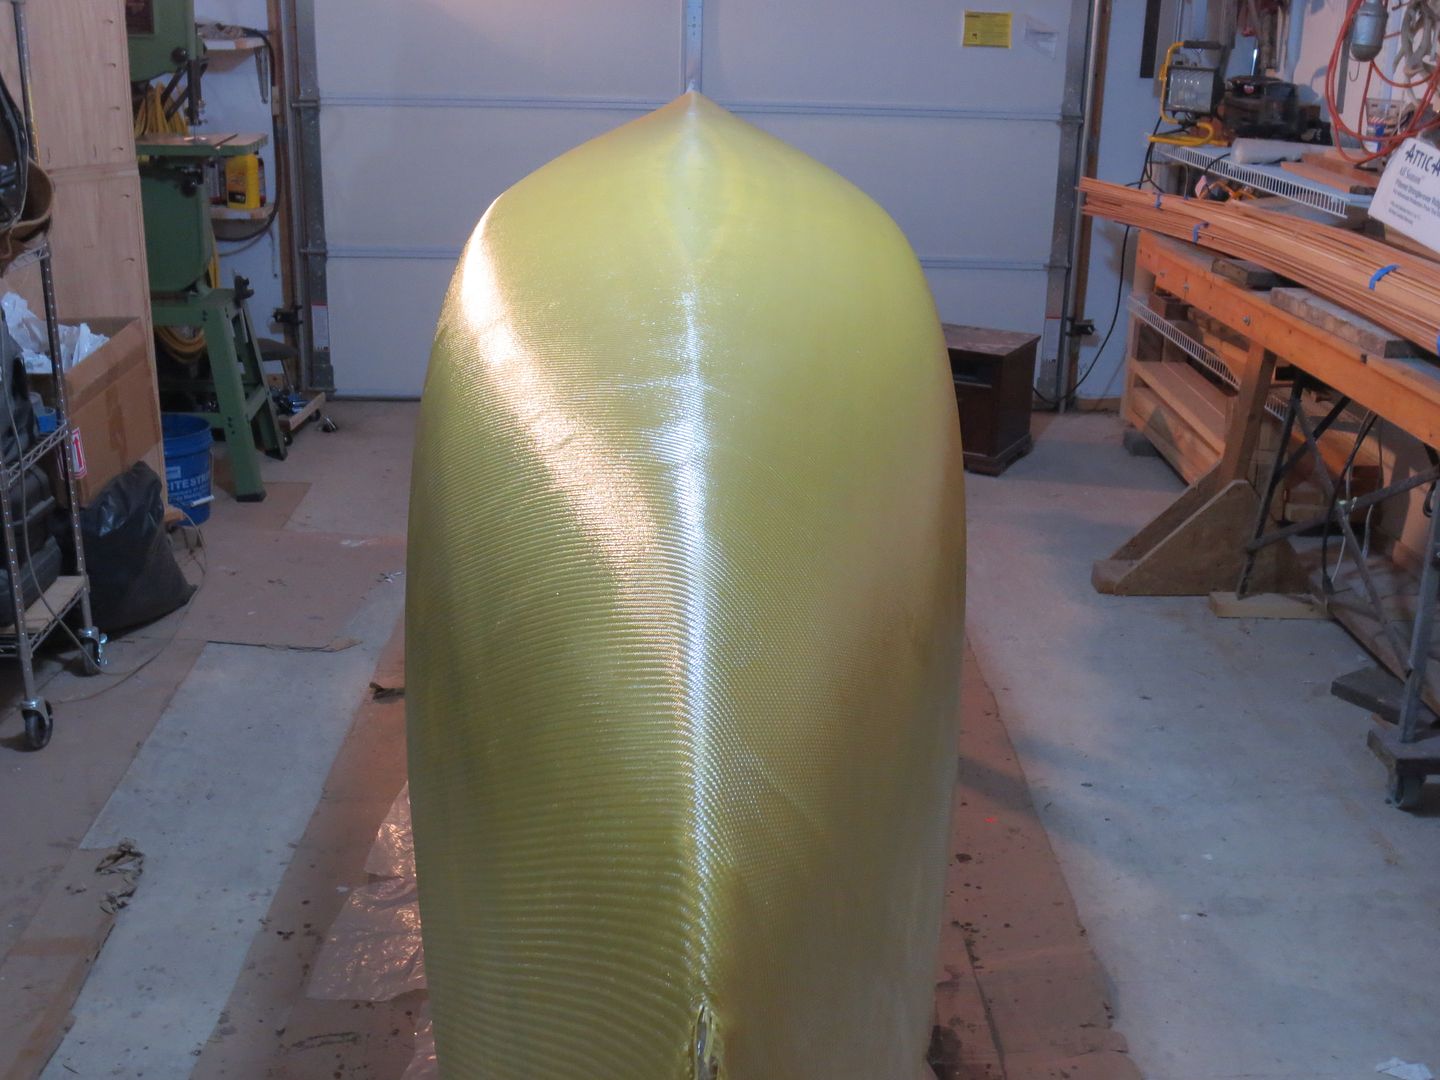
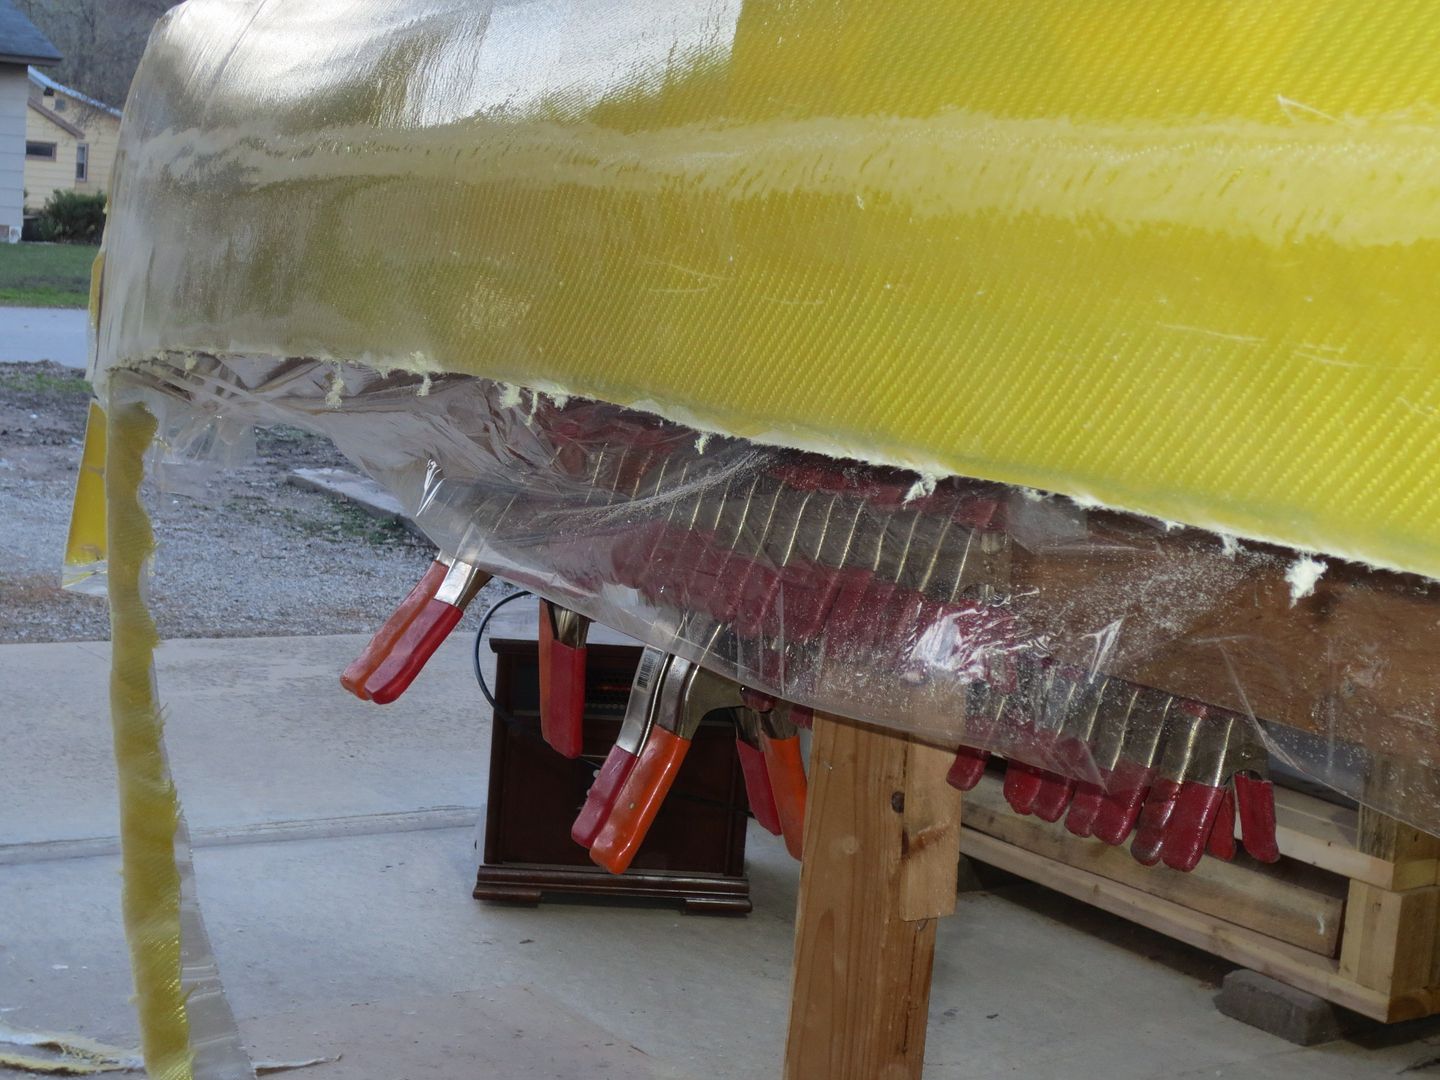
I was worried about the Kevlar staying tight to the hull, and it did ! I
I had a few pin holes in the window film, but I don't believe it will be a problem.
The 8.9 oz Kevlar wet out, fine using RAKA'S UV inhibited resin.
I'm going to let it cure hard before adding a layer of 6 oz E-glass. Then a layer of 6 oz S-glass over the football area.
Here's a few pics.
Oh ! No need for the lamination roller. I used it anyway jut to see what it would do. Not necessary.
Jim
Last edited:
This only really applies to my other strange hobby. I usually have some insect specimens in the freezer. I'm planning to use any extra clear epoxy to encase some insects in epoxy pucks. I'll pour it in a cup or Petri dish with a strategically placed bug and pull a vacuum to suck out all the air bubbles. You could preserve anything in it though. Could make for some interesting coasters and then I won't have to do any Christmas shopping.
I had one bug on my canoe.
Sure is different glassing this time of year ! In the Summer, I'm always battling those big Moths, that are dusty or something !
Saw somewhere, on how to make drawer knobs.
But you know those knobs on router tables, for like tightening various things. I think they are a 1/4" nut imbedded in plastic.
I think a guy could set something like that up. HMMM maybe some more thought !
In the AM I'll finish with the E-glass, and S-glass.
As of now I have 69 oz of resin on the Kevlar.
I'm scared to think how much I'm going to use tomorrow to fill the weave on everything !
Jim
Update
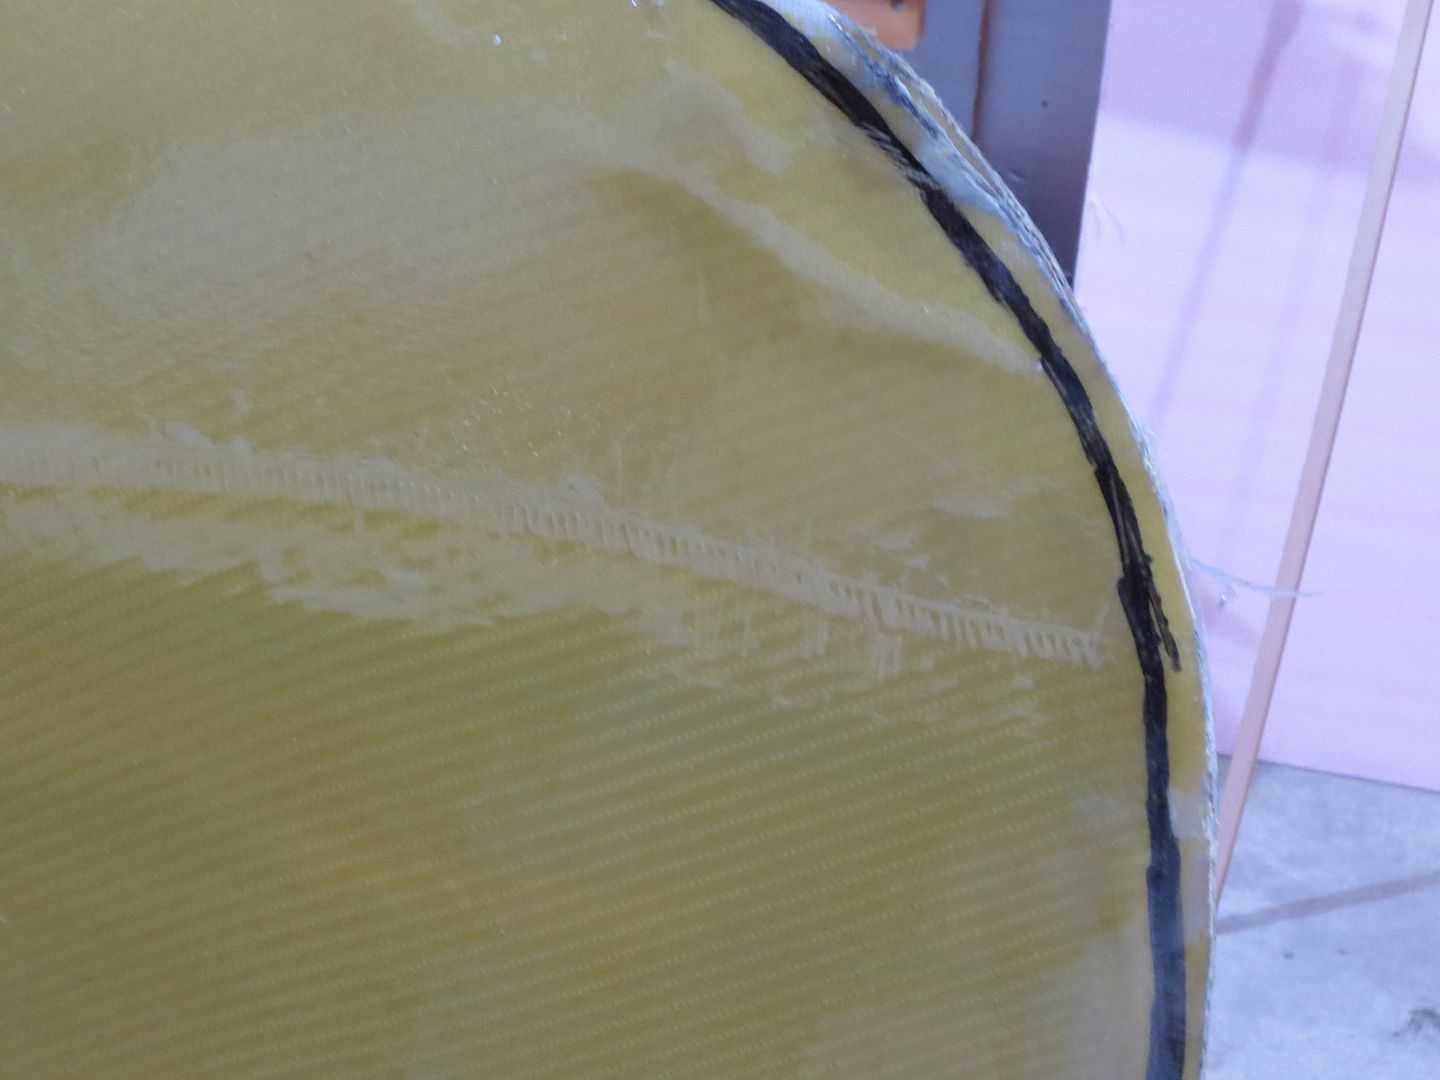
I have a layer of 6 oz E glass wetted out, on top of the Kevlar.
Everything looks fine, except a faint, but visible bump, from a wrinkle in the window film release. between the Pearl plug, and the Kevlar.
I resisted using a regular mold release, because, I didn't want to clean it off my Pearl. Concerned it might cause troubles with varnish adhering to Pearl, and contaminating the inside of my Kevlar, as I'll be adding more glass to it !
As Muskrat WARNED me to beware of wrinkles in the film. I don't think it will be a major problem, but none the less, anyone choosing this technic, be warned !
Jim
Looks great, Jim. You're not wasting any time!
Amazing how defects that seem so small can telegraph through the laminate. It will probably be nearly invisible after all the layers,fill coats, and finish are applied (especially if non-glossy).
What are you plans for trimming it out? Standard ash or something different? What about the seat? Will you finish the kevlar before going any further with the stripper or do some on this and some on that?
Alan
Last edited:
Just finished wetting out the S-glass. Wish I would've had the camera !
The bumps are still there. I had thought of shaving them a little with a scraper, but decided against it.
I have 140 oz of resin on it now. That's a lot ! I really need to get up to speed with the vacuum bagging !
In 2 hrs. I'll go back down and do a fill coat, and about every 2 hrs after, until the weave is filled.
Even with the shop at 70 degrees, it takes about 4 hrs to cure past tacky.
I really like those Cigar rollers ! Even though I have 140 oz on, 70 of that was wetting out the 8.9 oz Kevlar. The rollers worked great, without getting foamy .
I know a lot of people like squeegees, but the rollers are easier on my wrists, and I like the results.
For trim, I plan on ash seats and gunnels, I make up seats ahead of time, and I'm pretty well supplied.
I'll finish the glass work on both, and I'll cut the gunnels at the same time. It'll save set up time.
I'm anxious to scale this Kevlar, compared to my other !
Still debating on whether to go with foam on the inside bottom, or a thin cedar strip insert ?
Any thoughts ?
Jim
The cedar would sure look nicer but I imagine the foam would be a lot less work. Always a balancing act.
After removing the kevlar hull could you use the bottom of the stripper to lay up the cedar strip core (if you choose to go that way)? That would give you the correct shape and working on the outside of the stripper seems easier than the inside of the kevlar hull. Maybe a layer of 4oz. glass before removing it from the form (stripper) to hold it in shape?
I'm anxious to see the weight too. You're making it look pretty quick and painless so far.
Alan
Alan
Last time, I built the cedar insert on the plywood forms. All I relied on was the strip glue to hold it together. That wasn't enough, and it wanted to fall apart when I tried to bevel the edges.
Now your idea of glassing the insert, before taking it off the form (stripper) might work ! I could leave the release film on the stripper, assemble the cedar insert, wet out say 4 oz cloth, on top of the insert, put the Kevlar back on, and weigh it down.
That would sandwich the 4 oz between the insert, and the Kevlar ! Hmm ? Might work !
I'm going to think on it !
Thanks for the Idea !
Jim
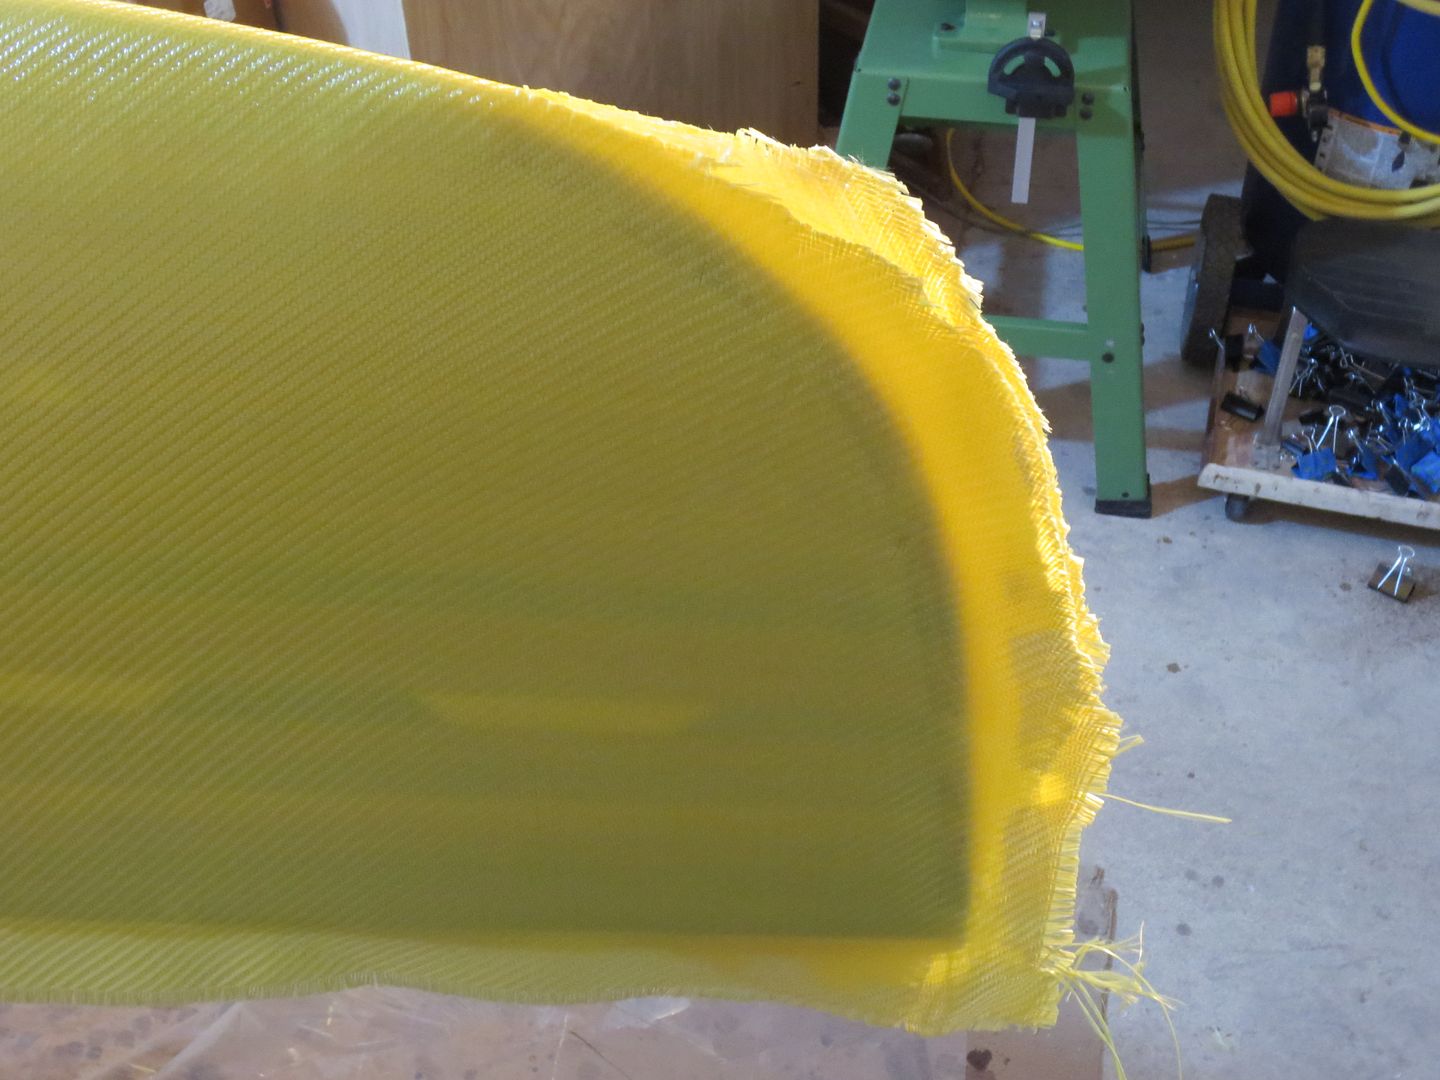
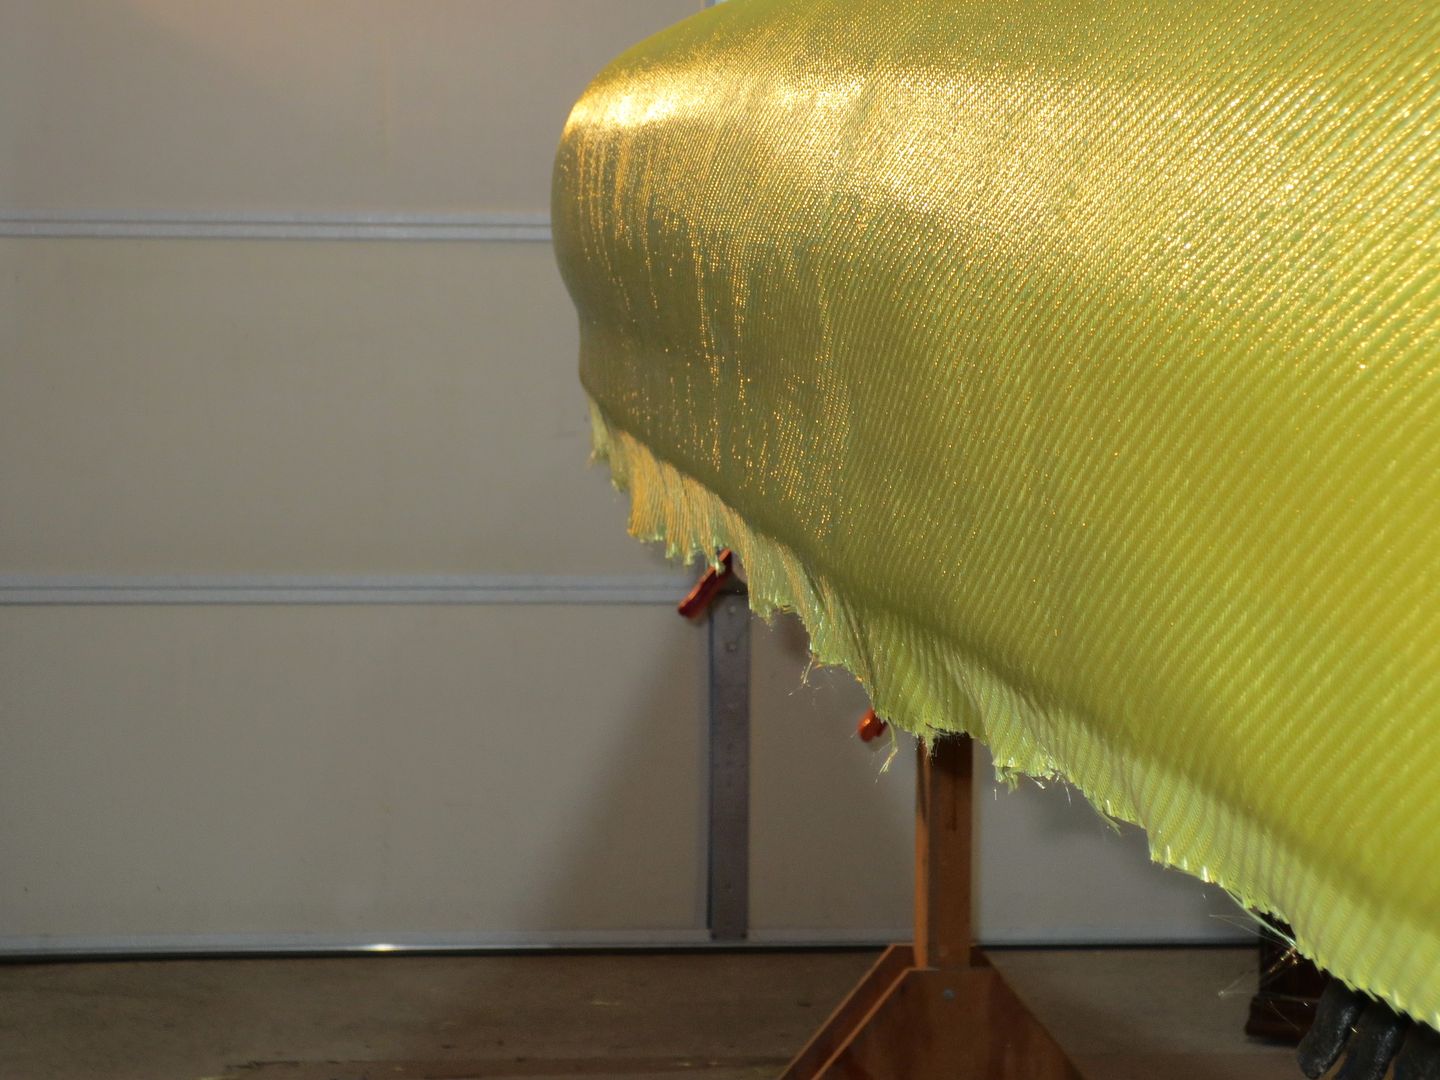
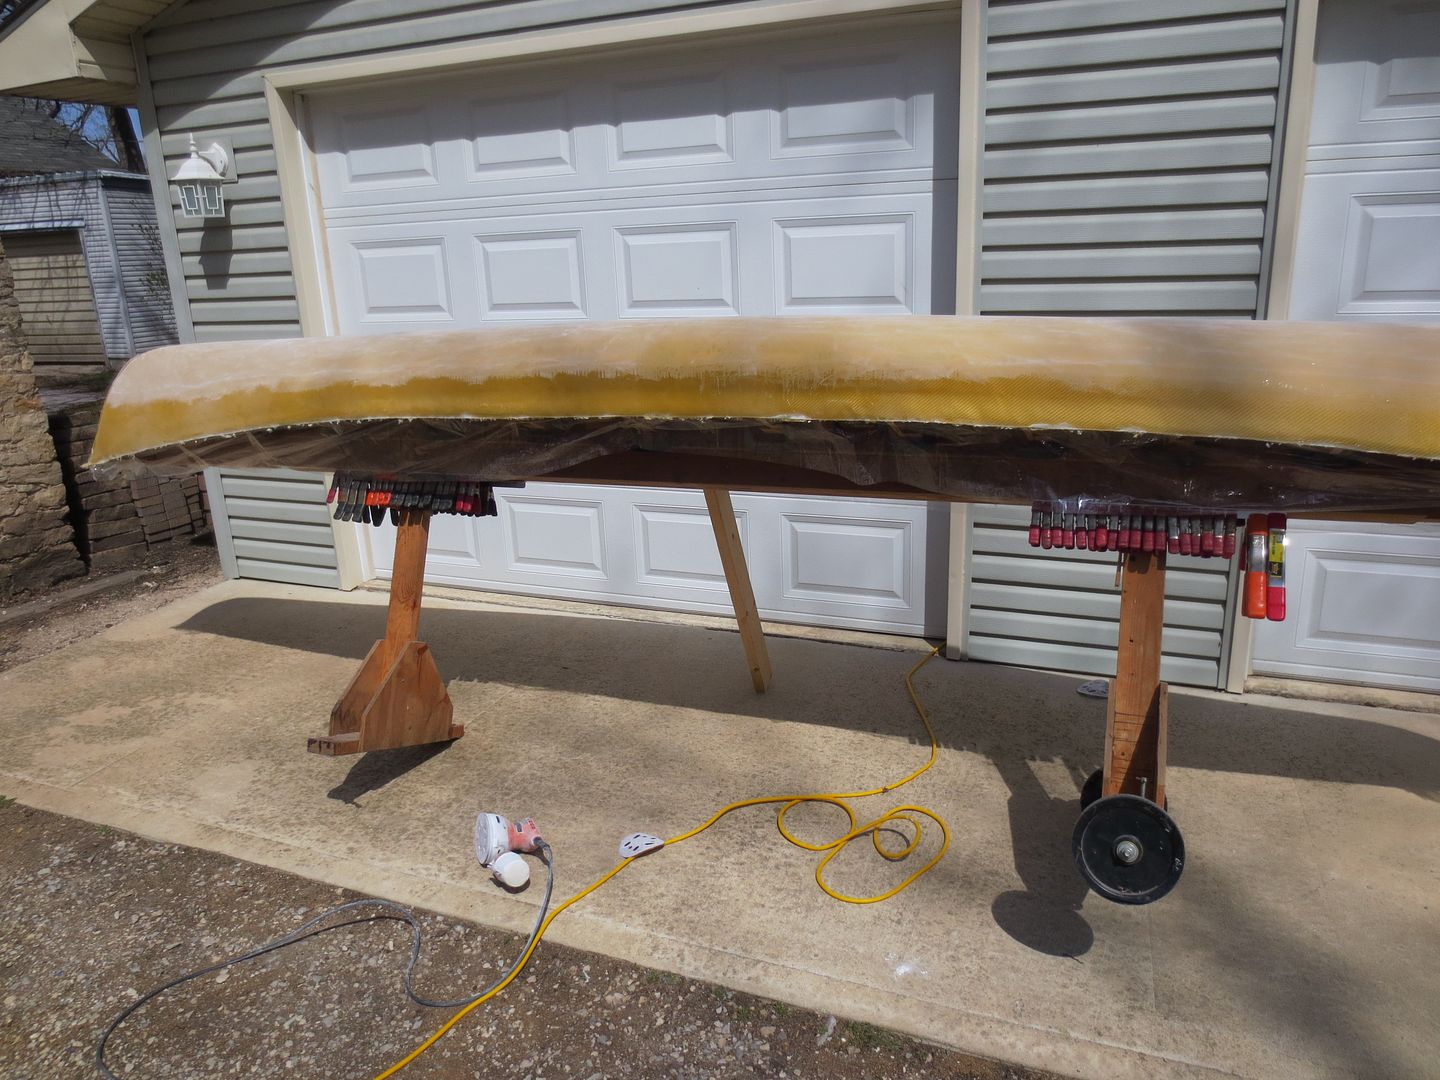
I couldn't stand waiting any longer, so I trimmed the edges of the Kevlar hull, and lifted it a little, and it's loose on the plug.
Here's a couple pics.
I used a 4 1/2" angle grinder with a thin cutoff blade. I will take off the black, just not while it's on the plug.
Worked great
Jim
Here's a couple pics.
I used a 4 1/2" angle grinder with a thin cutoff blade. I will take off the black, just not while it's on the plug.
Worked great
Jim
Always a relief to get it off the mold! At this point it always seems like it's almost done, but it seems to take me just as long to put in the core, gunwales, and seats. I'm really excited for this build since it will give us a good weight comparison of identical stripped and full composite hulls.
I have about 45minutes left to sand, and then OFF SHE COMES !
Here's a couple of pics,
I tilt the hull to make it easy for this old man to sand the tumblehome.
I hold on to the hull when I get to the ends, but this works slick.
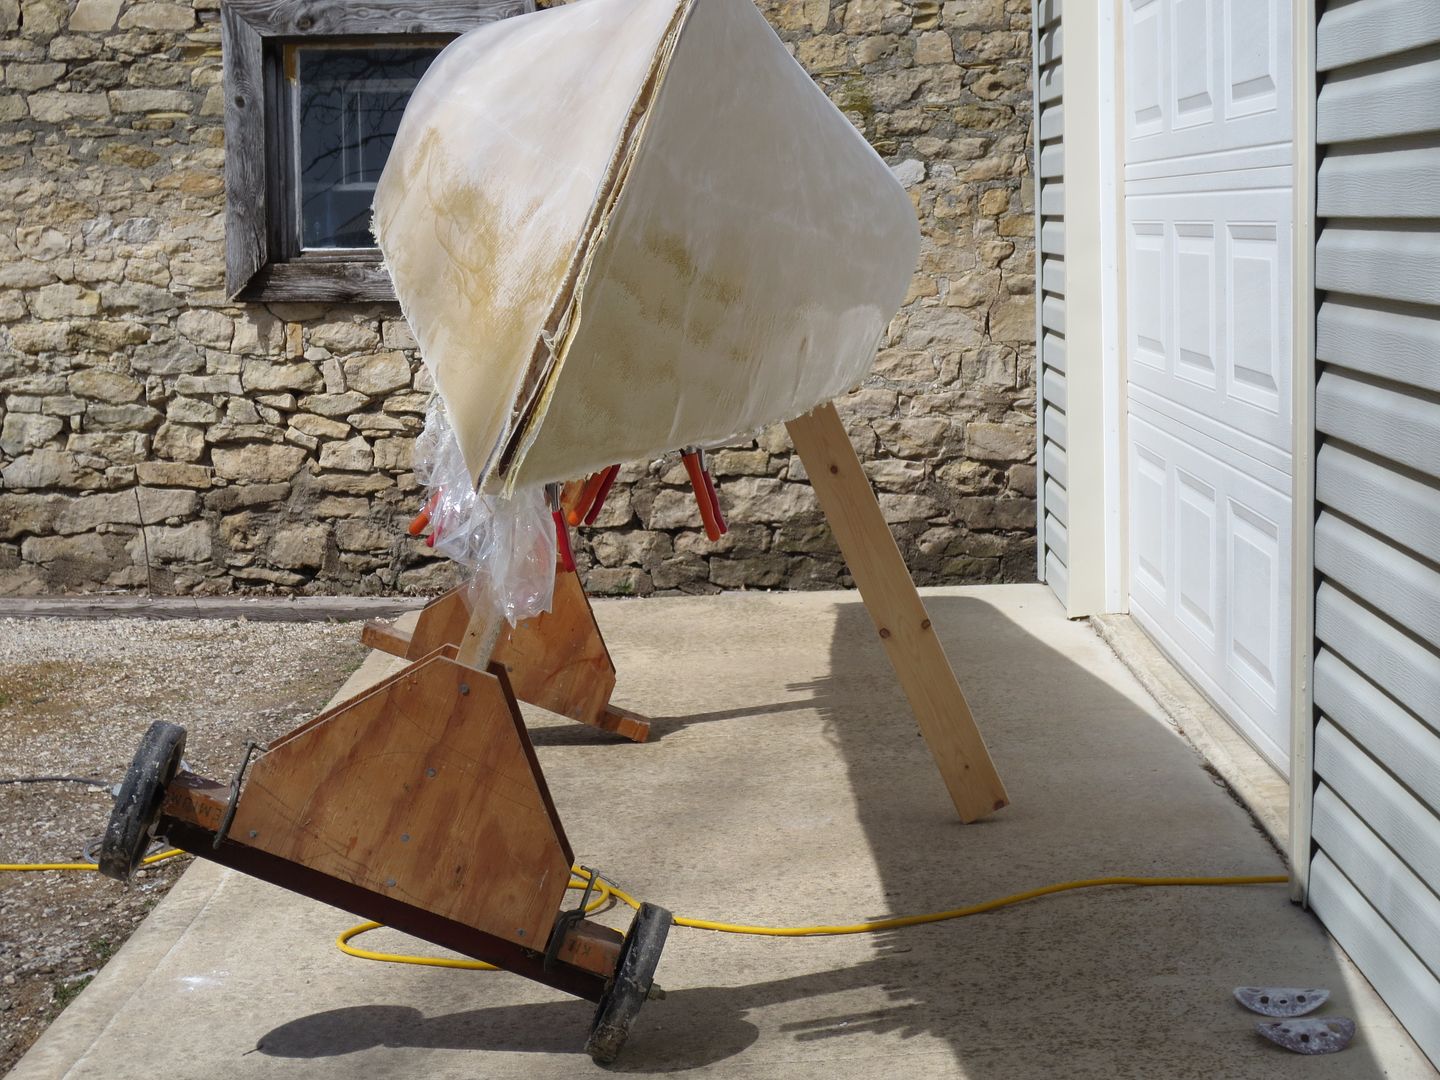
Jim
Here's a couple of pics,
I tilt the hull to make it easy for this old man to sand the tumblehome.
I hold on to the hull when I get to the ends, but this works slick.
Jim
There's a special level of heck, reserved for canoe makers, called The Sanding Room, where your torture is to sand 24 hours a day for eternity. Good luck!
Great progress, Jim. Can't wait to see it off the mold. I keep thinking one of these weeks I'll get mine done and bring it over for a paddle so I can see yours in person, but it just keeps dragging on. Maybe in a couple weeks.....
Alan
Alan
Great progress, Jim. Can't wait to see it off the mold. I keep thinking one of these weeks I'll get mine done and bring it over for a paddle so I can see yours in person, but it just keeps dragging on. Maybe in a couple weeks.....
Alan
I'm just trying to keep the pace you have set !

I'll have the Kevlar off Pearls back today !
There's a lot of hulls waiting for you to test out ! At least the river is up !
We have a lot of talking to do !
Jim
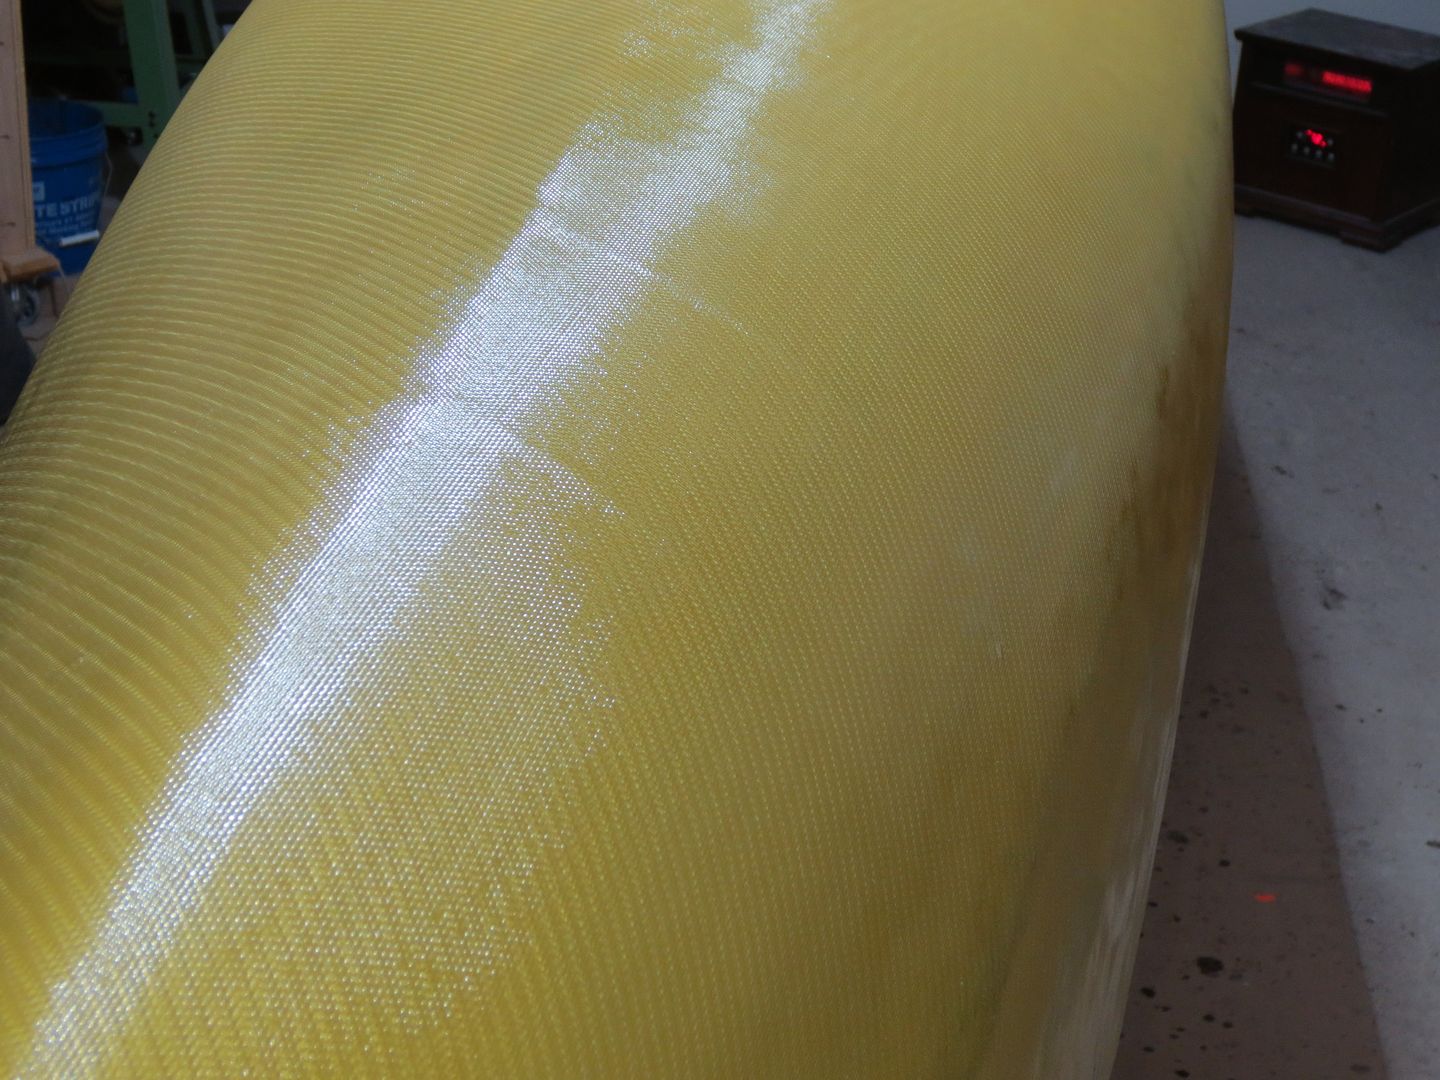
The Kevlar is off Pearls back.
Finished sanding the outside this am.
Wife helped lift the Kevlar off.
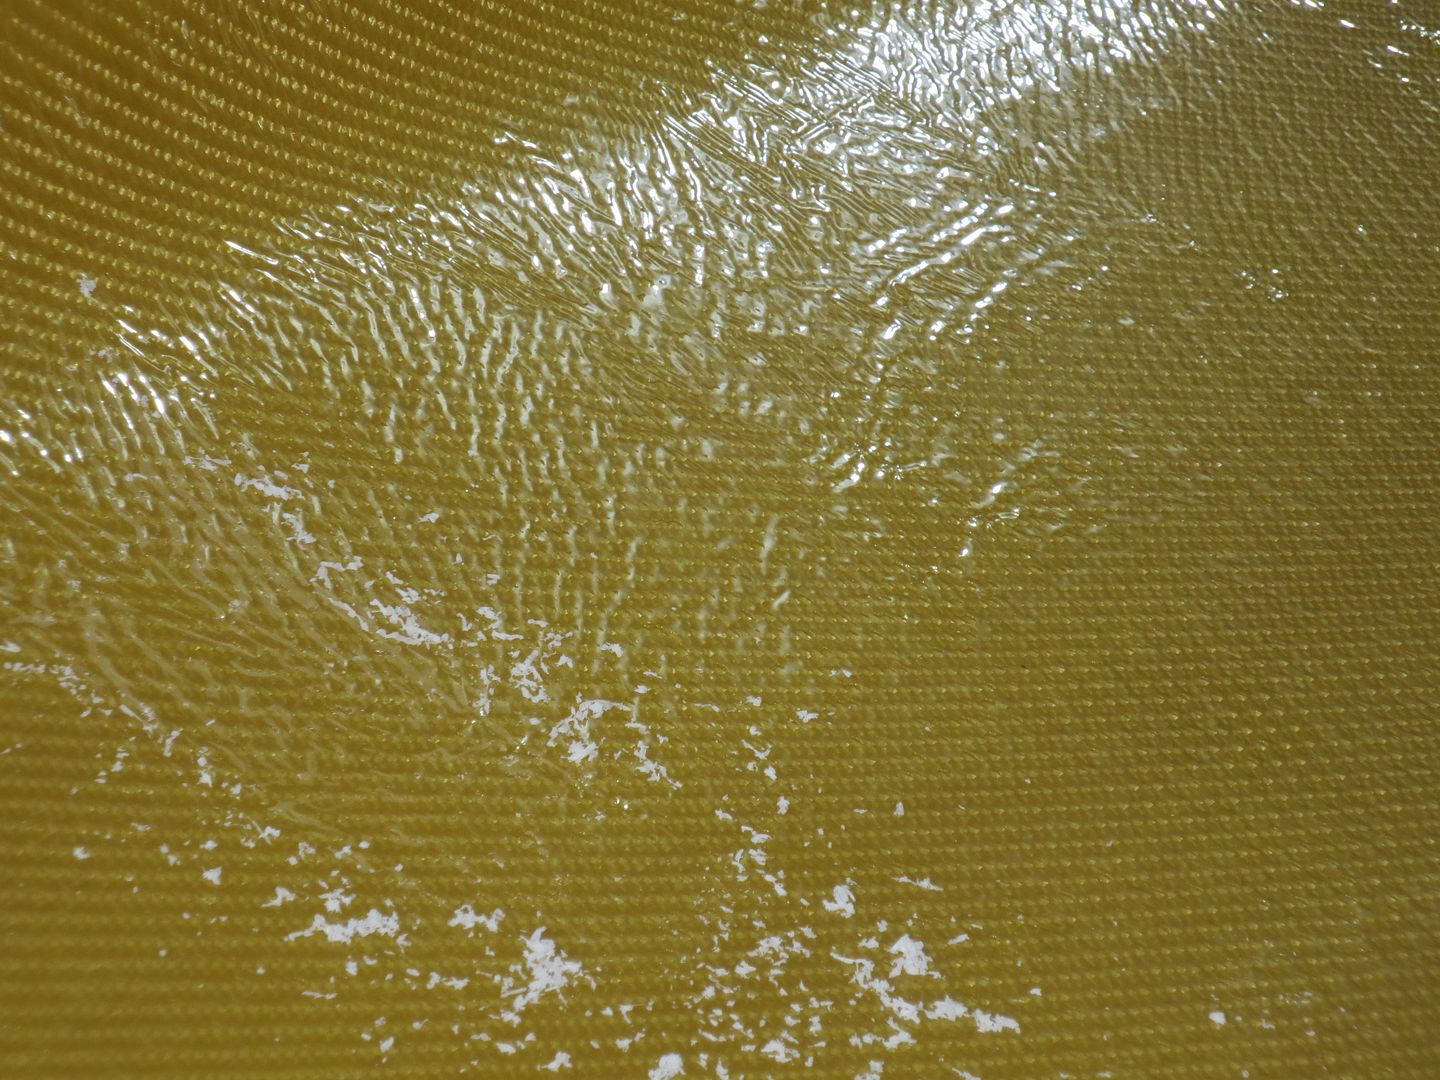
Only complaint so far, is the wrinkles in the window film, created small ridges of epoxy. I plan to just scrape these, as I fear they will create voids when I go to epoxy the insert, and extra cloth. Just extra work !
I had much better luck with the film in my first Kevlar ! Lesson learned
I was happy that the hull retained it's shape, once off Pearl. I still built up support on the bottom side, once inside, and in the cradle. I also braced the shearline width.
What I really like, is I can Play with the hull shape ! I can alter the arc in the bottom, which I plan to flatten some.
I can alter the shear width, and I plan to bring it in just a little .
I can also change the rocker and shape of the stems.
Here's a few pics.
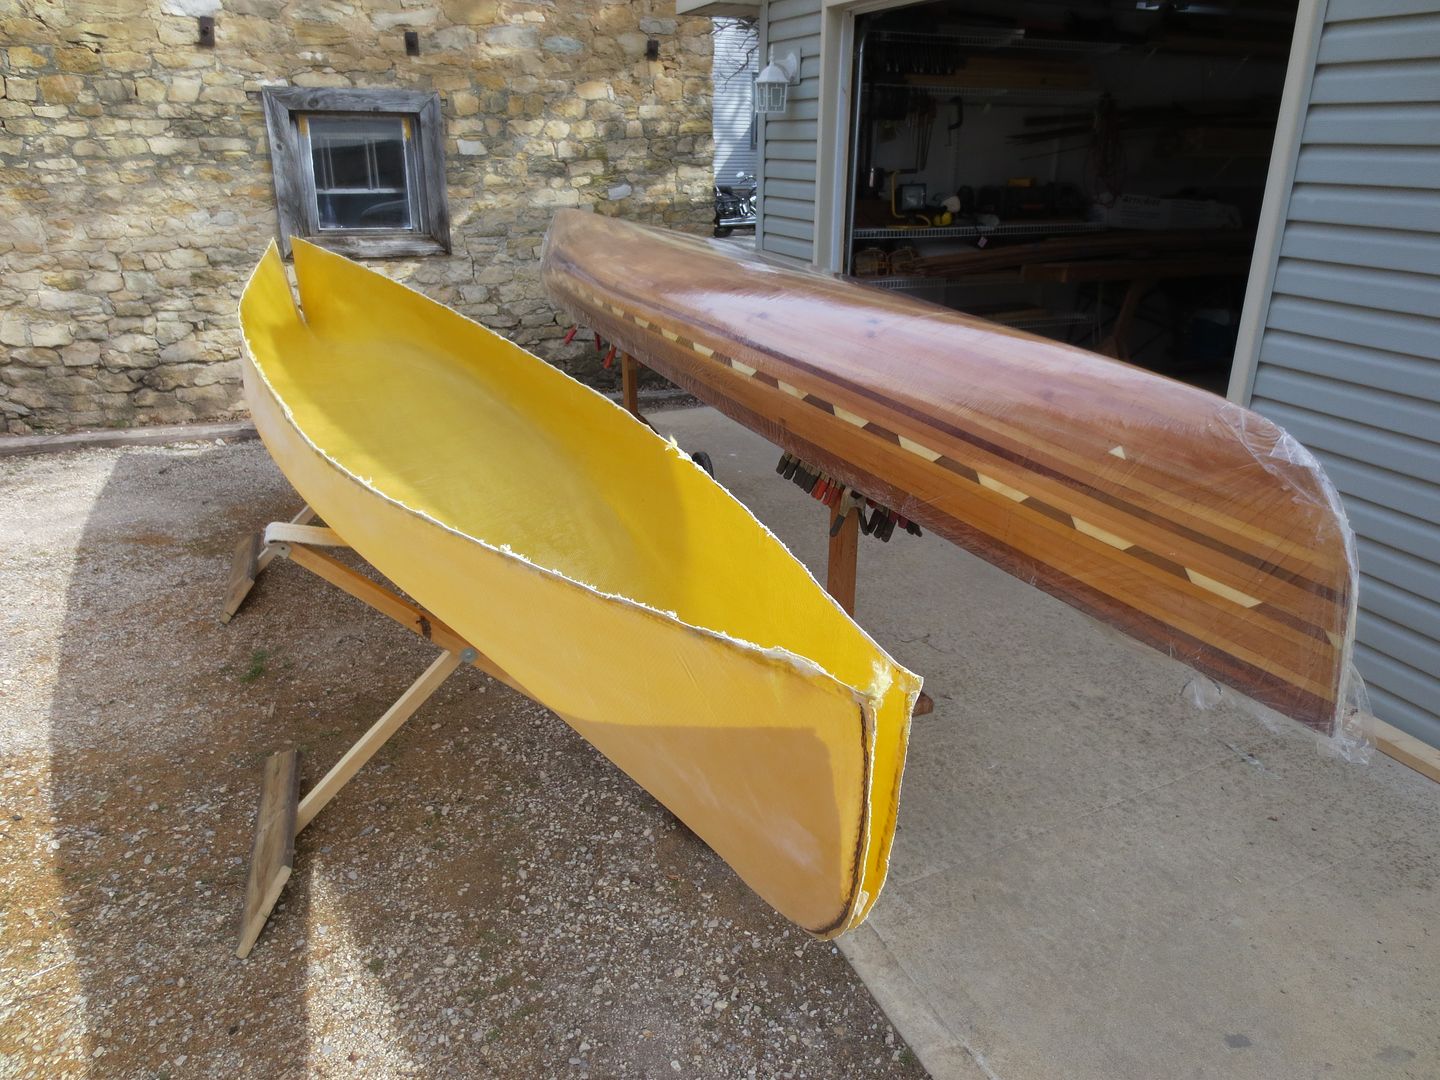
Wrinkles in the epoxy on the inside.
Outside sanded

All in all, I'd do it again if I had enough Kevlar, and S-glass, only changing my release method !!
Jim
Finished sanding the outside this am.
Wife helped lift the Kevlar off.
Only complaint so far, is the wrinkles in the window film, created small ridges of epoxy. I plan to just scrape these, as I fear they will create voids when I go to epoxy the insert, and extra cloth. Just extra work !
I had much better luck with the film in my first Kevlar ! Lesson learned
I was happy that the hull retained it's shape, once off Pearl. I still built up support on the bottom side, once inside, and in the cradle. I also braced the shearline width.
What I really like, is I can Play with the hull shape ! I can alter the arc in the bottom, which I plan to flatten some.
I can alter the shear width, and I plan to bring it in just a little .
I can also change the rocker and shape of the stems.
Here's a few pics.
Wrinkles in the epoxy on the inside.
Outside sanded
All in all, I'd do it again if I had enough Kevlar, and S-glass, only changing my release method !!
Jim
Last edited:
Similar threads
- Replies
- 3
- Views
- 569
- Replies
- 14
- Views
- 3K