• Happy Marine Mammal Rescue Day! 🐳🐬🦭🦦

cutting strips

Here is my first video posting [video]http://vid1272.photobucket.com/albums/y390/JimDodd/MVI_0284_zpskmizdf9v.mp4[/video]

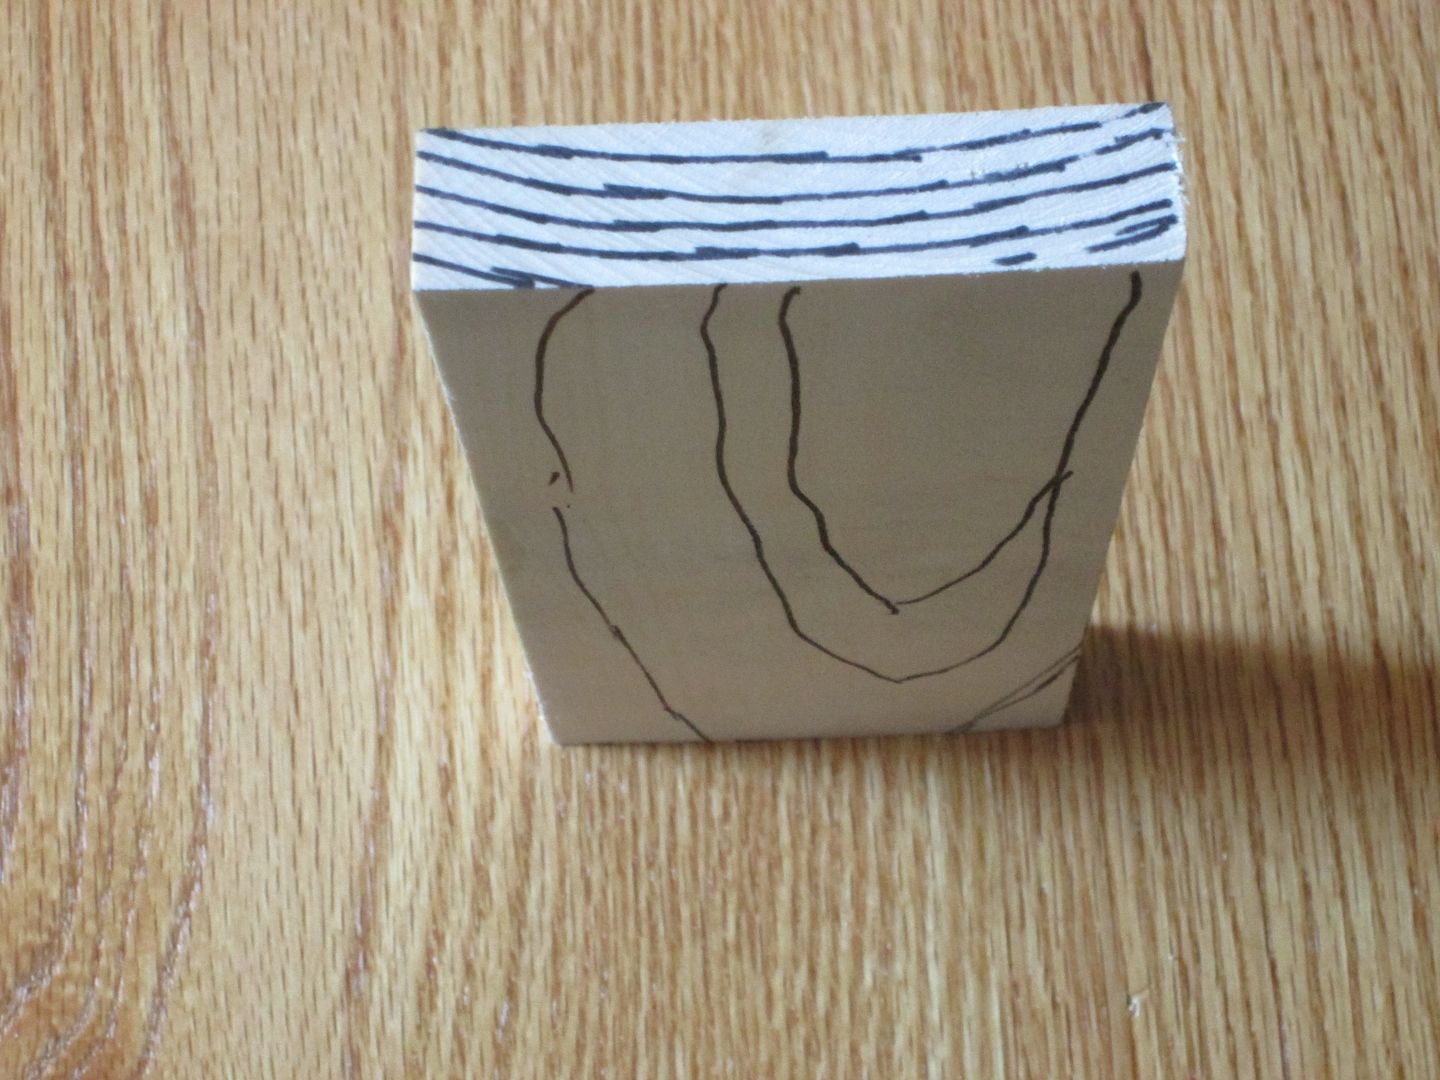
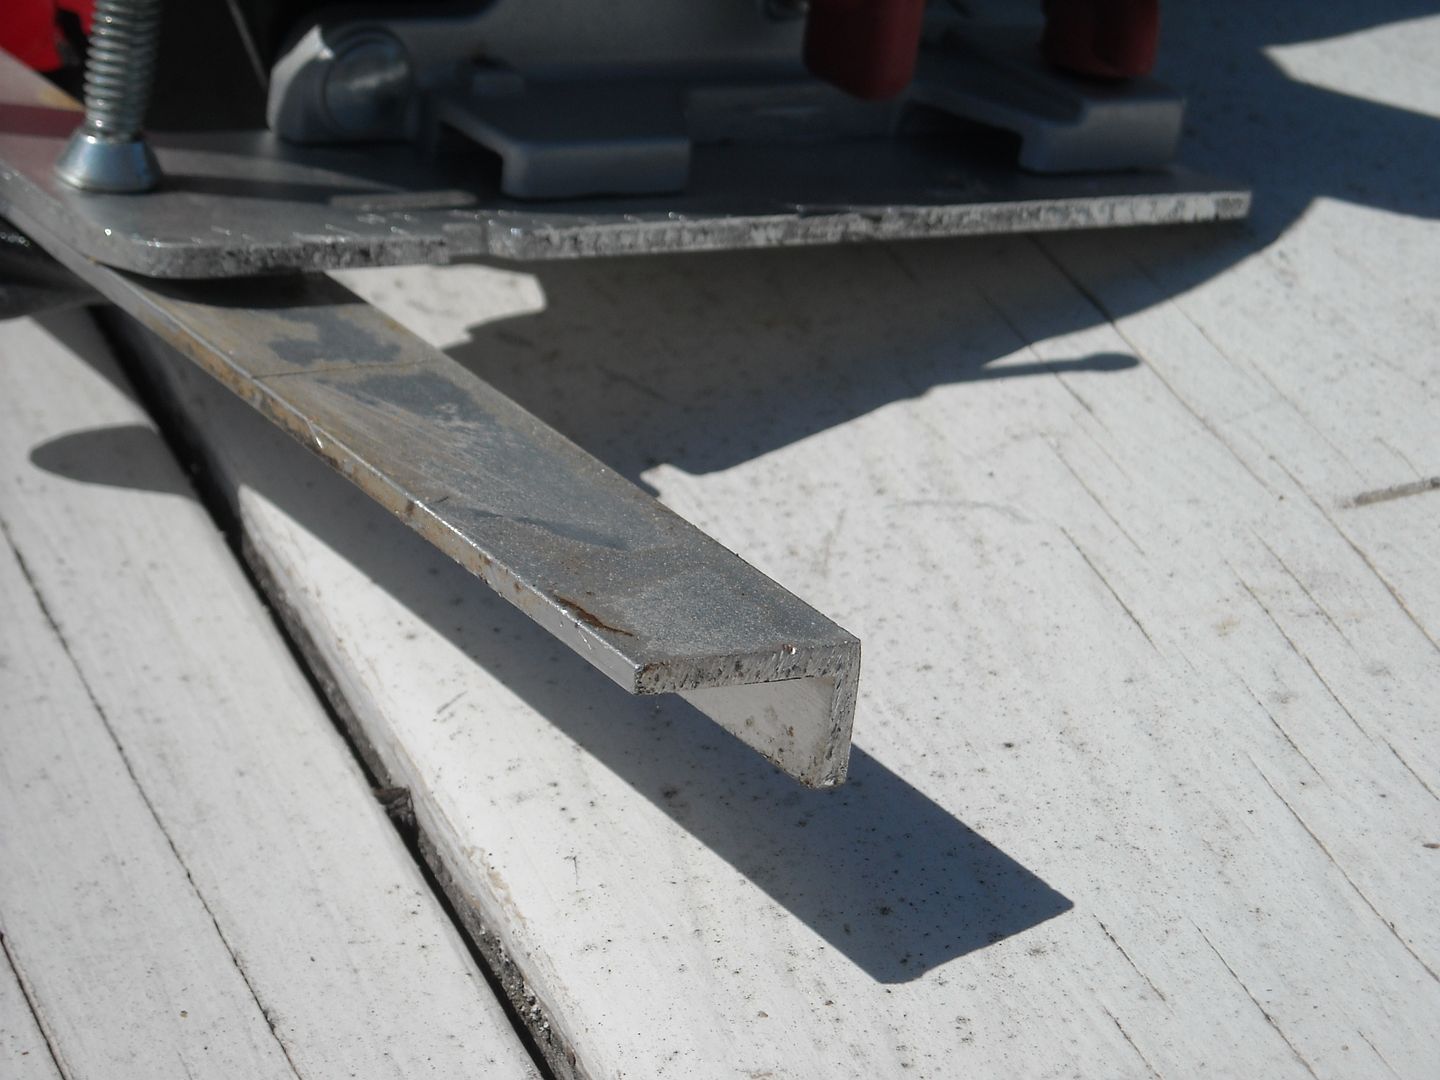
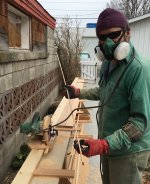
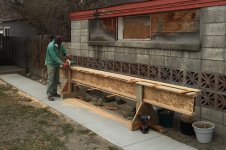
Sorry for the quality, but it represents my technic for cutting strips. No need for a planer, I start with #3 cedar from Menards (They allow sorting) no need for top quality lumber, as when I finish, I will have machined every edge.

I can think of no simpler, or better method. Not to mention cost for the home builder. I've cut my strips this way for my first, and have cut strips for others totaling over 40 boats worth.

Jim
 
Last edited:
I'm convinced Jim. That looks pretty slick especially since I don't have room for a table saw. I didn't know they had 16 ft western red cedar at Menards. Looks like I'll be making a road trip as I haven't found any place in Kansas City that sells it.
 
Just so happens they are having a sale now.
Pretty slim pickens in my neighborhood ! Wonder why ? :rolleyes:

#3 and better, surfaced on three sides. Some of the planks I've gotten from Menards were actually 16' 1" long.

Jim


Jim
 
I found a video (poor quality), I made of cutting strips.
I thought it might shed some light, or make things darker ?
[video]http://vid1272.photobucket.com/albums/y390/JimDodd/MVI_0284_zpskmizdf9v.mp4[/video]

Hope this is helpful !

Jim
 
The great feature to your setup Jim is you don't need twice as much room as the board you are cutting and it's a one man operation.
 
Sorry for posting that video twice ! My only excuse is it's Valentines day !
Sweeper, It's worked great for years !

Jim
 
When you are cutting the strips do you have the grain running vertical or horizontal? I have 2x6's so could cut either direction.
 
When you are cutting the strips do you have the grain running vertical or horizontal? I have 2x6's so could cut either direction.

When you get done you want quarter sawn strips (grain running the short way).

Alan
 
Alan is right !

I want flat sawn, or horizontal grain planks. So when I cut strips they end up quarter sawn.
You get a stronger, easier to work with strip.
Here is how I want the grain to look(roughly) in the planks I cut my strips from.
IMG_0277_zps3jivum8l.jpg


Jim
 
How much extra strength does it really provide though? When you cover both sides in fiberglass or Kevlar or whatever does it matter which way the grain runs? I am not any expert so please correct me if I'm off here. I can see the value in quarter sawn wood for a skin boat, where there is no laminate. Other things like paddle making the grain is also very important, but I was under the impression that it's much less so when it's buried under a laminated cloth


Jason
 
My 2 cents, or 1.4 Canadian. Quarter sawn are easier to bend into shape and sand. I have many flat sawn strips in my present build that did not take kindly to being sanded nor did they like to bend much in the football area, making me use staples to hold them in place. The flat sawn also presented an issue when glassing, ending up rather difficult to get the glass to lay flat on the inside since it did not sand flat. I put up with those issues since the flat sawn grain is wonderful to the eye.

Karin
 
The grain orientation is more important than most people think. I have a rafter full of flat sawn STRIPS.
They easily split. Tried using a few for tomato stakes. pound on the end and they split. Not so with quarter sawn strips. That means when your hull takes a hit, the fiberglass will hold but the grain will fail, between the fiberglass layers. Again not so with quarter sawn strips.

Sanding a flat sawn strip will be uneven, because of the grain.

I agree they can look cool ! If all you are going to do is look at the canoe, flat sawn strips are OK. If you plan on using it in some rough water, give me quarter sawn strips.
When sanding the hull, flat sawn strips sand uneven, and are more difficult to bead and cove.

To each his own, as every builder makes their canoe their way.

Jim
 
Thanks for the information. Hoping to get started in the next couple of weeks cutting the strips. Will not get started on the build until after I get back in the fall. Summer job.
 
Hi Jim - I started cutting strips yesterday using your method and had issues with the board moving with me. I noticed in one of your earlier posts on this thread you mentioned attaching the board. I found a solution but wondered how you attach the board you are cutting to the strongback? Also, the strip I'm cutting seems to get caught right at the end and gets dinged up by the saw blade. What do you do to avoid that?
 
Hi Jim - I started cutting strips yesterday using your method and had issues with the board moving with me. I noticed in one of your earlier posts on this thread you mentioned attaching the board. I found a solution but wondered how you attach the board you are cutting to the strongback? Also, the strip I'm cutting seems to get caught right at the end and gets dinged up by the saw blade. What do you do to avoid that?

There are probably better tricks, such as hot melt glue, but I use a small brad nailed close to the far edge at the far end. When I get to where the plank is reduced to about 3" wide, I lay up another plank, and the first plank becomes a support for the saw base. I have several leftover planks for this purpose !

The little "Ding" on the end is part operator error. Three things that help me, and I've not totally eliminated the Dings, is to ease the side ways pressure on the saw. Tip the front of the saw blade up at the end, and most of all.
The fence only needs to ride against the plank, about 1/2". My aluminum angle is cut from 3/4"x3/4" stock, about 16" long. I reduce one side of the 3/4" angle to between 1/2"-5/8". This side rides against the plank.
Here's a pic, that I hope will help !
DSCN0534_zpsd11e7c35.jpg
 
Thanks again Jim for all the minute details. I'm not a natural when it comes to woodworking and every little tip helps a lot. I think part of my problem with dinging the end of the strip is that my fence is way too long, about 24", which seems to make it easier to pinch the strip at the end. I did trim the one side of the fence to just under 5/8". My improvised solution to keep the board from moving was to make the cleat on the far end slightly thicker which serves as a stop that I can cut through. This may be adding to the pinch at the end, so I'll do some more experimenting.
 
I position my fence, so more sticks out the front, than the rear.
And by the way, I'm greatly lacking in woodworking skills ! But I keep trying.

Jim
 
No Title

Success! I really got the hang of cutting strips after just a few. My higher cleat idea didn't work out, but the little nail trick worked like a charm. Thanks. The shorter fence was a bit easier to control.

Of course I way overshot the number of strips I'll need for this canoe and ended up with a little over 2000 linear feet. Now I'm most of the way to having enough for another boat if I ever make one. I was amazed at the consistency of the strips. All of them exactly the same 1/4 inch thickness of my planed test strip. The wind here in Livingston gave me a fit, blowing sawdust back in my face and into my eyes. My neighbors are going to be a little unhappy with the sawdust they'll be tracking into their house for the next few weeks. On to the bead and cove next week. I should probably go ahead and start a new build thread of my own now. Here's a couple photos. DB
 

Attachments

  • photo3838.JPG
    photo3838.JPG
    349.2 KB · Views: 1
  • photo3839.JPG
    photo3839.JPG
    347.8 KB · Views: 1
Great !

Always impressed at how accurate the strips come out with the Skilsaw method.

I cut extra strips and never regret it ! You tend sort out the best . Every once in awhile, I end up with enough strips left over for a canoe. These are usually the less desirable strips, but can make for an interesting looking hull.

Tell the neighbors that the cedar dust will repel bugs, as it's used in cedar chests, and dog beds ! That should make them happy, and maybe willing to clean it up for you !!

Good luck on the bead and cove ! A good move !

Looking forward to your build !

Jim
 
Back
Top