• Happy National Nurses Day! 🛌👩‍⚕💉💊🎉

Tandem Build - Des Moines

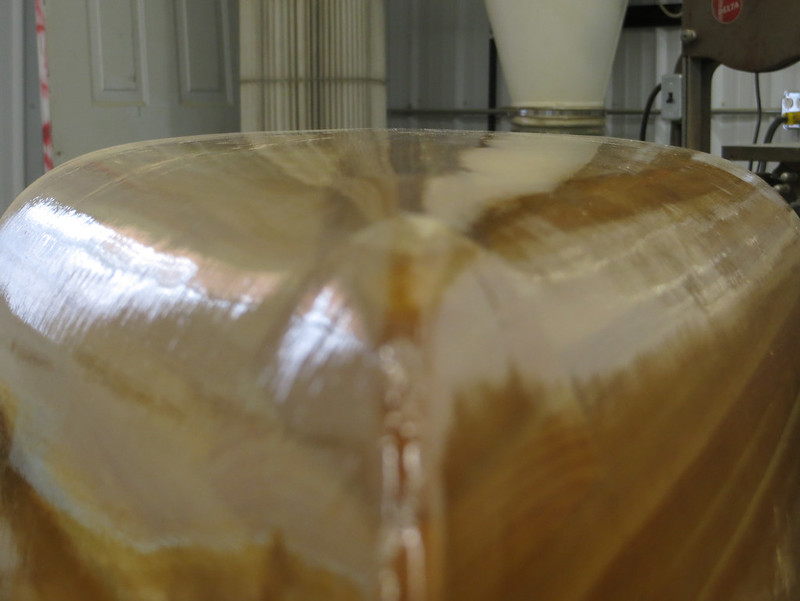
Well she's been flipped and weighed. 32 pounds as she sits now so probably low/mid 50's by the time it's all said and done?

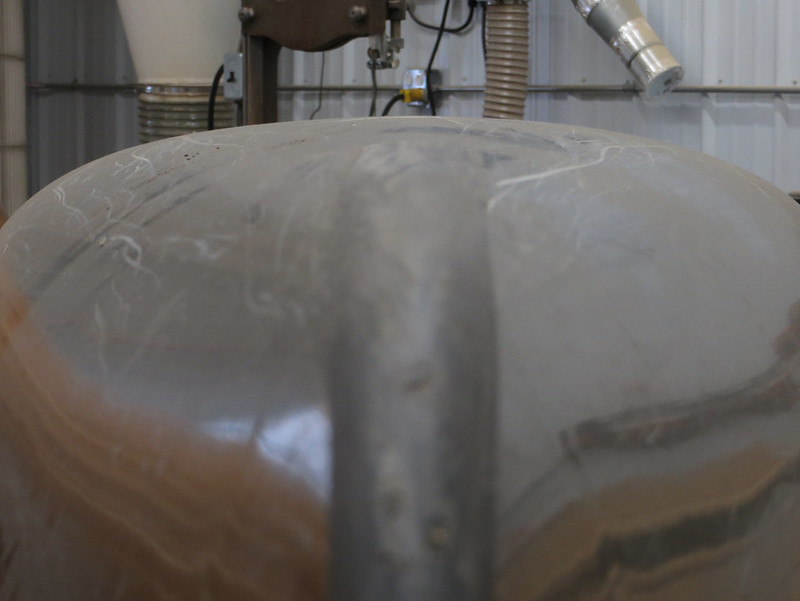
Got a start roughly scraping and sanding the inside but it appears I'm coming down with a cold and sore throat so sanding it's much fun at the moment. Think I'll wait until I either feel better or get really bored.


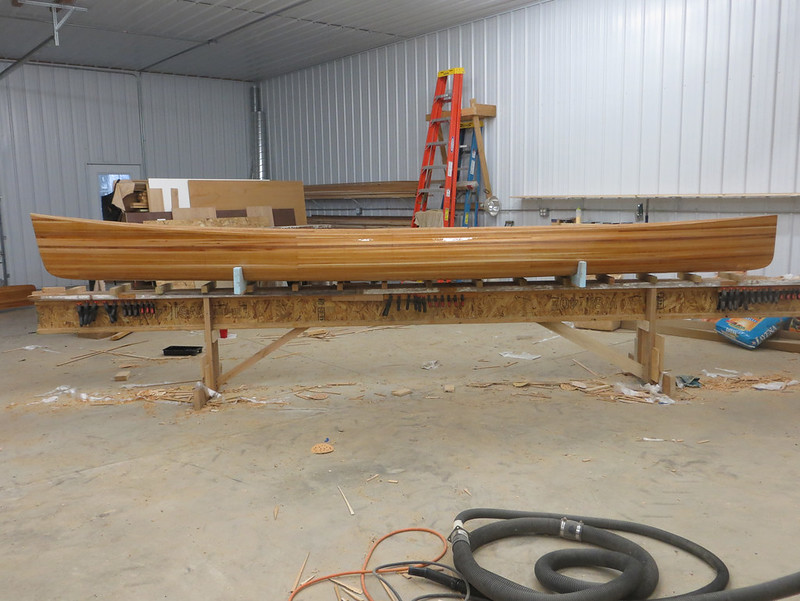
20141221_001 by Alan Gage, on Flickr


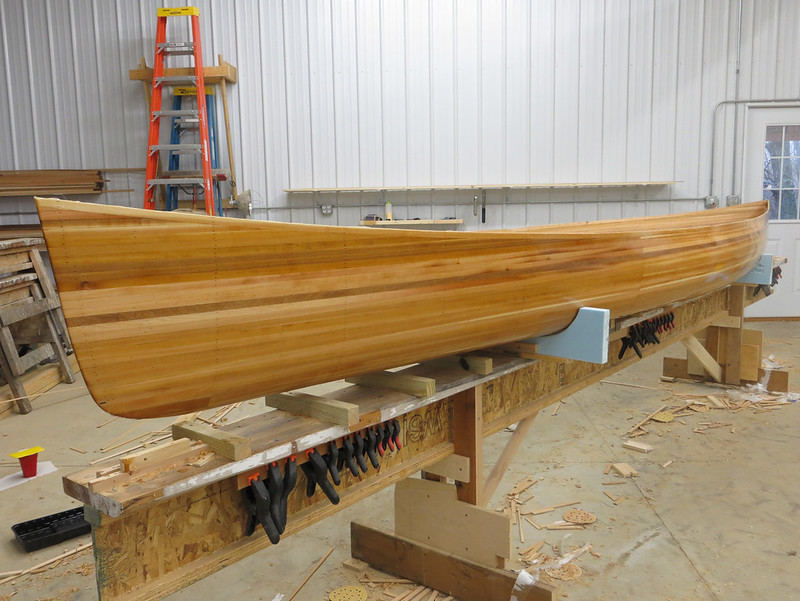
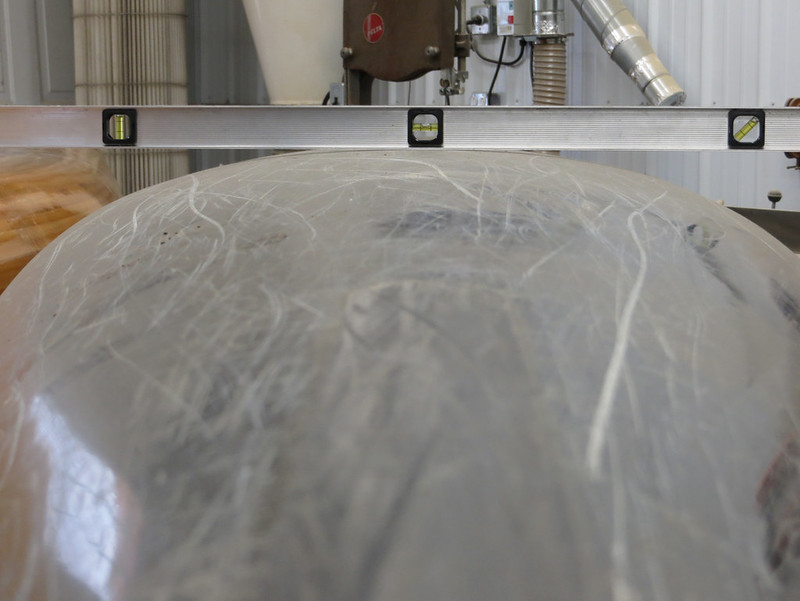
20141221_003 by Alan Gage, on Flickr


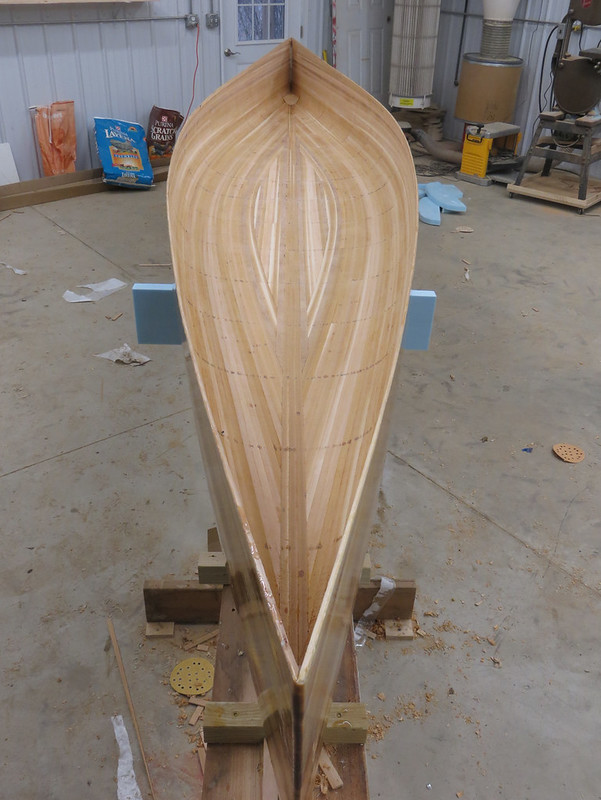
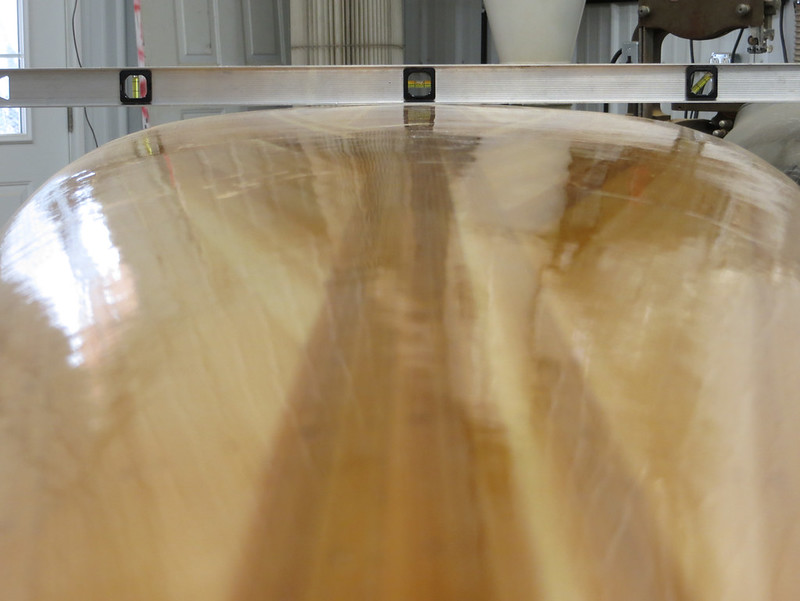
20141221_004 by Alan Gage, on Flickr

So far sanding the inside seems much easier on this than the skinny solos with extreme tumblehome, so that's nice for a change.

Alan
 
That looks really great.

I like the pronounced bow rise.

Get healthy - the canoe isn't going anywhere.
 
Well I'm back in the land of the living and back to work on the canoe. Put in a few hours scraping and sanding the inside tonight. Will hopefully finish sanding tomorrow and then my Christmas present can be a completely fiberglassed hull.

I was a lot more proud of my consistent strip thickness before I started sanding the hull. I thought they were pretty good but there was just enough variation along the strip from the bandsaw blade slightly walking back and forth (it's as tight as it will go) that I have to sand off more than I'd like to get it all smooth. And even though I thought I weeded out all the really bad ones a couple skinny strips snuck through anyway, which means the surrounding area needs to get sanded way down to even things out. I don't remember having this issue on the build where I ripped them with the table saw. Now that I've done a couple on the band saw I think I'll try the table saw again next time to see if it really is more consistent.

Running the bandsaw strips through the planer would be one option but I'd think by then I wouldn't be saving much material over just using the table saw with a thin kerf 7 1/4" blade, if it can indeed give me consistent thickness.

The tape on the forms really stuck to the inside of the hull on this one, which meant a lot more scraping. On my last couple builds I waxed the tape before stripping but decided that was a waste of time so didn't on this build. I don't know if that was the reason or if it was the fact that I laid the epoxy on a bit thicker and waited longer before squeegeeing off which meant more was able to run through the staples holes and onto the forms. Whatever the reason I think I had about as much tape stuck to the hull as I did to the forms after removal.

Where does everyone source their sand paper and what brand? I've been using Mirka discs for my orbital sander but I haven't been able to find anything coarser than 60 grit and the sheet sandpaper they carry at the hardware store in town is absolute garbage. Pretty sure the adhesive holding the grit to the paper is just lick and stick.

Get healthy - the canoe isn't going anywhere.

I know the projects will always be there waiting for me. What worries me when I take a break, however, is that my ambition might not be.

Alan
 
Last edited:
Oh, and for anyone keeping track of hours with me I was into it for just over 52 hours when I flipped it upright. I was at 41 when I finished stripping. The epoxy on the outside of the hull has not been sanded smooth yet in preparation for varnish, that will come later.

Alan
 
I have always wondered why people thought that a bandsaw was any better for consistency than a table saw? That surface planer we have is the best thing ever, and not expensive if you search around for a used one. Well worth the money.

christy
 
I have always wondered why people thought that a bandsaw was any better for consistency than a table saw? That surface planer we have is the best thing ever, and not expensive if you search around for a used one. Well worth the money.

christy

I don't know that I've heard anyone claim the band saw is more consistent, rather that the very thin blade wastes much less material. But it seems to me that if you're going to run both sides through a planer and take off another 1/32" it's getting close to a draw. But Stripperguy uses a bandsaw for his strips and it's not like he's a newbie that doesn't know what he's doing, which keeps me scratching my head.

I do have one of those 12" Dewalt portable planers. Could be better but does come in very handy.

Alan
 
Where does everyone source their sandpaper and what brand? I've been using Mirka discs for my orbital sander but I haven't been able to find anything coarser than 60 grit and the sheet sandpaper they carry at the hardware store in town is absolute garbage. Pretty sure the adhesive holding the grit to the paper is just lick and stick.

Been doing some looking around and Mirka does make coarser discs but not in their commonly available "gold" line, which is what I've been using. Their "course cut" line is harder to source and more expensive. Rhynogrip, available at http://www.industrialabrasives.com/ seems to be well thought of and is a good price. I'll be buying a couple boxes for the ROS as well as some sheets to give it a shot.


Alan
 
Used to be able to get Norton discs at HD but they must have cut a deal with Diablo as that is all we can get there now. Not as good in my opinion. I try to buy in contractor packs since I tend to go through them fairly fast. The issue I have with cheaper discs is the velcro, they work a little while then fly off the sander with little tufts of fluff stuck to the sander.

I would like to get a proper bandsaw for cutting the planking. We need strips up to 5" wide and with the table saw that means cutting half way then flipping the board end over and cut again. It actually requires taking more off with the thickness planer than a bandsaw would likely require and I could do it with one pass that way after devising a clever fence system for the bandsaw.

Planking needs to be used fairly quickly or it starts to move, usually in a nice flat curve, so I cut it only when I need it.

I love the thickness planer though, it was a half price Mastercraft (Crappy Tire brand) purchase from Kijiji. Planing your strips after cutting will seriously cut down on your sanding time and give strip thickness consistency. With how you like to move fast, taking the extra time to plane the strips might be in your best interest. Also, you could plane them thinner if you wished. My planer will go down to 1/8".
 
Last edited:
Alan,

Amazing progress, as usual. I appreciate you posting your tally of hours...so, you're not really superman, you just put in super human efforts!! You do sleep, sometime, don't you??

As far as the abrasives, I buy much of my stuff here:

http://www.industrialabrasives.com/

Good prices and great selection, but you need to plan a week or two ahead.

And the band saw? Use the widest blade you can fit in your machine, I use a 1/2" 4 pitch, skip tooth raker. The guides need to be adjusted so there is no blade wander, and the fence precisely aligned with the blade. Remember, I spent 6,800 hours as a toolmaker apprentice, and 25 years as a modelmaker/toolmaker before turning into whatever it is that I am now. The band saw will be the fastest cut with the least waste. Whether or not it produces uniform cuts is a function of the machine, the set up and the operator.
With that said, I did run my strips through a thickness planer before I did the coves and beads, it helped quite a bit.
 
I use a small block plane on the hull before I sand. Takes me about a half hour to plane, and decreases total sanding time in a huge way.
 
Stripperguy - I'm sure you're right about machine setup, no doubt yours is better than mine. I can see where a wider blade would help. I'm running 6 TPI blade now and I think it's less than 1/4". I won't abandon it yet but I will skip it for my next build so I can see how consistent the strips are directly off the table saw.

I use a small block plane on the hull before I sand. Takes me about a half hour to plane, and decreases total sanding time in a huge way.

I've done this a little before but didn't at all this time. Do you run the plan longitudinally, taking of the high ridges where the strips meet, or do you run the plane diagonally across the hull? I've seen the diagonal method recommended before but never had much luck. Maybe I just need more practice.....or patience.

I was busier than I thought I'd be over the holidays but this morning I finally got the inside fiberglassed. More family time tomorrow so it can have another day to sit and cure before I start messing around with gunwales. I weighed it again after sanding the inside and I was down to 30.25 pounds before the inside fiberglass. I was surprised that I lost 2 pounds to sanding!


20141227_001 by Alan Gage, on Flickr

The boat seemed so big at first compared to what I have been building but now that I'm more used to the size I started to worry that maybe it was too skinny. I knew I wouldn't have any problem with the boats stability but whoever gets it will likely be used to paddling an Alumicraft once a year, if that, and I was afraid it might be perceived as too tippy. So yesterday I drug my Bell Northstar into the shop for some side by side comparisons to see how the hulls of each boat were shaped and how far the width was carried into the bow and stern. I figured if it was comparable in dimensions to the Northstar I'd finish off this boat and keep it for myself and design something different for the raffle. I'm happy to say that once I had them side by side I could see that mine carried the width farther fore and aft and was a good deal wider overall. I think it will be plenty stable for just about anyone.

Some pictures showing the bottom shape of the two boats:


20141225_005 by Alan Gage, on Flickr


20141225_006 by Alan Gage, on Flickr


20141225_007 by Alan Gage, on Flickr


20141225_009 by Alan Gage, on Flickr

I find it interesting how flat the bottom looks until a straight edge is placed across it.

Alan
 
Just set it on the scale now. 35 pounds on the button. I'm happy with that.

I used 4oz glass again with a patch of 6oz. covering the floor in the center 7 feet or so.

This is the first build where I did the inside fiberglass as one sheet instead of cutting it into 4 sections. It went well and gives a much cleaner look. This was certainly a much easier hull to sand and fiberglass than my last one.

Alan
 
Spent a couple hours sanding the outside of the hull smooth this evening. Figured it would be a good thing to do before installing gunwales. Started by scribbling all over the boat with a sharpie:


20141229_003 by Alan Gage, on Flickr

The plan was to sand until all the marks are gone. If there's still a mark left that's a low spot. Turned out to be unnecessary. Since I'm not wet sanding (when everything looks glossy) it was quickly apparent where the low spots were:


20141229_004 by Alan Gage, on Flickr

A little more sanding gets this:


20141229_005 by Alan Gage, on Flickr

Re-weighed the boat after sanding and it lost .75 pounds. Loving the new sander connected to the shop vac. No dust on my clothes, in my eyes, or in my lungs. And no respirator required.

Alan
 
I forgot to update my hours. After fiberglassing the inside of the hull I'm up to 62.25. Tonight's sanding added 2 more hours, so 64.25 with gunwales, seats, decks, thwarts, and varnish yet to go.

Alan
 
Hey Alan,
That first photo looks like the way I called it quits on many of my hulls! Your finish looks great in the second photo...what grit did you finish with?
No plan for bulkheads? I'll bet you'll see some happy faces when some lucky soul gets that boat! And I bet your anxious to see how it handles too.
Oh, and after sanding, the hull was down by 3/4 lb, but how much weight did you lose??;)
 
I went with 80 grit. I'll go over it again tonight with a quick round of 100 and maybe 120 as well. Where do you stop before varnishing?

Almost forgot about the bulkheads. I'll probably do something but I haven't decided what yet. The manufacturers all have a hole in the bulkhead with a rubber plug to, I assume, keep the inside/outside pressure somewhat regulated. Anyone worry about that when doing bulkheads on strippers or are they just sealed up tight?

Alan
 
Last edited:
I would stop before cutting into the cloth. You look to have it pretty good, try wetting an area with water to see if there is sanding marks. A quick sand with finer paper might be all that is needed.

You don't necessarily need to have tanks (bulkheads). You will have decks and thwarts for strength. The tanks on Christine's stripper are sealed and they were more an after thought. I doubt I would put tanks in another build, more-so a personal choice really. Rather than just plugs why not purchase hatch covers and make the space use-able?
 
Back
Top