Alan, since you've built a couple of J. Winter's designs, I'm sure you must have read most of Martin Step's stuff on
www.greenval.com He has quite a comprehensive article on stems, just in case you want to add to your build time, it's a good read.
http://www.greenval.com/FAQstems.html#Two-Piece
Oh yes, I've read through it more than a couple times. That and anything else I can find, which is tough for single stems.
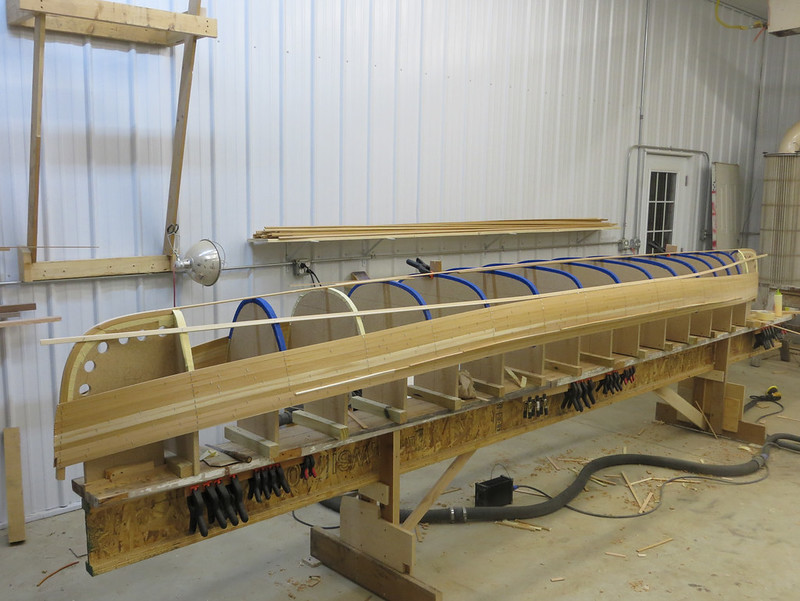
A bit slow at work so I took off early planning to spend many hours stripping today. I've decided to leave my stem conundrum for later, when the stripping is getting closer and I can better see how they'll want to lay in. None of that should affect the stem shape above the water line.
First thing was to draw lines on the stems to give me something to sand to. A compass set at 3/8" and following the taper of the stems did the job nicely.
 20150226_001
 by
Alan Gage, on Flickr
Then I started sanding away with some 40 grit sandpaper stuck on a stick until I was down to the line and had the correct bevel.
 20150226_004
 by
Alan Gage, on Flickr
I did this on both sides of the each stem about 3 strips up. I'll keep beveling just ahead of the strips all the way up. That's quite a bit of material to remove with a block of sandpaper so I started using the random orbital to get close and then touched it up by hand. Much quicker and less dusty.
I laid the shear strips, which is one of my favorite parts of the build, and then attacked that darned knuckle. My first build, a Kite, had a similar knuckle and I vaguely remembered how it was supposed to go. That one ran the entire length of the hull where this one doesn't so will need to blend back in. I think this way might be a little more difficult. The first side went pretty slow but by the time I got done I thought I had it figured out so while the glue was drying I went over and did the other side. It went quite fast and I was pleased with myself when I went in for supper to let the glue dry so I could come back out later and do some real stripping. That didn't last long, however.
When I pulled clamps and staples so I could start laying the easy strips I found I didn't go far enough with my "overhang" on the ends! So I had to add little extension pieces and that was pretty much the end of the night since it will be too late by the time the glue sets up. At least I should be done with the hard part so tomorrow should be easy.
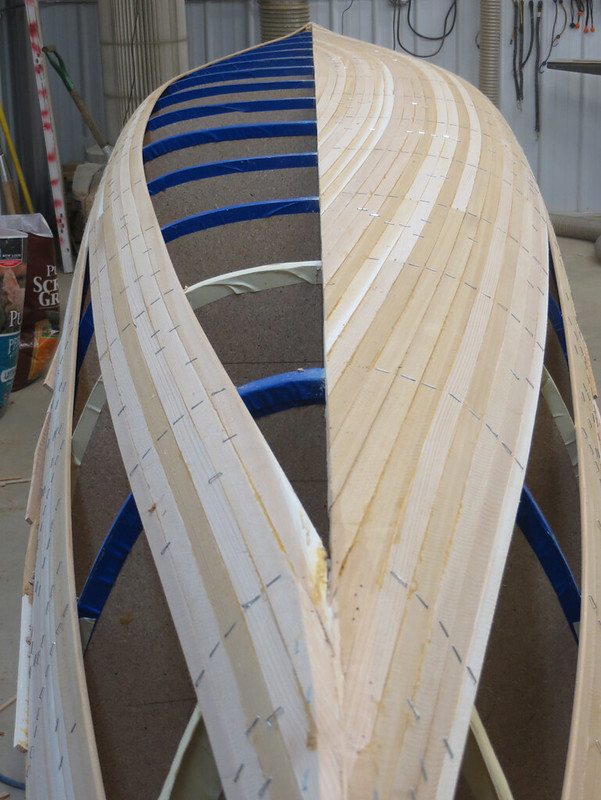
Some pictures of the knuckles, which are stripped kinda goofy.
 20150226_008
 by
Alan Gage, on Flickr
The strips need to go at least the thickness of a strip past the forms:
 20150226_011
 by
Alan Gage, on Flickr
The next strip, which will be laid normally, will have a bevel cut into the lower edge so that it will fit snugly into those overhanging strips. Then the overhanging strips can be planed back flush, leaving you with a fair curve. Or at least that's the theory, we'll see....
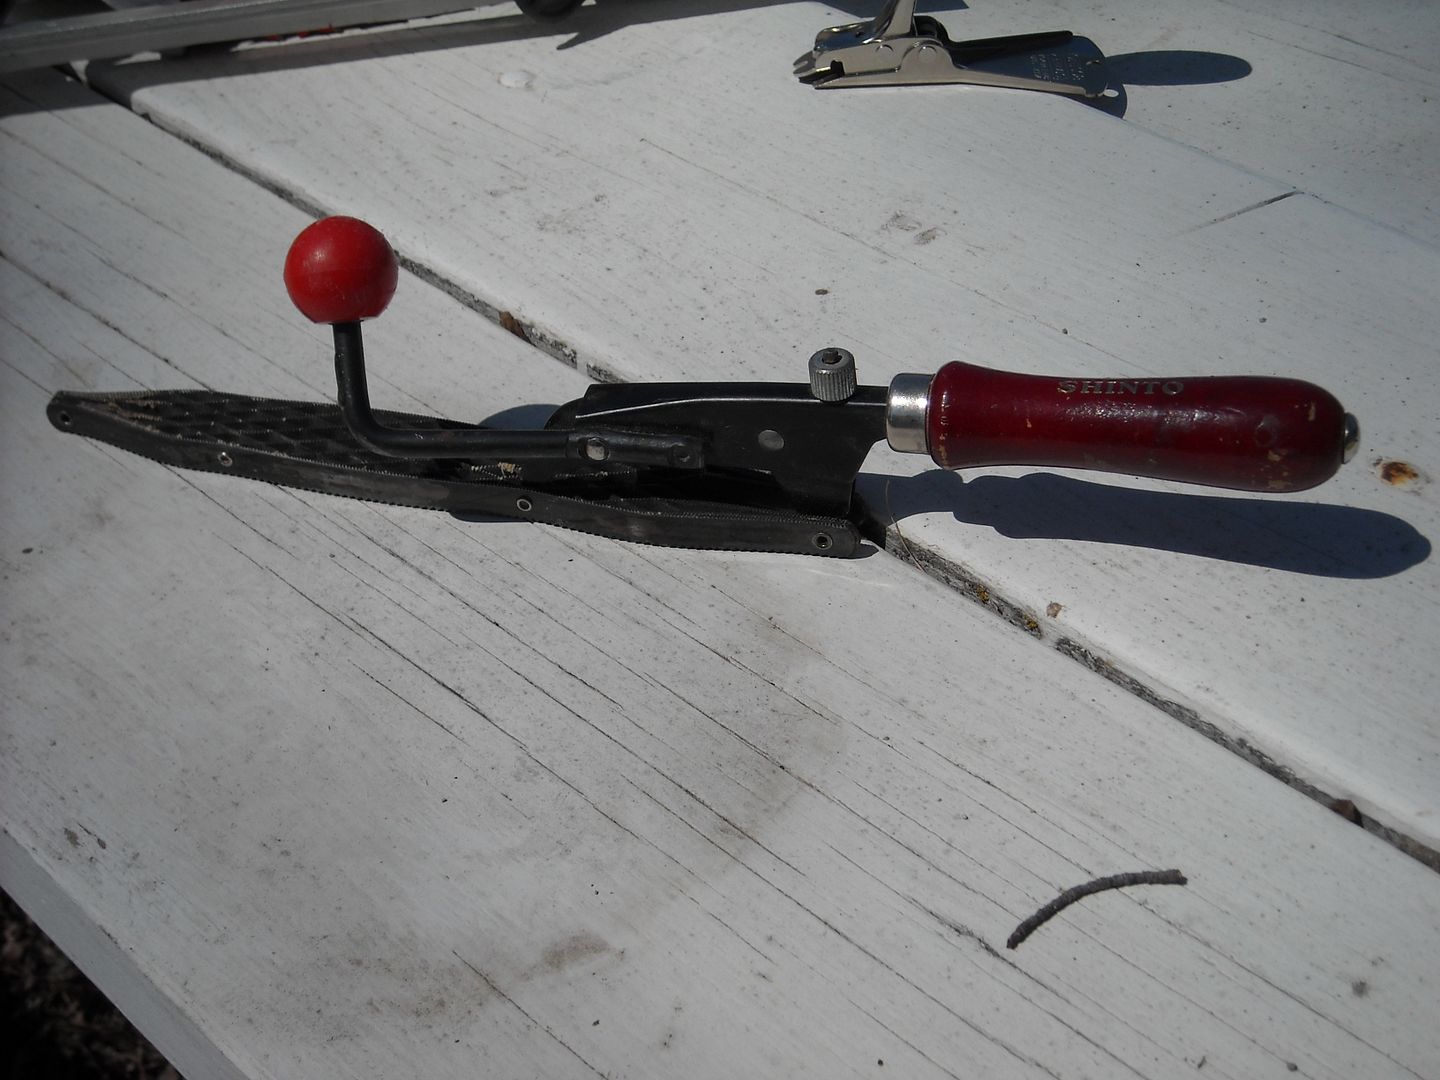
A little trick I learned from Stripperguy to keep the unsupported strips in line.
 20150226_007
 by
Alan Gage, on Flickr
Worked great!
Alan
")