• Happy National Blueberry Pie Day! 🫐🥧

Solo expedition build

I'm in talks currently with Northwater regarding a 3 piece for my Magic. The Northwater deck uses a series of loop patches or what I've always called soft padeyes. The external loop appears to be very small from the pictures I've examined which is attractive to me. I like the variable load adjustment offered by their system and I'll probably go that way. Haven't pulled the trigger yet but getting close ;)

I almost went with a Northwater cover for one canoe, but I like the partial covers Dan made for me and wasn’t sure how Northwater felt about handing custom designs.

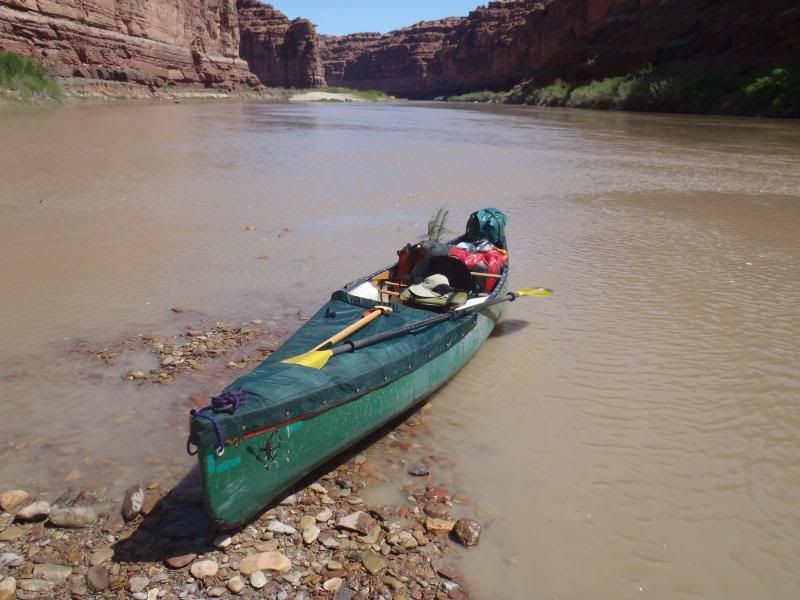
I do not like spray skirt tunnels and prefer to have just covers for the bow and stern, with an open “cockpit area in the middle. Partials give me adequate wind, rain and splash protection and still provide easy entry and exit from the canoe without feeling entangled or entrapped

I can reach down in front or behind the seat to the various bits of gear I delve into while paddling (or resting in an eddy or wind shadow), and can still can adjust the foot brace and etc. If any of my spray covered canoes had a siding seat I expect that open cockpit partials would likewise be a boon.
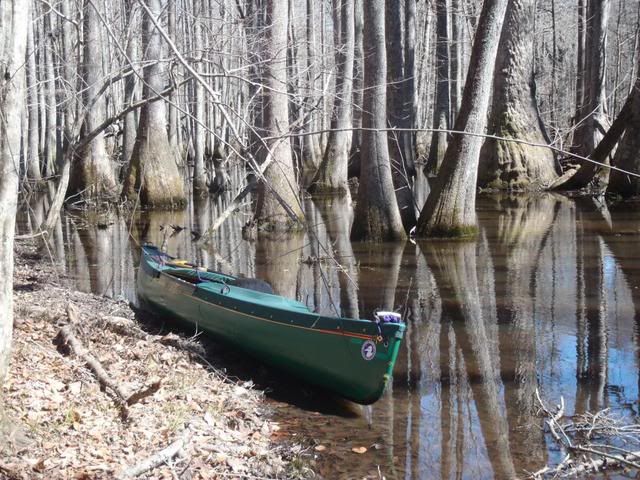


After using those two piece partial covers on several trips I had Dan build me a simple “storage” cover for the cockpit opening for in-camp use, so I could leave all of the paddling gear dry and protected in the canoe and ready to go.
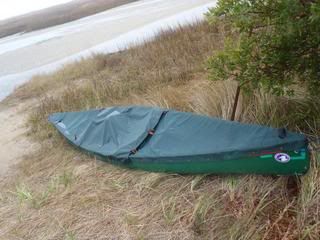


On longer gear intensive trips I use just the bow cover and leave the stern open for easier packing and access. Being able to jump out of the boat and disgorge half the gear at an awkward landing is a huge boon.

And even at easy landings I have a convenient place to park my paddles.
 
That's a nice set-up, Mike. Dan's work is always top shelf and custom requests don't seem to bother him at all.

My Northwater - if I do go that route - will be similar. A 3-piece with the central cockpit having lash straps so it can be rolled out of the way when desired. I'll seldom have the center cover installed, only on those wet days or to keep the critters out over night.

I'll be having the stern cover fitted with a zip-off hatch cover so I can access smaller gear during lunch breaks and such. The bow will have the paddle stash. With the center piece removed I'll have plenty of room for my kneeling and small gear access.

Gotta make a decision here soon as I'd like to order the first week of March to allow for construction time.
 
Lookin good !!
Nice tweak on the tumblehome !
A tool I don't have, the hook knife.
Boy I'd have a hard time sleeping until I got it done, an put it in the water !

Jim
 
A tool I don't have, the hook knife.

That's actually a blunt tool for scraping the thinset from between tiles after setting them. Don't know why it's still laying out. Guess I haven't found a good place to put it yet.

Boy I'd have a hard time sleeping until I got it done, an put it in the water !

Yes, I think I will. I'm looking forward to this one. Fun to be excited about putting in hours at the shop again.

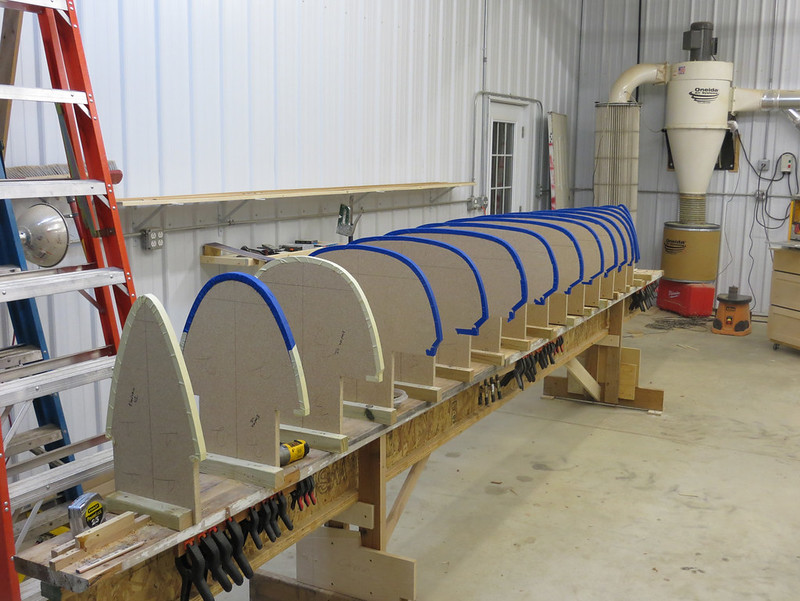
Tonight I settled on a new location for the strongback, got it leveled and bolted to the floor, and mounted the forms:


20150224_001 by Alan Gage, on Flickr

Seeing the forms cut out and mounted on the strongback I think the center forms are a bit flatter on the bottom than I would have liked. Must have snuck up on me as I started adding more volume below the water line to lower the draft. Guess I'll find out in a month or so how it works out.

After lots of internal debate I decided to use internal stems rather than my normal stemless build. I'm doing tapered stems so they'll be wider at the shear. I'm afraid it would look like it had a pinched nose otherwise since the shear line flares so quickly. I was hoping if I laminated 3/16" strips I could get by merely heating them with a heat gun rather than steaming. The first one went fine but they started cracking after that so I jury rigged a steam chamber and started steaming away. That seemed to do the trick:


20150224_002 by Alan Gage, on Flickr

Alan
 
Nice! Off to the races. Alan you better take your time on this one or we will be looking at you sitting in your boat on the snow bank in the front yard!
 
25183-solo-expedition-build
Looking AWESOME Alan !

Anchoring the strongback is good ! I hated to move mine until I was at least half done stripping.

How long is this going to be ? 15 stations, and guessing stem forms at around 18" a piece. !8' ?

When I strip, I always start at the center, and to make it easy on these old eyes, I would use different color masking tape on the center form. Just a thought !

One more tip, you may already know ! Is sight strips on the stem forms, used to vertically align the stems with each other. I'll try and post a pic.
 
The stems are 15" long, total length 16.5'.

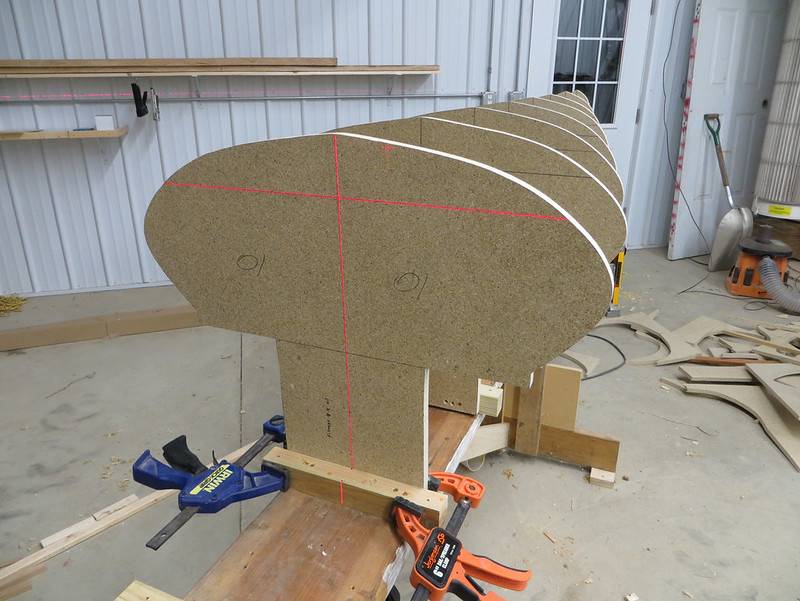
I've been using a laser to setup and align my forms on the last few builds. Works great and is very fast. Just line up the cross hairs, clamp, and screw.

20141105_002 by Alan Gage, on Flickr

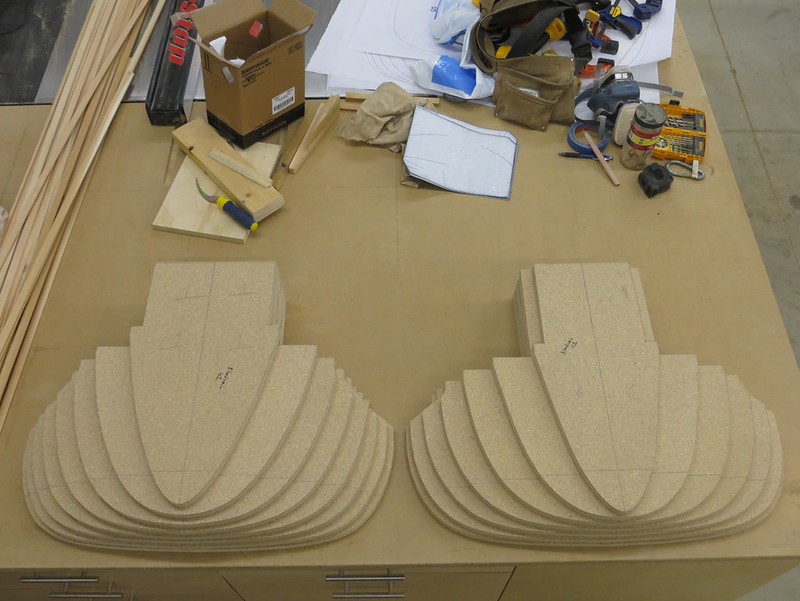
When I checked the forms for fair with a strip a couple of them were a bit small, especially on the bottom, so I just started added layers of tape until they looked right.

I've never been one to assimilate easily. Let's start off with internal stems on this one and I'll think about external on upcoming builds if I feel like spending extra time and weight. ;)

Alan
 
Now Alan, are you being a "gram weenie"? Those external stems, made out of cedar might only add 6 ounces or so, but they add years of enjoyment from looking at the visuals. Plus they might stretch out your overall building time by 7.5 minutes or so, giving us housebound invalids something else to look at.
 
Now Alan, are you being a "gram weenie"? Those external stems, made out of cedar might only add 6 ounces or so, but they add years of enjoyment from looking at the visuals. Plus they might stretch out your overall building time by 7.5 minutes or so, giving us housebound invalids something else to look at.

7.5 minutes!? I figure just these internal stems are putting me back at least two days. I nearly abandoned the idea all together as I was setting up the forms last night but I took a supper break to think about it and talked myself back into it. If I'd used my normal style of construction I could have started laying strips last night. Now I'll need to wait until tonight to glue the lamination and then wait until tomorrow until I can finally mount and shape the stems. Then I can finally start stripping. If I keep messing around I'll be building into April!

But don't worry, I have something in mind that will render the aesthetics of external stems moot. ;)

And on a different matter I just wanted to clarify that the other day when I gave you links to canoe design software it was not a passive aggressive way of saying I want to keep this design to myself. If it works out and you ever wanted to build one I'd love to have a beta tester.

Alan
 
Neat trick with the laser ! Now I'll have update my equipment ! THANKS !

Jim
 
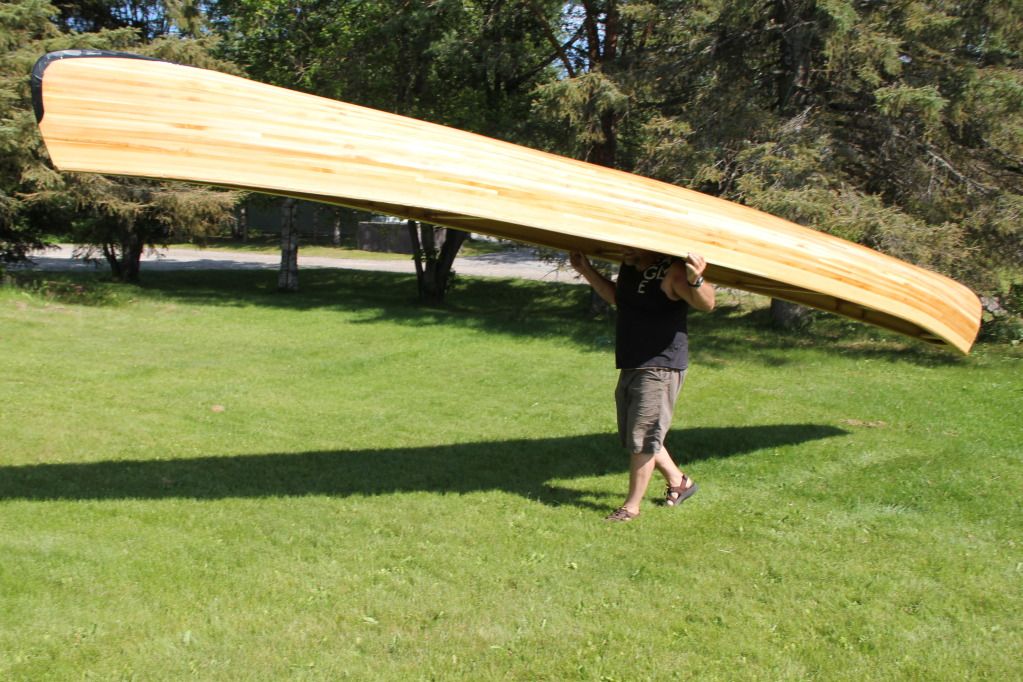
Ha ha, that was a good laugh Alan! You know, the stems are always a hurdle to me too, usually taking up to a week to complete. They probably won't make much of a difference to you, as you are fairly exact in your builds. The reason I like the external stems is because they cover up all kinds of mistakes. I've only built stemless twice, and regretted it both times. On the big 20 footer, the ends looked so shoddy I applied this crap called Keel-ex that yakkers use on their boats. You can see it as the black vinyl strip on the bow. I almost want to rebuild that canoe just to put proper stems in it.
 
My stemless stems are far from perfect too. I always manage to cut more than a few of the joints short or at the wrong angle so that a gap is left. But after they're filled with colored and thickened epoxy and sanded they're unnoticeable unless you stick your noise right down there and look.

One thing I'm hoping stems will do is give me a more predefined profile at the bow and stern. The way I do stemless with those little wood shoes I have to keep planing and sanding both the shoe and where the strips are joined at the tips until I think I've got the right shape, which I find difficult to do. I've been using the paper forms as a template to roughly draw in the profile and that helps but there's still a lot of "by the eye" work that always looks different the next morning than it did the night before when I thought I had it just right.

When I was home for lunch I took a few extra minutes and glued the stems. I sat them next to my wood stove all night but just in case they were still a bit wet from the steaming I used Gorilla Glue, which is activated by moisture, so they should be ready to work with when I get home. Any words of advice on setting up and beveling would be welcome.

As it is now the stems will be about 1/4" proud of the first and last forms at the keel line (they'd be flush with the strips). Do I plane them down so the strips will lay over the top or try to use that extra height to my advantage somehow during the stripping process? Correct me if I'm wrong but aren't they normally flush where they butt into the form with the strips running over the stems on the bottom of the hull?

I think there will be lots of head scratching and test strips tonight.....

Alan
 
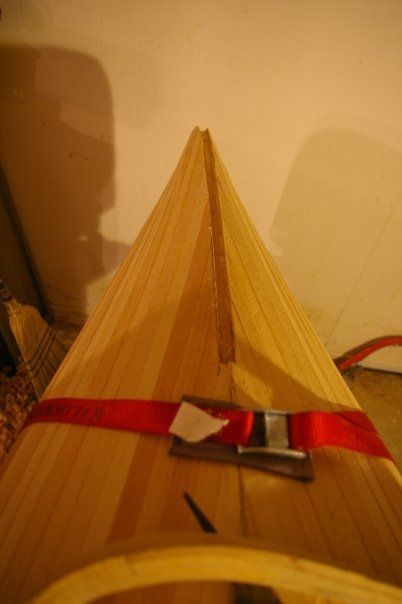
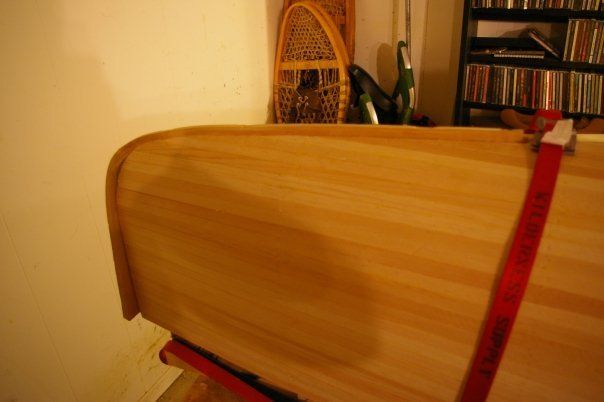
I'm not sure how you would tidy things up with an inner stem only. I've got some pics from my 2009 Raven build that show the two stem system closer.
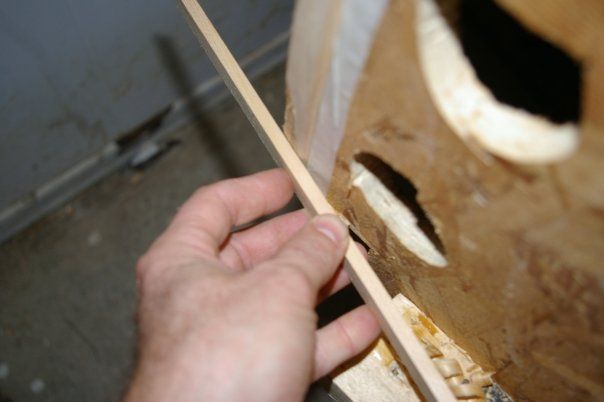
Once the stem is on, I either file or plane an angle into the stem so the strips will lay flat on the stem.


As I plank past the bend, I chisel a trough out as I go for the placement of the outer stem. This is where I'm not sure what you will do. If you just lay the strips flat on the stem, there will probably be a difficult transition area between covering the stem and planking on both sides of it.


That's why I think the outer stem makes it easier to make those transitions. It gives you a lot of material to plane and sand into a flowing curve.


I'm sure you'll figure it out, I look forward to seeing what you do.
 
Alan---Are you kidding!! Another build!! Take a break for crying out loud. I haven't finished my first one yet.

Mem, why do you cut a groove fro your outer stems? I just plane a flat surface where the stems go and glue up from there.
 
Back
Top