Little update over the past couple days. Like I said earlier, more thinking and tinkering than actually doing. I should also say that if you love all things wood and traditional in canoes this would be a good place to stop reading.
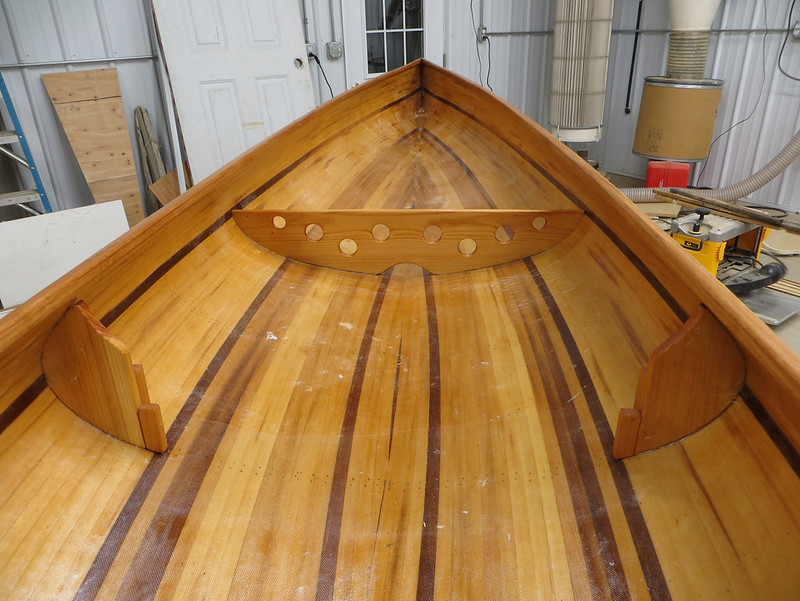
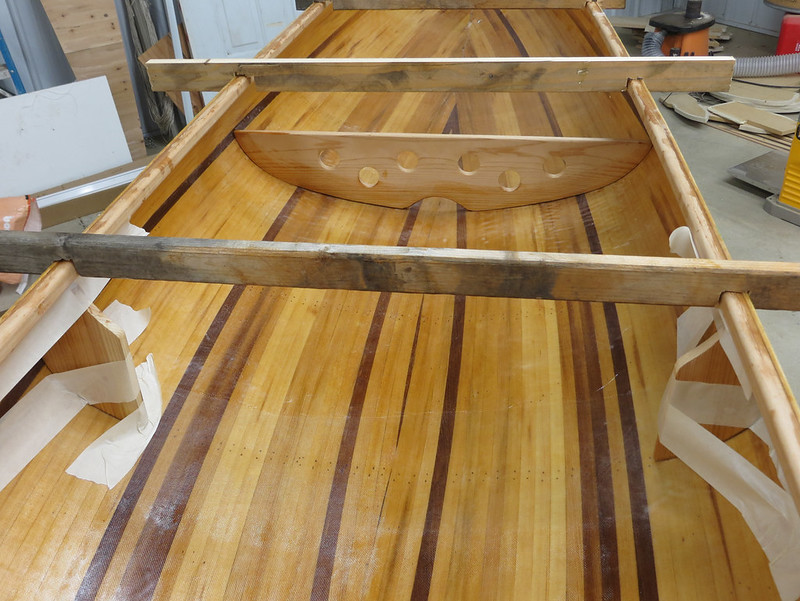
The mounts for the sliding seat are fiberglassed in place now:
 20140731_016
 by
Alan Gage, on Flickr
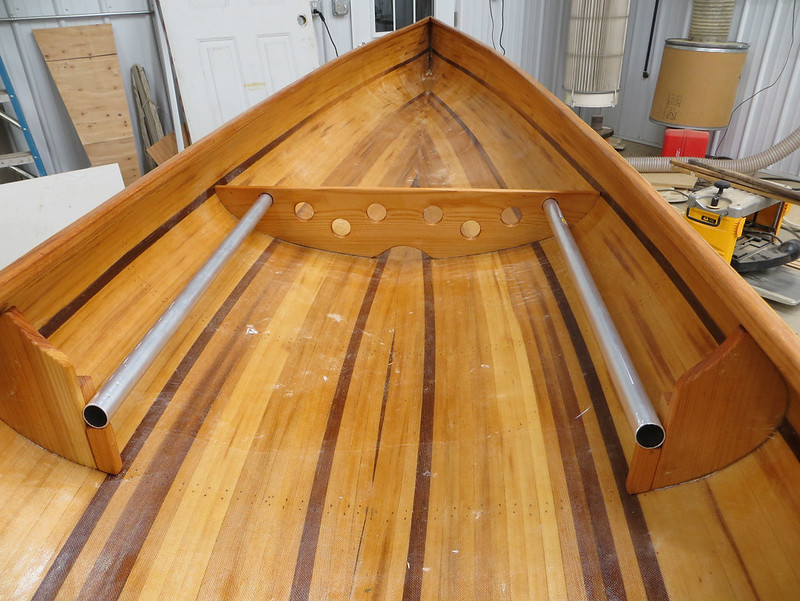
And with the rails:
 20140731_017
 by
Alan Gage, on Flickr
Cutting those mounts to fit the hull is a lot easier than it probably looks since you have perfect patterns already laying around (the forms). Just trace the profile onto your piece of wood, cut outside the line, test fit, and sand where needed for a nice fit.
There is one place in town that sells some aluminum stock but they never have tubing over 1" in diameter and I need something that will slide over that 1" tubing for the sliding seat to work. Usually I end up making some tubing out of fiberglass (wrap 1" tubing with plastic so that it doesn't stick and to build thickness and then wrap with fiberglass tape. When done extract aluminum tube by any means necessary and you're left with a fiberglass tube) which is messy and ugly but works. This time I realized that I could just use thin-wall drain pipe. It's 1 1/4" and you can buy it in short sections as it's made for plumbing the trap on your bathroom vanity. Much thinner than schedule 40 so lightweight as well. It doesn't need to support any weight, just slide.
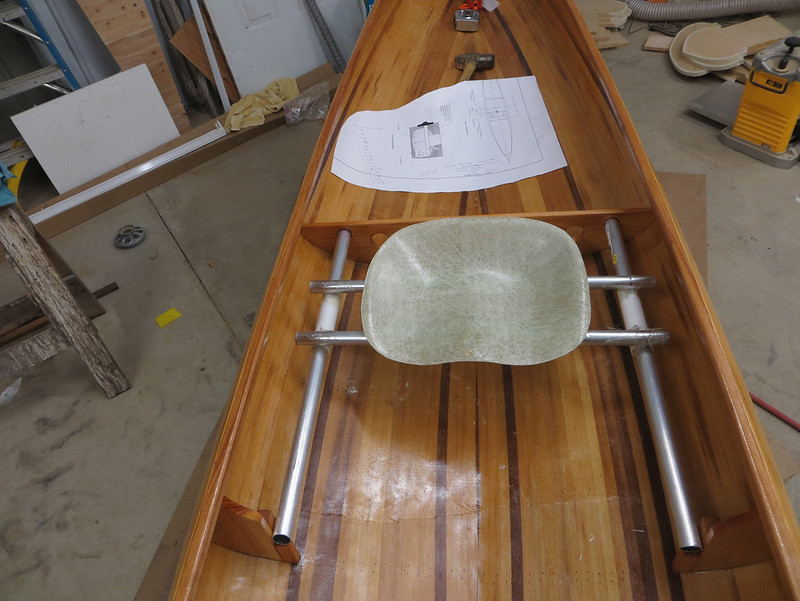
I fiberglassed aluminum cross rails to the seat and then fiberglassed the drain pipe to those. The seat and at least some of the aluminum rails will get painted.
 20140801_010
 by
Alan Gage, on Flickr
 20140801_011
 by
Alan Gage, on Flickr
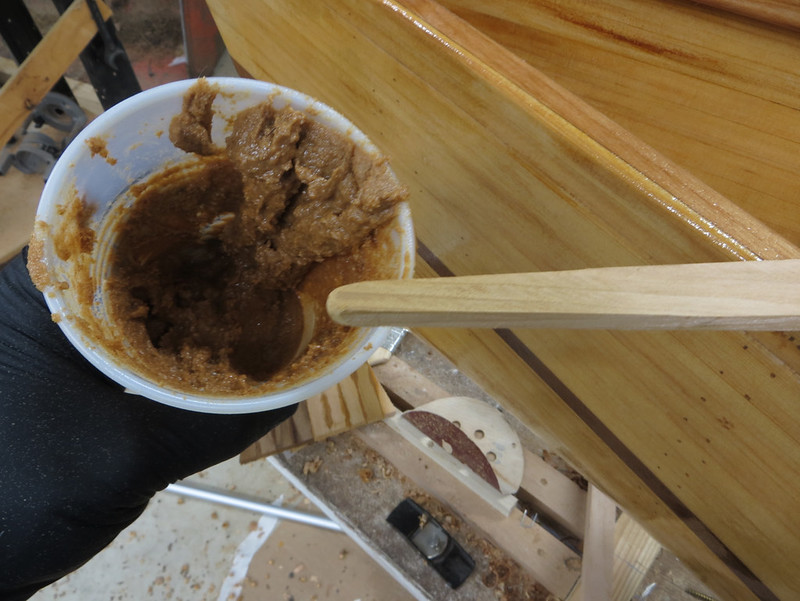
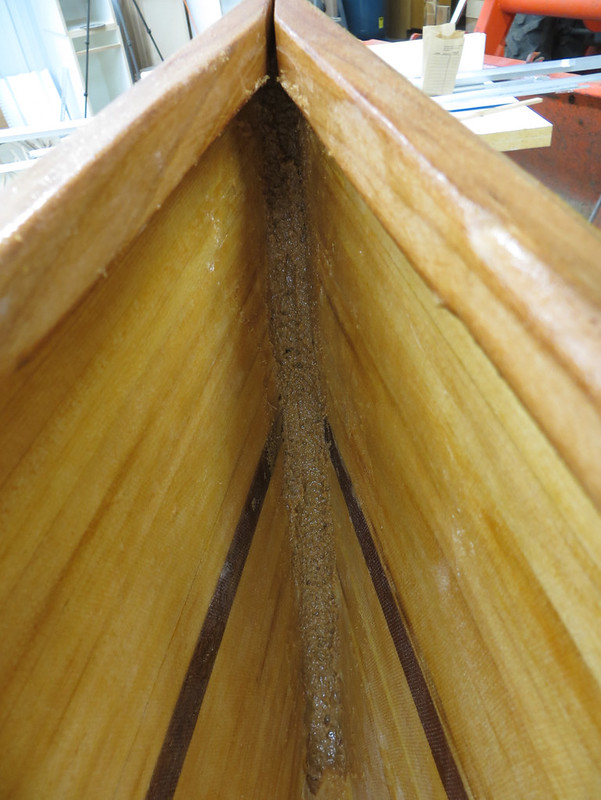
If you remember I did stemless construction so I thickened some epoxy to reinforce the area behind the stems. It will be slathered with a skinny stick.
 20140801_003
 by
Alan Gage, on Flickr
This is as smooth as I could get it with either my finger or the stick:
 20140801_004
 by
Alan Gage, on Flickr
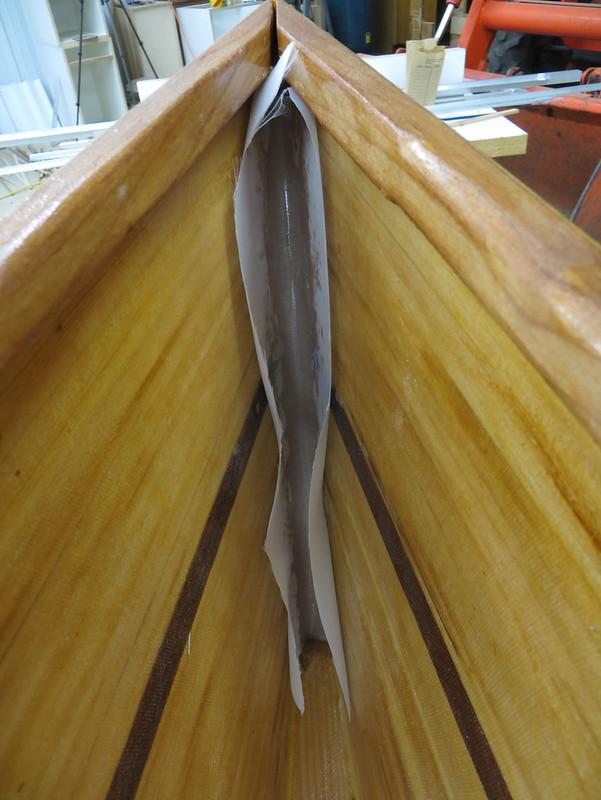
So I put on some peel ply. This should give it a much nicer finish and it also makes it easier to massage out high/low spots after the peel ply is stuck on. We'll see how it looks tomorrow after it's hard:
 20140801_005
 by
Alan Gage, on Flickr
If you're building a boat or doing any work with fiberglass get yourself some peel ply. It's cheap and works great.
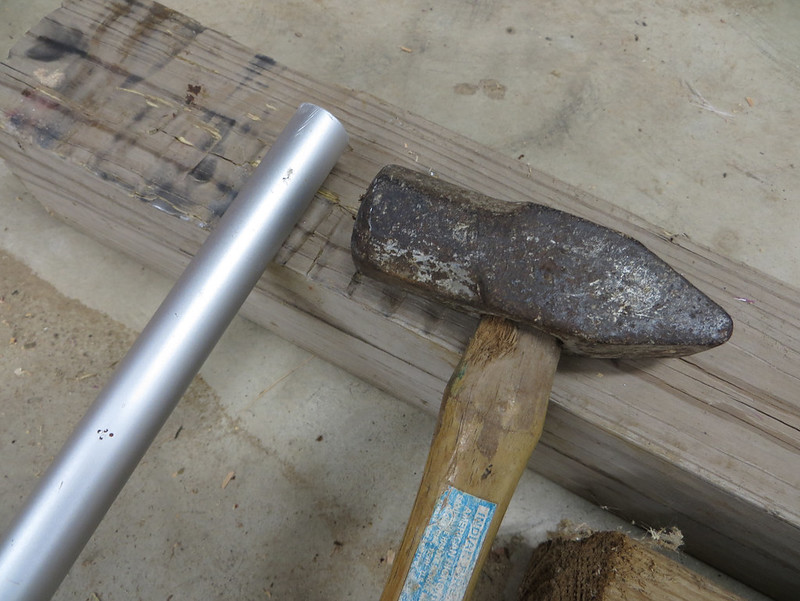
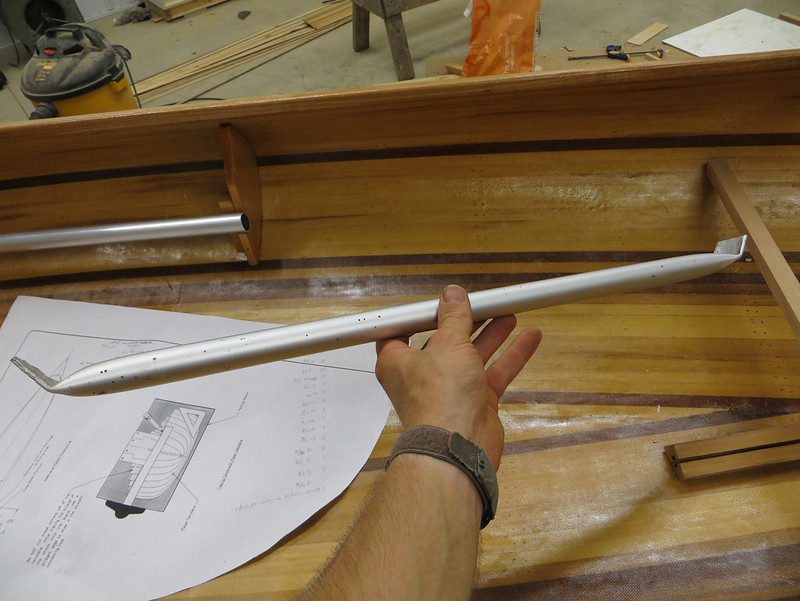
And now for the thwarts! With my skinny little inwales I was a little unsure how I would attach my thwarts. Spent a couple days rolling different ideas around in my head and wasn't real confident in any of them. I decided to go with aluminum tubing (cheap, easy, and lightweight) and after a quick test fitting it looks like I fretted over the installation for no reason. Looks like they'll work fine with the skinny inwale.
Working with aluminum tubing is pretty complicated:
 20140801_006
 by
Alan Gage, on Flickr
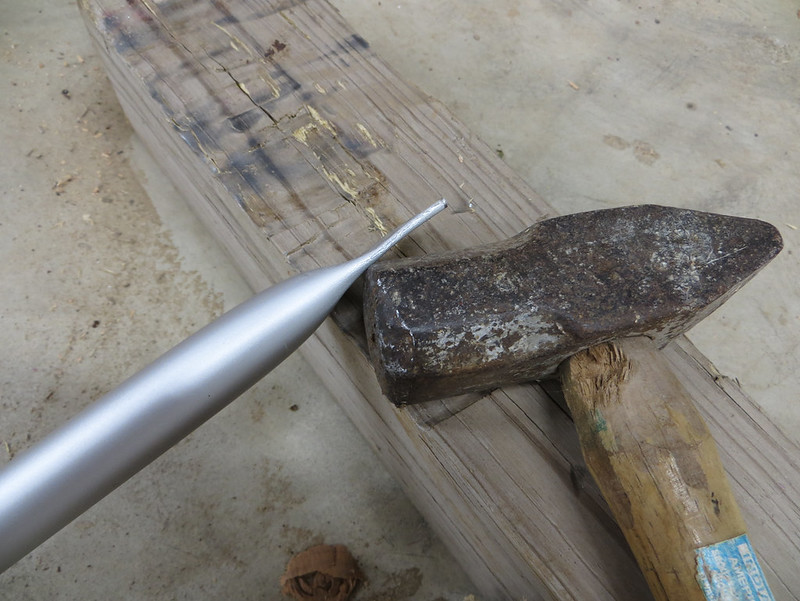
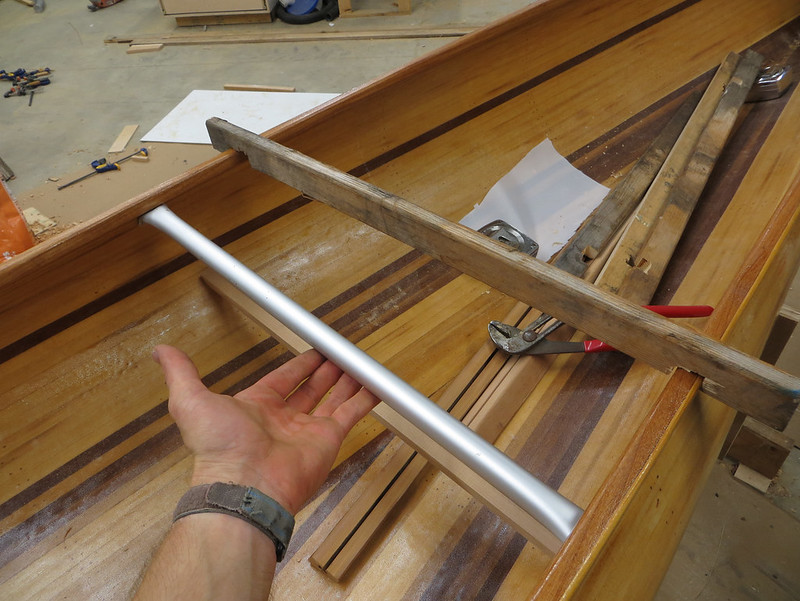
Smashy smashy:
 20140801_007
 by
Alan Gage, on Flickr
 20140801_008
 by
Alan Gage, on Flickr
 20140801_009
 by
Alan Gage, on Flickr
A vice would certainly do a nicer job, be faster, and look better, but I don't have a vice set up in my shop yet so it is what it is.
All the thwarts are ready to install. Tomorrow I'll rivet them in place. I weighed all 4 thwarts and the total weight was 11oz. I might make sub-30lbs. afterall.
Tomorrow I hope to finish up the integrated footbrace. Once that and the thwarts are done it will be time for the final sanding and varnishing. Weather looks really nice this weekend. I don't think I'll be able to keep it out of the water. Varnishing can wait until after the (hopeful) paddle.
Alan

")