• Happy Birthday, William Shakespeare (1564-1616)! 2️⃣🅱️, 🚫2️⃣🅱️

Carbon/Kevlar build

Joined
Jun 12, 2014
Messages
3,939
Reaction score
1,331
Location
NW Iowa
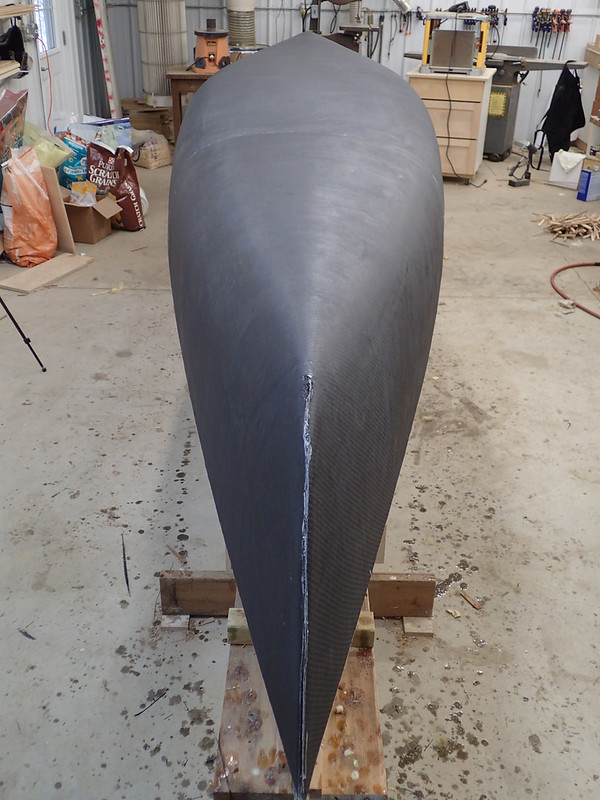
Too late to change my mind on anything now. The first four layers are down. Full layer of fiberlass, full layer of Kevlar, carbon reinforcements and another layer of Kevlar below the waterline. Four more layers tomorrow and then all I can do is wait and hope it releases.

Last minute decision to keep the ends open rather than closed thanks to some input from Jim Dodd and Muskrat. No core on this build. I've got a sneaking suspicion it's not going to be quite stiff enough. If that's the case I'll add more layers to the inside.

I'm trying to keep all the Kevlar away from the stems and shear so I won't have to try cutting/grinding it after it's cured. Trimming the kevlar ahead of time and properly placing it over a wet layer seemed like a disaster so I put on both of the first two layers dry, trimmed the Kevlar, and wetted them out together.

Things went well tonight and I'm feeling pretty good about it.

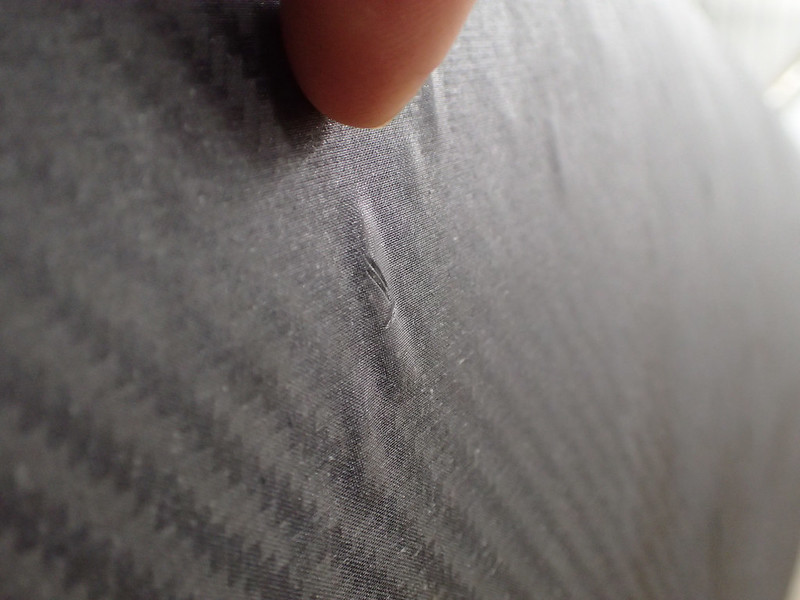
Here it is waxed with 3 layers of PVA sprayed on. Also tape along the stems to keep them open and along the shear so that it will at least be free there if I need to use shims to un-stick it.

20151210_002 by Alan, on Flickr
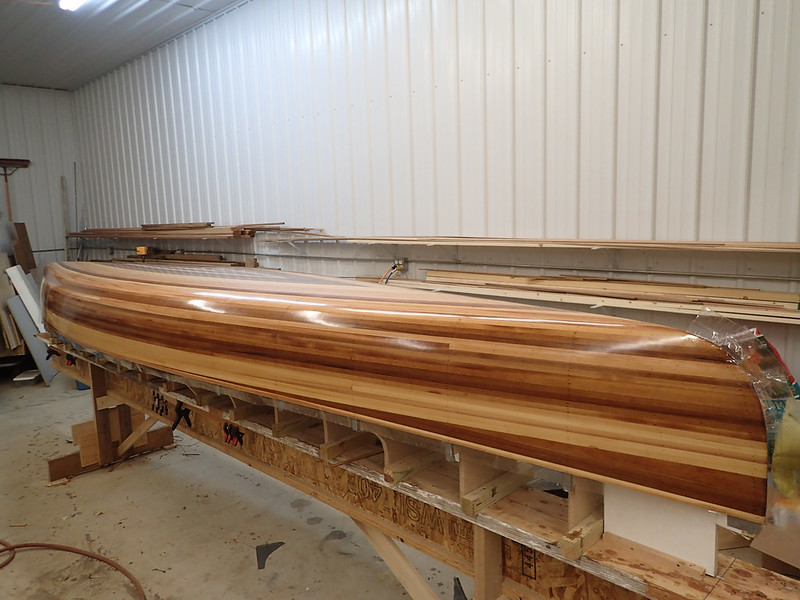
6oz glass:

20151210_003 by Alan, on Flickr

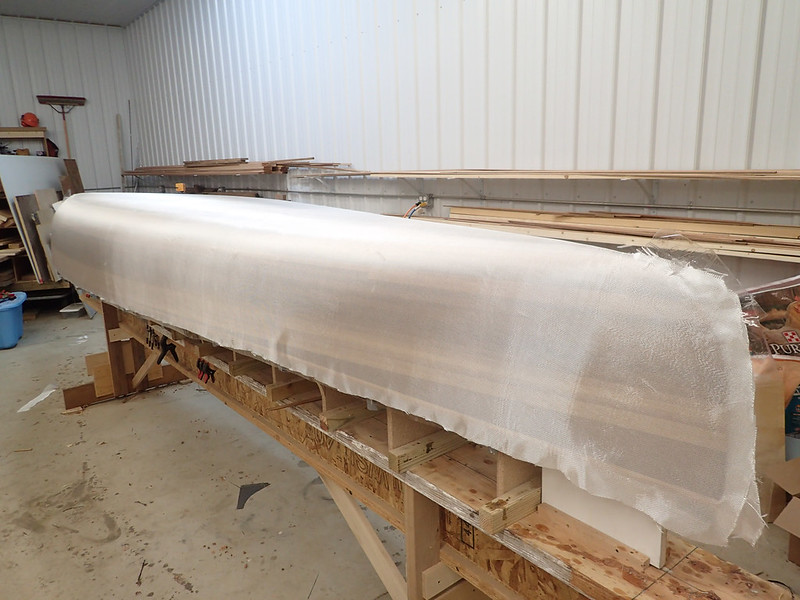
Ran short and had to add some patches. Light mist of contact adhesive held them in place nicely:

20151210_004 by Alan, on Flickr

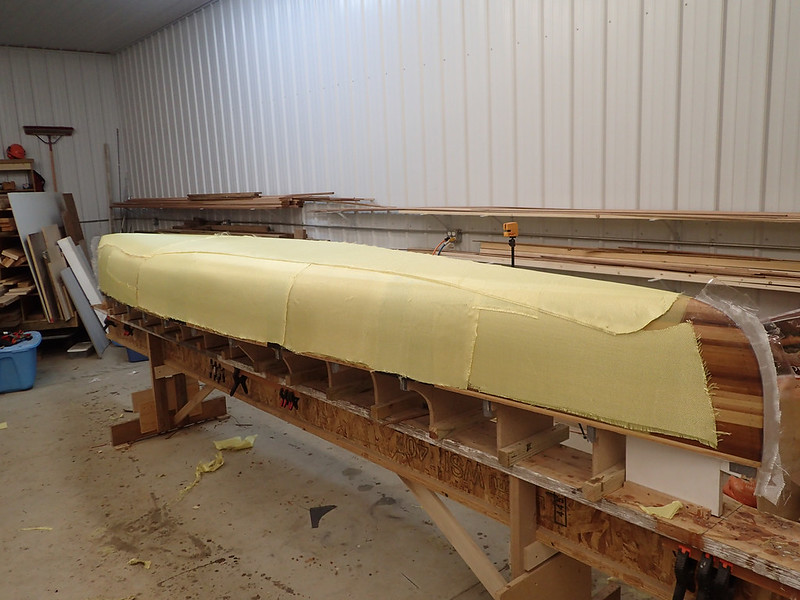
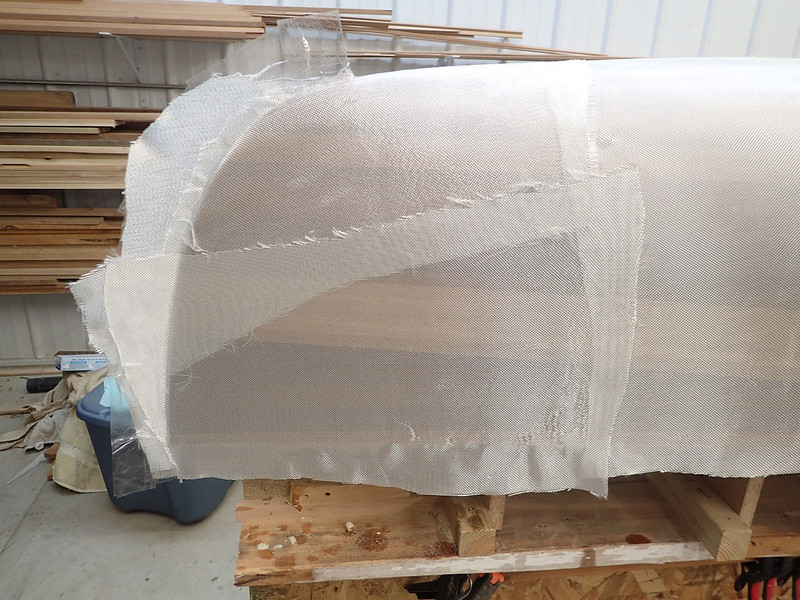
Now a layer of 6oz Kevlar. Both layers dry at this point:

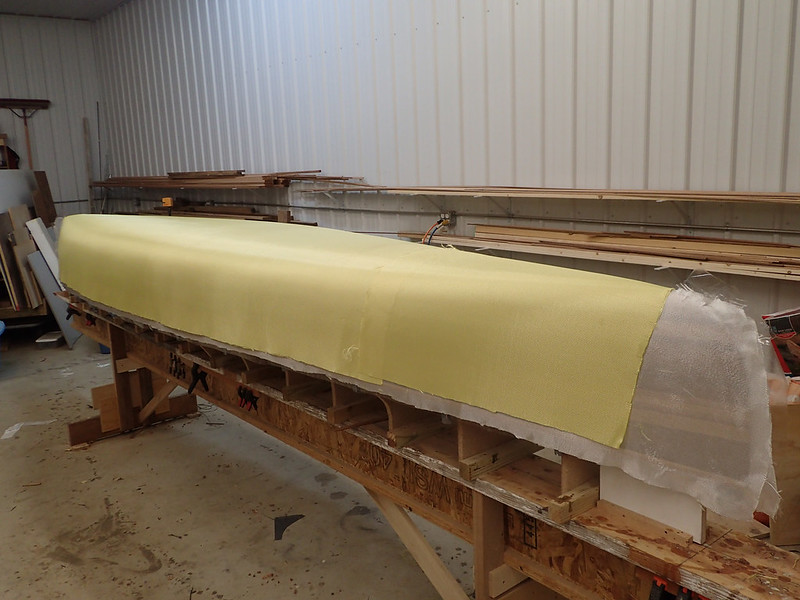
20151210_005 by Alan, on Flickr

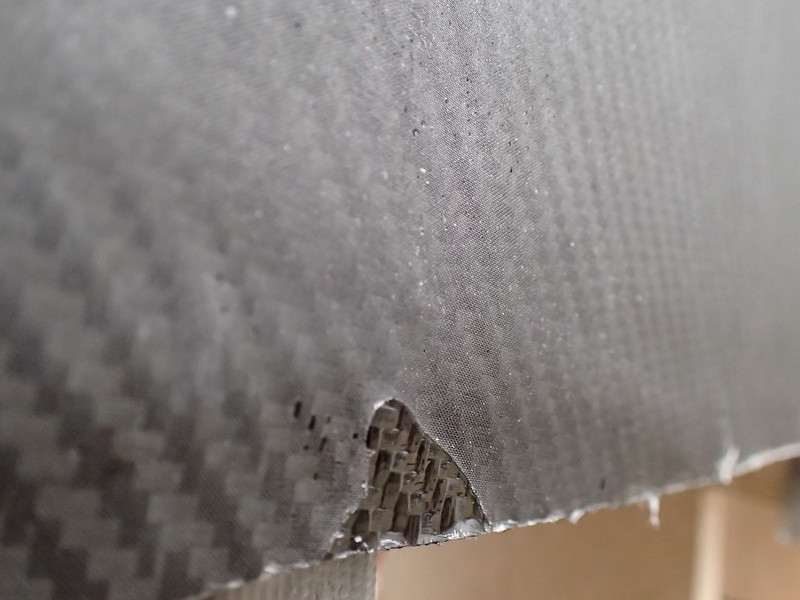
Taking a break for fresh gloves and new roller and mixing pot. Carbon reinforcements nearly wetted out:

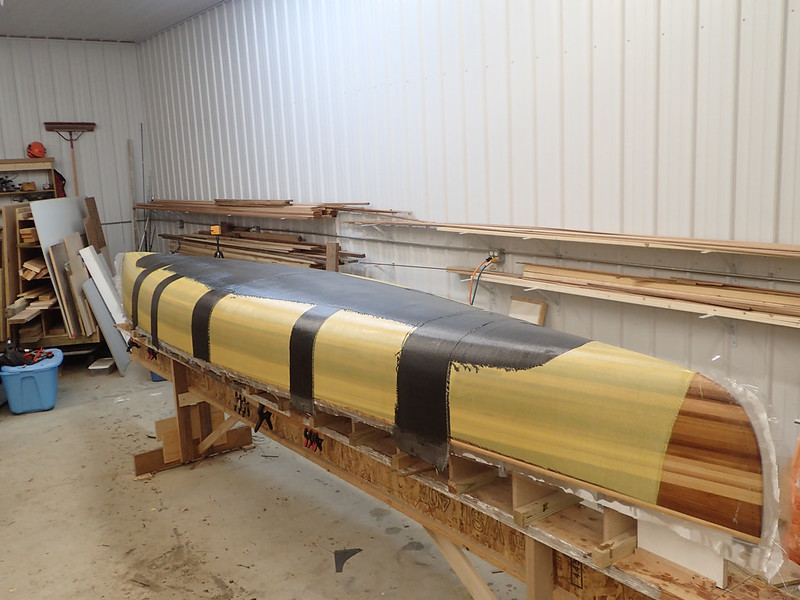
20151210_006 by Alan, on Flickr

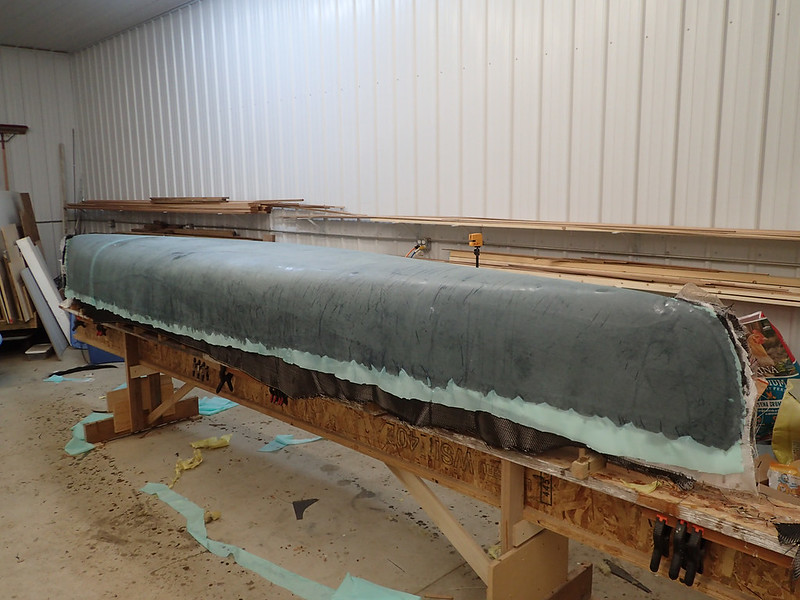
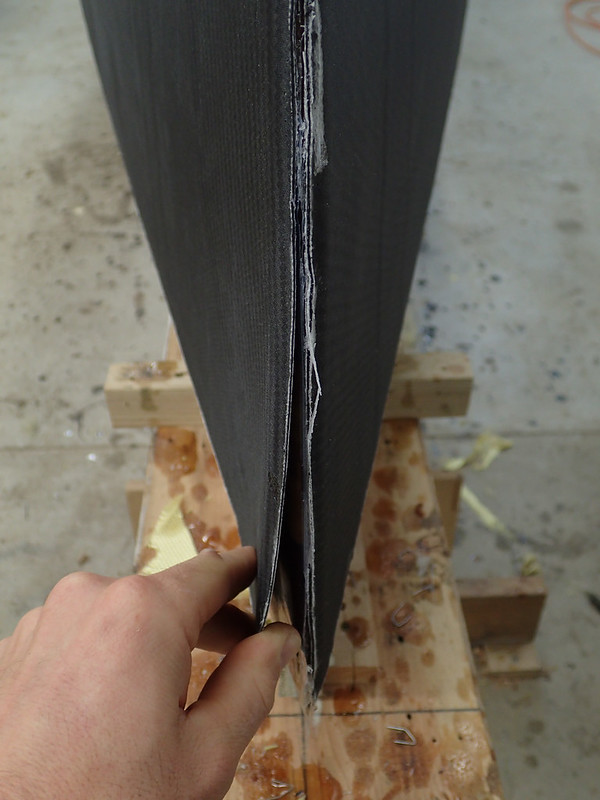
And finally a layer of Kevlar below the water line:

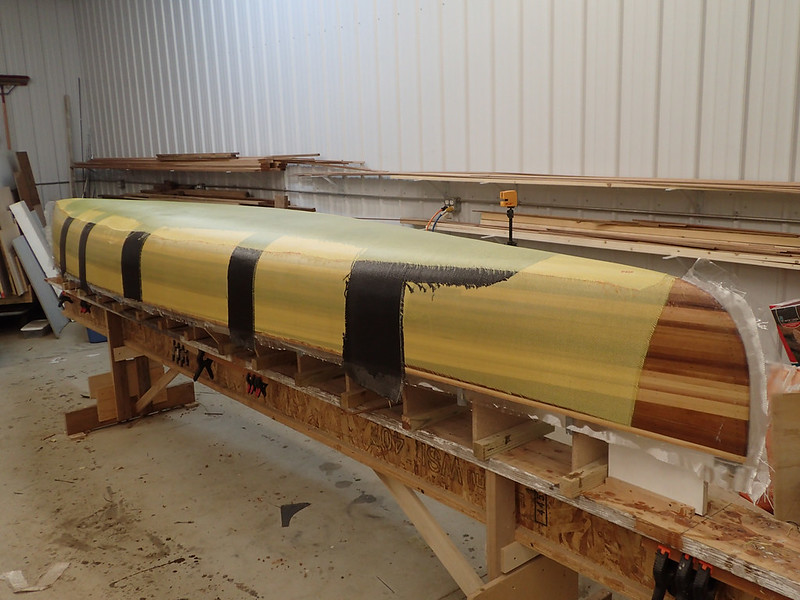
20151211_009 by Alan, on Flickr

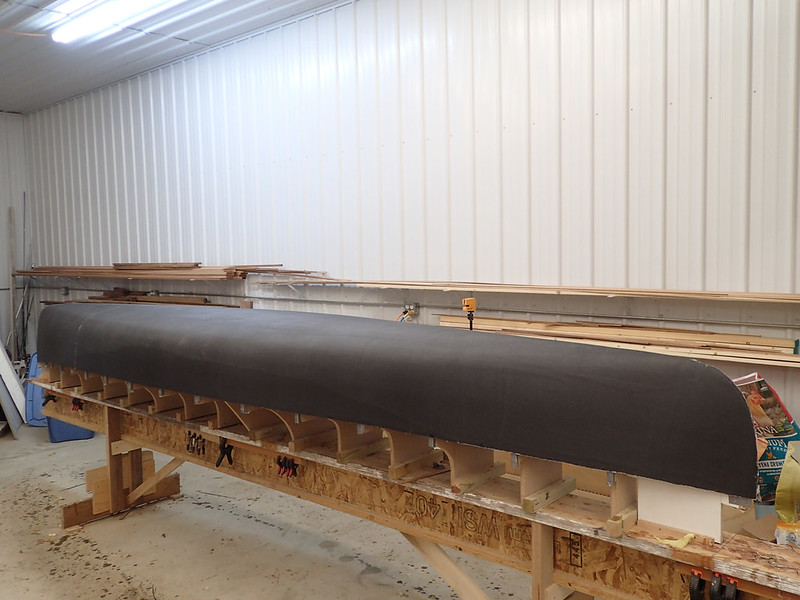
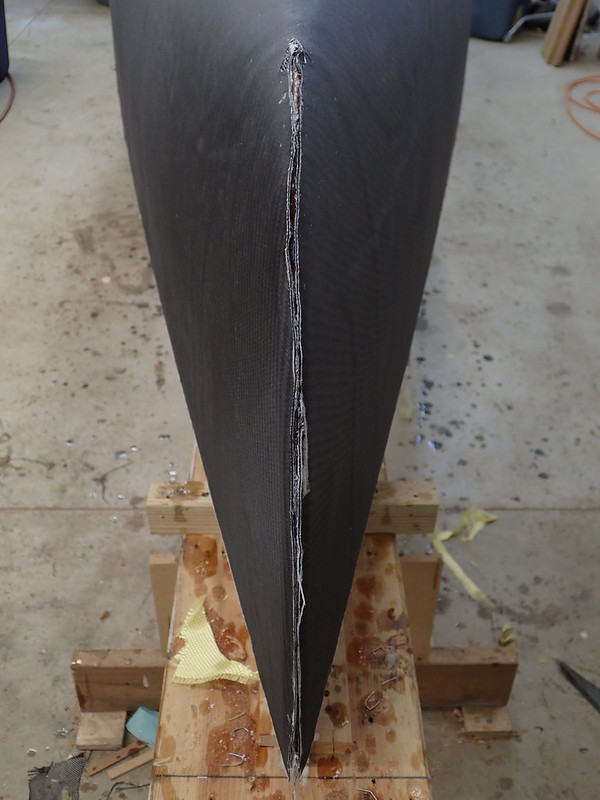
Stuck some peel ply on the rough edges to hopefully tame them a little before adding more layers tomorrow:

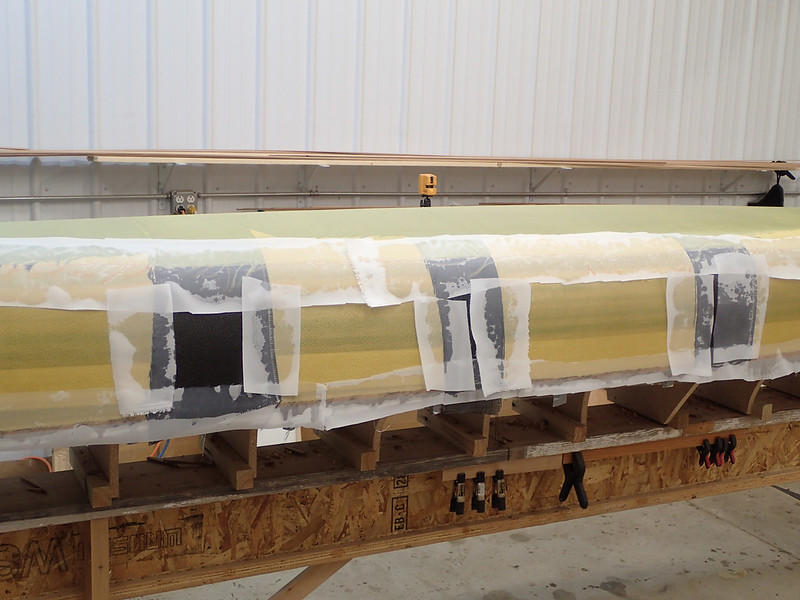
20151211_012 by Alan, on Flickr

Alan
 
Alan,
I'm watching closely, as I plan a similar build soonly.
What is your full layup plan?
I was hoping that I could do two layers of carbon with two layers of 6 oz glass on the outside. Any stiffeners can be added on the inside as needed, but I'm not planning on an expedition worthy build. Just a lightweight hull for combined waters.

I see the stem taping is extended for a bit, did you keep all of the laminates within that tape? Or did some of it extend beyond the tape? I suppose it would be easy enough to cut it back open, since there's no danger in cutting into your plug.

I'm particularly anxious to see what sort of hull weight to stiffness you get.
 
Alan,
I'm watching closely, as I plan a similar build soonly.
What is your full layup plan?
I was hoping that I could do two layers of carbon with two layers of 6 oz glass on the outside. Any stiffeners can be added on the inside as needed, but I'm not planning on an expedition worthy build. Just a lightweight hull for combined waters.

I think that sounds like a good way to go. For this hulls normal use I wouldn't think twice about a core but, like I said in the other thread, it's kind of a test to see how many layers I'll need on my Bloodvein, which I want to be solid. I thought about just doing a few outside layers and adding the rest to the inside after it's off the mold but decided I wanted to see if the seams show up that bad and also this way I don't have to worry about the shape distorting once it comes off the mold.

The initial layup will be, from in the inside out, full layer of glass, full layer Kevlar, carbon reinforcements (scraps from trimming the large carbon pieces coming later), kevlar below the waterline, kevlar reinforcements (scraps again), carbon below the waterline, full layer of carbon, and finally 38" wide glass. All cloth is 6oz. Once it's off the mold I'll add more layers to the stems from the inside and try to gauge if I need anymore on the rest of the hull.

I see the stem taping is extended for a bit, did you keep all of the laminates within that tape? Or did some of it extend beyond the tape? I suppose it would be easy enough to cut it back open, since there's no danger in cutting into your plug.

The fabric extends onto the tape and past the stems. I'm trying to keep it from extending past the tape but even if it does it can easily be trimmed back before demolding. Once off the mold I'll have an mohawk on each end of the hull that, once trimmed back flush with the hull, should give me the correct stem profile with just a thin gap at the stems that can easily be filled and covered with cloth. Or at least that's the plan as I understood it from Jim Dodd, who used this method on his kevlar build.

Alan
 
Before going to work this morning, while the epoxy was still green, I trimmed the excess hanging below the shear and pulled the peel ply. I'm happy with how it looks and the peel ply did it's job of keeping the seams and stray strands under control. Feels like a pretty gradual transition. Curious to see how badly it telegraphs through to the final layer.

Alan
 
Alan, you are a canoe building maniac. No way I would start a layup on a weekday evening. Having all weekend stresses me out. Can't wait to see the finished shell and what layup you decide to go with throughout. I'm almost suprised you didn't try to vacuum bag it.
 
Looks great ! I was concerned about the carbon on the outside for the very same reason you did. On my last build I had wrinkles in the Kevlar layer, caused by the release plastic. After adding two more layers of glass, one E- glass, and one S-glass, it wasn't a problem.

I too am anxious to hear about the stiffness !

Thanks for sharing !

Jim
 
I'm almost suprised you didn't try to vacuum bag it.

Thought about it. When I made the forms for the stripper I added 1 1/2" to the shear so I could add extra strips for a place to seal the bag if I went that route. Decided I didn't need the added stress of doing all the layers in one shot and then trying to seal up a bag with wet resin running all over everything, the bottom layers already kicking, and chasing leaks while hoping the laminate wasn't getting wrinkled as the bag shrunk.

I very seriously considered trying infusion but read enough horror stories about first time failures and leaks from porous molds to scare me off for now.

Alan
 
You know Alan, as fast as you build cedar canoes, you could always make female station molds of the bloodvein and strip a female mold. Then you could laminate partials to your heart's content. Maybe I should keep my mouth shut and not give you any more ideas.
 
You know Alan, as fast as you build cedar canoes, you could always make female station molds of the bloodvein and strip a female mold. Then you could laminate partials to your heart's content. Maybe I should keep my mouth shut and not give you any more ideas.

The thought of stripping a female mold never even crossed my mind. I think I'd like the idea a lot of it wasn't that I hate sanding the inside of strippers, especially the stems. Would make it tough to get a nice finish. I've got the male mold half way stripped for the Bloodvein. It's a sacrificial mold with salvaged wood so I'll be closing the stems on that one when it's laid up.

I'd love to build a female mold from one of my hulls but so far just haven't been able to justify the expense. I think it would be really fun though and I know I'd learn a lot. Probably be some frustration involved too. Too bad it needs to be a two-piece mold.

Alan
 
Back at it again tonight. First layer of the evening was going to be scraps of kevlar used as strategic reinforcement. Since I'm a bit worried about it not being stiff enough I managed to patch together all my scraps to make it a full layer. Light mist of spray adhesive to hold them in place. That stuff is great.

20151211_001 by Alan, on Flickr

Then a layer of carbon below the waterline, full layer of carbon, and finally a 38" wide piece of glass. And to top it off a layer of peel ply over the whole shootin' match. Hoping to avoid multiple fill coats.

20151212_002 by Alan, on Flickr

So far I'm most proud of my peel ply job. Never spent that much time and effort to eliminate the air bubbles. Hopefully it pays off. Sure looks nice.

Alan
 
Wow !

How hard was it to make the peel ply wrinkle free ?

Now I'm going to have to invest in peel ply ! Thanks !

Looks great ! Looking forward to seeing the peel ply off !

Jim
 
Peel ply came off this morning. I'm happy with it. I trimmed the shear and stems.

20151212_001 by Alan, on Flickr

20151212_002 (1) by Alan, on Flickr

20151212_003 by Alan, on Flickr

20151212_004 by Alan, on Flickr

Peel ply left a nice finish. I'm hoping one round of sanding and one coat of epoxy will finish it off.

20151212_005 by Alan, on Flickr

The peel ply puckered a little along the shear. You can see the difference it made:

20151212_008 by Alan, on Flickr

Some pockets of epoxy got left under the last layer of fiberglass in a couple spots. Resin was still green this morning and they shaved right off with a sharp chisel.

20151212_007 by Alan, on Flickr

Alan
 
How hard was it to make the peel ply wrinkle free ?

A lot easier than I thought it was going to be. Would have been nice to have a second pair of hands for setting it into place but it went fine. It never would have wrapped the ends but with the open stem treatment it worked great.

Now I'm going to have to invest in peel ply !

It's really great stuff. I should have taken a picture of the edges from the first night after I peeled it off. What would have been tall jagged edges was instead well flattened and tapered. Not enough to be invisible but much better than the alternative.

It comes in coated and non-coated. I always thought I was buying the coated stuff but now I'm not so sure. I'd only bought it from Raka and they had the white stuff, didn't say coated or uncoated so I just assumed it was coated. It releases but can pull off pretty hard sometimes. Then I noticed Express Composites had two kinds, white and bluish. The bluish stuff was labeled as treated and the white as untreated. I bought a bunch of the blue stuff and it releases a lot easier than the white stuff I'd been getting from Raka.

Alan
 
That looks really good Alan. Looks stealthy with the mat finish of the peel ply. I've bought polyester dress lining from the fabric store. It works pretty well, uncoated obviously. You want to look for a very tight weave. Also don't expect too much help from the ladies working there. They usually ask what it's for and then I usually waste both of our time trying to explain it.
 
I like it !
Was that the Twill, or plain weave carbon fiber ?

I had some peel ply once. Put it on, and got scared, it wouldn't come off. So I pulled it off before the resin set. Live and learn !

Your ends came out good !

You are making me glad I bought some carbon !

Jim
 
Looks good Alan. Also looks like the layup separates from the mold easy enough. What are you plans for your carbon Bloodvien? Are you planning something big? It will be interesting to compare finished weights on your current project. Dave
 
Back
Top