Every time I looked at those thwarts, I felt like a slacker. They were still serviceable, but worn. This week, they made it inside, got sanded, and now sport a fresh coat of varnish.
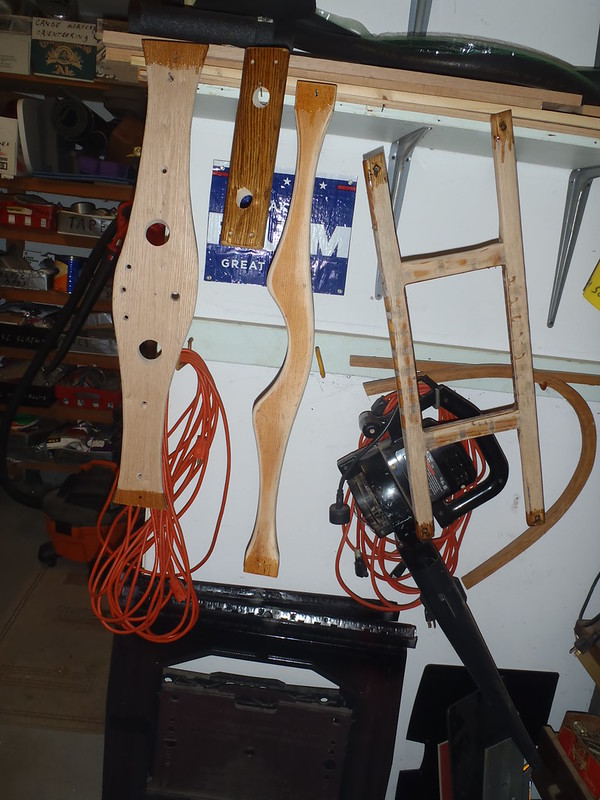
Here's the question: how do you support thwarts while they are being varnished? I've previously just hung them on a nail, which can result in some running dribbles. I thought I'd try to keep them horizontal this time. I made some little wire towers to hold them up, which worked, but getting that last section of thwart coated was a problem that left me with some varnish-fingers.
With all the thwarts varnished by CTN-ers, somebody must have figured out a better way. Please share.
Darn, I see a little dribble in the photo of the thwart stands!