• Happy National Paranormal Day! 🔮👻👽

Adjustable sliding solo seat

Joined
Jan 4, 2017
Messages
126
Reaction score
8
Planning ahead for an adjustable seat for my solo stripper I have been doing some research but haven't found a set up that I like. Most are mounted to aluminum tubes on a platform base that I'm sure works good but I'm leaning towards a more traditional look, without hanging it from the gunnels. What do you think about using these as the rails mounted to a set of supports epoxied to the sides.
http://www.ebay.com/itm/80-20-Inc-T...752984?hash=item4d46968b58:g:ZrMAAOSwbYZXdW2v
 
I've used 80-20 rails to build various things. What you are looking at here is essentially half of a 1.5" square rail and will have good horizontal strength, but not so good vertical beam strength. If you mounted the half rail with the widest dimension vertical, it would have good vertical beam strength, but your connection would be in shear rather than compression. You might want to look at some 1" square rail. The beam strength in a two foot rail should be more than adequate and you can mount the seat rails on top of the rails. You could build the whole seat from 80/20 parts, but it would be heavier than necessary. 1" diameter aluminum tubing should be adequate for sliding seat rails but is soft and easily damaged. I would consider 7075 aluminum alloy tubing, but I don't have a source for it. I don't know what alloy 80/20 tubing is made from, but it is fairly soft.
 
I think it looks heavy. But would look good. There are sliders or notched rail setups made of wood that you could copy that would probably be lighter than the aluminum track. The reason for aluminum tubing is the weight reduction. Typically 1" diameter and .035" wall thickness, a lot less metal than the extruded track.
 
My Swift osprey has an factory slider seat I like. it's mostly made of cherry wood.
Turtle
 
Last edited:
I've already ordered the 80/20 rail but I'm only in for 25$. I'm going to try the rail with the wide side horizontal first. My thought was to use an 18" section on each side with an ed's canoe contoured seat mounted on top of the rails slotted side. Using a pair of 1/4-20 threaded knobs on the front mounts to lock the seat in place. The rear mount will be threaded onto a nut in the slot but wont tighten down. It'll just be along for the ride acting as a guide. The seat frame is 9.5" wide so the weight will be spread out, leaving roughly 7" of travel. I'll know in a few days how much the track weighs, I was looking for something beefy enough to carry the load. I 'd appreciate any pics of the osprey slider as well as the notched rail set up if you could post them. Working from one that's already been done beats the heck out of slogging through trying to re-invent the wheel.
 
Guessing you'll want to keep them parallel with each other. So the brackets front and back will need to be built for that.

I set the front of my seats at 5 or 6 " aft of center. Front to back, they measure about 11". I can easily slide my butt fore or aft, to adjust, Nothing mechanical needed.

Will the slot be on top or the side ? On top makes more sense to me That way the seat will ride fully supported. I'd also worry about the epoxy bond to the aluminum ?

A replacement seat made for a Bell Magic. and the ones I build for my canoes, notice the difference..
IMG_0726_zps9nr7wuui.jpg


Jim
 
The 80/20 rail laid flat will probably be OK, but will be heavier than tubing. If you use Tee nuts to mount the seat to the rail, don't overtighten them or they might indent the back side of the slot. For an adjustable slider, it's often better to use a flat strip in the slot that is tapped for the adjusting screws. The strip will slide in the slot where Tee Nuts often cock and dig in. You can use hand nuts on the adjusting screws, but a button head screw would be less likely to catch on clothing and such.
 
Sailsman's sliders here. Page 3 and 4 has some good ideas.

http://www.canoetripping.net/forums/...re-engineering

I can't find the picture of the notched rails I was thinking of, but it's just wood rails with a series of evenly spaced notches that the seat bars sit in. The notches keep the seat from moving back and forth in that position. There's probably a ton of different attachment methods so the seat doesn't pop up, but I'd probably just quickly lash it. The KISS method. I guess you could make another rail that sits on top, hinged at one end, latches at the other. Pop the latch move the seat, lock the latch.
 
Thanks for the location from center Jim. I have a seat from My Magic that is interesting in the way the rear slat is narrower than the front and the front slat is also slanted for comfort. You can see the attention to detail. Slot on top is what I'm planning. Slot on the side would be the strongest position for the rail but would make mounting the seat a little more of a challenge. No epoxy on the aluminum. The seat slats should rest on top of the rail. I'm thinking of an ash bracket cut to fit the contour of the boats side, epoxied on, that the rail would mount to. Ideally it would be nice to be able to adjust the height of the seat on that same ash bracket. I thought of spring loaded pins that mount to the ash bracket and fit into the rail ends. That set up would make setting the seat height doable on the water. I'll need to check Mcmaster carr to see whats available.
I ordered the v shaped nuts that fit the slot so I'm hoping they will slide OK. They also have a spring loaded ball on the narrow side of the nut that I think will help the slide. I have a bunch of the thumbscrew fasteners in stainless, that I ordered for another project that I have on hand.
I'll check out the Sailsmans sliders. Thanks for the link. I looked at the swift osprey's sliding set up, looks simple and light, but it mounts through the gunnels. I screwed up on my boats shear where the seat would hang from the gunnels. The edges are no longer straight up and down. I'm going to work around that.
 
Just a thought ! But maybe mock it up, before installing in the canoe. It would confirm if what you came up with, actually worked.

Many ways to skin this cat ! I'm a fan of KISS also !

Good luck !

Jim
 
When prototyping my solos I've tested seat positions by putting a box into the boat. Given that I like taking the dog out from time to time I've often thought about a designing something more permanent. The design I'd probably start with would be two rails affixed to the hull below the seat, with a tractor style seat (or otherwise) on a pedestal that would slide forward aft on the rails. Marathon boats if I'm not mistaken sometimes use a similar arrangement. If engineered properly, I can see it as an elegant and lightweight solution.
 
I've generally mounted my seats on cleats epoxied to the sides.
On my solo Kite, I initially had carbon over foam cleat rails epoxied to the sides. But, as Jim was mentioning, be sure to mock up before you commit to epoxy and glass!
My cleat rails did not have adequate width to fully support a seat frame at all locations fore and aft. The hull design of the Kite was the major limit, as well as my own imagination.

After seeing Alan's elegant bottom mounted adjustable frame (and recounting my own experiences with the old Sawyer versions) I decided to scrap my side mounted cleat rails and make some bottom mounted supports.
I prefer a somewhat taller seated position, to allow for more varied leg/foot positions. My seat is held in place by some 3M Dual Lock, an industrial strength version of Velcro. It's extremely grippy, even though it needs only keep the seat from sliding around. I have 11 inches of fore/aft adjustment. I can fit one foot or both feet under the seat, as well as place one foot on either side of a single support when kneeling and heeling. Foot entrapment is a non issue, as the Dual Lock held seat will release readily. I've seen some serious ankle injuries due to entanglement.

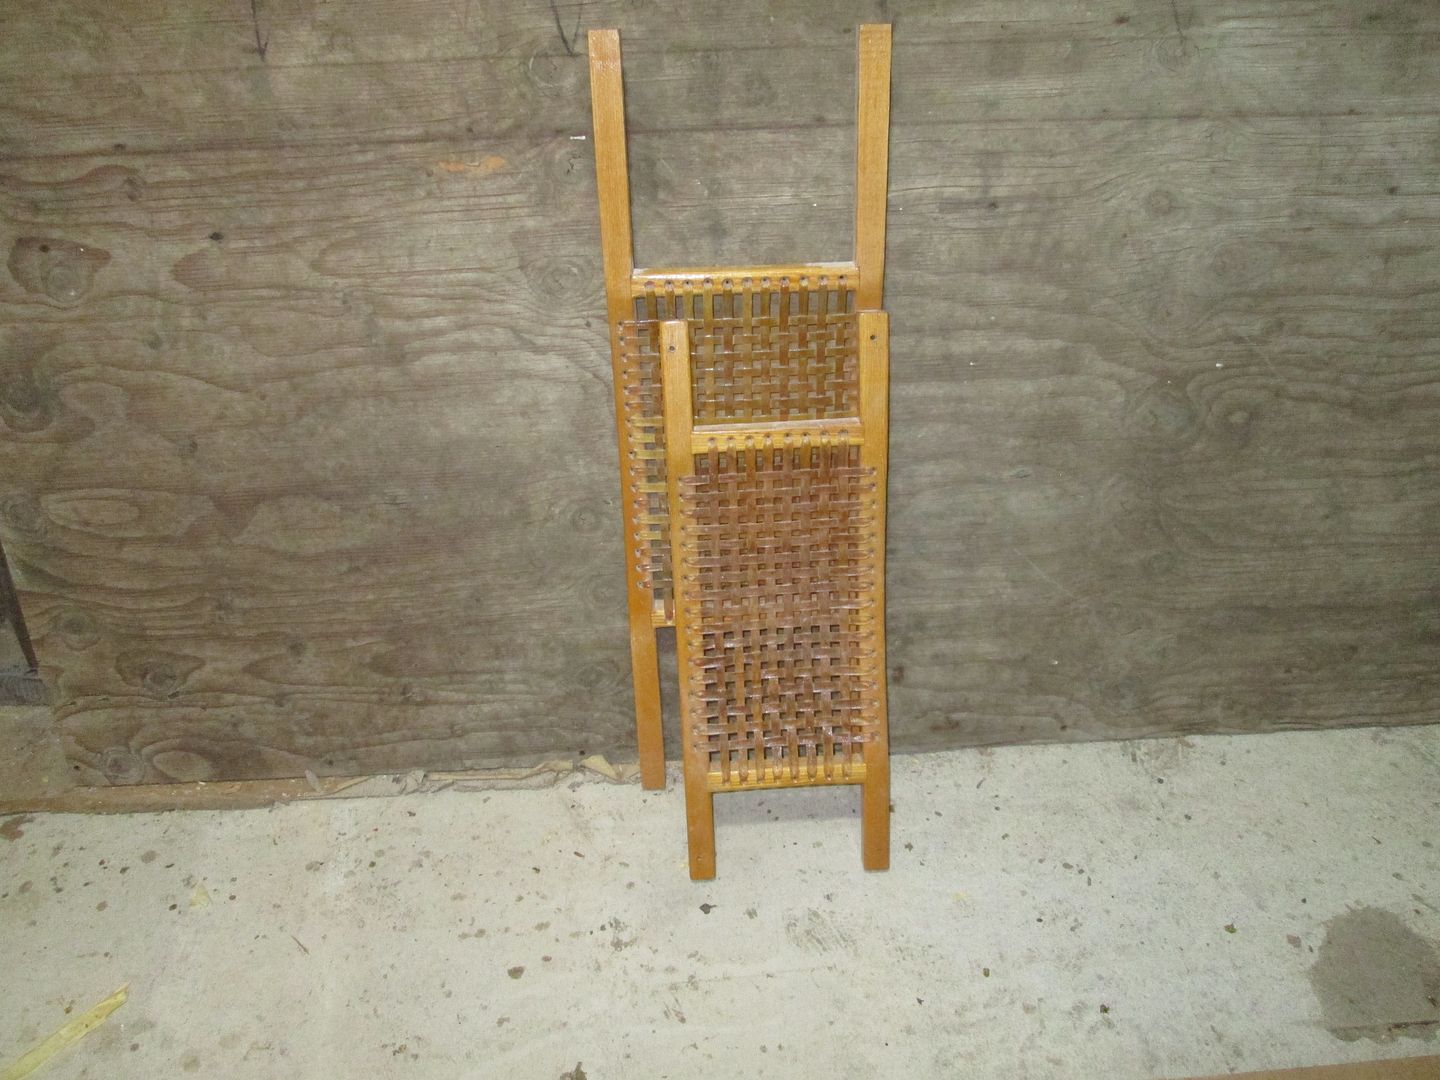
Here's a look at the side mounted cleat rail, I was completely dissatisfied with this

View attachment hlHRfsKgsamQMuC9fwAHRaL4Qfp8P-kA1v2Dr6d4WnNLJ5JlhziD6wEHpd7h1zOKKzbcFvt0Q8fnmpp038P8S6FZHHAlEt76ZYnl


And here is the current set up. Side note: because there are no cross hull supports, it is very easy to scoot fore and aft in the boat when launching/landing and scrambling over beaver dams. There's no need to lift a leg over a seat rail to move around in the boat. Doesn't sound like a big deal until you try it out and realize how easily you can travel within the hull.

View attachment e_tab_zv4-Wj1nTzqBk_NPBWrN_HxJYUsBebSADdfcRDLeAX7Unu0M3JEmeqnex0fOJgNQXxrwKos8q5sCFztlQidWn4i69afJaj
 
While I'm sure the pedestal seat works well I'm still leaning toward a more traditional look. Yes I want to be careful before gluing anything to the sides of the boat. I'll set it up and make sure it will work before mounting it. How far aft of center do you mount your seats.
Glenn that sliding seat is off the charts gorgeous. Looks like curly maple with cherry or mahogany inlays with attention to detail that's beyond belief. It's amazing how far some people will go. From a functional viewpoint, it looks like it would work very well. Probably a T slot in the rail and a matching T mounted to the seat bottom.
 
Perhaps I missed it, but can you elaborate a little why you want seat adjustment? Is it the hull design?
There are quite a few solo canoes with fixed seats, and they seem to get around just fine.
 
Think of the way a tandem handles with different weights forward or rear. Moving the seat forward should make the boat track better while moving the seat rear should make it more manuverable. Almost like being able to change the rocker on the fly. I'd like to be able to adjust the seat height also to be able to find the sweet spot between comfort and stability. If what I have in mind works I'll be able to tip the seat for kneeling as well.
 
Front edge of the seat in my Kite can be anywhere from 3 inches to 14 inches behind the center of the hull, which BTW, is not the center of buoyancy for that hull. The Kite is particularly sensitive to fore/aft trim depending on wind/wave direction.
 
Moving the seat forward should make the boat track better while moving the seat rear should make it more manuverable.

It's the opposite.

Canoes turn by sliding the stern. Moving the seat forward will lighten the stern, thereby allowing it to slide easier. You may want to do this on a twisty stream. Moving the seat aft will plant the stern more firmly in the water and make tracking easier, sort of like a skeg effect.

Another reason to move the seat is in wind. Move weight forward when going into a head wind. Move weight backward in a tail wind. In both cases this will help the canoe to stay on course by lessening the tendency of the canoe to broach sideways. You can move weight forward and aft if you have a lot of gear, but you may not be able to shift much gear on the fly in wind and waves. Moving your body on a sliding seat is easier, and it's the only weight you have if you are paddling empty.

The downside of sliding seats is that they add weight, they break, they cost money.
 
Right on Glenn. When I slide my Osprey seat foreword it turns more easily, slid back it tracks better. Slid foreword it "weather vanes" into the wind, slid back it yaws. Sliding it foreword produces the ability turn easily without healing the canoe which has advantages. Part of this ability may be enhanced by the Osprey hull design, my other DY designed solos don't seem to react this way as much. Another advantage to a sliding seat on a solo, is that you can get in with the seat slid back out of the way, kneel, and then raise up your butt and slide the seat foreword underneath you.
Turtle
 
Back
Top